Yowza, this one kicked my butt a little. I was overcomplicating the inside dimensions of these living hinge boxes, trying to figure out the cuvature I was needing, only to.realize the hinge could accommodate most curves, it only needing some persuasion to get there. I wish I had thought to take some pictures of these boxes when I had the rubber bands on them, oh well.
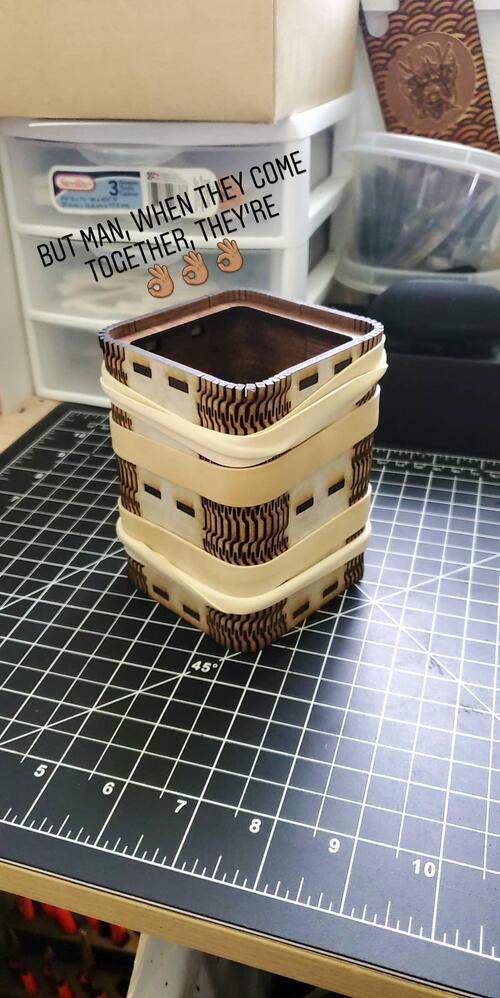
I had used our iron to steam the corners to make the hinges bend more easily, then used thick rubberbands to hold everything in place. I took this pic after having them being held shut overnight.
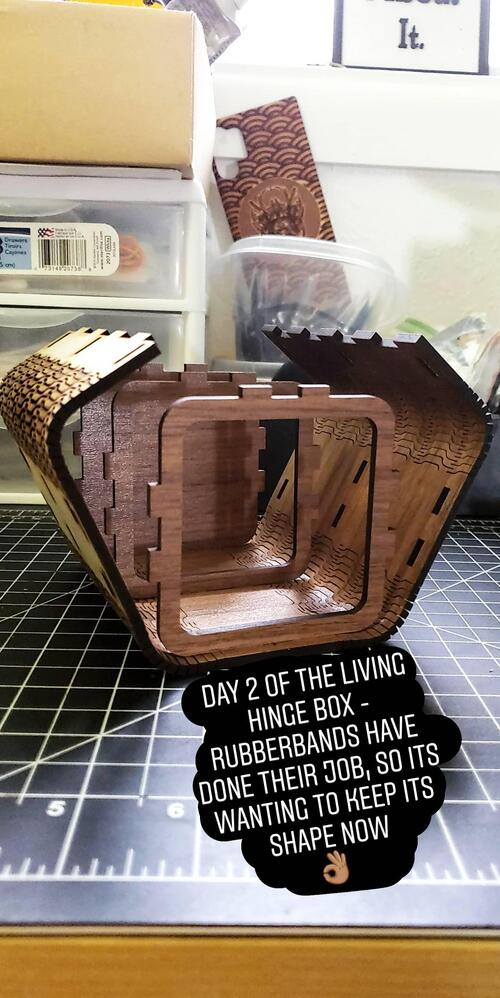
As you can see, the box was wanting to keep its shape, which was great. So I threw some glue on the edges of the internal braces, and put the rubberbands back on to keep everything snug. Waited a few hours, peeled the masking, and everything was looking pretty good.
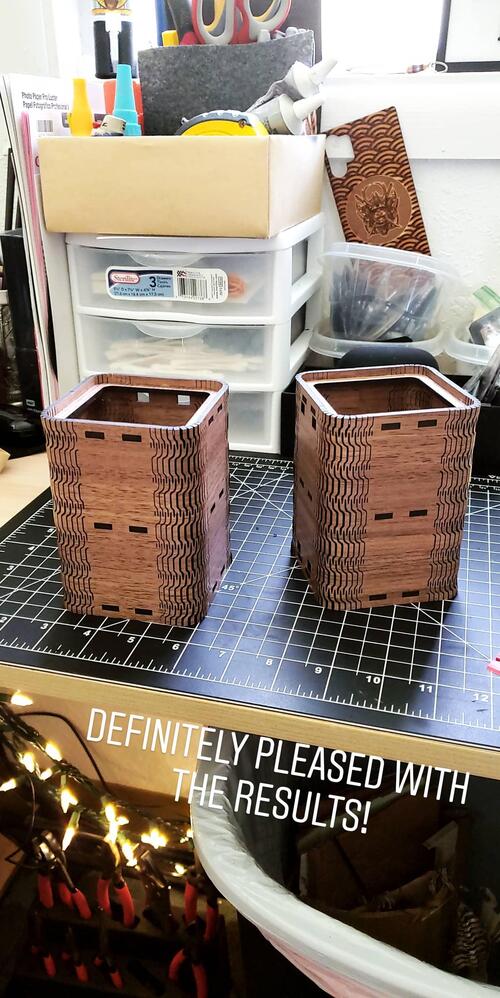
Decided I would move forward and add the middle acrylic braces that would hold the toothbrushes, and call this project complete.
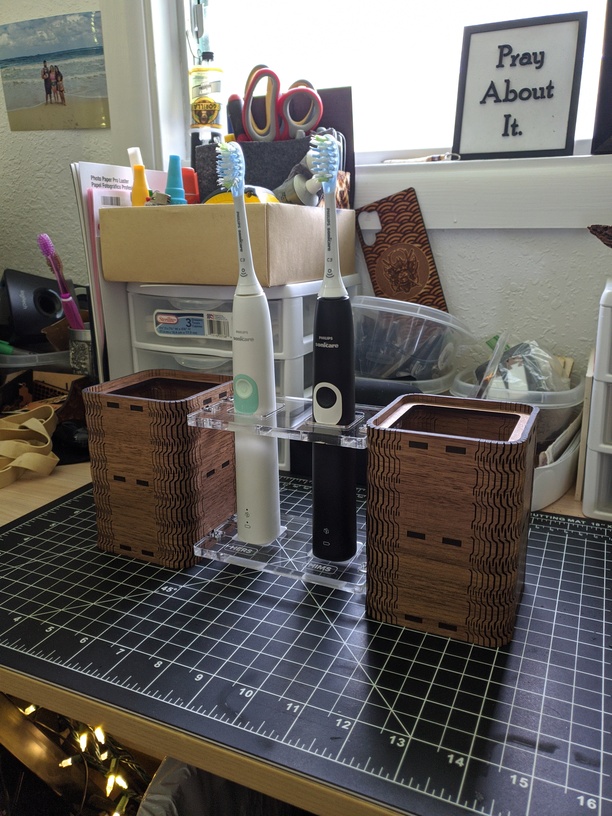
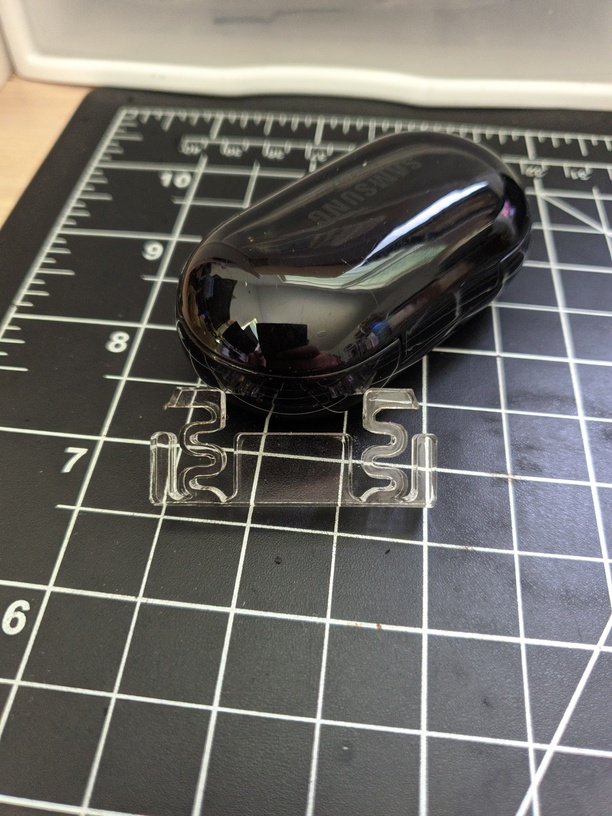
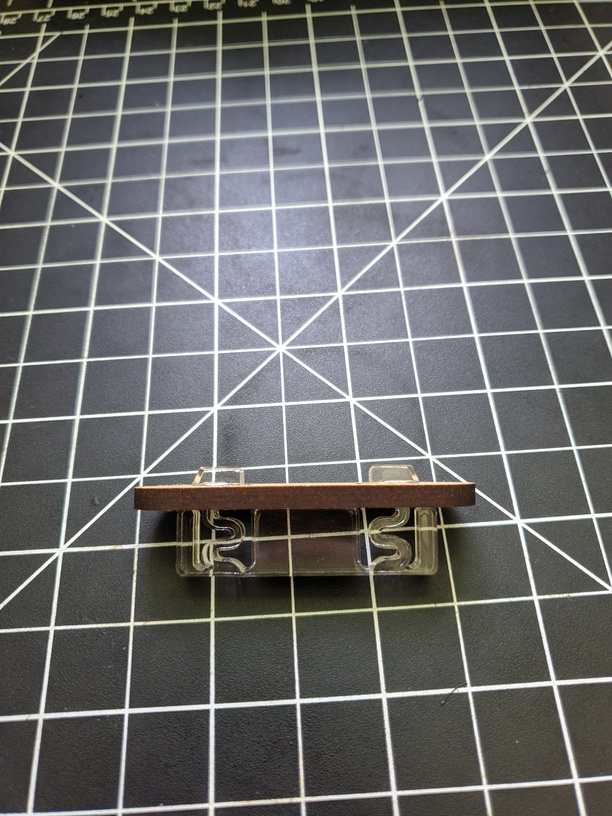
I didn’t want a friction fit between the wood and acrylic, and instead opted to do some clips to hold it in place. This is for portability sake, and if I ever decide to just break up the design into just the side boxes. My original clip design was good, but not for acrylic, as it’s more rigid than wood, so my initial wood tests were good, but the acrylic failed. So after a few iterations, I decided my best bet was going to be an “S” shaped dynamic brace - this was exactly what it needed to give it both strength and flexibility.
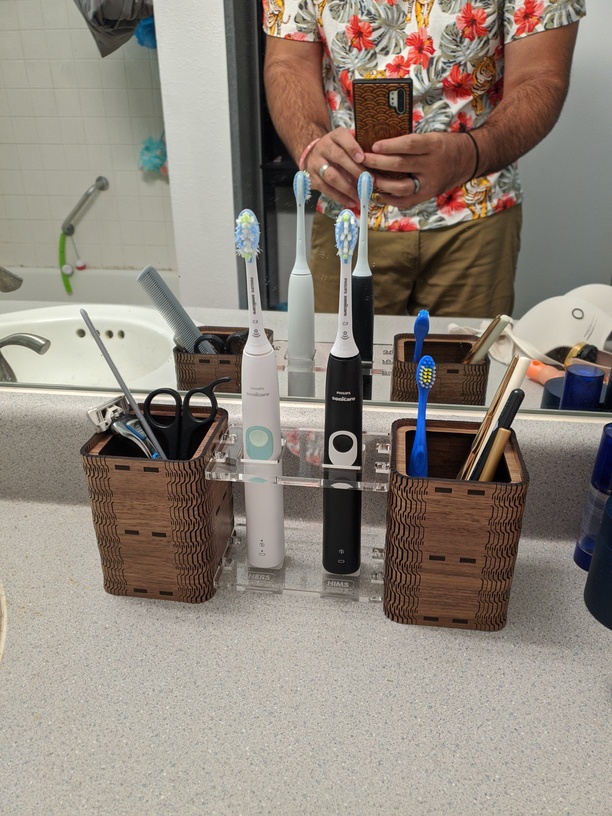
Final pic of it being put to use:
My brain has felt sort of mushy since this whole island quarantine thing went into effect, so I’m glad I finally stressed it out enough to get the blood going again. This has been in my head for months, and I thought it wouldn’t take me more than a few hours to complete, which may have been true if I were more practiced in these types of designs. Ultimately it took me over the course of this last week to hone everything together. Several prototypes lay at the bottom of my trash can, with only a couple pieces being deemed worthy enough to keep around as reminders.
I used super glue to adhere everything together, but did use E6000 to seal the bottom seam. Also threw in some felt pads in the bottom of the boxes so whatever got tossed in there wasn’t damaging the wood too much.
Edit: I found a pic of the rubberbands!