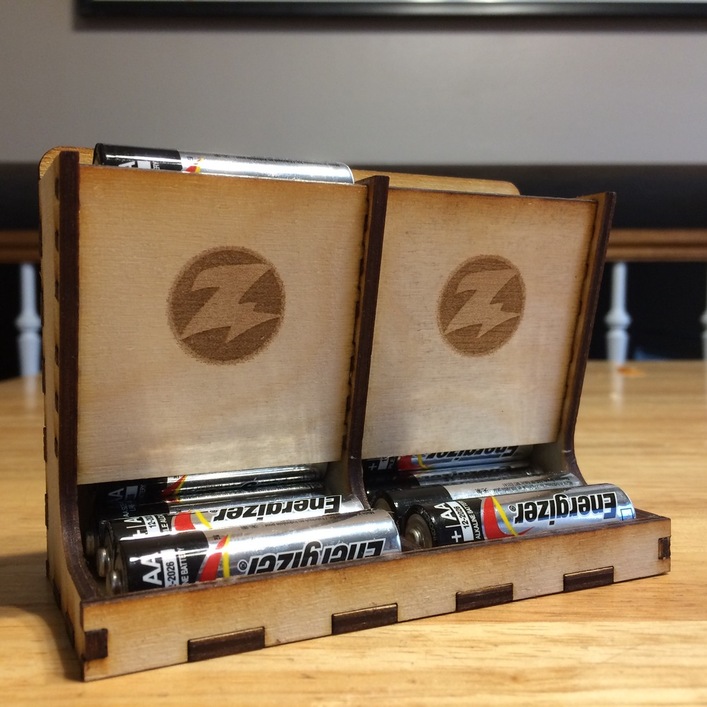
Update: I was having problems getting the batteries to drop and roll forward when the first two had been removed. Fortunately there is an easy fix: I cut a piece of clear transparency film (any piece of thin plastic or even maybe card stock would do) to the length of the vertical channel, plus about 2 inches. Pushed it down the vertical channel until the end butts against the front stop and the film sags against the back. Put batteries in with the film against the back of the dispenser. With the film in place I found that if the batteries didn’t roll forward, a slight jiggle would get them going. YMMV.
6 Likes
Thanks so much for sharing this!
It looks like it’ll really beat my current method… “Charged go in a pile on the left of the shelf, dead goes on the right side of the shelf. If you find any that rolled off the shelf, assume they’re dead and put 'em on the right.”
3 Likes
Thanks for the file. This was most definitely on my list.
Mine were free range rolling around the bottom of the kitchen drawer.
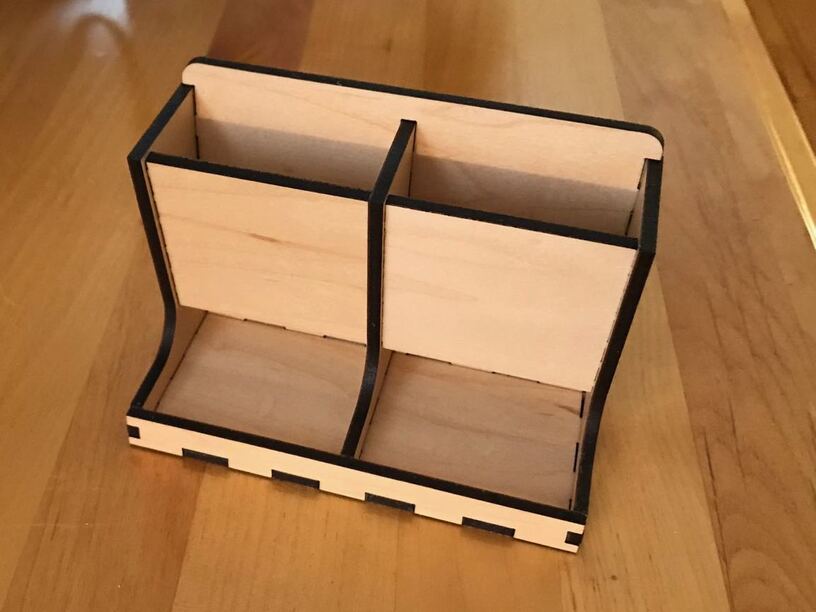
Resized a hair to accommodate my 1/8" birch ply.
8 Likes
YOU are a funny guy!
2 Likes
Another one made here. I had to go back to the Fusion 360 file and recreate the cut files to remove the kerf compensation, first one wouldn’t go together. I prefer ease of assembly and glue over snap fit anyway. Great design.
12 Likes
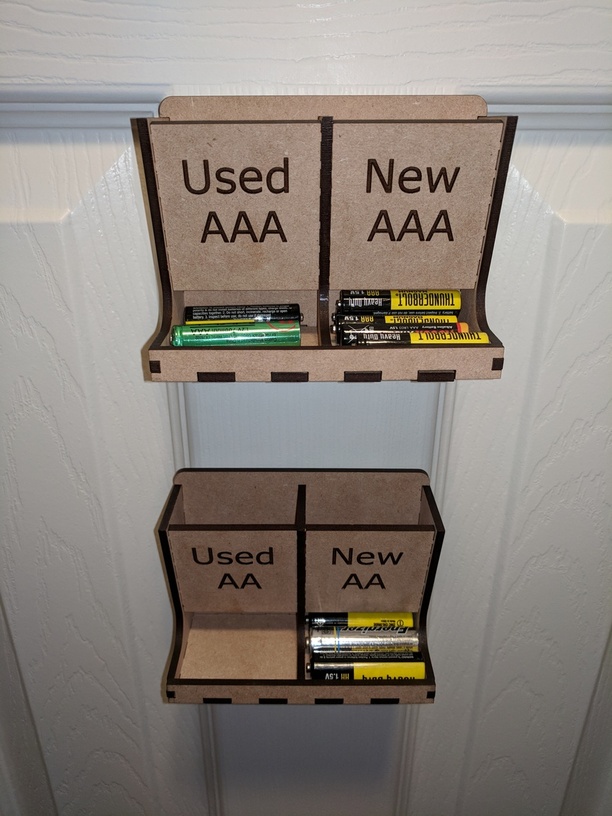
@Mark! Thank you! Any chance you would be interested in enlarging this to hold more batteries? How about other sizes? I’m new at this so not sure about just scaling up the whole thing?? I can try it if you think it will work that way. I’m using InkScape (but new at it). Thank you for designing this project!!! We will see if the Command Strips hold overnight (medium picture hanging strips), I took the weight out and waiting until tomorrow to load it up. Below is what I made tonight:
FYI if someone is unfamiliar with using text in ink scape and wants it to engrave, my fiance’ showed me the steps:
- Use the TEXT tool and type your text. Position where you want it.
- Click on the text and then choose PATH > OBJECT TO PATH
- PATH > COMBINE
- PATH > DYNAMIC OFFSET
…text is ready to be engraved!
6 Likes
(Or just use AutoCAD) 
Autocad (or the versions I used) can get weird in some offsets causing the line to overlap itself. Inkscape does not do that but will make zero diameter points that you have to chase down.
Weird. I’ve used nothing but AutoCAD and print to PDF at 1 to 1 scale. I’ve never had a problem yet with it, but I’ll let you know!
I have run into issues importing older dxf’s into Inkscape. Loading them in a newer version of CAD or Fusion 360 and exporting as a new dxf has always resolved the problem.
As have I since 1988, it was only offset I was speaking about and I have used workarounds for years mostly using blocks and the divide command and then cleaning up the result, and that was only needed in rare situations. Autocad is fantastic with hard edges and geometric stuff but always a problem when you are talking about “squishy” things. Inkscape can do what Autocad cannot, but not in 3d. However, if I import into Blender there are great “squishy powers” there