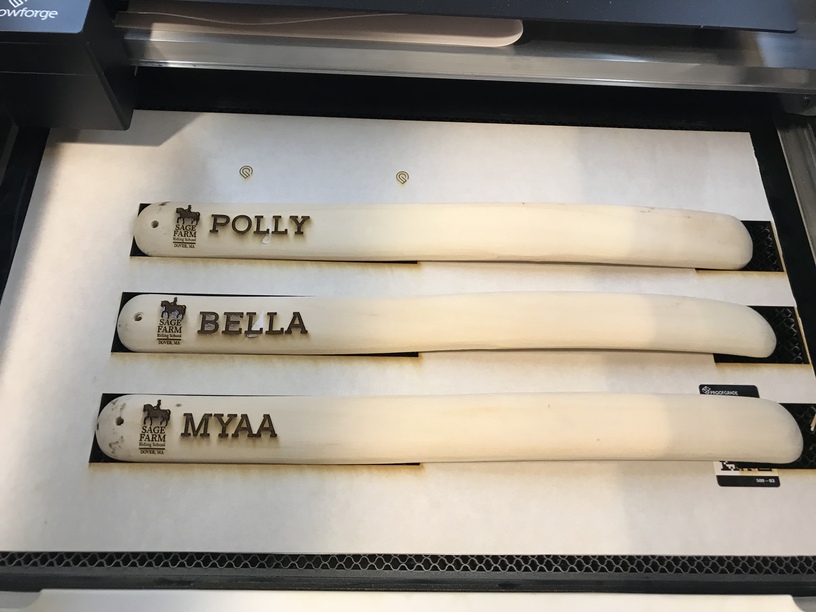
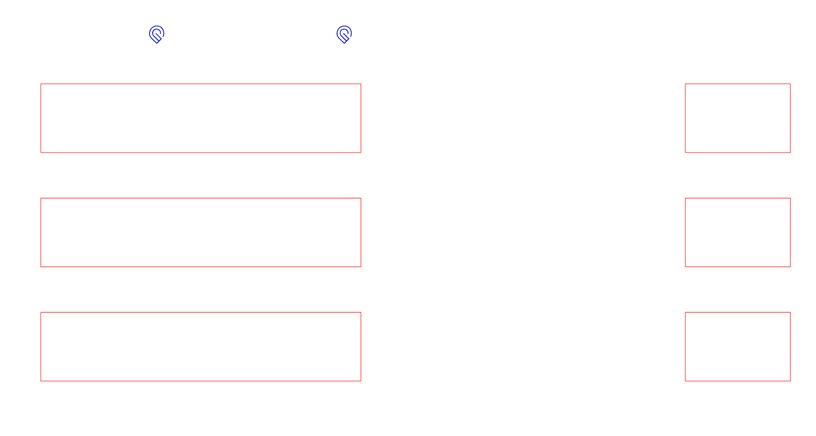
I have posted a couple of updates on my holiday sweatscraper project and for those who are trying to figure out how they would use snap marks for something other than pencils, here is what I did. I found it was almost impossible to align the engraving on the sweatscrapers as they are a complex spline surface, and so they were always around 0.1” off which was annoying. So I decided these were perfect for snapmarks. The first challenge was deciding how my jig would work. Given the spline curve shape, the only make contact in 2 points along the length. I measured those and made a cad model (I’m just more facile in onshape than AI as I like formal design intent (e.g. this edge is always 0.25” from that edge) and I realized that I could comfortable fit 3 sharpers on a sheet (could have fit 4 probably but these are very smoky) then you export that drawing from onshape as a dxf, which I import into AI. I then snagged the 2 snapmarks from the pencil example file and put it somewhere on my drawing (In this case up top left because I needed to keep the head away from the right side as the scrapers are too tall and would hit the head). Then I moved the snapmarks onto one layer, and the boxes onto another (This becomes important later) I colored the snapmarks blue and the boxes red.
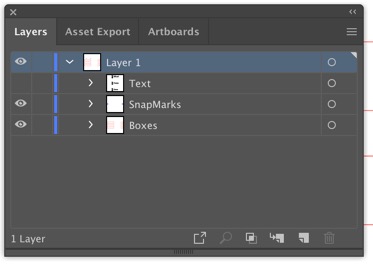
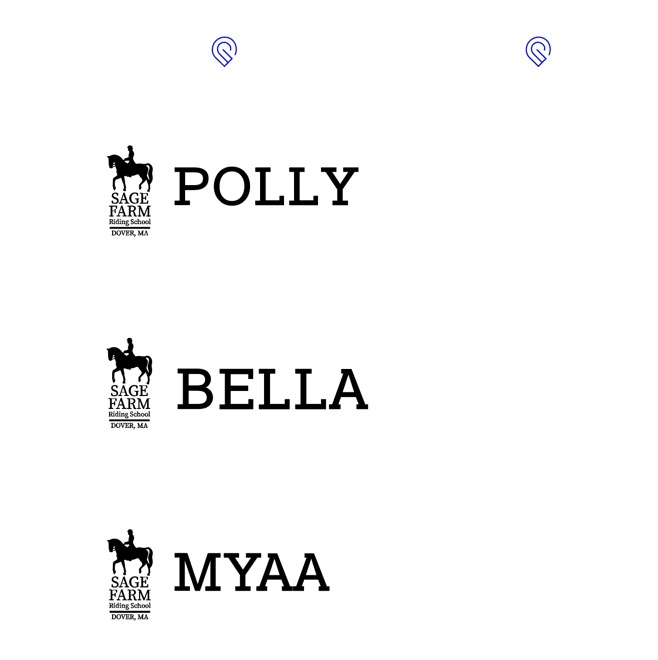
I then exported it as my jig and cut the boxes and set the snapmarks to score in draft board. Now back to AI I then created a new top layer for the text. I put my text over the boxes in black. And most important, hid the layer with the boxes since you never need those again.
Then as a test, I put the waste cut parts back into the jig as a test. I then hid the layer with the boxes (Leaving a document with just snapmarks in blue and text in black). Now I export that into svg and set the snapmark layer to ignore and the text layer to engrave (I found in this case thick draft board settings worked well on the bamboo)