Beta Project: Halftone Pattern Engraving

I made some more engravings…
This time I used halftone dot patterns to engrave photographic imagery.

You can create halftone patterns of images in Illustrator and Photoshop, though it may take some time and perhaps some trial and error.

I’ve done that before, but opted to use this cool site I found: https://halftonepro.com/

With a paid membership you can export unwatermarked images in either rasterized .png format or vector files as .svg. :wink:


Here are some of the results!

01 with masking

01 close up with masking

01 removing masking


01 unmasked with Sharpie for scale

01 close up unmasked


Showing her the results! <3


02 engraved in clear acrylic

02 shot from back/unengraved side…

02 from the front


what it looks like really. I now know I need to reverse the image if I were to edge light it instead of light it from behind…


03 test…

03 close up…


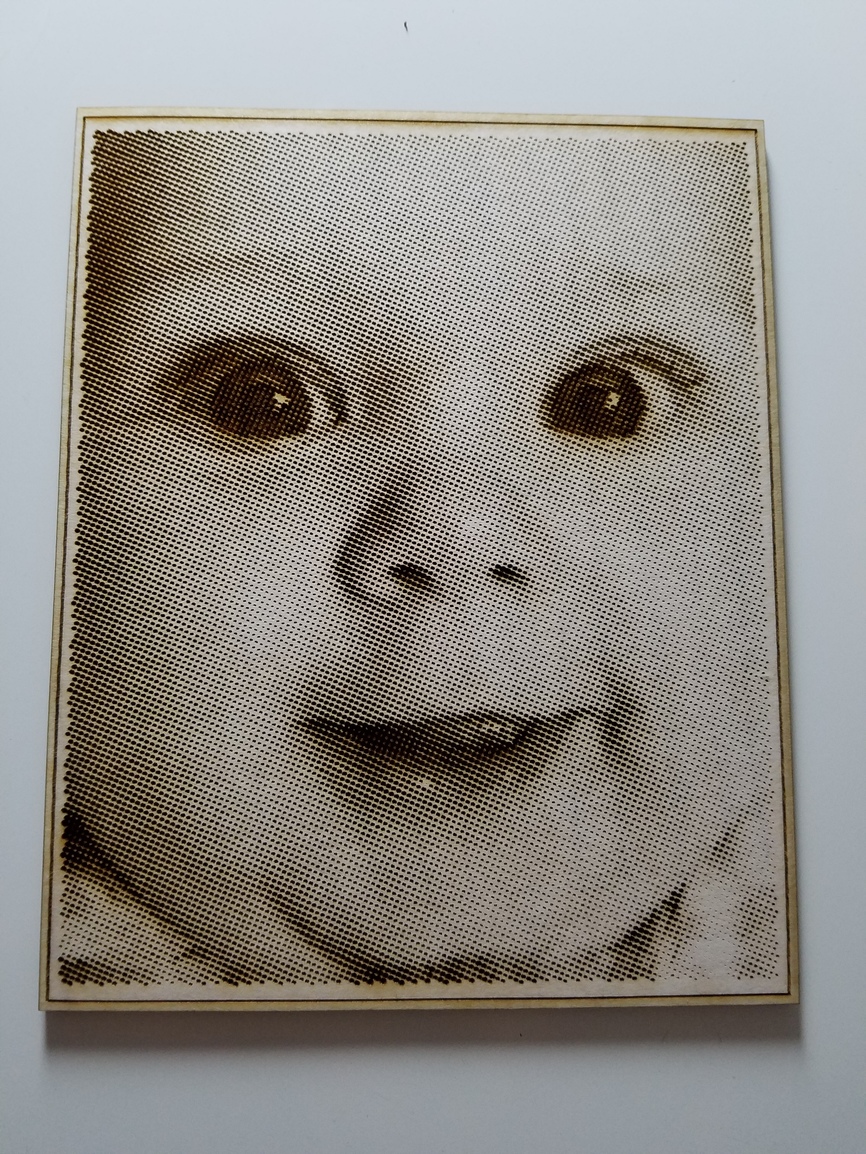
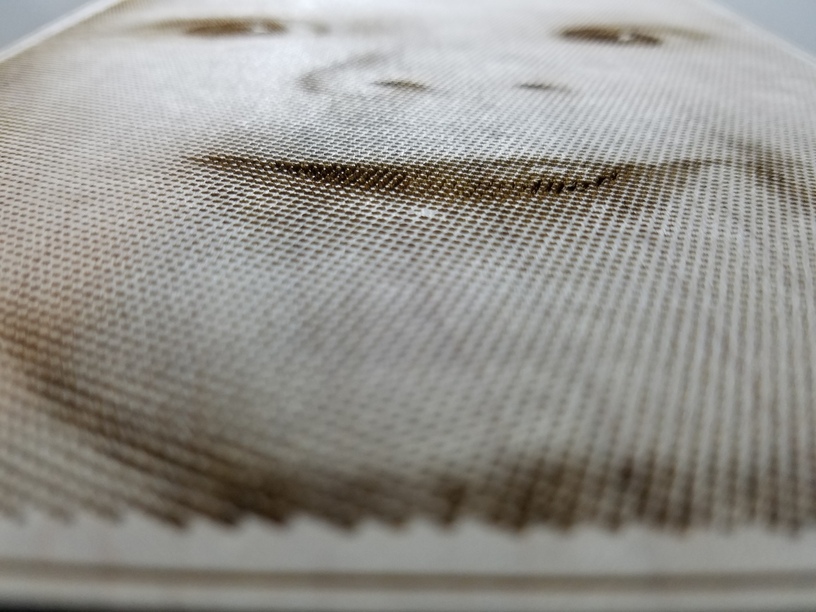
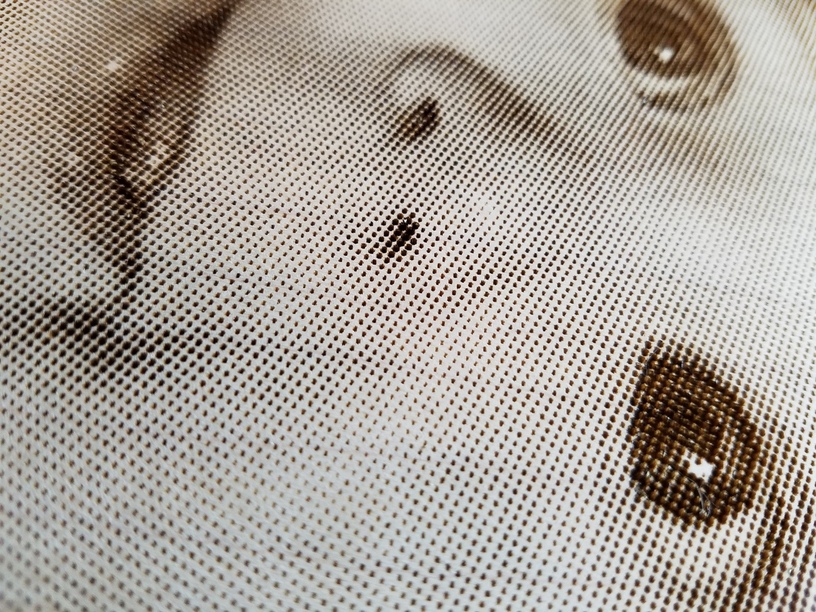
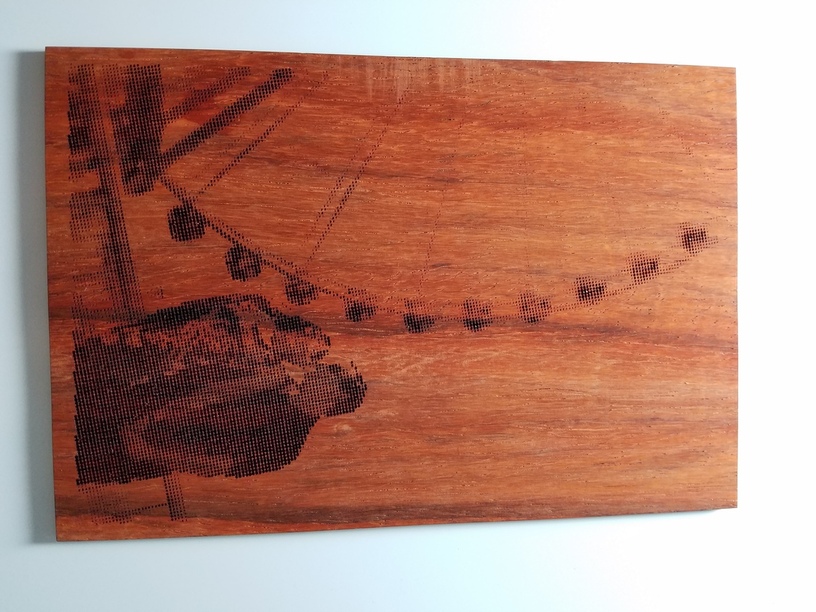
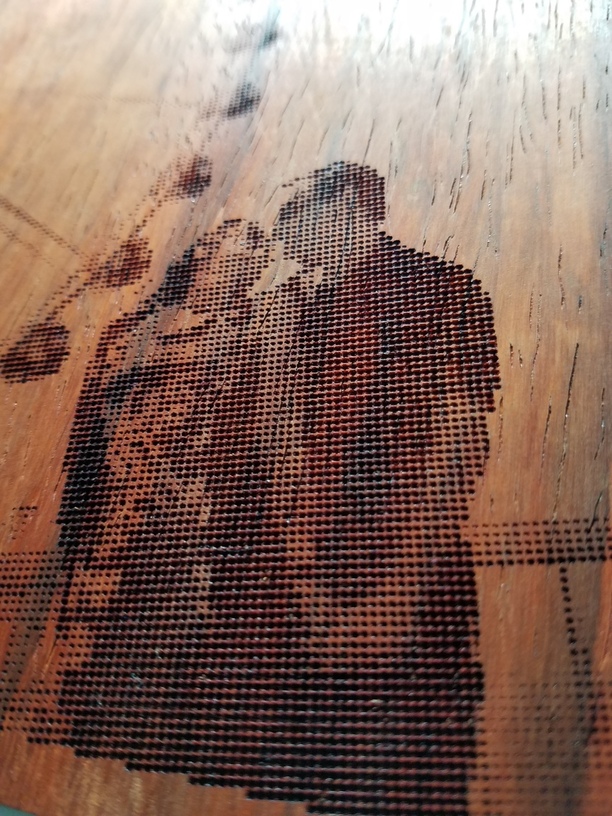
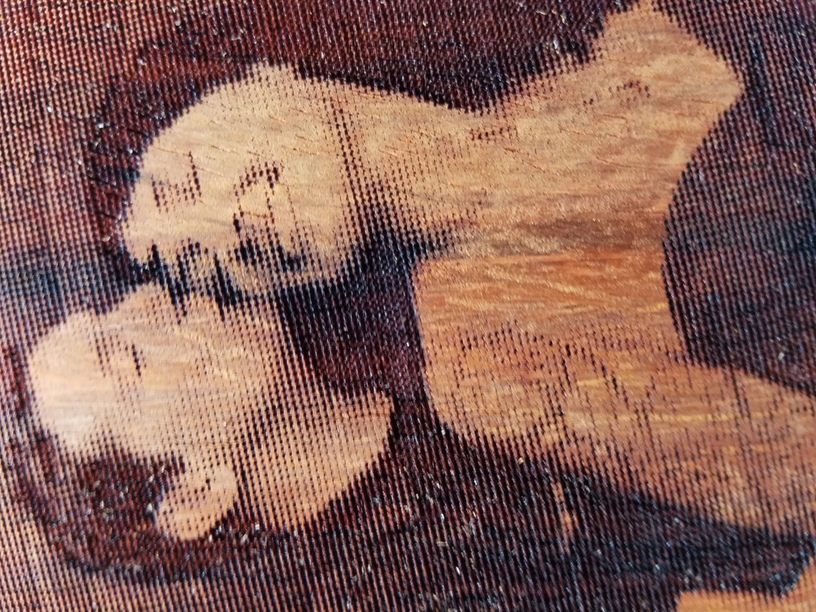
I wasn’t to thrilled on the results of 03 (just very plain and as a test I learned from it), so I flipped the wood over and engraved 04 on the other side. :slight_smile:

04 engraving in the forge

04 finished engraving

04 close up with masking

04 close up w/o masking


04 final

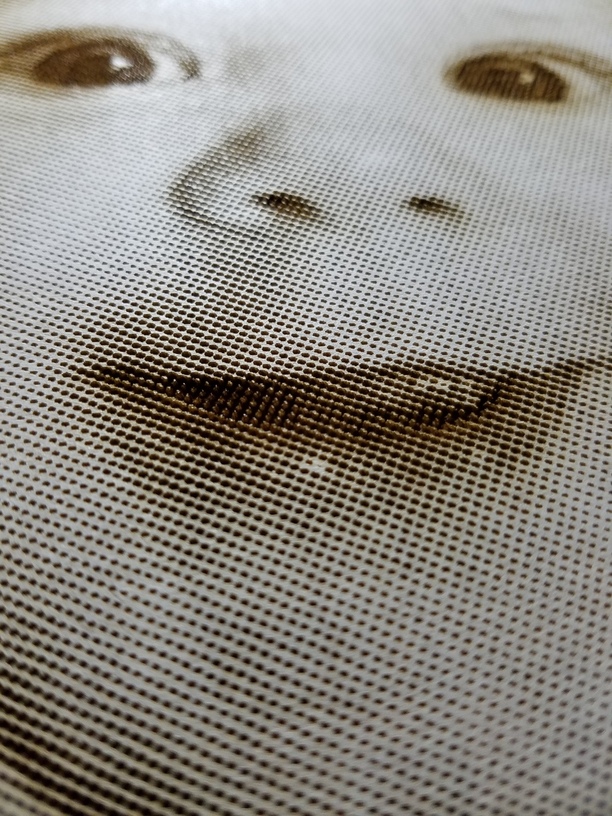
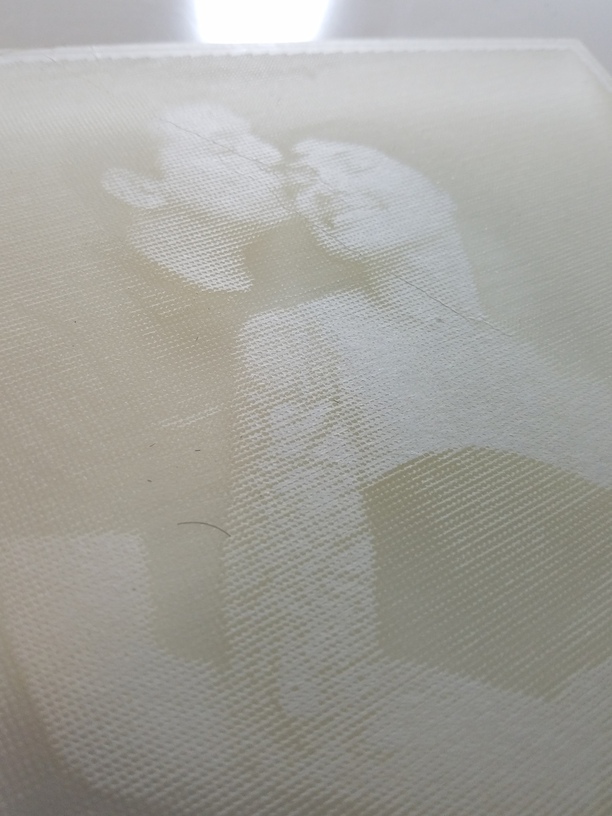
Results were very cool and exactly what I expected. But, it is VERY much a pain to get the little teeny tiny bits of masking out of the engraved surface. You can definitely see this in the 04 version just above. I need to figure out a better method as they are really stuck in there!

  • R
73 Likes

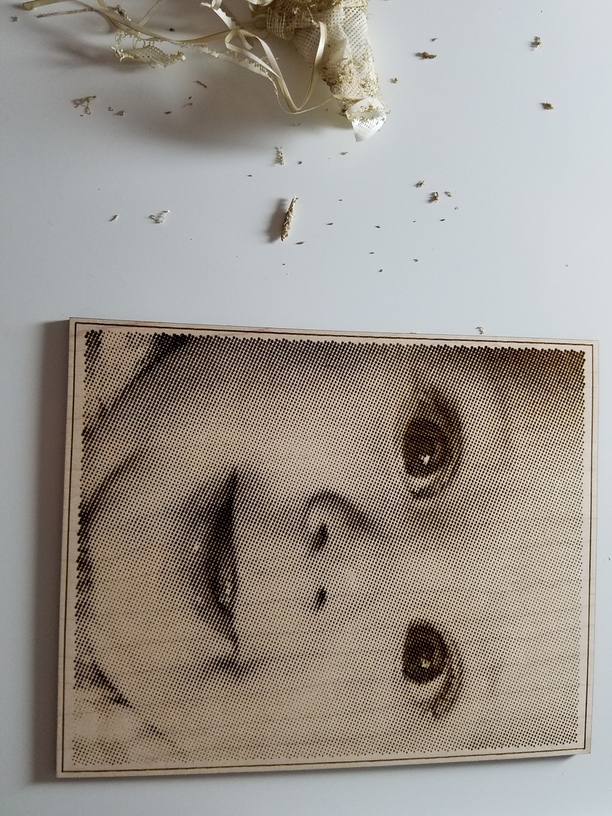
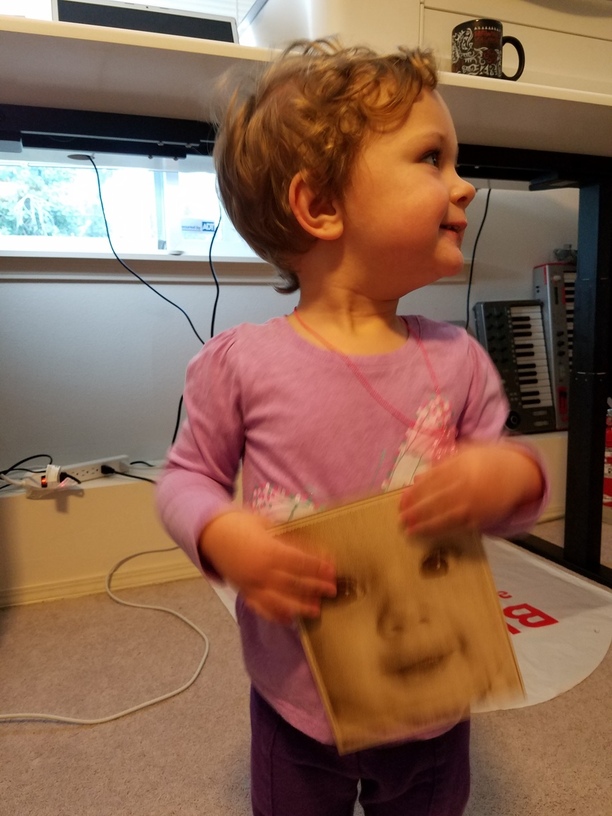
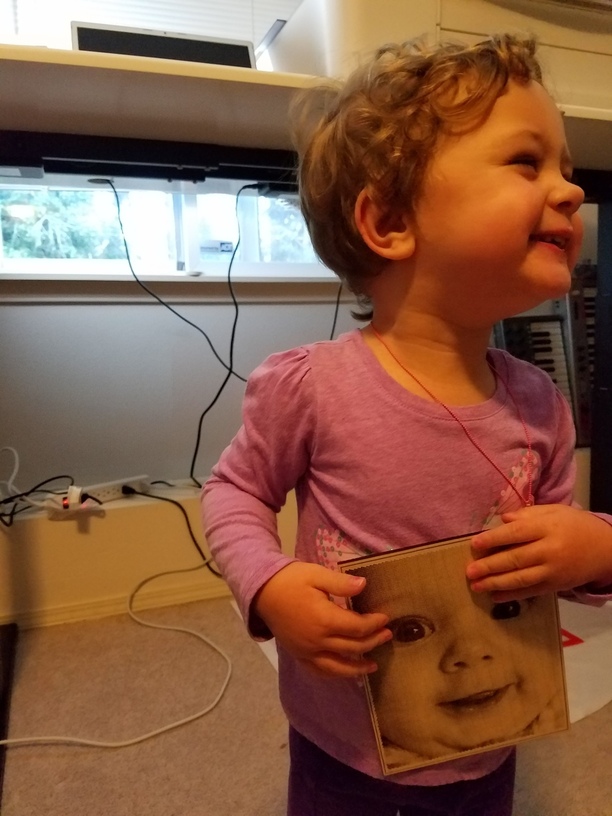
Packing tape … use it like you would a lint roller all those little pieces come right up. It didn’t work as well on the leather but for the wood it works great. I really like these!

24 Likes

Yes, tape helps a ton. I have been using some gaffers tape which is usually good about not leaving residue, but still having strong adhesion.

Looks great. I’ll have to check out that tool.

10 Likes

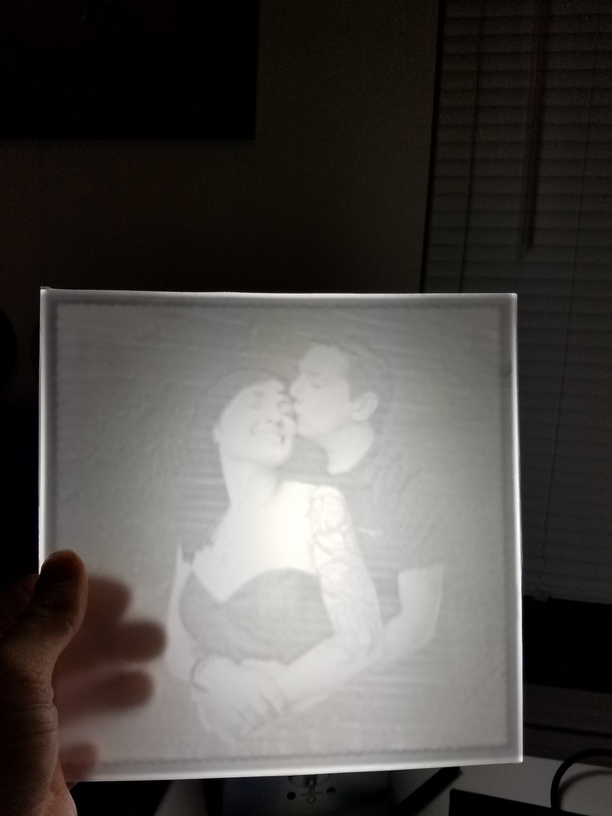
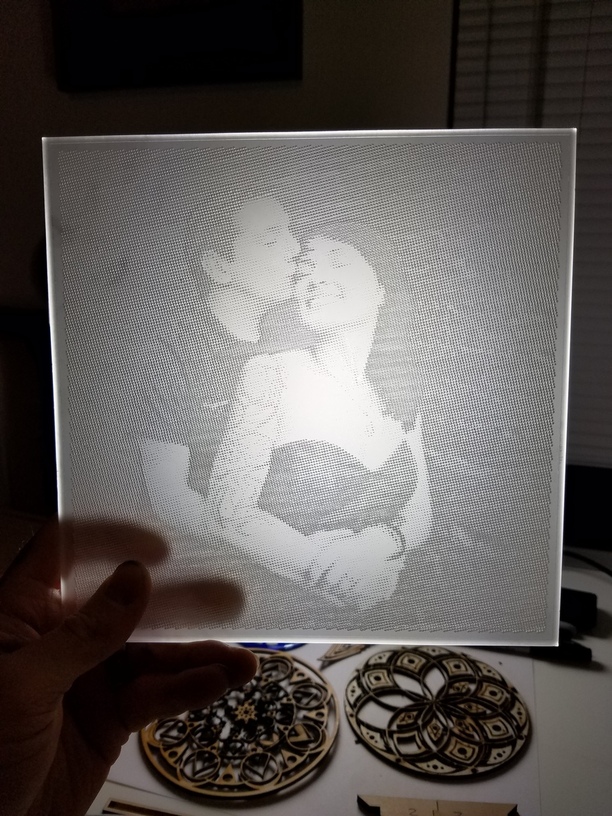
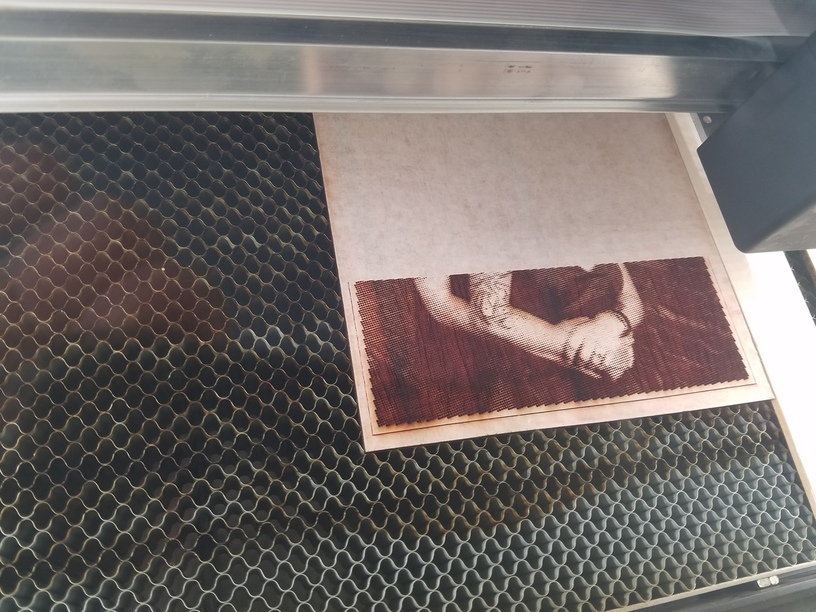
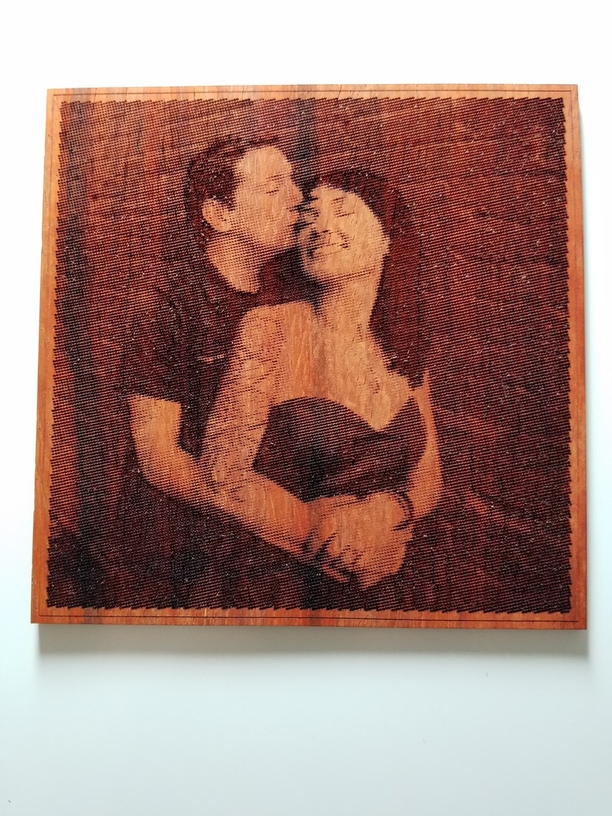
We’ve been waiting to show off some of our photo engraving until the very latest raster code is fully baked, but I gotta say, you’re doing some pretty amazing stuff with what you’ve got! :slight_smile:

30 Likes

What about using the black gorilla tape to remove the masking? I think @dan may have mentioned that in an earlier post.

5 Likes

Very cool project! Thanks for the details.

4 Likes

How long does it take to laser?

6 Likes

Wow…gorgeous job! (I can see why folks have been all in the air to see the photo engraving…it’s a pretty cool technique!) :blush: :squeeee:

Squeeeeeeeeee!

11 Likes

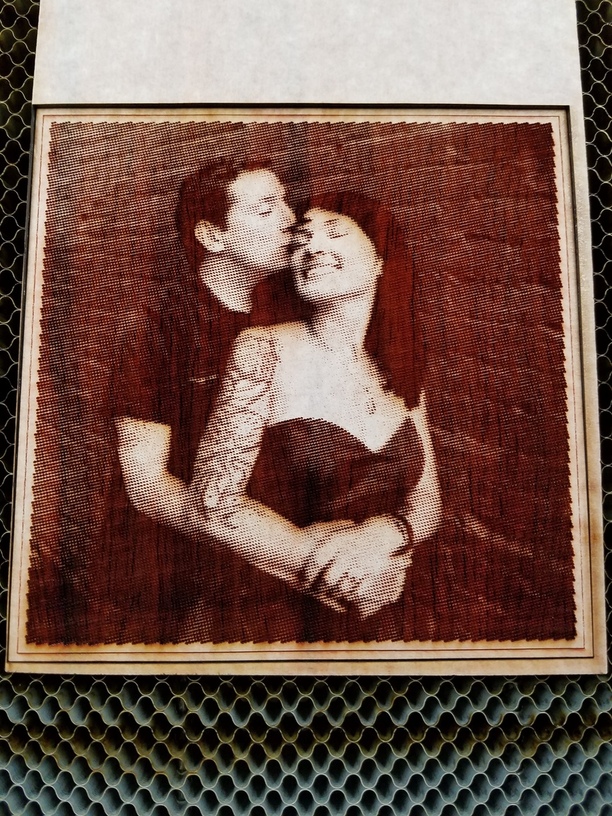
These are simply gorgeous! Very exciting to see and I really appreciated your thorough documentation of all the steps including any successes and failures. Thank you.

4 Likes

Also Gorilla Duct Tape (usually easier to find then gaffers tape).

6 Likes

Right. I used some duct tape I had, and also tried an actual lint roller, but some of the teeny tiny pieces are really stuck in there. Don’t think I needed to engrave quite so deep with power, so I’ll tone it down a bit next time. Just learning some settings and keeping a log of each one I do. :wink:

9 Likes

Yeah, gonna have to pick up a roll for sure

1 Like

I got mine at Harbor Freight with the 20% off coupon

2 Likes

That gorilla duct tape is intense! I struggle just unrolling it sometimes.

4 Likes

Beautiful!!
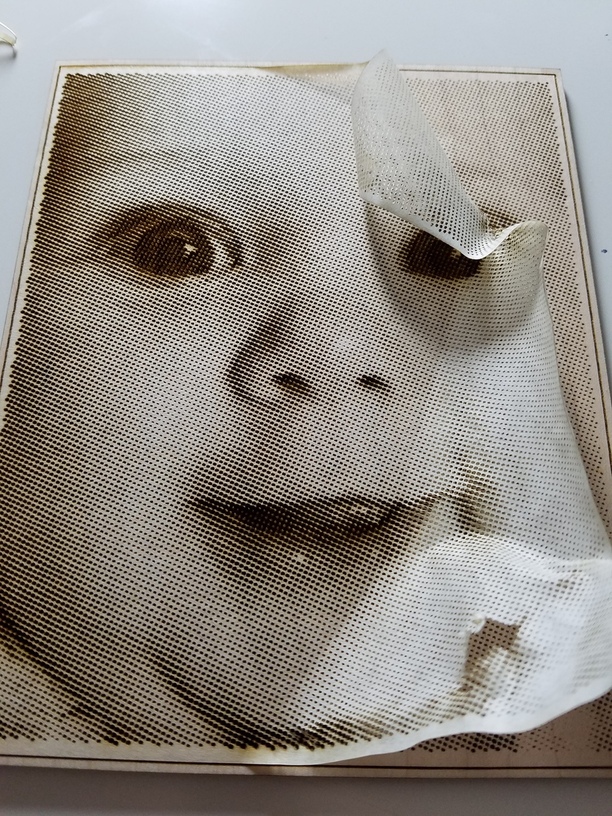
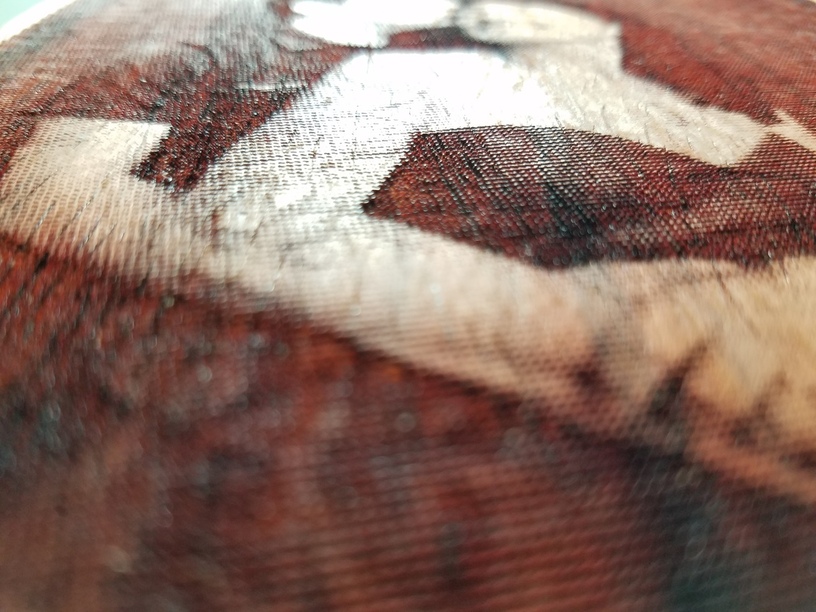
On a side note, I couldnt help thinking that it looks like a reptile shedding its skin when you peeled the mask off the first pic of, I assume, your daughter…:smirk:
Love how those came out.

7 Likes

These look great! Nice to see a demo of a feature I’m really interested in. Thank you for posting it!

5 Likes

Wow thanks for all the pictures and time it took for you to document your process!

They all look wonderful :grin:

5 Likes

I wonder if you could use the silly putty like stuff that’s sold to clean the nooks of a keyboard?

5 Likes

What’s the lowest-adhesion, lightest possible masking material?

1 Like

I haven’t tried it in a laser but I’m guessing some kind of painters tape, or that paper tape you see around sometimes.

1 Like