Beta Project: Photo Engravings

I decided to try and work with engraving photos, and test out some of the manual settings to see some differences and learn about the possibilities as well as to see results in different wood types. :relaxed:

I had already experimented with using halftone patterns to artistically reproduce photo imagery (Beta Project: Halftone Pattern Engraving), but these were still rasterized engravings from vector .svg sources. This would be straight raster (pixel based) .png images, converted to grayscale, and sent to the GF with a vector cutline around to cut em out after the engrave. :wink:


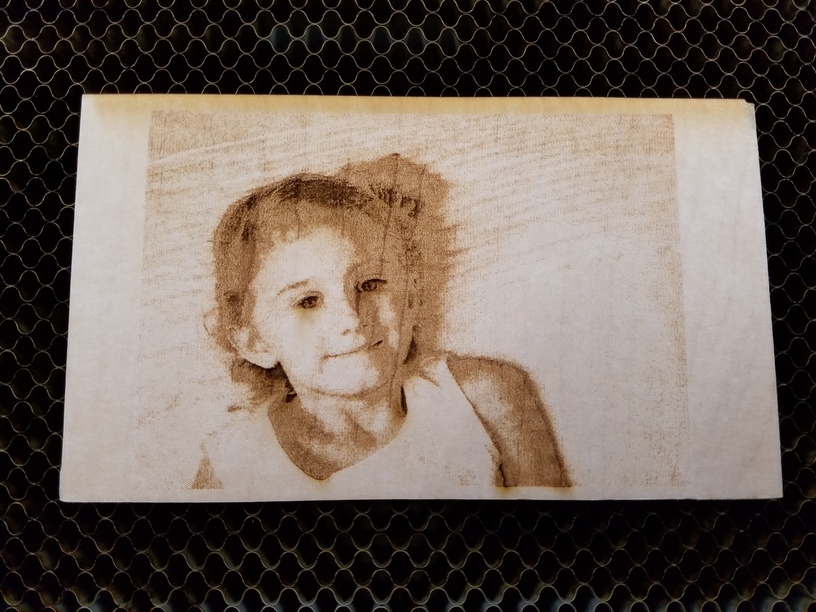
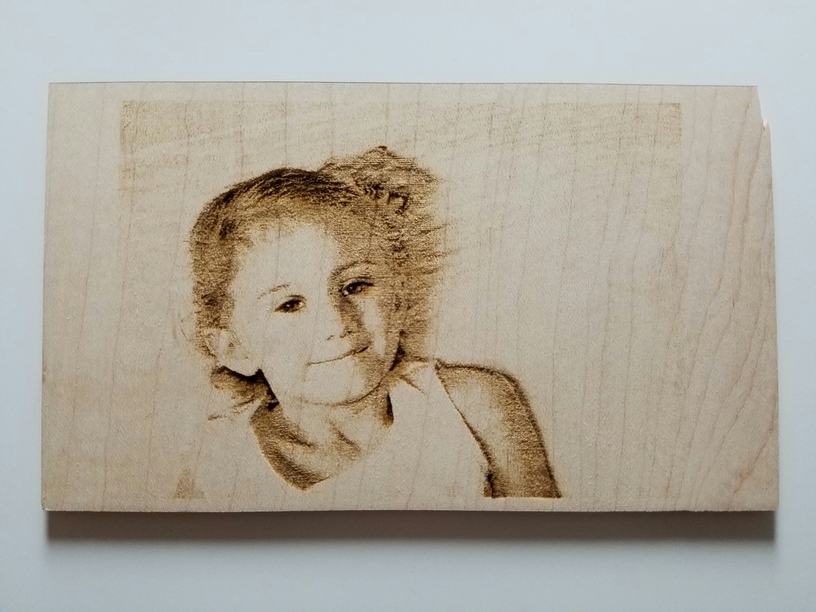
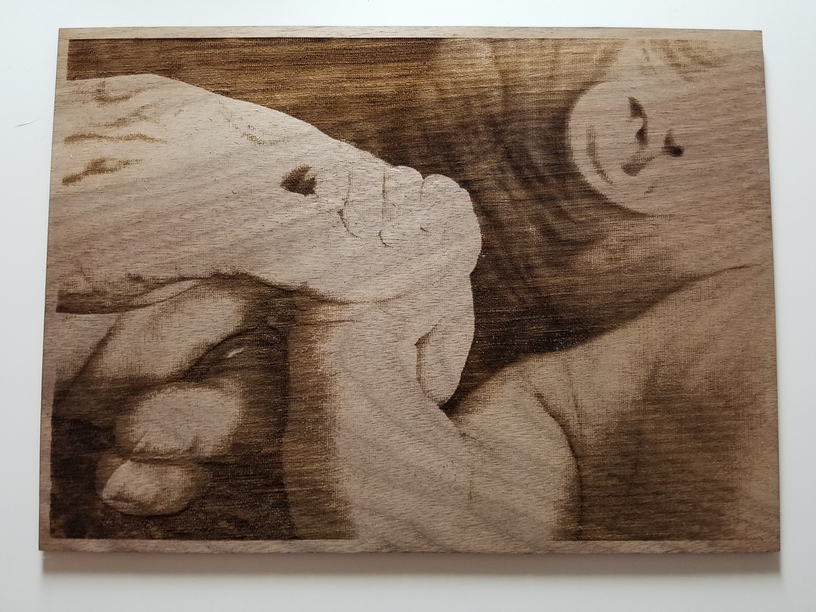
Here’s some shots of the first one I did. It’s just beautiful in person…

Just finished on the GF bed…

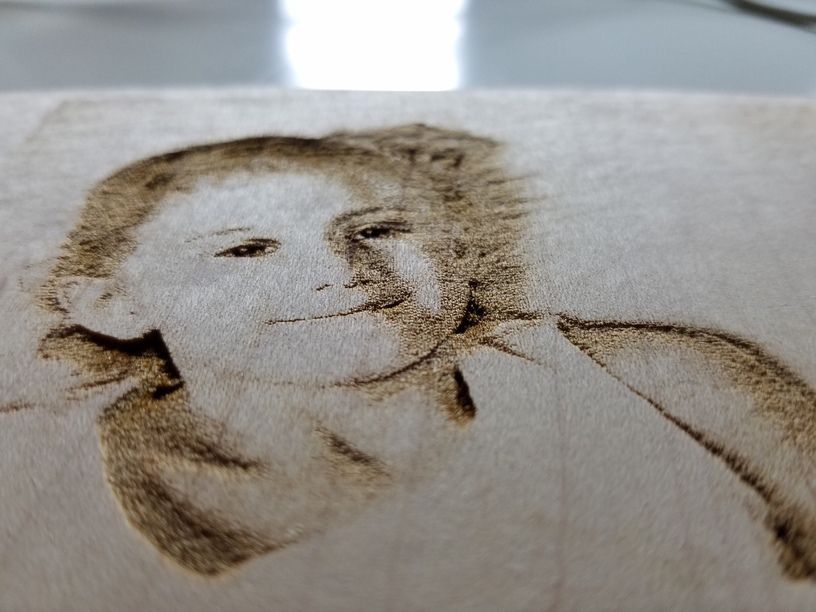
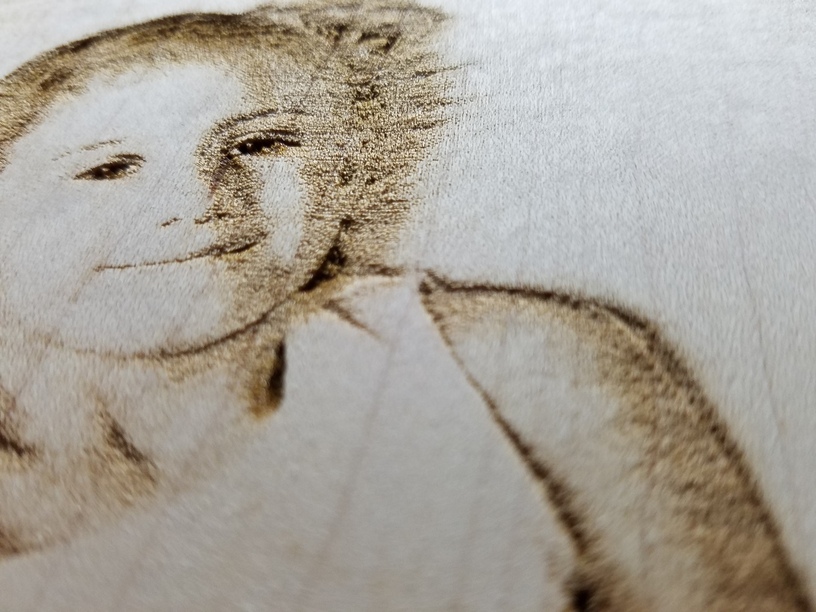
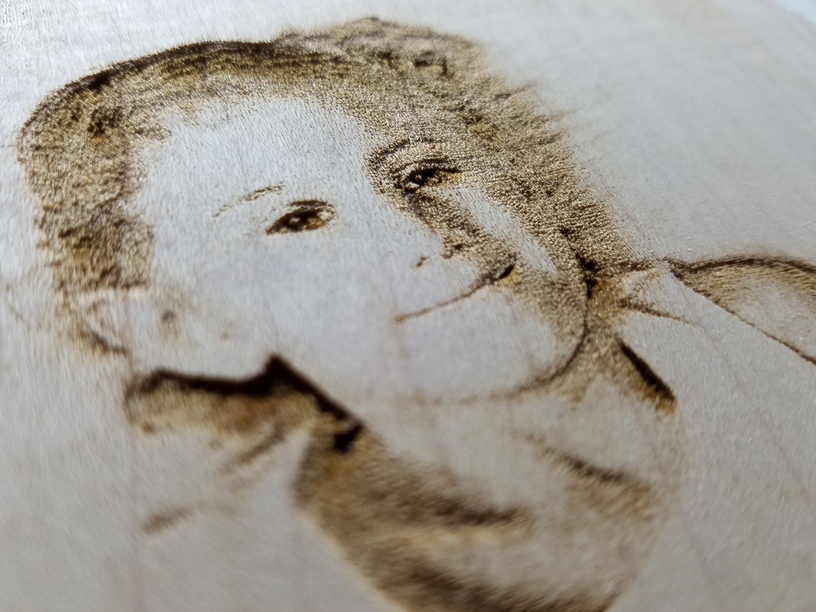
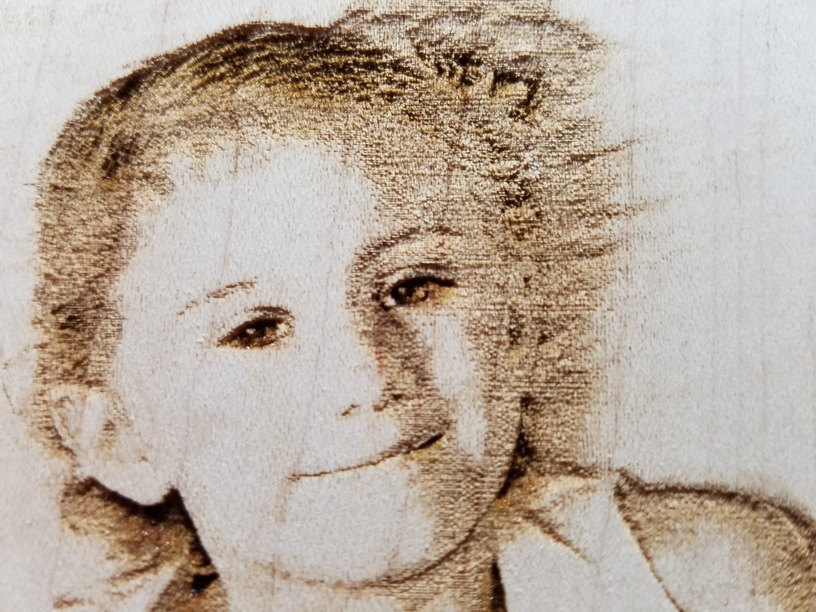
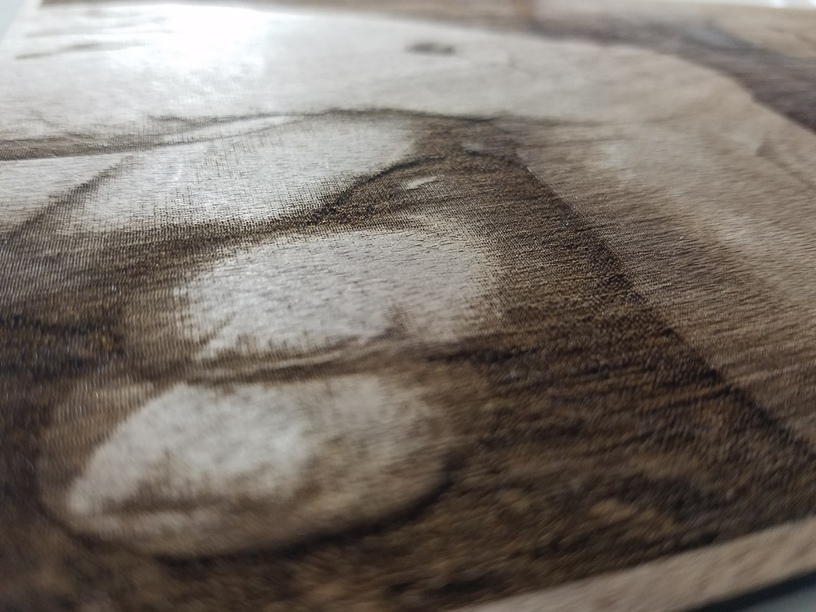
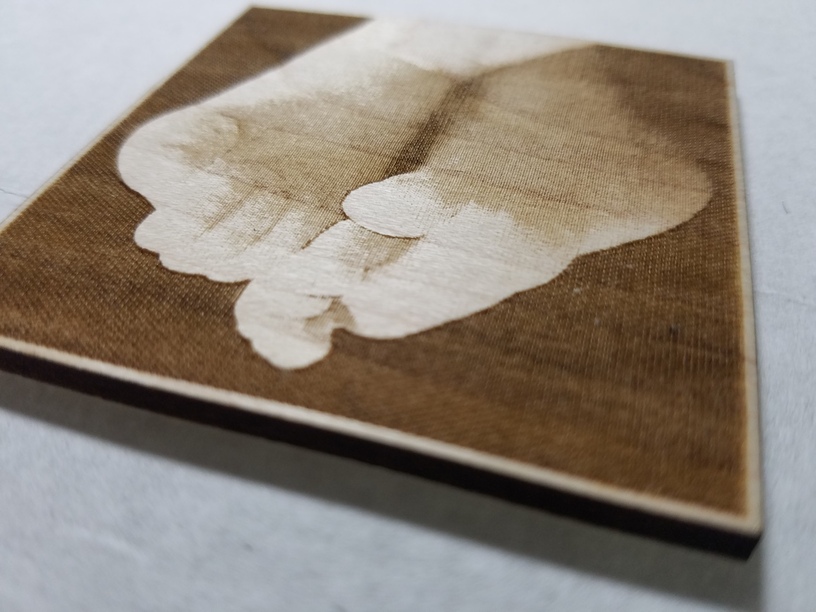
Some close ups with masking still on.

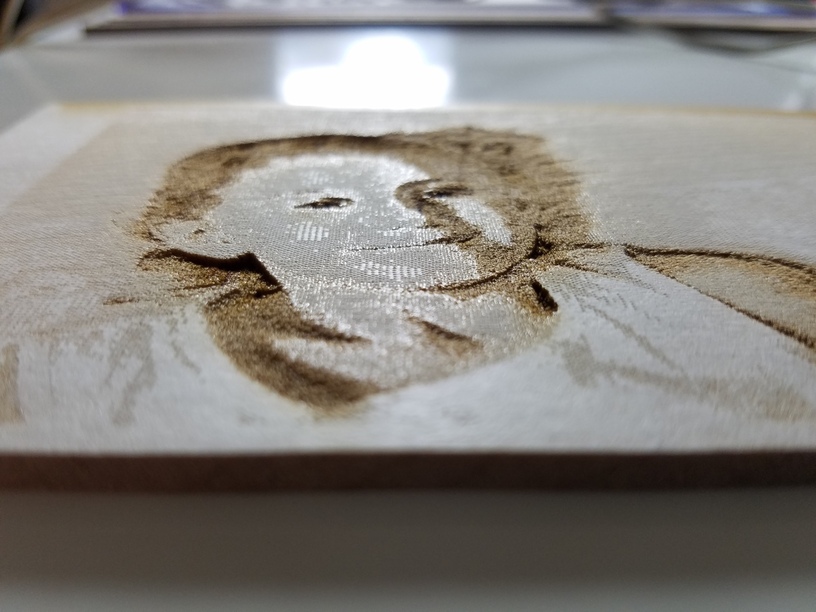
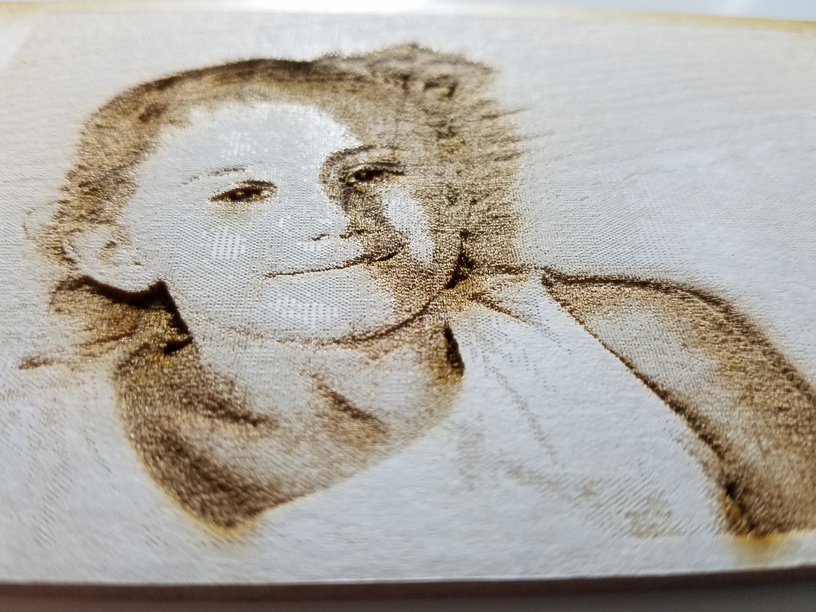
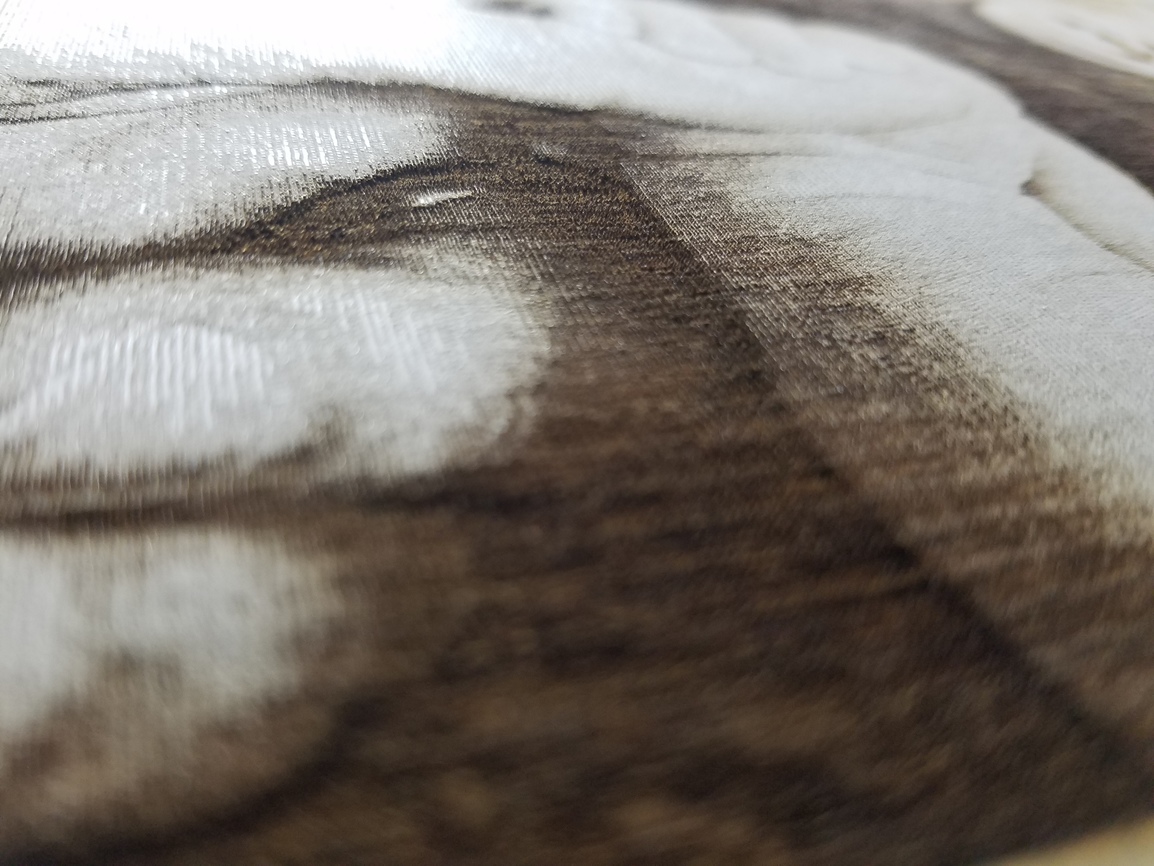
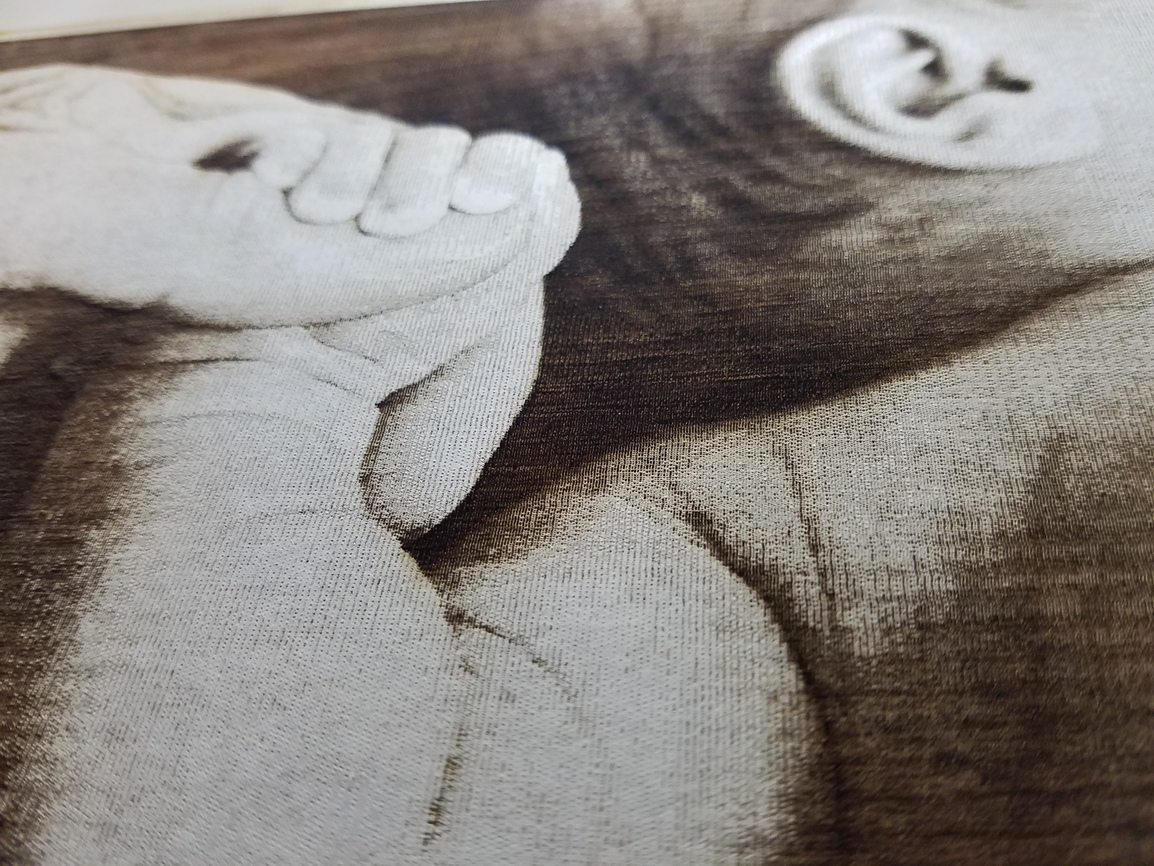
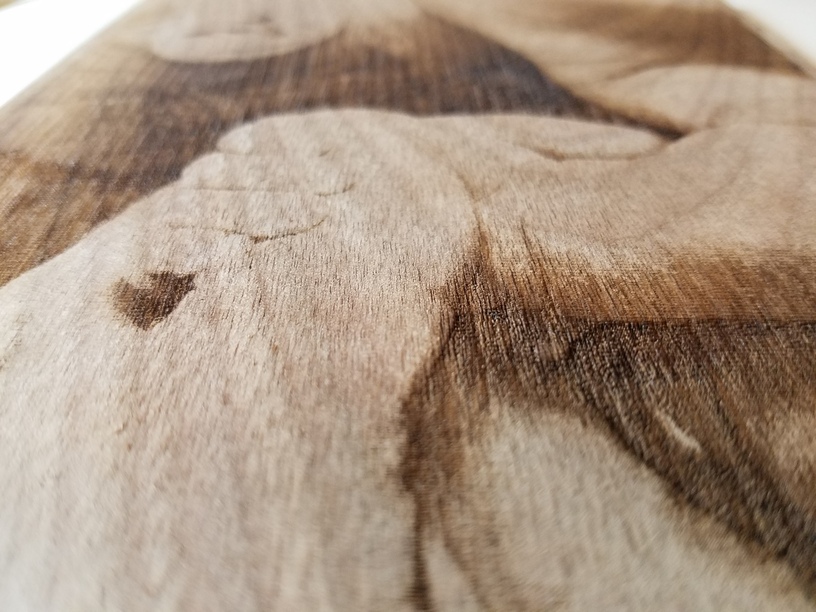
Closeup shots without masking. Trying to capture the actual depth mapping of the engrave. The darker areas are deeper and the contrast is impressive.

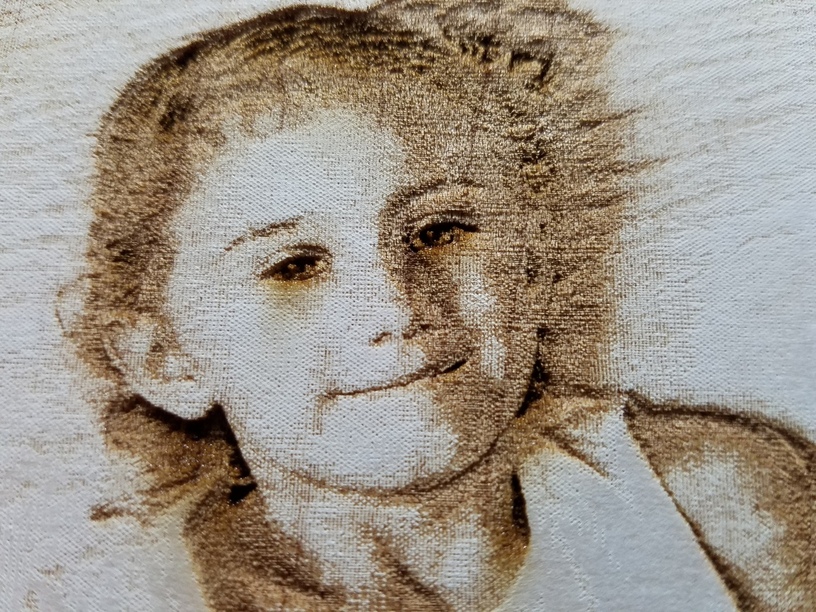
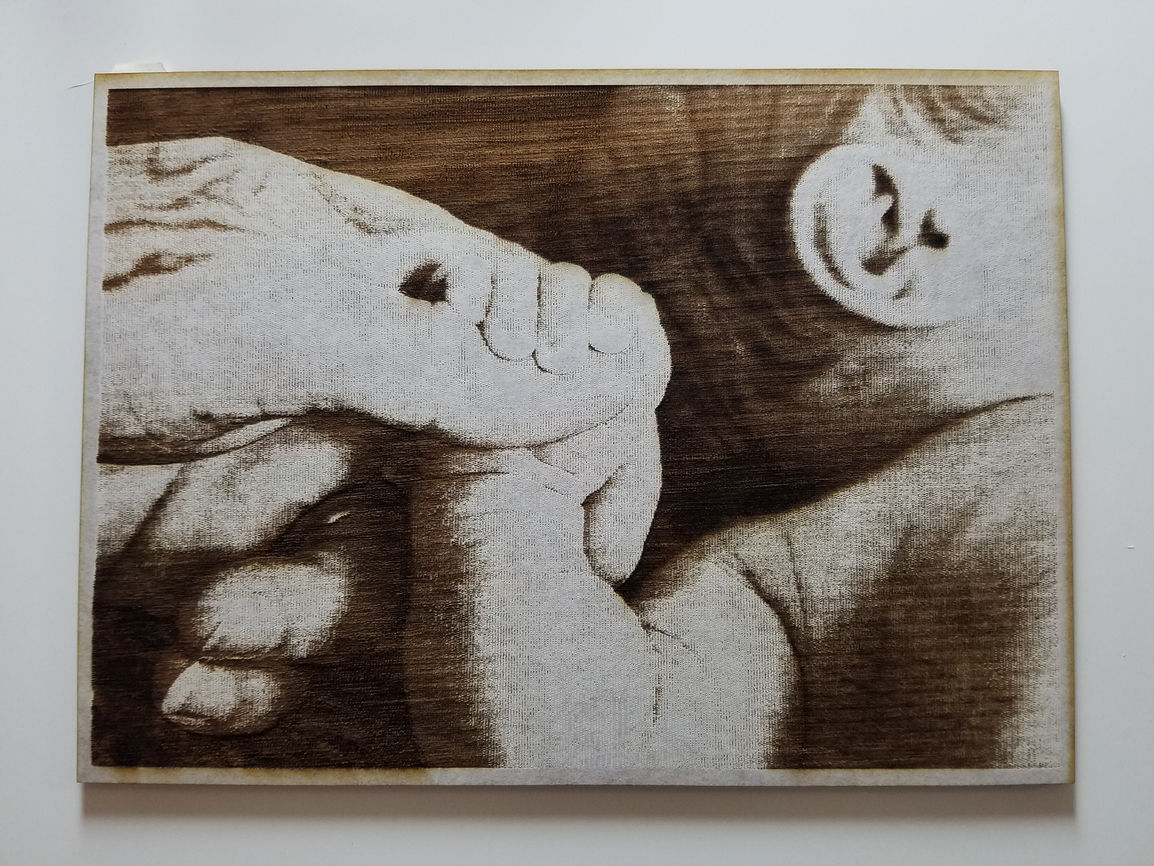
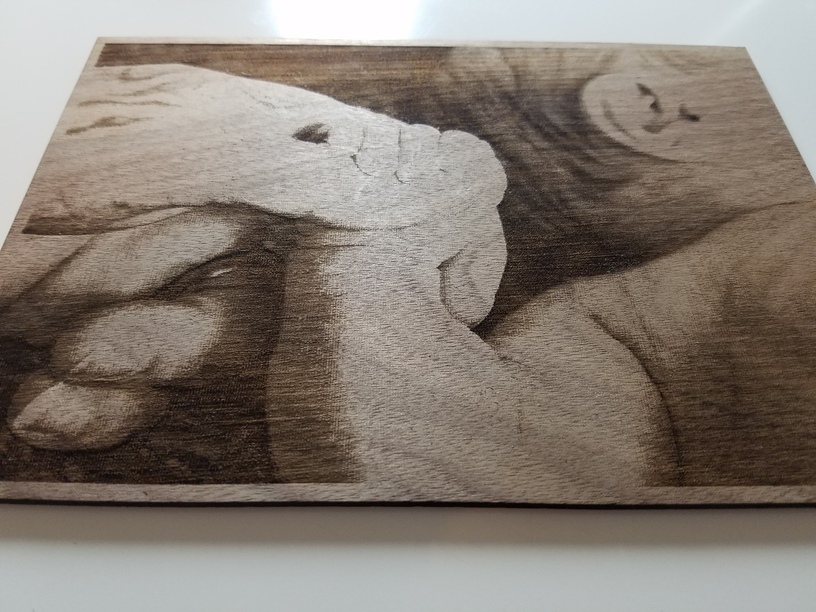
And a final pic of the finished piece and the original image. As this was the first test I sent, I used a scrap piece of wood and had no cut line in the project. This is a full color .png photo uploaded and printed straight from the GF. Using pretty low lpi and default settings if I remember correctly.

In addition here’s a quick time-lapse vid of the engraving!


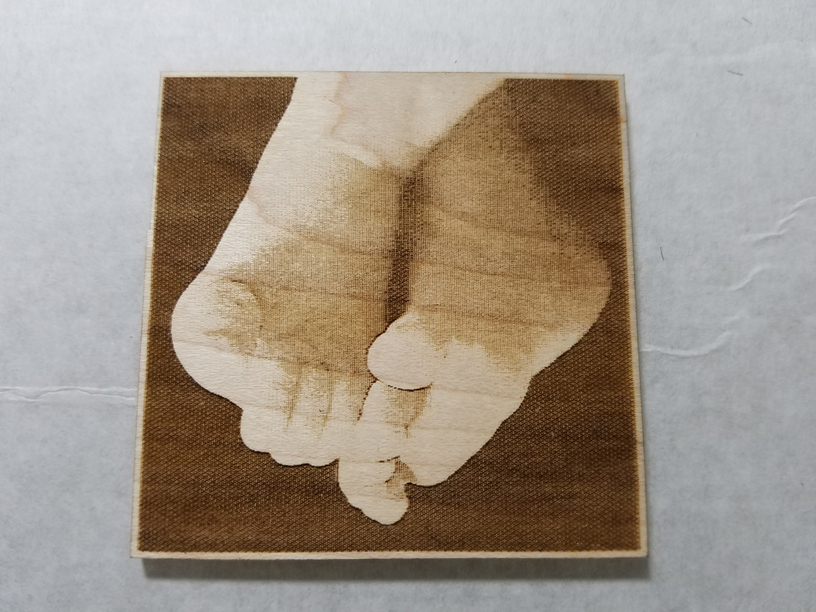
Here’s a 2nd one using slightly different settings on different wood.
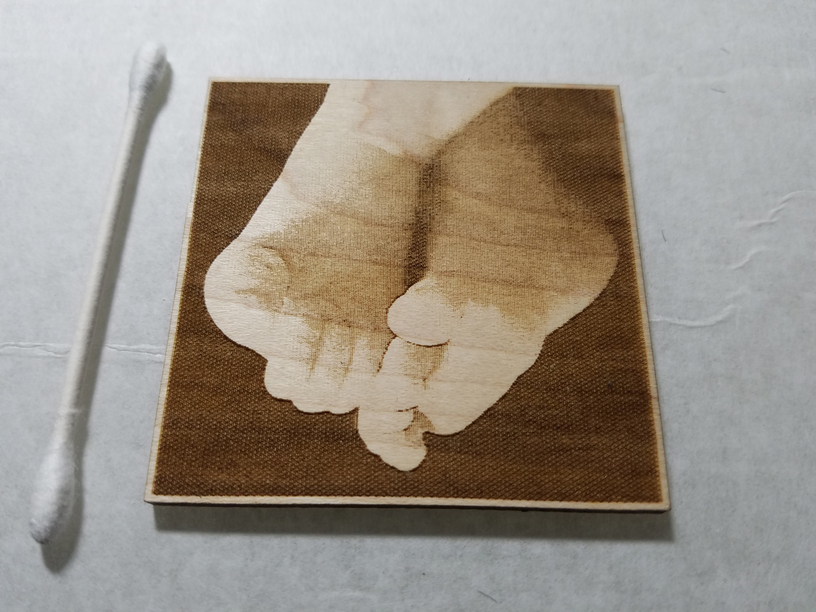
With masking…

Unmasked…


And a 3rd one… small and quick using low res settings


Have many more to try and other settings to test. It definitely does seem to look best on the lighter hardwood, with the contrast, but I plan on trying slower speed settings and higher lpi resolutions for darker/more contrast engraves on the other wood types to see how I can make them better.

There were others I tried but didn’t post here because I either stopped and cancelled them due to poor image choice (weird contrast issues?), or even using too slow of speed and too much burning of the wood and bad results. But, hey… I’m learning all of this anew and this is what beta testing is for! :slight_smile:

Thanks for checking this project out!

  • R
64 Likes

Amazing!

1 Like

lovely once again!

1 Like

Baby toes :slight_smile:
with the level of detail I wasn’t imagining the pieces only being the height of a q-tip. Makes it even more impressive

5 Likes

This is awesome. We’ve got some really cool new improvements to the way we do greyscale conversion, too, which will help make photos like this come out even better.

15 Likes

@dan, Question:
So, with the improvements, can you just upload a color or black and white photo and hit print for quick results? Or will you need to muck with it in Inkscape/Illustrator/etc. first?

4 Likes

You can, but for now, you’ll get better results boosting contrast & sharpness first. Our new software improvements will give you higher resolution & better looking grays.

17 Likes

That makes me so freaking excited!

:squee::squeee::squeeee:

6 Likes

Gosh, simply amazing texture, and your original photos are gorgeous!

4 Likes

Great to see these! I’m really looking forward to making a lot of similar gifts when my baby is born–the aunties and grannies are already clamoring for pictures, and I think they would love something like this.

5 Likes

These look pretty good man. Greyscale is tricky. You really have to almost create custom tonal profiles for each different type of wood you’re working with.

I know I’ve had to do a number of test gradients first whenever I’m using a new type of wood.

I think this is where a huge benefit of having proofgrade is going to come in. It’s really easy to burn through so much material getting your settings just right for materials when doing photo engraves.

10 Likes

That sounds fantastic… I know that is probably the most asked for help issue…to prepare a photo for engraving correctly. It’s not always easy…if you have software that can help…that will be another huge plus!!

4 Likes

That’s some nice detail in the engrave. Cute baby toes!!!

2 Likes

Try reversing the image (blacks to white, white to black). Sometimes a reverse image shows up better on dark materials.

5 Likes

Love it. I want to do some photos soon…lol

1 Like

Gosh, very nicely documented! Well-done work. Great subject. Nice positioning on the small square in the video clip.

4 Likes

Awesome Engraves!!! :squee: Can’t wait to be able to do engraving!

1 Like

I’m going to be honest here…this doesn’t quite meet my expectations.

This isn’t very high detail at all.

With the same photo, how does the image appear across dissimilar materials?

Do you find that mostly dark or mostly light images work better with certain woods, acrylics or other dense materials?

Using materials (specifically woods) that have grain or texture, does orientation/directionality/density works better with the etching parallel, perpendicular or diagonal?

It has been said many times here by Dan that the Beta users are asked not to answer questions from the forum. Only the pre-Release owners are not bound by an Non Disclosure Agreement.

1 Like