“All I’m saying is perhaps If you don’t like something you should find a more tactful way of saying so”…………
Few minutes in SketchBook, many, many more hours in Inkscape and countless visits to the matrix (thank you all!) and google, more hours lasering and inexplicable amounts of skin covered in felt tip pen….
“Do they do a sharpie colour called “Will To Live””?
“Maybe, but I think we lost it”……………
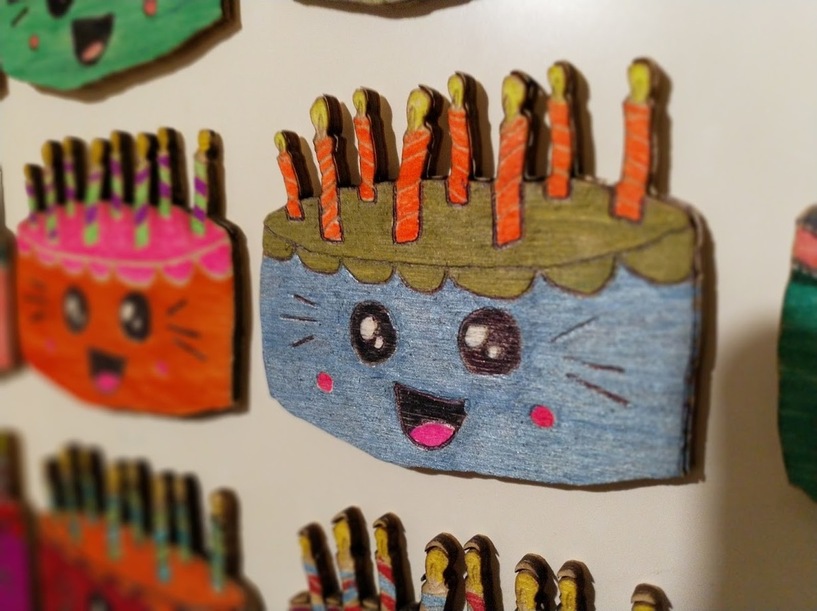
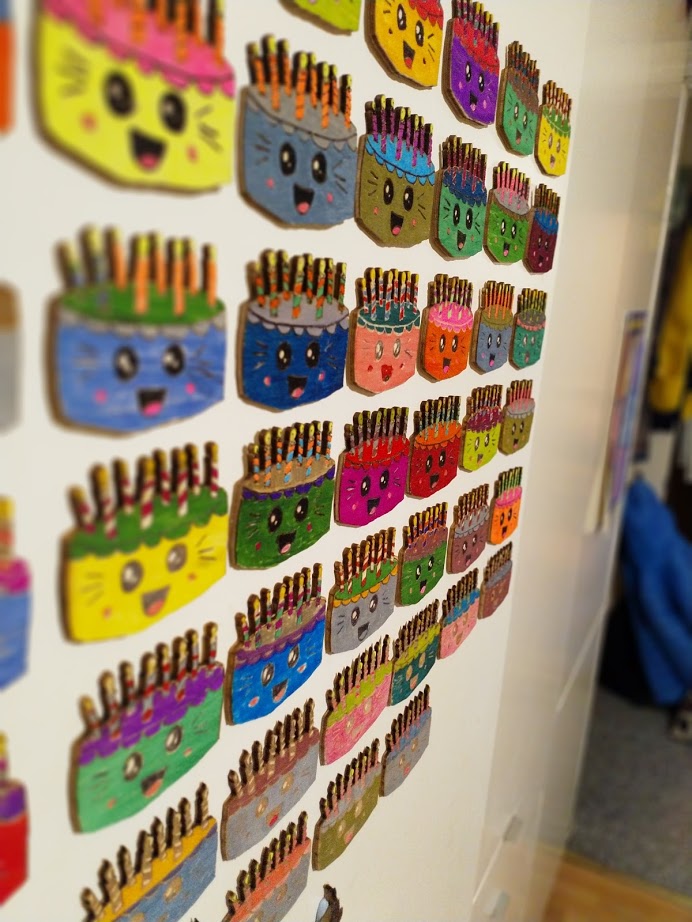
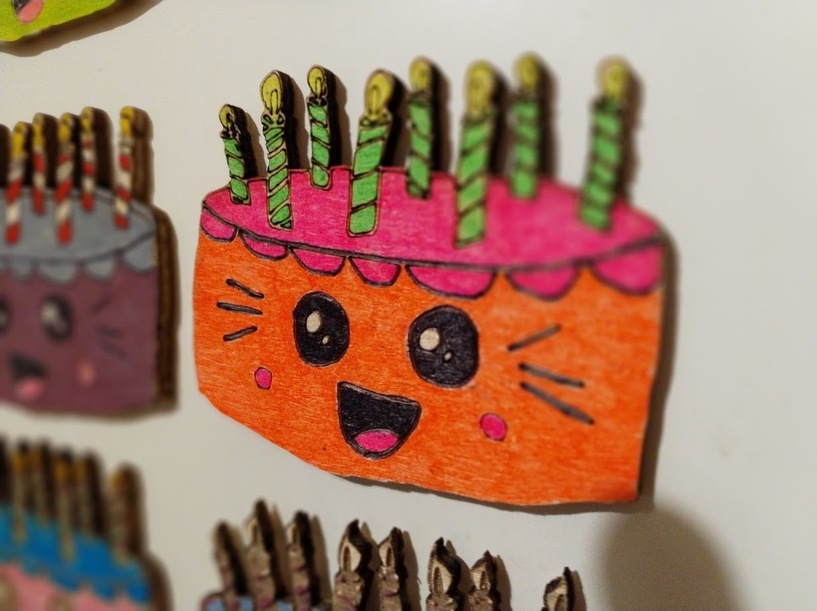
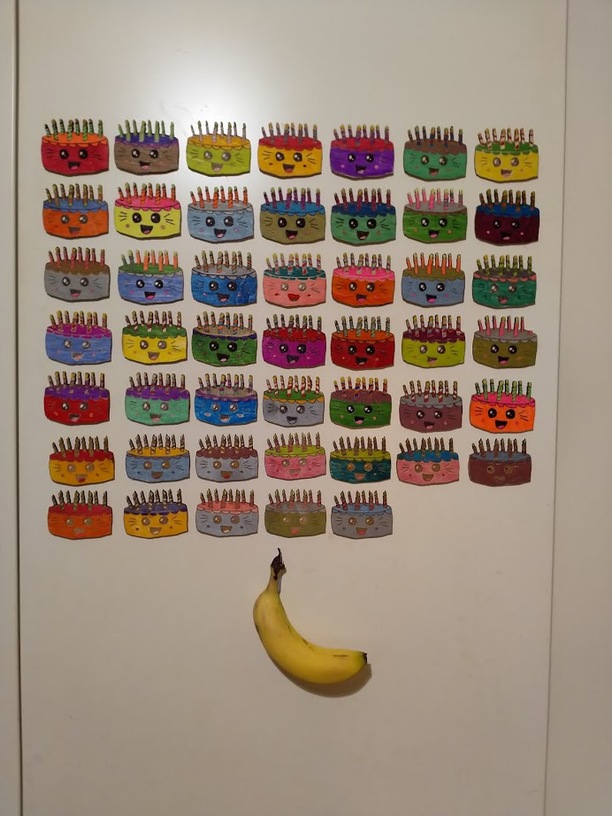
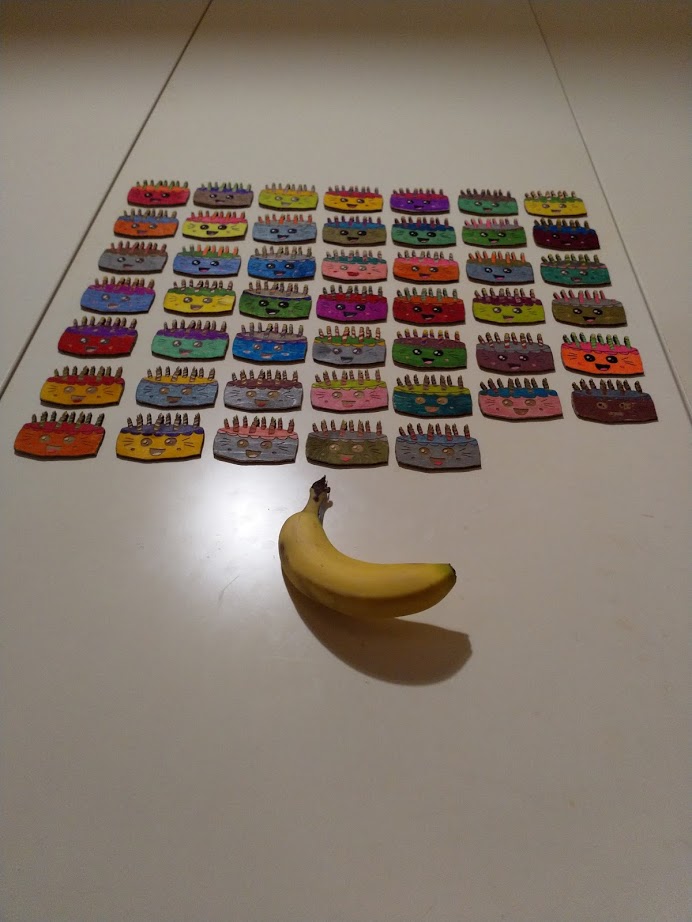
This took way too long even with 3 of us colouring in. I managed to do the lasering in batches of 12 and got the total time down from over 2 hours with engraving to less than one with the use of scoring in places. And still no real idea for a good setting for cutting 1/8 (3mm) birch ply (although I’m sure I’m close).
Suffice to say I’ve learnt a lot. I feel closer to nodes than ever before and my now intimate understanding of the trace bitmap tool is close to grounds for divorce.
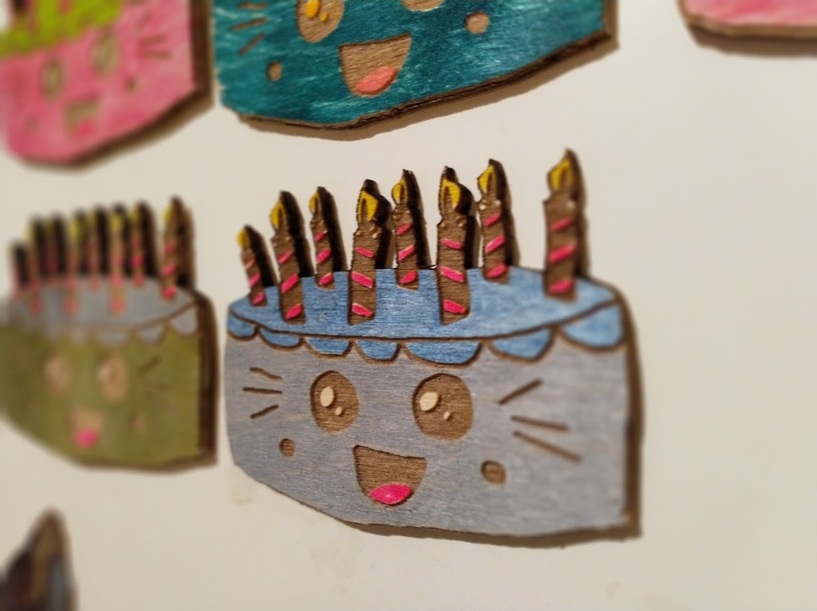
Oh and these are double sided with quite a bit of engraved text on the back which is fun when your design isn’t symmetrical and you have to flip the whole piece and hoped you lined everything up properly.
So I know you want to hear this now, after the project is done. And mighty fine job may I add.
Isolate the cut, flip it using Object → Flip Horizontal. Center the back engraving on it. Place cardboard in the glowforge and cut out the shapes. Then insert your flipped cakes and do the engrave. If you use colors properly you can do it all in one big overlap.
@caribis2 Pro tip! I really do want to hear this stuff and a brilliant explanation, I could really see it working in my head!
It wasn’t that bad in the end, got everything in one file and did the maths in Inkscape so I could flip the whole board and everything lined up. Your way seems a lot easier though.
Don’t go looking for the kids youtube tutorials on how to draw this style or face, with the overdubbed music it’s the stuff of nightmares… but now me and the kid are graffiti’ing I mean responsibly drawing these everywhere!