I misdiagnosed my cable, and when I did get my replacement cable, it didn’t fix the problem, obviously. Well, I know that I’m not the only person who has had their circuit board give out, I figured I’d do a mini guide on how to replace the board this cable connects to, but keep in mind, you do this at your own risk if you choose to follow the steps listed here.
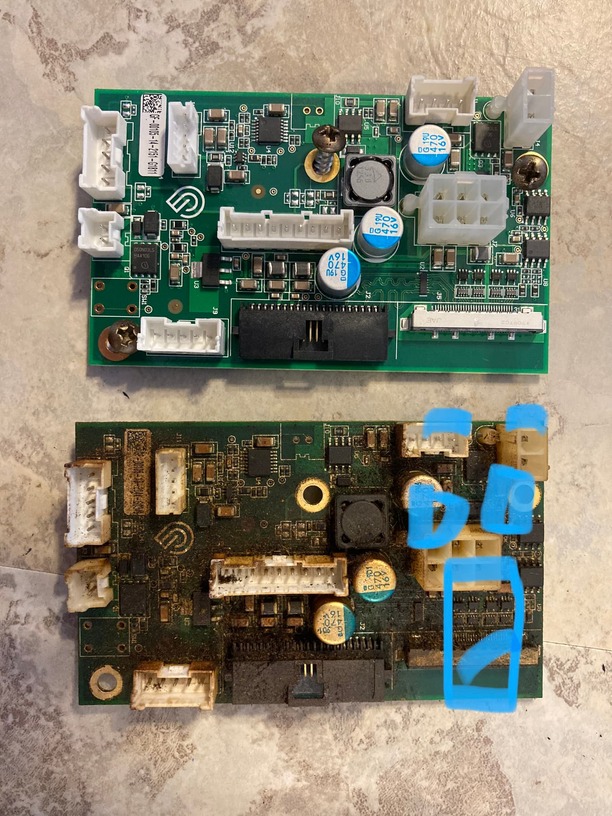
This repair can be considered a moderately simple task, and is honestly easy if you’re slow and steady about it. First thing is first, you’ll want to be 100% sure that the black ribbon isn’t your problem and it is in fact the circuit board, in my case, mine had corrosion so the problem was obvious once I looked.
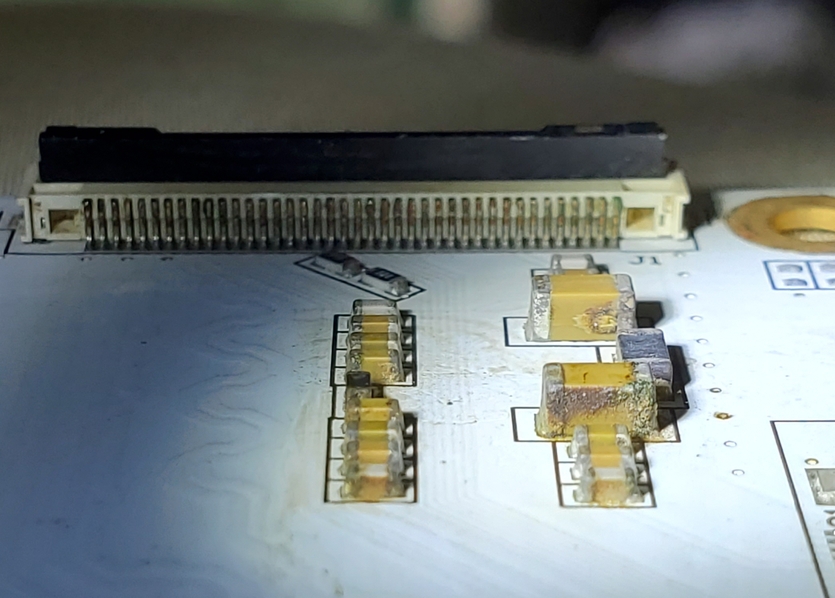
Yours may have something blown out and burnt, just inspect it the best that you can.
Now that you’re sure that you need to replace this board, check to see if Support is willing to send you the replacement, they told me that they needed to special order it, and it may have been an exception they made for me specifically, so this in no way means that you can get the part. Please do not reference this post in hopes that they’ll make the same exception for you. I wasn’t entitled to the part, and neither are you.
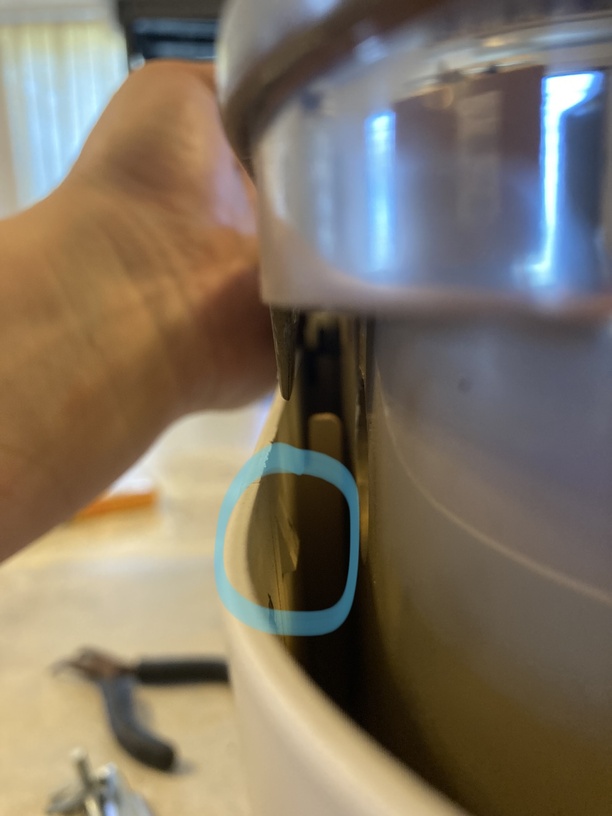
If you’ve diagnosed the part is indeed dead, and Support has confirmed that they can get the part to you, then we are finally to where we can move forward with this repair! Unplug the machine, then you’ll want to follow this guide to remove the glass from the right side: Exhaust Fan Removal/Replacement on the Glowforge - Technical - OpenGlow
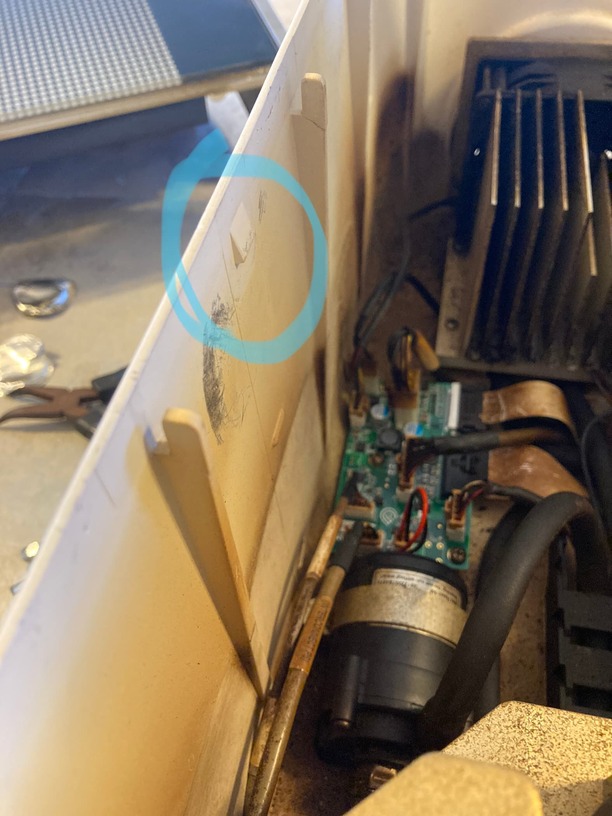
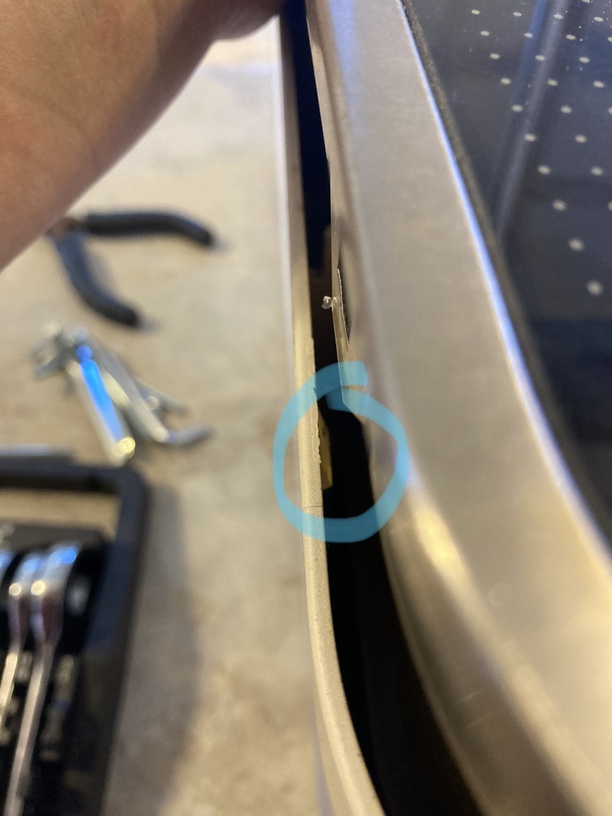
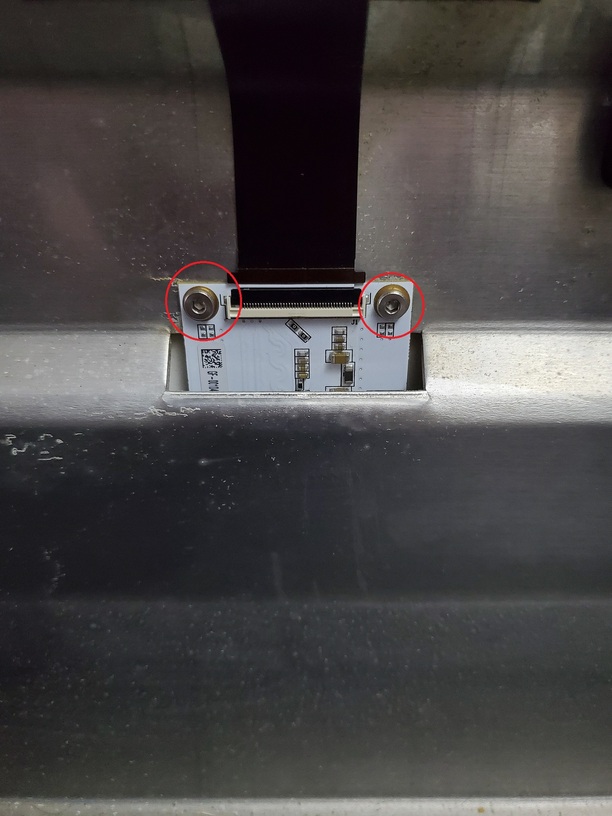
The good news is that there are only 5 screws that need to be undone to get to the cable. The three mentioned in the guide up above, and the two holding the board to the frame of the machine. The reason you’ll need to remove the right side is the cable that runs to the board, runs behind the frame of the glass cover. After you’ve popped the right side off, remove the black cable from the board, and then remove these two screws:
The same cable that runs behind the glass cover also runs behind the power supply; it’s adhered to the casing with double sided adhesive. It’s probably not necessary to peel that adhesive away, but it makes handling the cable easier. Keep in mind, this could put unnecessary stress on the cable by messing with it too much, but it’s more like the cable that connects to the head of the laser, rather than the black ribbon cable, so it should be a little bit more durable.
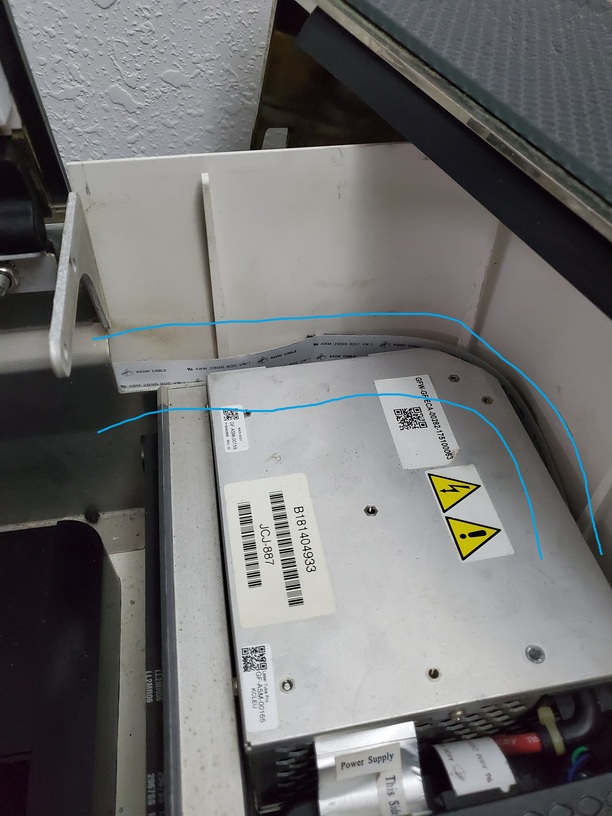
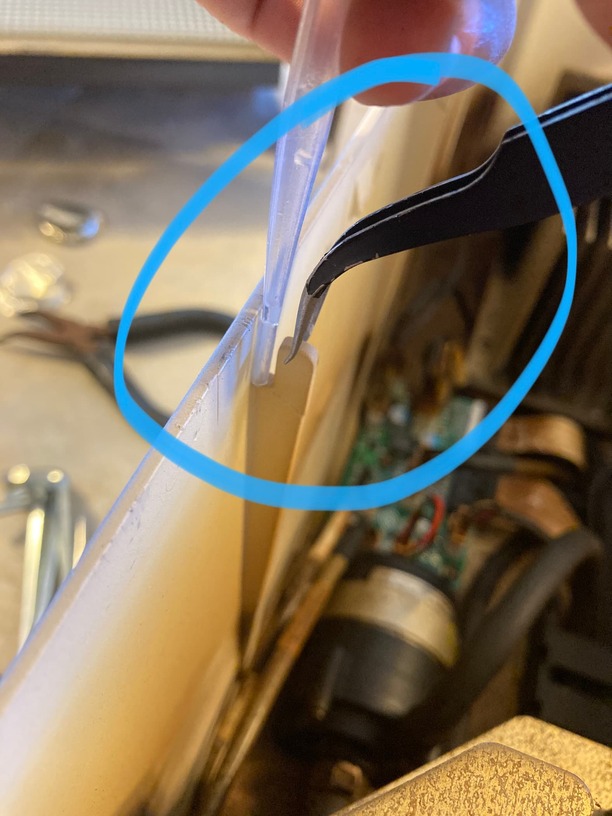
After the screws and black cable have been removed, the board will only be held in place by that semi-rigid white cable, which can be tugged on to snake the circuit board out from behind the structural framing of the machine, from there all you’d need to do is swap the new board for the old one and you’re done!
Before putting the glass back into place and screwing everything back down, I’d highly suggest starting the machine with the new board in place to see if your problem has been solved. This isn’t a guaranteed fix, as there can be any number of things going on with your specific machine, but it did fix mine, and so I figured I would share what I did in order to save some money on shipping and diagnosis. I was out of warranty, and if this wasn’t the part, then I would have only been out a little bit of money, but the payoff was well worth the hundreds I saved in doing the repair myself. It took about an hour or so to do, and I was happy with the results.
Anyway, maybe nobody uses this guide and it sits here for informational purposes only, that’s fine by me. I just wanted to make something that could be useful in some way, as well as make people be more comfortable with the machine that they have. It’s marketed as some sort of magic laser machine, but it uses real world parts that can be easily replaced if the user is willing. Good luck if you do proceed with this, and if not, I hope you found it informative!