I need help figuring something out. Idk if I did something wrong while printing but I downloaded a box template to make a lamp for myself. I finally got the glow forge to cut it out but the pieces won’t slide together so that I can glue them. I tried but they seem to be a very tight fit. The holes are too small to fit them in. Are we not supposed to resize them once we download the template? I thought that as long as you resize them within the program the template will adjust accordingly to fit. Where did I go wrong?
They are supposed to be a very tight fit.
A needle file can ease the leading edge if needed making it easier to set them together but too loose is much harder to fix,
Sometimes wood can swell a little bit with humidity too, but that draftboard deforms quite a bit. If you have a rubber mallet and a tapping block you can sometimes seat slightly tight tabs with a few taps of the mallet.
Finger joints and slots don’t work that way – the program will just scale everything the same amount, so things will end up not fitting correctly. If you scale up, the slots will be wider than the thickness of the wood. If you scale down, the wood will be too thick for the slots that used to be sized for it to stick through.
Well I wish I knew that. I thought it would work similarly to 3D printing and when working with a Cricut machine. Now I feel like I wasted materials trying to make this. Oh well!
The Cricut software doesn’t scale designs any differently; I’m not sure what you’re referring to there. On a 3D printer, you’re basically creating the material as you create the shape, so it’s not really a fair comparison. There’s no way for the software to reach out and change the thickness of your wood when you resize a Glowforge design.
I missed that part of the question before, but that is where you went wrong. I have made designs in a different thickness of wood than the one called out by scaling the entire design to the difference in thickness, but there can be no magic without mechanism, and even programs that will change the size or thickness of material and still work need the proper widgets understood and used.
In any case needle files and sandpaper do work if the problem is small and the material worth the effort.
So this is the template I used and I removed the design and added my own. Laser Cut Kitty Cat Night Light Lamp Free Vector cdr Download - 3axis.co once I uploaded this template to the glowforge app, I resized it making sure the whole thing was highlighted and then printed them out. How do I know if this template was made for 1/8 thickness of wood or 1/2 thickness or whatever? Also, the template came already in a specific size. Do I need to change the size within a CAD program before uploading it into the glowforge app to print? If so, how do I know I’m sizing it correctly to be printed? I think I can use a sand paper or someting to make the fingers fit better. However, there is a section of the print that I don’t think I can sand down. I was thinking of having that aread recut, which is why I was asking those other questions. Not just for my own personal knowledge as I continue to learn, but also to see if I can salvage what I printed.
Yes, you’d need to resize in a design program of some kind. It doesn’t have to be CAD, vector based art programs like Ilustrator, Affinity, Inkscape, Silhouette Business Edition work too.
The 3axis site just scrapes the internet for files, there’s little consistency. If the file description doesn’t say what material size a file is intended for then you’ll just have to open it up in a program and check the measurements of the slots and tabs.
If the resulting design is tight, it may be by design. I use such to make glue-less assemblies. Sometimes I need a soft mallet or of the gentle yet widely applied leverage available from a bench vise, a large clamp, or even a big set of plyers to get the joints to cooperate. Scrap pieces are often used to protect the product surface from my efforts.
Whoops. Resizing will adjust the width of the tabs and holes together, but will make the holes too “tall” if enlarged and too “short” if reduced. Your material remains the same thickness, so this can be problematic.
So how do I fix this issue? Idk how to properly size my boxes and none of the videos I’ve seen this far explains this. Unless if I’m over thinking it and over complicating it idk. I plan on filing down the areas I can file down. The part where I’m supposed to insert the fingers I plan to try and recut. Idk if this will work but I’m trying to salvage what I made and learn how to properly cut my wood for next project.
Filing is much greater effort but trying to follow extra cuts was very problematic. Where there is need I use a jewelers saw as it is close to the width of a laser cut, but it takes a fine hand to use it.
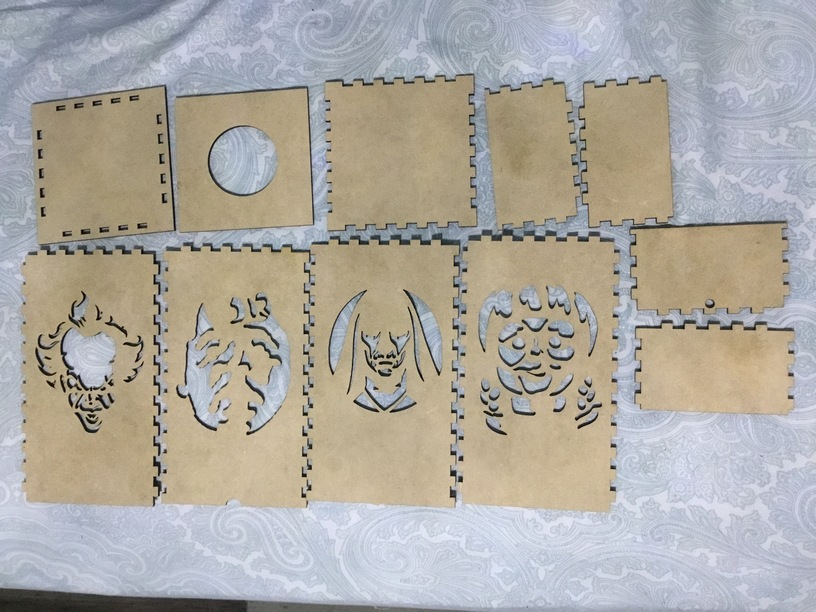
So I just wanted to stop by and give an update. I tried filing these to see if they’ll fit, and it turned out perfectly! Even the smaller one I had printed out worked fine. So I don’t think I really needed to take all of those extra steps to change out the box. I will try again with a different template and create my own design but filing down did help a lot! Thanks! I will post pictures of my finished product.