For the past few months I’ve been life-testing an original wooden wallet design. Actually, I’ve been testing it for more than a year, in various finishes—folks here gave me a lot of feedback on finishes—but I’ve been actively using the most recent iteration for about 7 months now. I’m now satisfied that it works well in daily use, so I’ve posted it to my new Etsy store. And of course sharing some images with you all!
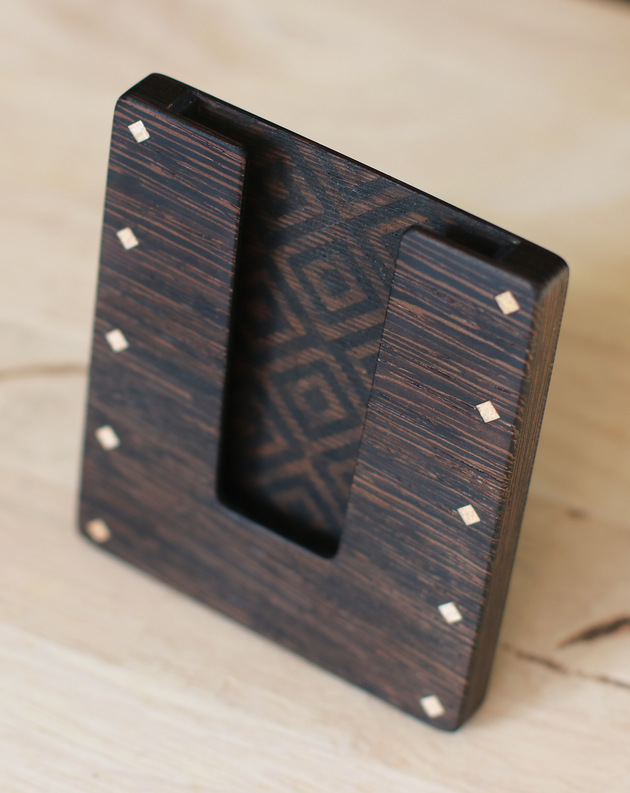
This version of the wallet is made of wenge and maple. I’ve also used purpleheart and bubinga, and will likely post a two-tone version in wenge/padauk next. It is really a card wallet; it isn’t designed to hold currency.
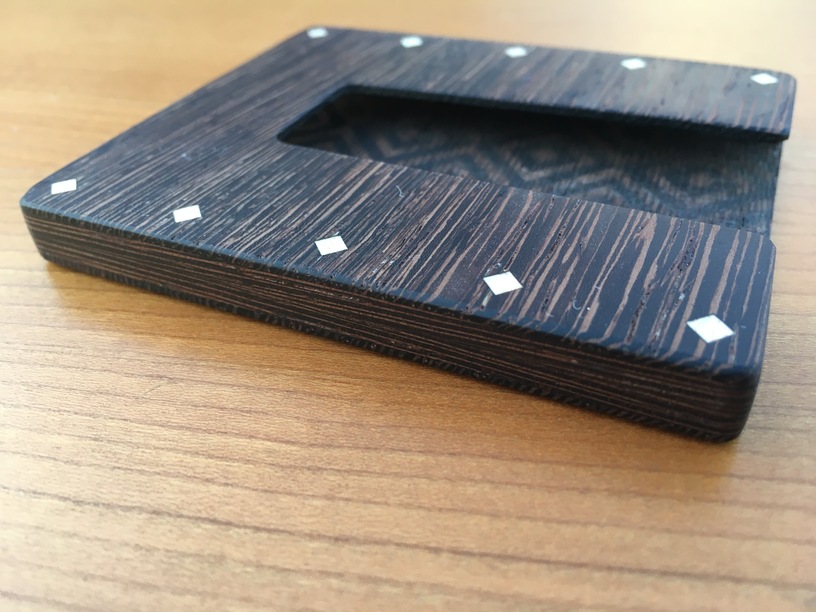
The wallet is held together using pegs or treenails (or trenails or trunnels if you prefer). In other words, slices of maple precisely sized to present a square profile. Because the thickness and sometimes the kerf vary by sheet of material, I use a parametric design file (in OpenSCAD) so that I can quickly customize cuts to each sheet of wood. If you’re not familiar, a “parametric design file” is code that specifies a drawing. The thickness and kerf of each different material is specified in variables, and the code ensures that the exported art file will produce the right dimensions. Here’s a sample from the file:
// Define material thicknesses
panelThickness = 1.61; // Thickest measurement, effectively used only for peg/treenail length
railThickness = 3.19;
pegThickness = 3.19;
foamThickness = 1.88;

// Define kerf for each material
panelKerf = 0.05;
railKerf = 0.085;
pegKerf = 0.085;
foamKerf = 0.42;
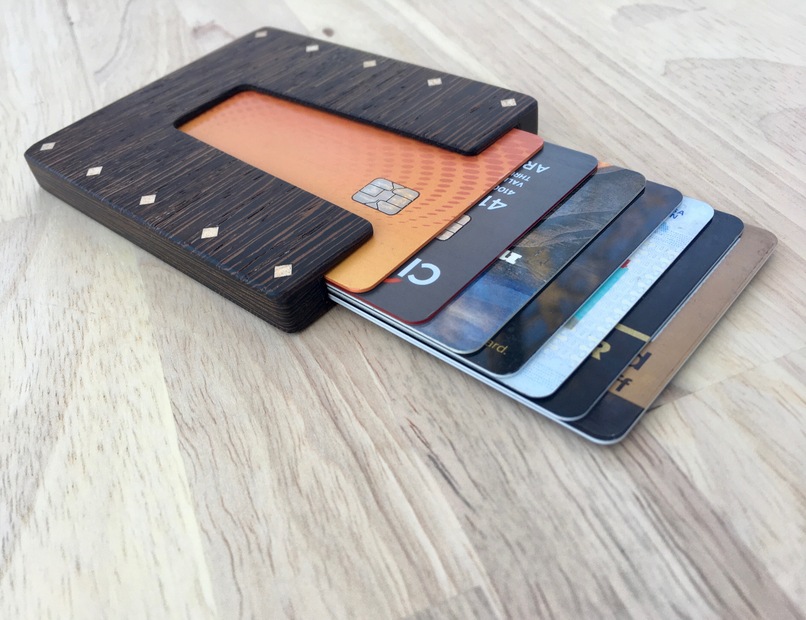
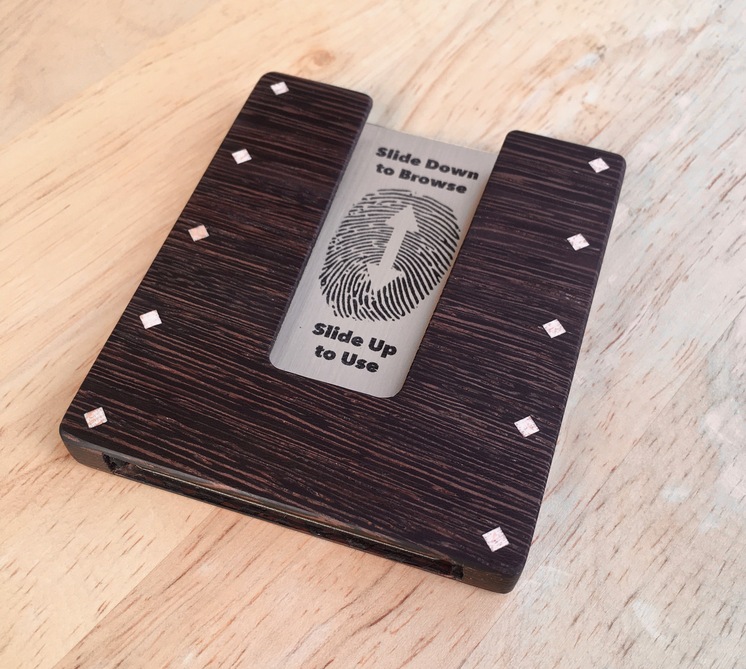
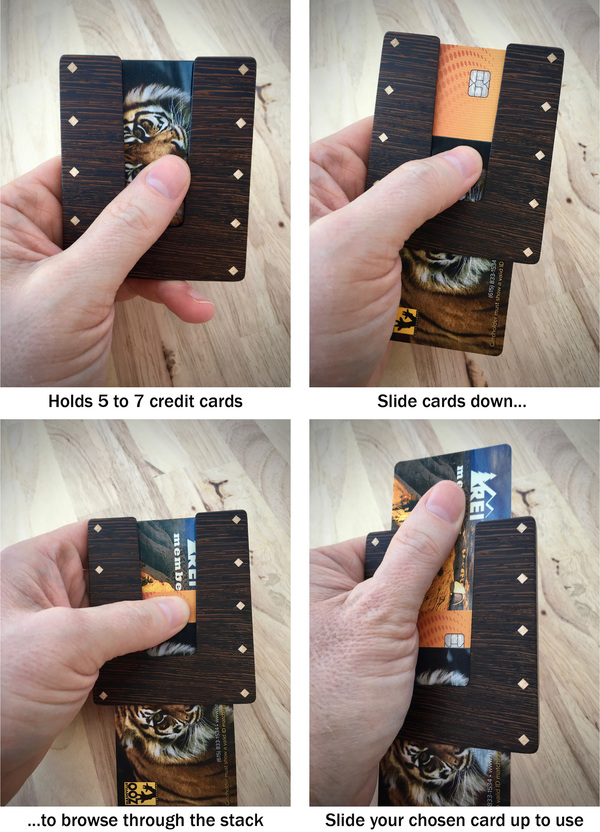
I call this wallet “browsable” because the cards are held in place by internal grippers (foam rubber bumpers), and these allow you to slide the cards with your thumb. To get the card you need, you browse through it by swiping cards down to find the one you need. Hopefully this image makes this clear:
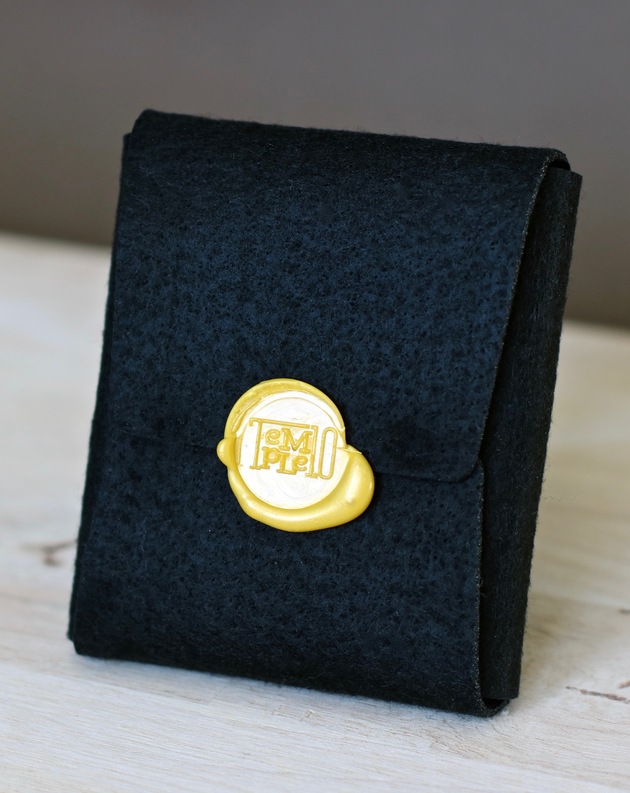
Since this is the Made on a Glowforge category, I’ll also call out the packaging. An envelope of laser-cut black polyester is folded over the wallet and sealed with a custom wax seal—which was stamped with a stamp I cut and etched in acrylic on the Glowforge. (I found assurance on this forum that the acrylic would work as a stamp–so thanks again all!)
That’s very clever. I would think my default would have been to use some kind of brass stock but your trenails yield the same great contrast in a pretty unique usage of the wood.
Okay, the wallet is brilliant and beautiful. I hope you are not only selling the finished product but the SVG for makers.
While the wallet is awesome, the stamp is over the top for me because it made me realize I can make them if I want. I was literally going to order a brass one and your post made me realize I can make one!! Thanks for the inspire. You could sell those on your Etsy store for non makers.
I’m not sure I’d feel good about selling an SVG. The basic fit of the pieces is simple enough that any maker could figure that out pretty quickly. The trick is the material tolerances, and a static SVG wouldn’t capture those. I made a number of prototypes, and literally for each new sheet of wood I found that I needed to adjust the design file with tweaks to kerf allowances, etc.—finally I just changed over to a parametric design.
Also, this wallet requires very specific materials: The wood needs to be a dense, resinous stock that will be strong even at just 1/16" thick. You also need just the right foam rubber. I tried maybe five different foams before I found the right one. So I’d be nervous to sell (or give away) the design file given that success is far from guaranteed!
It works pretty well! The main thing I learned is that it releases from the wax best if you allow it cool completely—i.e., let it sit for quite a while on the wax before removing it. And FYI, I used Medium Proofgrade Acrylic, but adjusted the settings to get the right depth for my application.