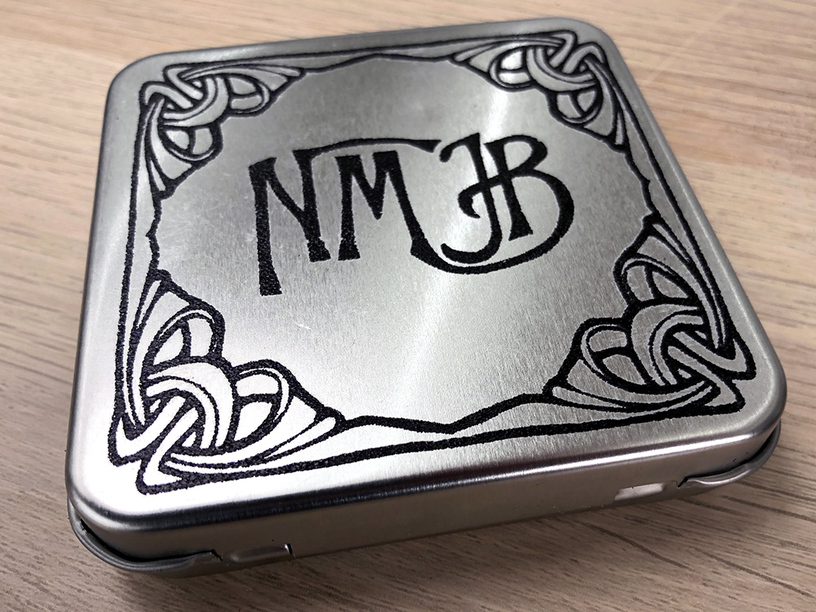
I’ve been trying, and trying, and trying, to get a black mark on some steel tins I have kicking around my studio. At first, I just did them straight in and had a vague ghost of a design in a transparent tan colour. Then I tried the moly lube trick, and nothing took hold. Then I realised there might be a clear coat in the way, and stripped it off with some xylene. The moly worked, but only in patches - suggesting my stripping wasn’t all that thorough. My dispirit at this stage was, however, very thorough.
Then I remembered something I read a long time back, which I think was laser sintering - using a laser to fuse powder in layers to create a 3D item. Well, this got me pondering. And experimenting. And I reckon I have stumbled across the lazy man’s budget metal etch/mark/engrave…
Here’s how:
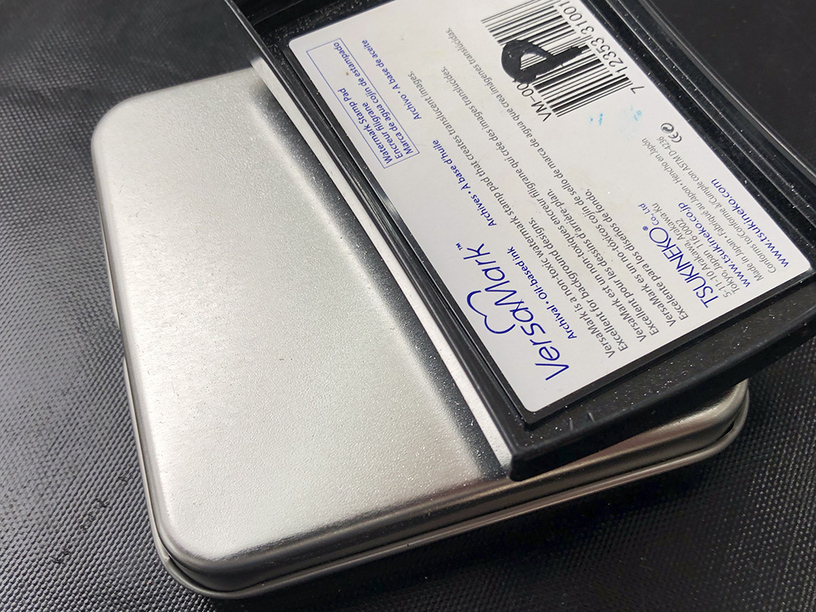
Start by cleaning the surface (it doesn’t need to be stripped, or all that clean tbh)
Cover with Versamark or other embossing ink.
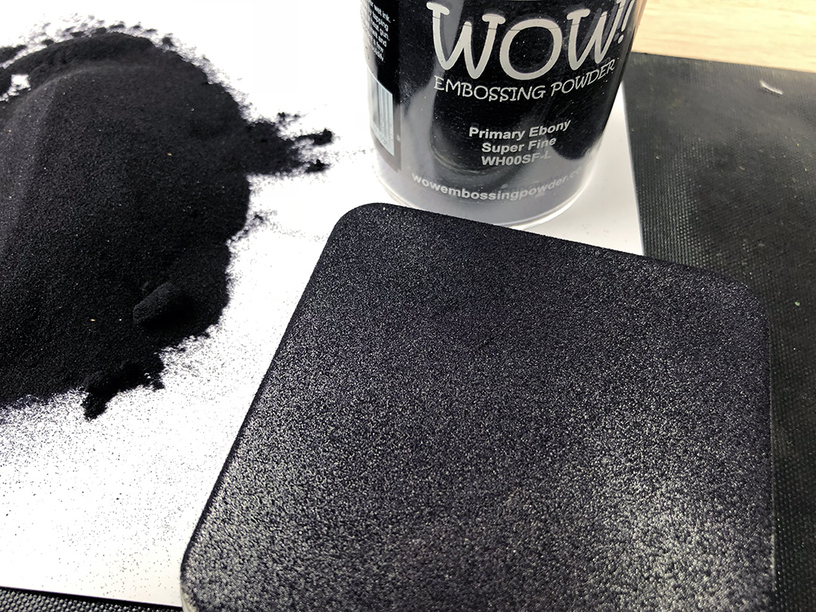
Pour on super fine or detail embossing powder, tap off excess, repeat twice - this gets as much powder as possible stuck to the ink. Bear in mind ultra fine is required to avoid the blowers whisking the powder away before it fuses.
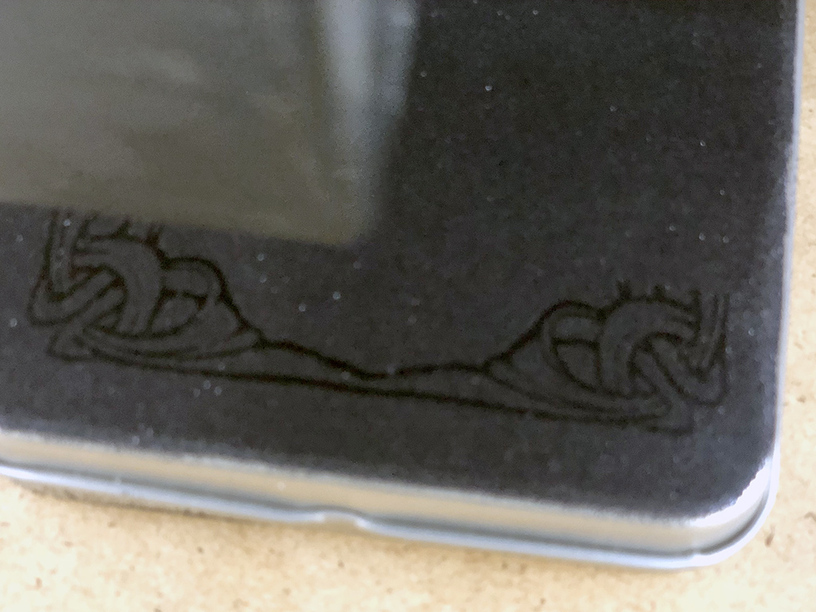
Place in GF and laser design - manual engrave 1000/10 at 340 lpi were my settings, or 1000/20 at 225 lpi. You should see your engrave lines becoming glossy without seeing the metal come through. Matt lines - slow down. Metal coming through, speed up or reduce power - you’re burning away the powder instead of just melting it.
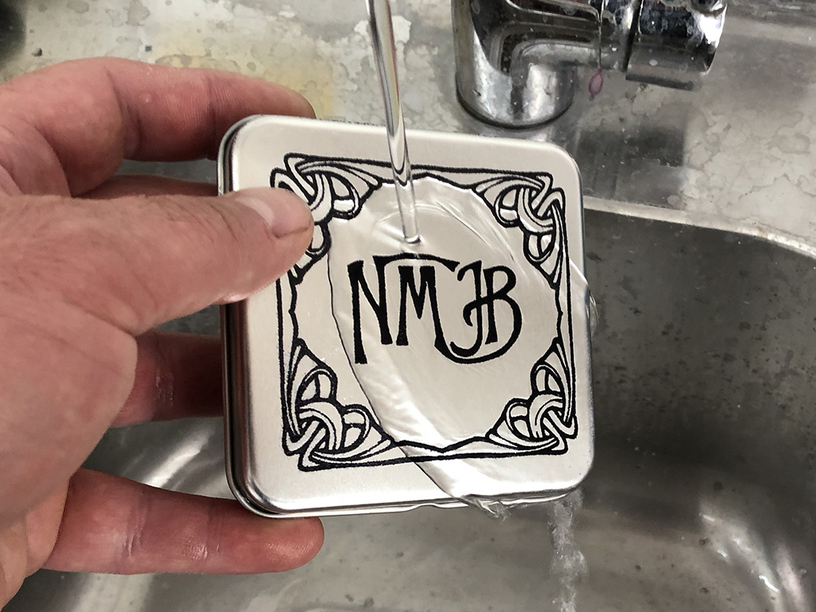
Rinse off unfused powder, wash gently with soap and water to get rid of any stubborn ink. Pat dry before allowing to air dry completely. Seal with clear varnish/sealant - I used Krylon Triple Thick Crystal to good effect. A cheapo gloss spray varnish was rubbish and pulled up the embossing powder.
Cautions:
- This will scratch/chip off relatively easily, though sealant coat helps.
- This is not heat resistant, though will take quite a lot of warmth before it remelts.
Benefits:
- Inexpensive
- Effective in appearance
- No point-heat buckling of the metal
- Will work on any washable, non-porous surface including glass
- Myriad colour choices, as well as metallic and pearl finishes available
Of course, the same effect could be gained by using a rubber stamp and embossing powder - but who has the ability to customise one of those? Ahem. Who has the expense budget to customise one of those? Finer detail will be achieved every time with the laser. And no pesky fingerprints either ![]()

