That was great! Thank you so much!
3 Likes
Here is the recorded session for those interested. Thanks to all that were able to make it to the live session.
13 Likes
This is so handy…I’m working through along with the vid to make a rhombus now…finally got the second angle correct. ![]()
I think your expertise is completely safe, even with the video, but I am picking up a wealth of helpful tips on using F360 just by following along again. (Tough to pick it all up the first time with your DH dropping off a pizza in front of you and firing up a conversation midway through.) ![]()
(oh…added a link to the Matrix)
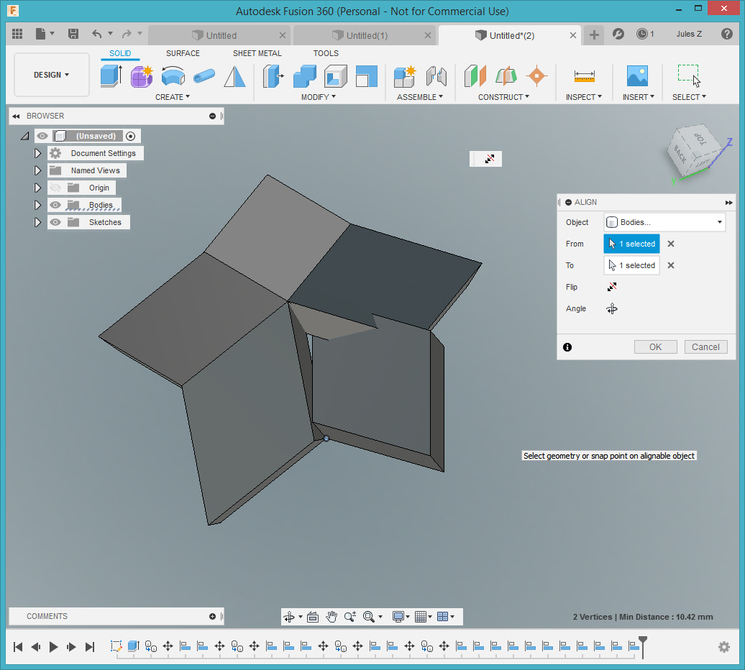
Having just the tiniest problem shoving that last piece in there…
Finally! (And it’s time for bed…)
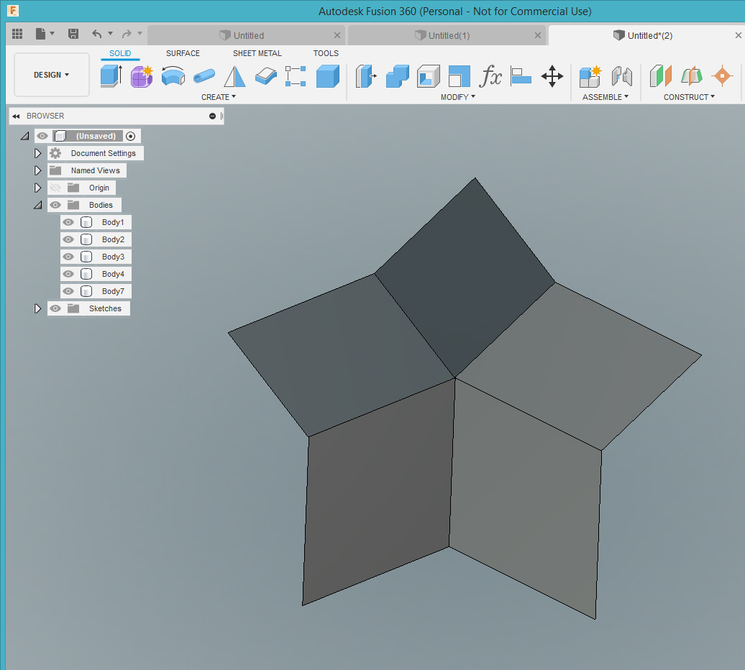
6 Likes
Well poop! It’s hollow. Mine wasn’t thick enough. Starting over. (And yeah, I know I can adjust it in the timeline, but I’ll never remember it that way.) 
2 Likes
I usually make it thick than I need to avoid that problem, as it gets chopped later in the process. 2" usually does the trick.
2 Likes
I caved and went mining into the timeline.
I’ve got it just a hair out of alignment still on that last face, it’s probably GEFGW and I’ll just continue, but this was not as easy as you made it look.
(Worse, there have probably been half a dozen updates on Slicer since the last time I used it…I imagine there’s a pretty stiff learning curve there as well, if I ever decide to print these.) 
2 Likes
Yeah, I really was lost as to why he made it so thick to begin with. There was one other place I was really lost but by the end I was really following along well. I had to pat myself on my back. Certainly no one else was going to LOL
2 Likes
Had to start over anyway…that slight discrepancy translated into a honking hole when I extended the shape down. (No shortcuts with this program…you get it perfect or you start over.) ![]()
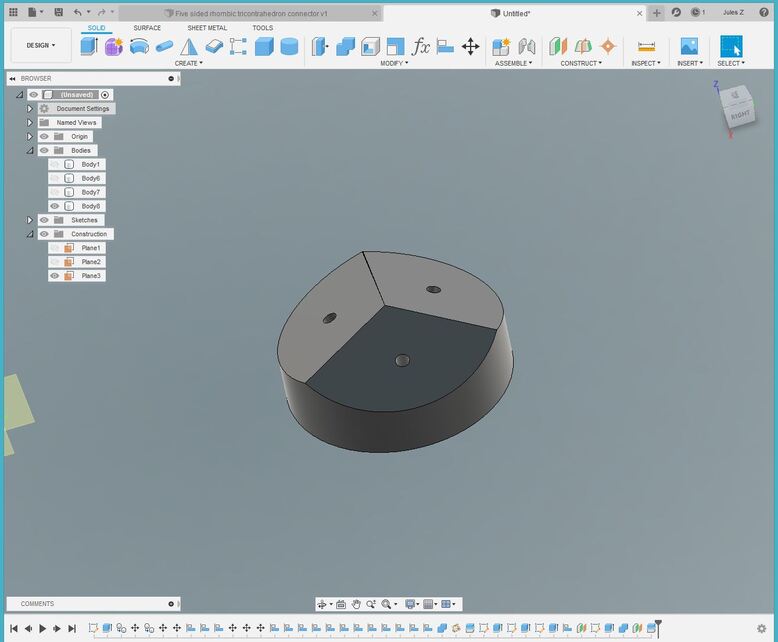
A qualified success… many hours later.
.
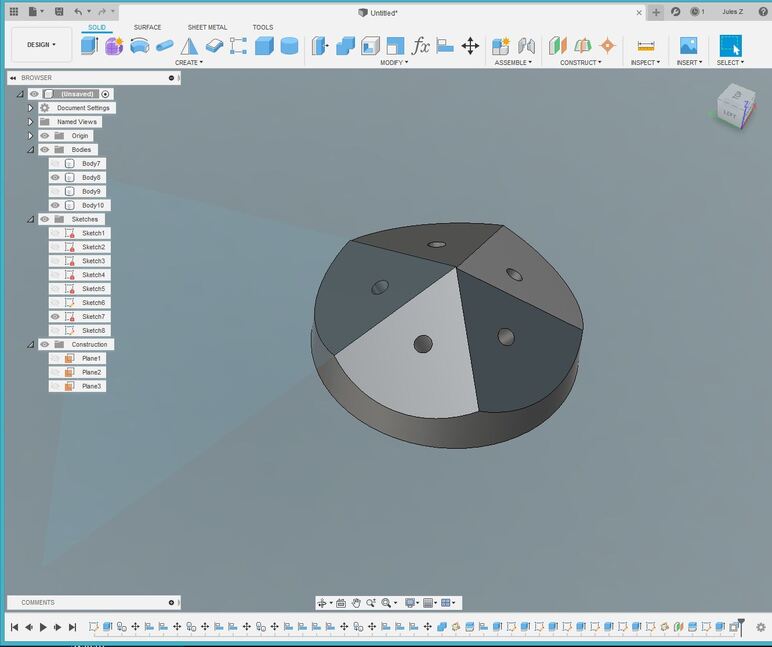
Now we tackle the 3 face connector to see if I actually do understand what I’m doing. (after lunch. Need to let it soak in.)
6 Likes
Dang it! I was tied up last night! 
I’ll try to catch the next one. Thank you again for your generosity.
2 Likes
You can watch the video…very helpful to remember it all. 
3 Likes
Oh, I definitely will. I just wanted to, y’know, be there for it. ![]()
2 Likes
That looks right. Maybe a little thick, but you did it!
5 Likes
You give great instruction!
(Definitely wasn’t anything I did.)
4 Likes
Hey, Mike, thanks! Just got through watching the whole video, lots of fun. Using align to short-cut some of the math was a fantastic leap!
One suggestion if you haven’t already started, defining some of your parameters up-front with nice, short names can be a big time saver. For example, instead of repeatedly typing 140.23 you can just type “a1” (for example). That makes it easier when you’re stamping things out. And screw-hole diameters are a no-brainer for parameterization.
Again, thanks so much for taking the time to walk us through your process! I’m really growing to love F360 and enjoy seeing how other folks use it. (So I can shamelessly steal their hard-won tricks.)

5 Likes
Using a parameter for the screw holes is a great idea and we’ll definitely use that. Thanks for the suggestion
1 Like
Hey Mike…quick question…I downloaded that free demo of the Stella just to take a look at it, but the demo doesn’t have all the angular and segment measurements on it. Do those come with the purchased version in their library?
Should be, turn them on under the nets menu
1 Like
It looked like Stella does not work on a Mac (without going into Windows mode, etc) is that correct or did I miss an update?
I didn’t see a mac version on their website, so it looks like you’ll have to have a windows OS.
1 Like