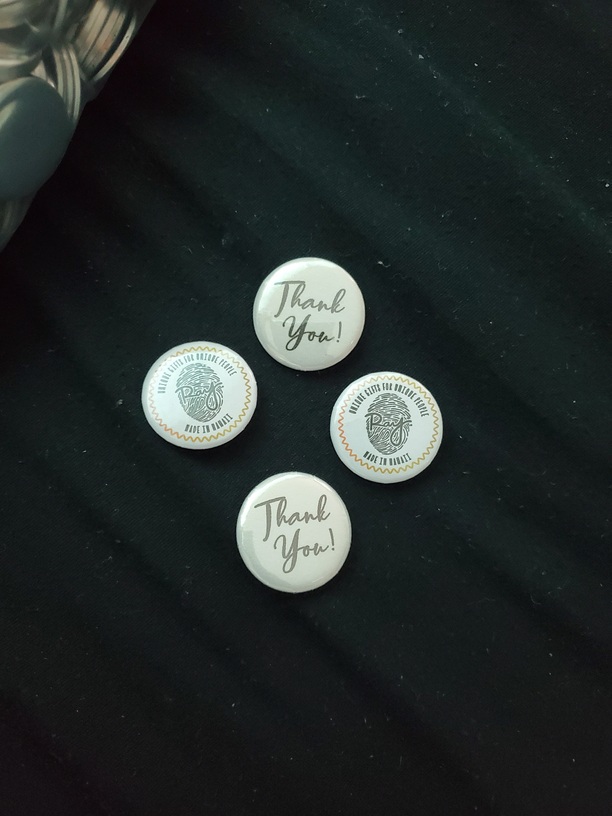
Saw a cool video of a guy making buttons, and it made me realize how simple it is to do so. I got a little more money than I was expecting to, so I ordered my own button press! Got the basics down(really simple as long as you don’t forget a step…like 5 times and think you already broke it ![]() ) and threw my logo into a button.
) and threw my logo into a button.
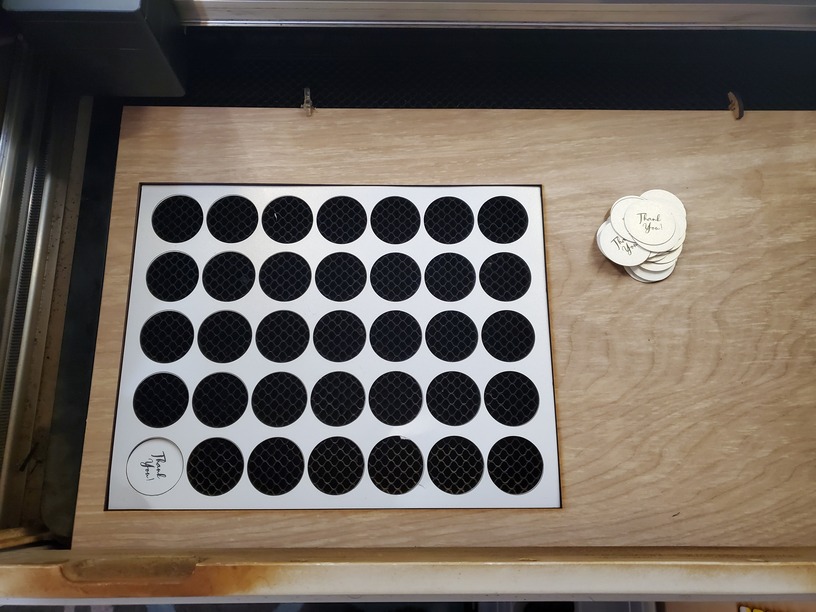
I printed my logo a few times to get the feel for it, and thought it would be a cool idea if I made thank you buttons to go out with my orders. I have this cardstock that shimmers and found out I can print 35 buttons blanks on that. What I wasn’t looking forward to was cutting that paper out, that is, until I realized I’ve got a decent amount experience in cutting paper with my GF.
I set my design up in illustrator, easy to both print on my regular printer and the laser, then went to work. Printed it out on the cardstock, uploaded the same file to the GF, cut a jig, put the paper in, then set my settings. I tweaked my previous settings, which I shouldn’t have done since my original ones were already perfect, and had pieces flying throughout the laser ![]() Was able to salvage 30 of the 35, so not bad!
Was able to salvage 30 of the 35, so not bad!
My wife wanted to make a button, but didn’t press down hard enough, resulting in an incomplete seal. As I finished up with the other buttons, I was looking at the one messed up button, and wondered what it would look like without the plastic covering, and wow, I’m glad that we had this mess up.
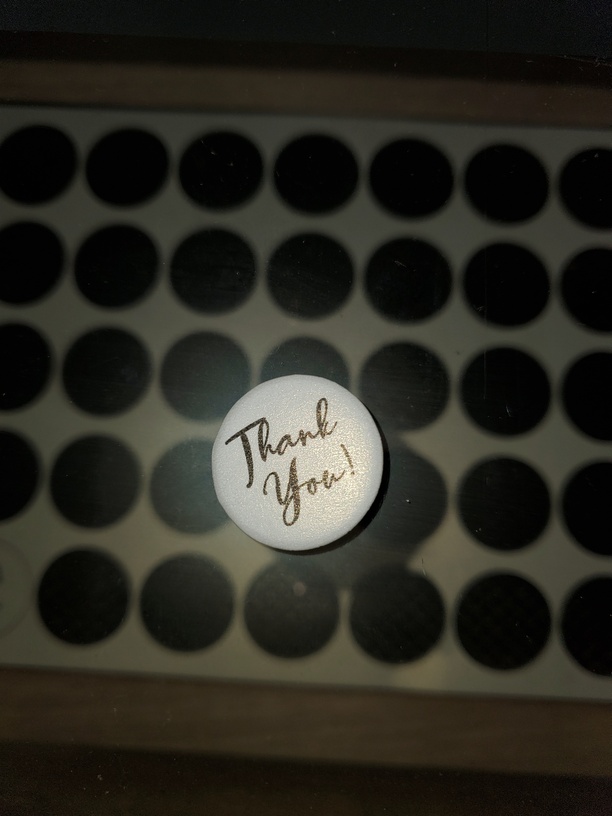
The paper has a really nice shine to it without the plastic later, so I’ll have to figure out how durable these ones are. I don’t imagine people will use the buttons I’m sending very much, so the cardstock buttons without the plastic protection may be a good route, but yeah, I can’t speak to the longevity of them.
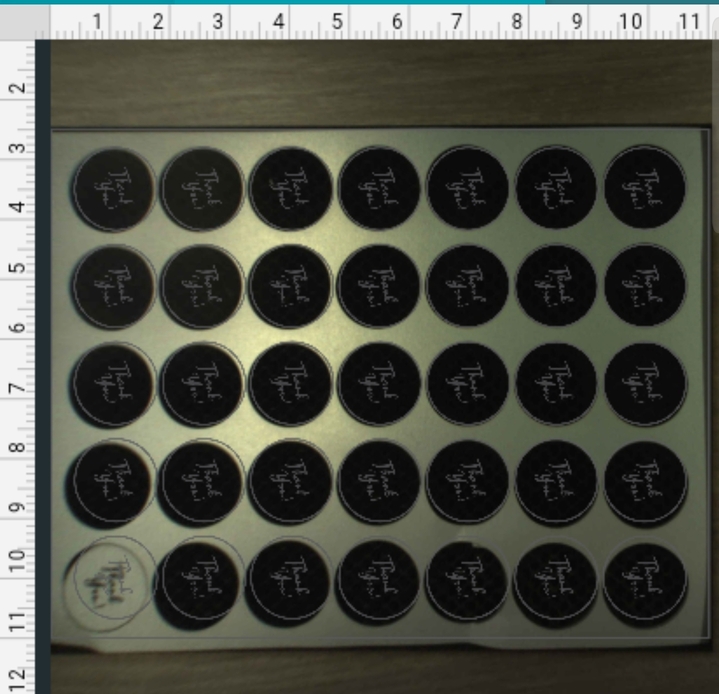
Bonus image, you can kind of see what my camera offset is in this. It’s not as bad if I set the focus, this was an afterthought image when the machine was offline, but still.
 Somewhere I still have it…