Can a mechanical clock be made on the Glowforge?

Trying the drive axle without pegs isn’t working. It makes assembly nearly impossible with the ratchet.

But I will definitely be fusing the gear to at least one or two axle segments to ensure it says in place!

2 Likes

I have been so busy and haven’t had the time to test the anneal process, but I didn’t want to wait. So I started putting the clock back together and bonding the gears with the acetone… a little TOO eagerly…

I ended up gluing the hour-gear to the minute-gear… and that bond is not breaking! (I tried.) So I hope to cut some new gears for that tomorrow, and get the clock back on the wall and running! (I miss it now that it is down.)

But the acrylic end-caps look much nicer than the duct tape I had holding in the axles (and sturdier too!)

I may still need to look into making sure the pendulum axle doesn’t work its way out. I have not yet cut that one down to cap it (since it just sticks out the front and is not in anything else’s way.)

Since I need to cut new gears anyway, I might go ahead and cut new hands and pendulum also (to get rid of the last of the draftboard pieces.)

4 Likes

I went to cut new hour-gear, but I don’t have enough acrylic left to cut another large gear. So, I am going to have to get some more and cut it down to size and mask it.

(And I still cannot get the gears I glued together apart… I tried again.)

I had a revelation last night, and I might be able to still use the large gear and just cut the smaller 10 tooth pinion! I will give it a try after work today!

4 Likes

My revelation last night was that if I could cut out the center of the old pinion (that is now glued to my gear that is supposed to spin freely), I might be able to save the gear.

It already had a spacer between the gear and the hour hand, so if I flipped the gear over I could use the glued pinion as the spacer and just glue the hour hand directly to that.

So, I just needed a new pinion and remove the center from the old one.

The new pinion turned out perfect. But, the new hold didn’t quite get all edges that needed to be removed…

So, attempt number two!


This time I used the masking from the newly cut pinion to assist with focusing, and I flipped the gear over so I would be cutting the top (before I was trying to cut into the existing hole so I didn’t have to adjust the height).

I am hoping the end result will work. It is not pretty, but it cannot be seen as the hands cover up this part of the gear.

1 Like

It still was not smooth enough when I tried to spin the gear on the cross axle. So I got out my Dremel and tried to smooth down the edges manually. It is not perfect, and I remember why I was using pins instead of trying to line items up by hand/eye. I am not sure it is as straight as the original.


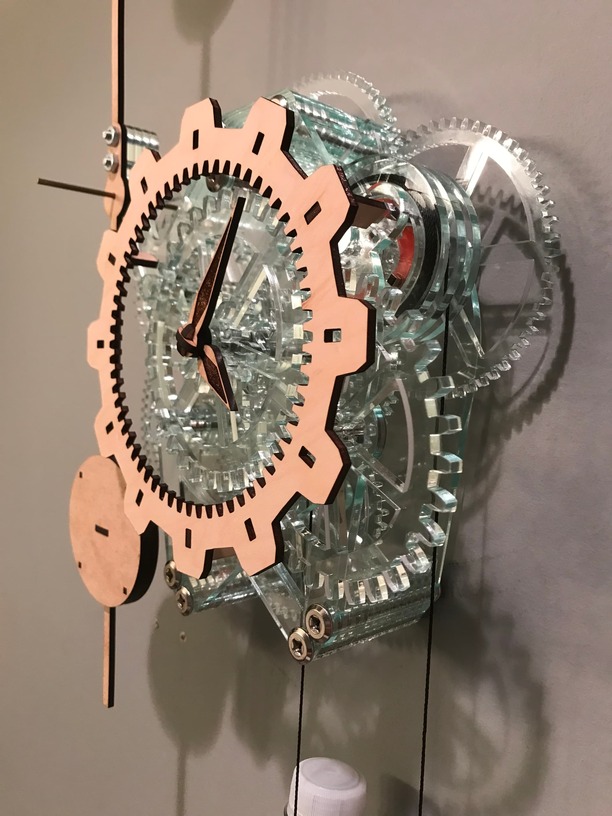
I went ahead and put the clock back together and hung it back on the wall.


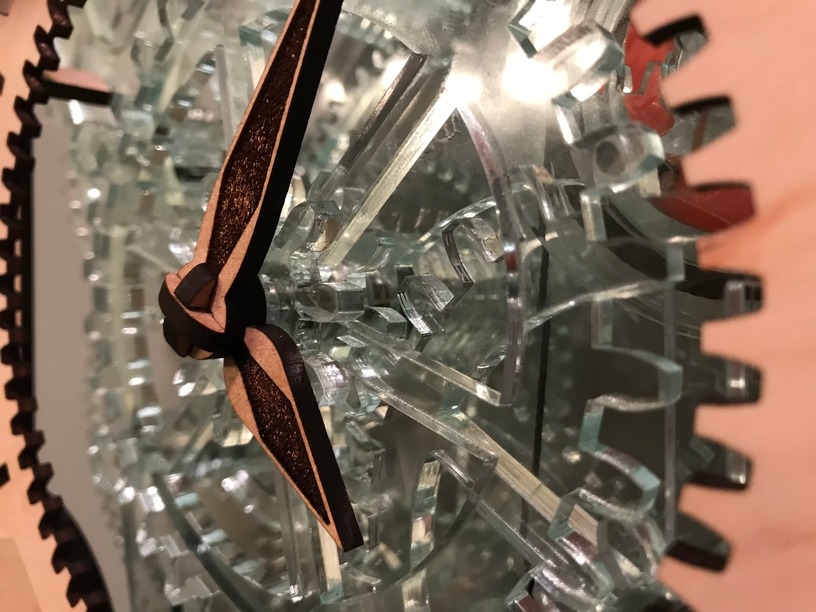
There was a little bit of crazing since I didn’t anneal the acrylic, but I don’t think it looks bad.


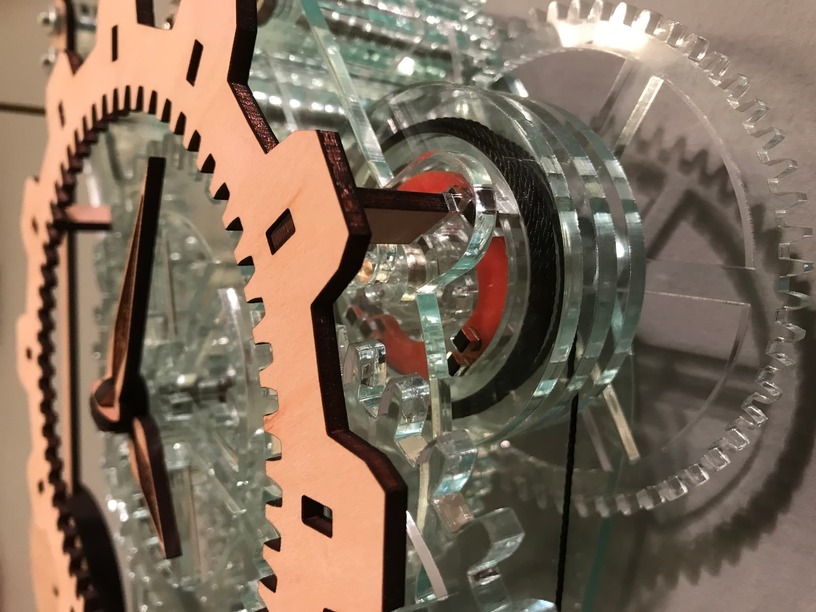
I don’t think the drive gear adhered well. I was looking at it last night and I think it is loose already.


I will probably need to work on the drive axle again, but for now I am just glad to have it back on the wall and running again!

4 Likes

I suppose you have other scrap that could be used?

If you are asking if I have enough scrap to cut a new wheel for the hour gear, I tried to (above) and none of the pieces were big enough. That was why I was trying to save this one.

1 Like

So annoying when that happens :cry:

2 Likes

The drum axle was separating again, so I removed it to attempt to use the acetone to bond the acrylic again. While it was drying, my wife caught the cord with her foot as she was walking by sent it flying.

The drum fell apart, but thankfully the ratchet stayed intact. The gear was bonded well enough that it didn’t come off, but it cracked three of the six spindles on the gear.

Since the drum was in pieces I took this time to bond it together also, and reassembled the axle. It seems much sturdier now, but I don’t know if should be concerned about the cracked gear or not. I guess we will see if it implodes under the pressure of the drive weight.

5 Likes

I liked the update, but not the reason you had to post it!

2 Likes

Well the clock stopped again this morning. It is probably time to give it a good cleaning again.

It is seeming that it wants attention about every three weeks.

5 Likes

A far cry from when you started eh? I’d call it a success. :+1:

4 Likes

I was trying to examine the clock, to see where the hang up was that was stopping it, and it fell off the wall…

It snapped the pendulum into five pieces, but the clock frame stayed intact.

I put the clock back on the wall and let it run without the pendulum just to make sure everything else was still fine. It was running fine, but I could see that it wasn’t properly balanced. Other than that, everything seemed fine, until I went to wind it again.

It appear that the ratchet lost one of its teeth. Normally this should not be a major problem because it has so many other teeth. The problem is that the loose tooth is rolling around in the enclosure and getting in the way of the pawls operating.

I might be able to salvage it, but I just might need to start work on a new one. If I do, I would rather make a mantel/desk clock, so it doesn’t have to hang on the wall (to many disasters.)

5 Likes

Sounds to me like you are an evolutionary force; the clock design will adapt or perish.

5 Likes

I finally got up the courage to take the ratchet apart and clean out the debris of the three teeth that broke.

I meant to take pictures, but it was so hectic trying to get all the pieces to stay in place so I could put it back together I forgot.

If I cut I new pendulum it will be complete again, but I am thinking about designing one that is not screwed onto the clock.

(On top of all that, I have already started designing a new version that is meant to sit on a desk or mantle, but it will probably take as long as this one did. I will start a new thread if I post any information about that one.)

9 Likes

I found the clock design on Stephen Ressler’s web site. Downloaded it into Inkscape. Thanks for the referral.

1 Like

It was fun to play with. I have learned a lot since then. I have had lots of issues with hanging the clock on the wall, so I am trying to design a desk/mantle version.

3 Likes

This topic always floats around as something to come back to. Here is a great video in a wooden clock restoration. A Kassner phoenix clock.

This guys channel is very polished. He inherited the dream machinist shop and is putting it to good use.

9 Likes

I have been looking at clock springs and REALLY want to make a desk version of this Glowforge Clock. I hope to have more time this summer, but we are going to be really busy with the kids again…

Still, I have seen some other clock kits that use a spring, so I am hopeful that I can get this to work if I can find the right spring.

4 Likes