I like the idea of welding the two pieces together, but will it still be crystal clear, or will it cloud? That is my biggest concern since this is clear acrylic.
I will definitely be running some tests before any glue touches my clock.
I like the idea of welding the two pieces together, but will it still be crystal clear, or will it cloud? That is my biggest concern since this is clear acrylic.
I will definitely be running some tests before any glue touches my clock.
If you do not use too much acetone, it should be clear. Normally, you can apply a drop with a needle at the point where the two pieces of acrylic meet, and capillary attraction will pull the acetone into the joint. If you apply too much, and the acetone runs down the piece, it will cloud. Practice on scrap pieces.
Can I “borrow” my wife’s nail-polish remover, or should I get some 100% acetone?
I have plenty of scrap to test on, so I am going to do plenty of testing!
I have never tried nail polish remover, but I have read that it does not work as well as the pure acetone from the paint or hardware store.
I have ordered the acetone. I am looking forward to testing the results!
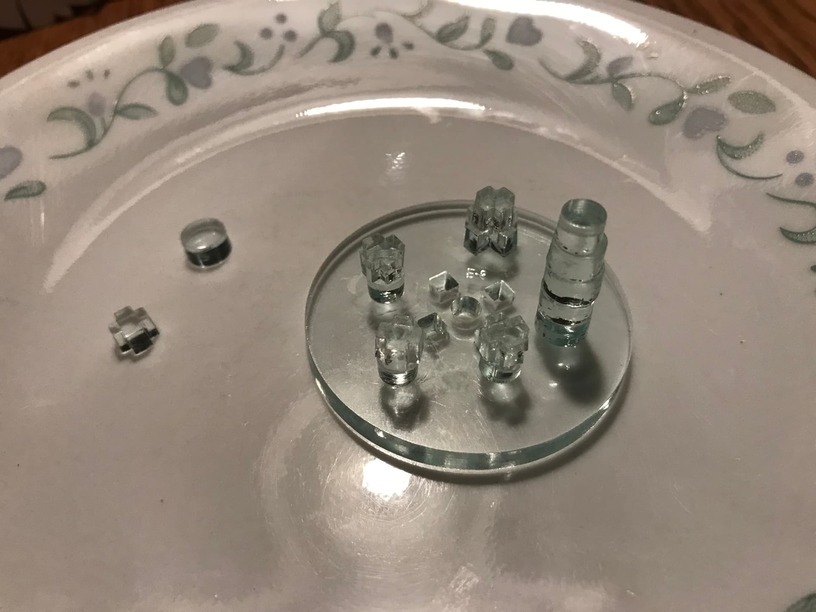
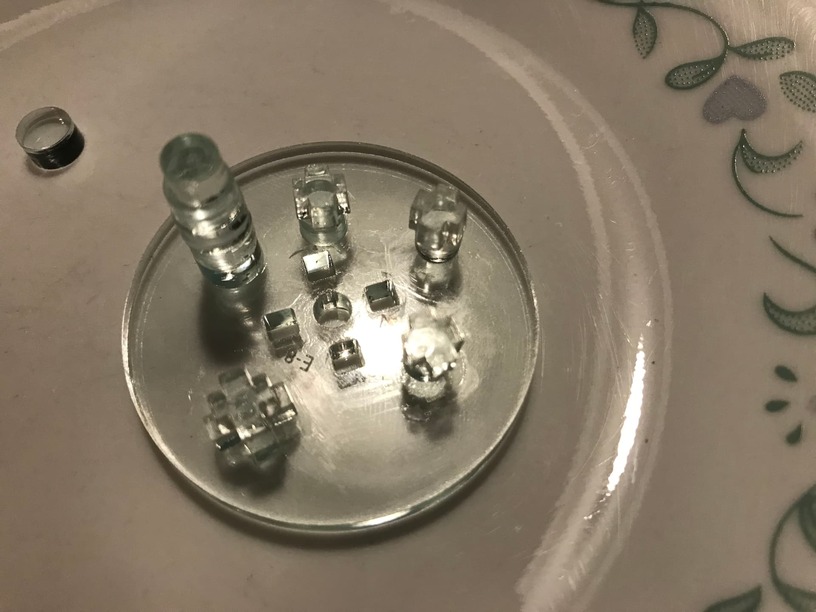
I have attempted several tests with the acetone (using some of my scrap pieces).
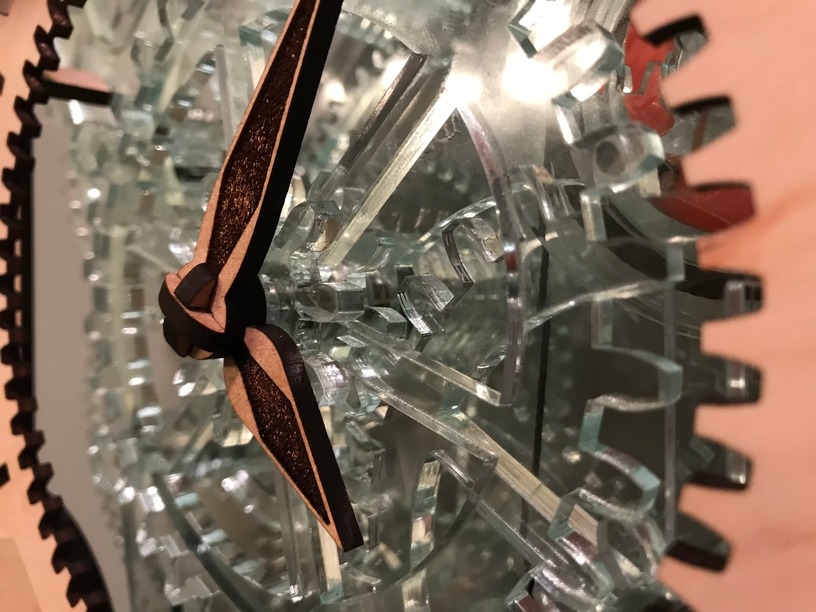
Some fogging is occuring; mainly on the edges if too much is used. But I am more concerned with the cracking I am seeing if it gets to an edge.
I don’t think you can really see any of them in the photos (they are small), but it is still a concern of mine.
The initial tests did not hold because I did not let it set long enough. It just appears wet at first and it seems like nothing is happening, but if I let it set it definitely grabs hold.
I am going to let it all sit over night and see how strong the hold is in the morning. I will also be looking for additional fogging or cracking.
Did you anneal the acrylic before gluing? If not, give that a shot as it should eliminate the crazing from the acetone.
Is “anneal” when you put in the oven at a certain temperature for certain time? If so, no, I did not try that. But I might test that out too depending on how this turns out.
I am still contemplating testing the “Goop” I already have also.
yes. 180F oven for 1 hr per mm and then let it cool in the oven after you turn it off. It releases all of the internal stresses in the acrylic so you shouldn’t get any crazing.
Some people shortcut the annealing process by doing it 1hr/3mm of material thickness. Supposed to get 80% of the effect of full annealing I believe.
I will have to try that. It shouldn’t warp the acrylic or make it more brittle should it?
Nope. The opposite in fact. You need a temp of 350ish to get it to slump (300 to warp) so you’ve got plenty of wiggle room.
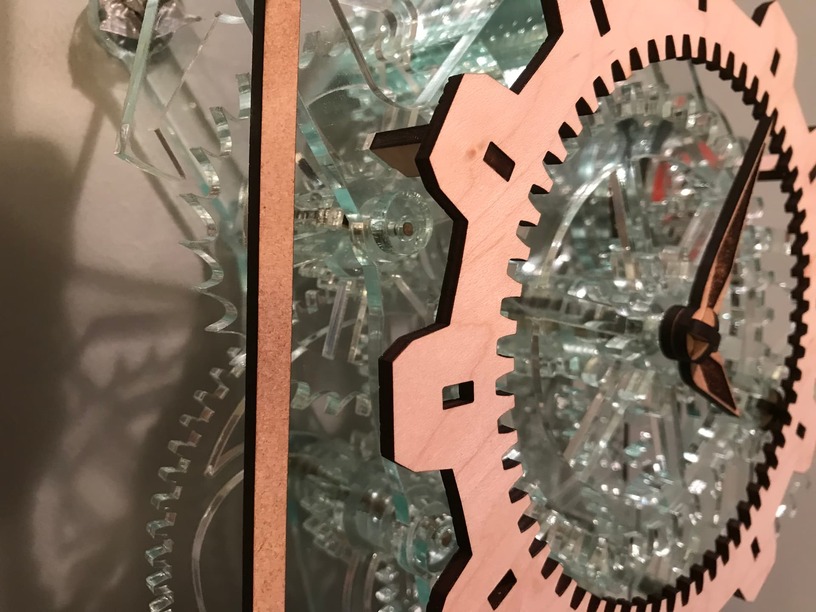
If I do this to the clock, it would be the frame because that is where the glue is needed.
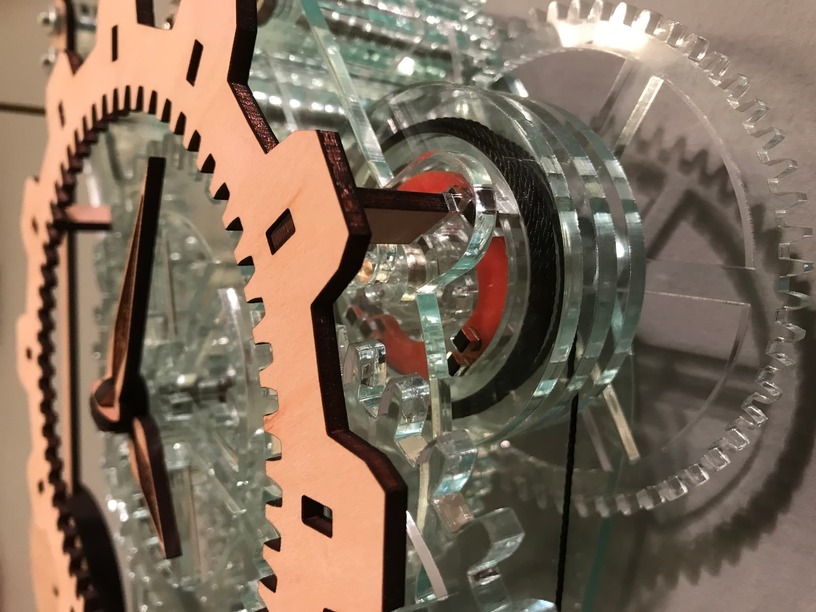
But if this works out, I might remove the pegs from the axles and use the acetone to attach the assemblies together too. Then pretty much every piece would need to be annealed. But, it will have to pass my torque tests first…
I haven’t tested with annealing yet, but so far the tests are working out really well!
The best results appear to be when there is not excess acetone and I do not move the pieces around after applying. It needs to sit in the initial wet spot until dry (best results were several hours later).
If there was excess and I tried to clean it up, it would soak up to much and the hold wouldn’t be as tight. If there was excess and I didn’t clean it up, the hold would be tight but it would “fog” the area around the spot. I also found that the fog can be cleaned up a little, but it still leaves a mark on the acrylic.
For my next test I think I will cut a new drive-axle without pegs, and see if the entire axle can be welded together and hold up to the torque from the drive-weight. I might try the anneal process on this test too.
Trying the drive axle without pegs isn’t working. It makes assembly nearly impossible with the ratchet.
But I will definitely be fusing the gear to at least one or two axle segments to ensure it says in place!
I have been so busy and haven’t had the time to test the anneal process, but I didn’t want to wait. So I started putting the clock back together and bonding the gears with the acetone… a little TOO eagerly…
I ended up gluing the hour-gear to the minute-gear… and that bond is not breaking! (I tried.) So I hope to cut some new gears for that tomorrow, and get the clock back on the wall and running! (I miss it now that it is down.)
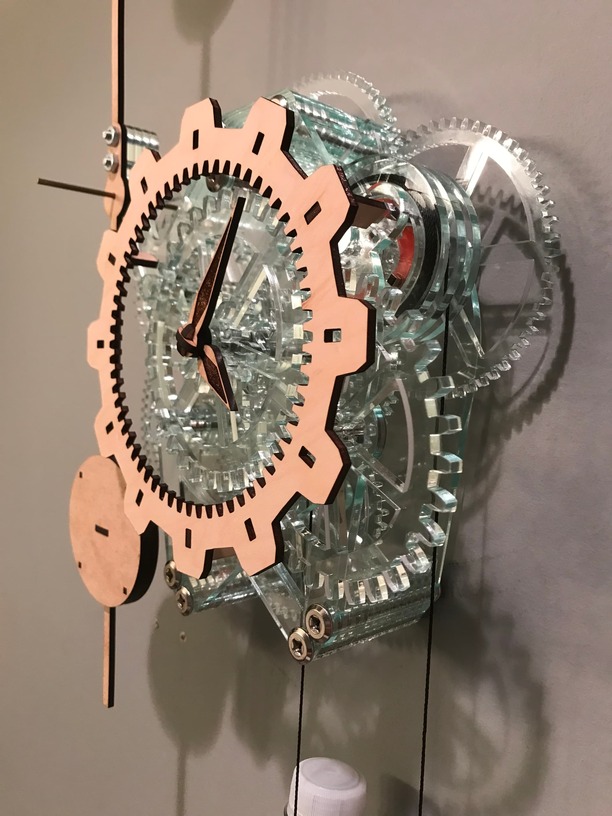
But the acrylic end-caps look much nicer than the duct tape I had holding in the axles (and sturdier too!)
I may still need to look into making sure the pendulum axle doesn’t work its way out. I have not yet cut that one down to cap it (since it just sticks out the front and is not in anything else’s way.)
Since I need to cut new gears anyway, I might go ahead and cut new hands and pendulum also (to get rid of the last of the draftboard pieces.)
I went to cut new hour-gear, but I don’t have enough acrylic left to cut another large gear. So, I am going to have to get some more and cut it down to size and mask it.
(And I still cannot get the gears I glued together apart… I tried again.)
I had a revelation last night, and I might be able to still use the large gear and just cut the smaller 10 tooth pinion! I will give it a try after work today!
My revelation last night was that if I could cut out the center of the old pinion (that is now glued to my gear that is supposed to spin freely), I might be able to save the gear.
It already had a spacer between the gear and the hour hand, so if I flipped the gear over I could use the glued pinion as the spacer and just glue the hour hand directly to that.
So, I just needed a new pinion and remove the center from the old one.
The new pinion turned out perfect. But, the new hold didn’t quite get all edges that needed to be removed…
So, attempt number two!
I am hoping the end result will work. It is not pretty, but it cannot be seen as the hands cover up this part of the gear.
It still was not smooth enough when I tried to spin the gear on the cross axle. So I got out my Dremel and tried to smooth down the edges manually. It is not perfect, and I remember why I was using pins instead of trying to line items up by hand/eye. I am not sure it is as straight as the original.
I suppose you have other scrap that could be used?