Someone on a Facebook group asked about ceramic tiles.
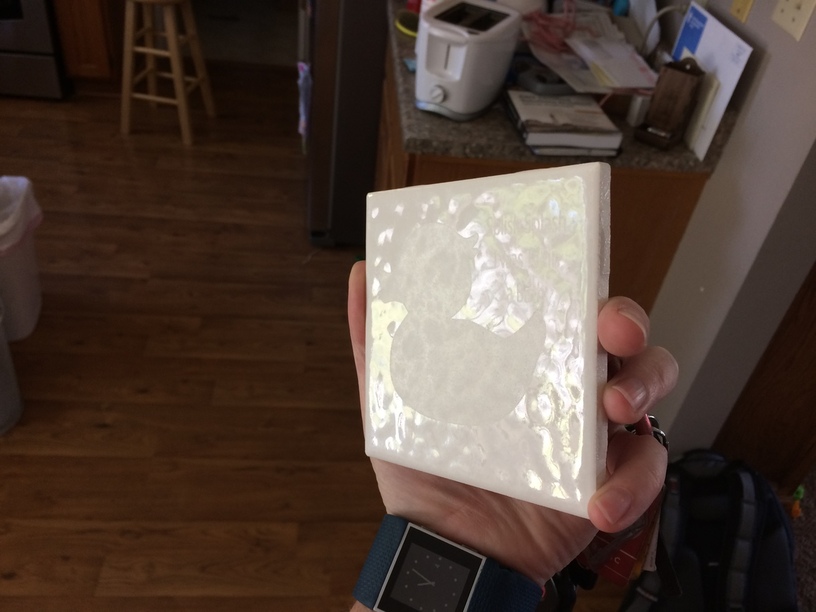
I have a box of cheap ceramic bathroom tiles. A 3-minute design at 100/250/225 resulted in ablation of the glaze.
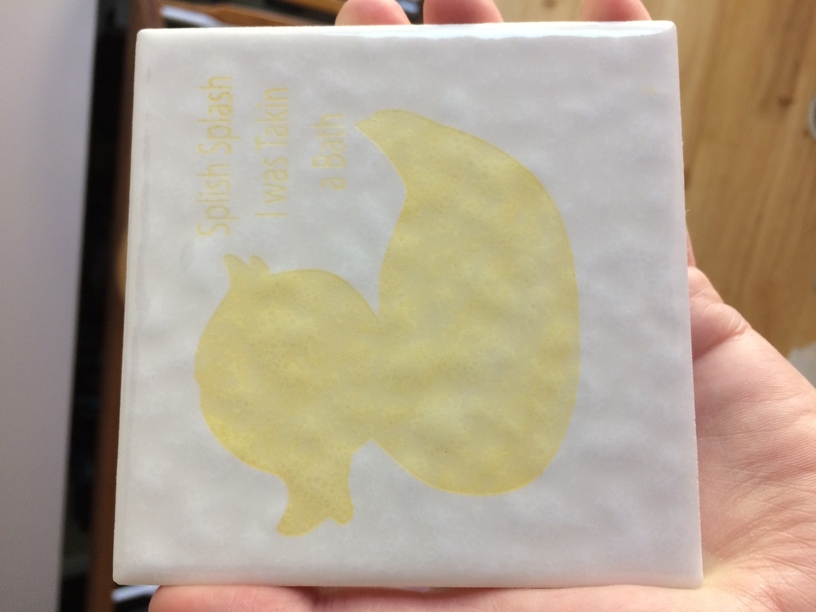
Dropped a spot of craft paint on the tile, used a paper towel to spread the paint and wipe it off. Super fast, super easy, good results.
Imagine how nice if I actually designed a pretty image and chose a font…
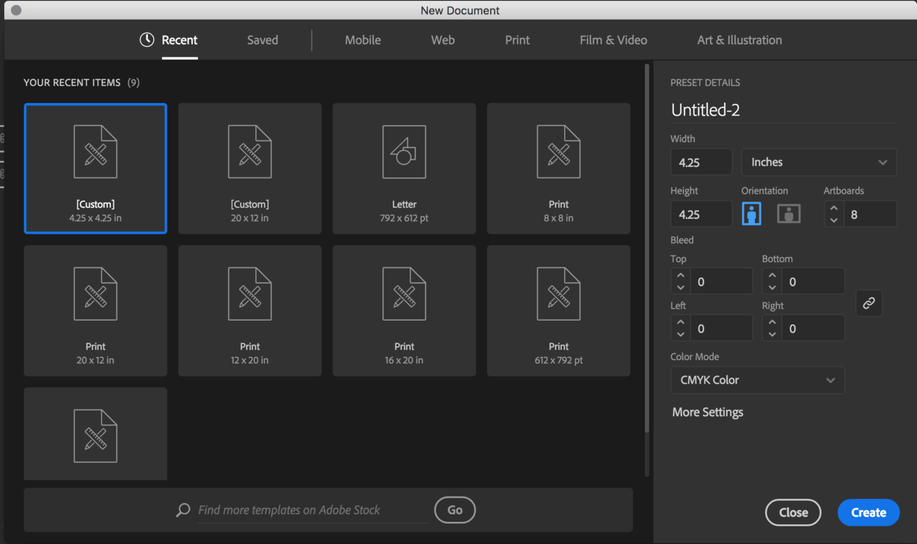
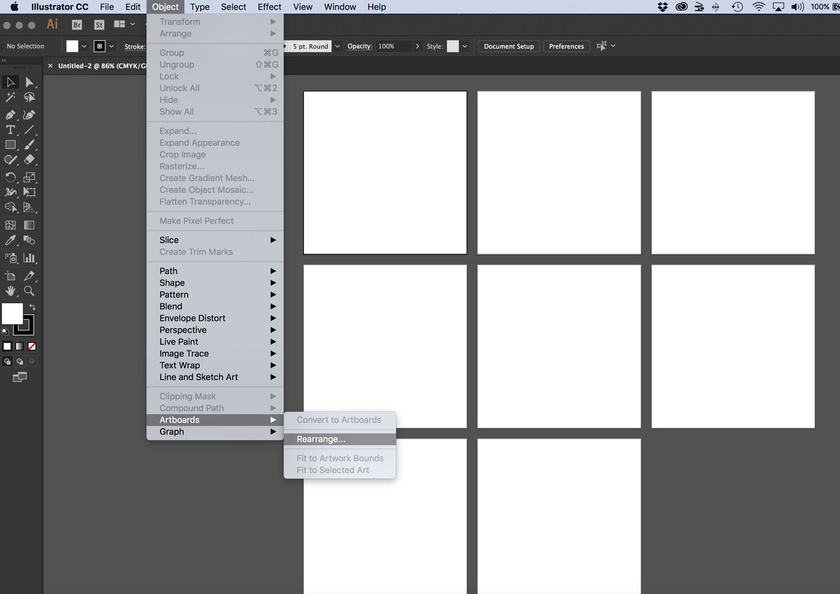
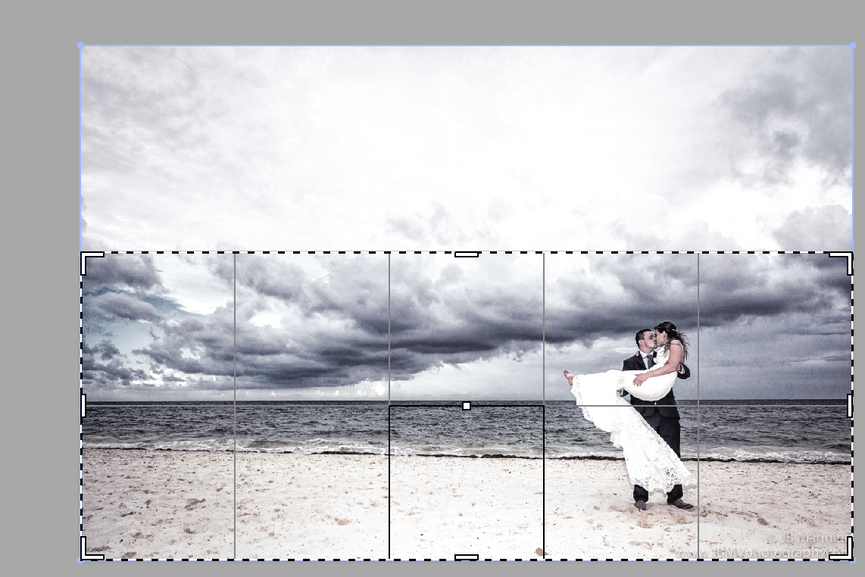
I then picked an image I made from a friends wedding that I had on the desktop and placed it in the document. I didn’t like the crop with 8 boards (it cut the people in half vertically), so I duplicated 2 of the boards and rearranged again for 2 rows.
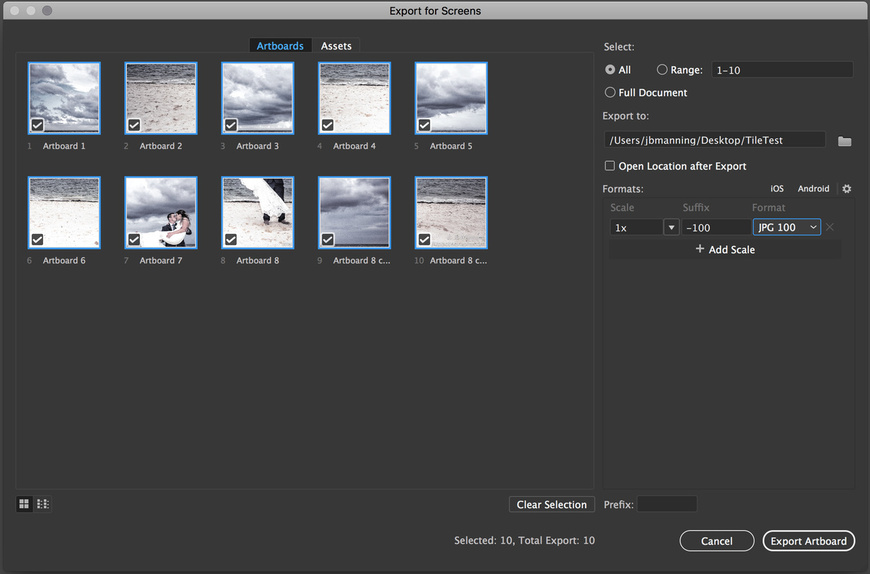
And now I have 10 separate, sliced images that I can engrave on individual tiles.
That’s the easiest, most inefficient way, probably. But it works.
You could extrapolate the size of multiple tiles that will fit into the Glowforge bed/engravable area and set your artboards up that way - and then load the tiles correspondingly and make a larger engrave all in one go and then do the next one. That would be more efficient in the long run.
Embedded images aren’t an issue with this since it was just exported as JPEGs designed for engraving. But, I just tested with unembedded raster assets (i.e., linked) and it embedded the proper parts of the raster image.
I don’t know how this would work with vector components stretched across multiple artboards. I think you might have trouble in the GFUI with the SVGs that were created… maybe not. I can’t test that yet
But - for engrave procedures it should work perfectly.
I had figured this out a ways back as I figured it would be a neat way to customize many things. You could do backsplashes like this, or you could do the junction where floor tiles meet and do a perfectly matched geometric pattern, or… really anything where you want to engrave across multiple materials and have it match without a lot of fuss.
We’ve had folks ask about the process for spanning an image across tiles before - I just never thought to use the artboards to cut them up. Excellent tip! (That’s a lot faster than cutting them up in Photoshop.)
I guess photoshop would be slices - they are a pain, imo.
I’ll write this up in tips/tricks a little later (when it’s not the 4th) so it doesn’t get quite as lost in the shuffle as it would buried inside another topic. If you have anything specific in it (multiple examples, etc.) feel free to PM it.
I will rewrite with a better walkthrough. It’s not a difficult concept steps-wise but it could be written better as far as mentioning export formats, etc.
I have a print from the '50s of the Michigan State campus that I will probably follow your approach to capturing on tile and then incorporate the tile at the back of my bar.
Really clever! We bought a new patio table specifically for the fact that it’s to is made of removable rules. This is exactly the kind of technique we need to decorate it.