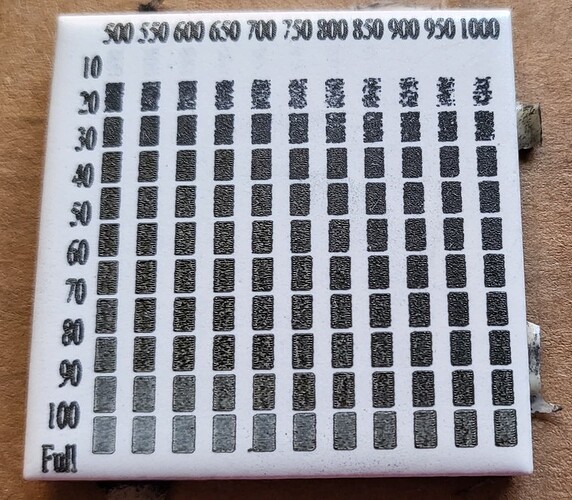
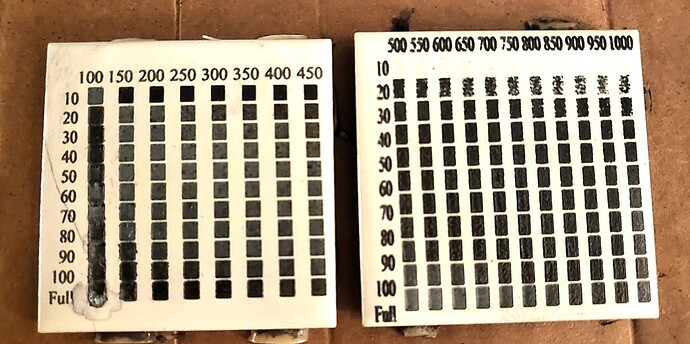
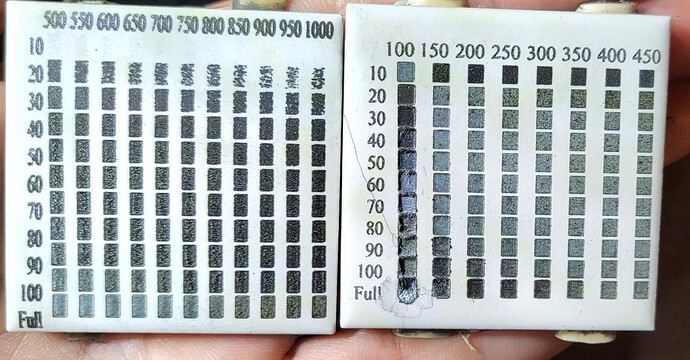
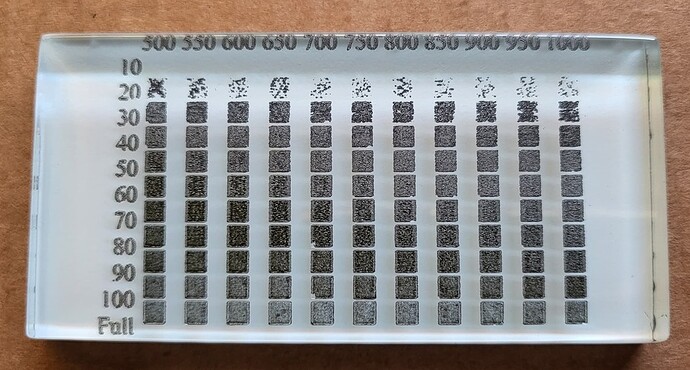
I’ve been meaning to share this and got a little busy. I was asked to test Cermark Ultra and see if I can nail down some starting settings for different materials. Rather than guessing what works best, I created a grid of many rectangles and assigned different speeds and powers to each…I do not recommend this…it was awful setting each in the interface, took over an hour.
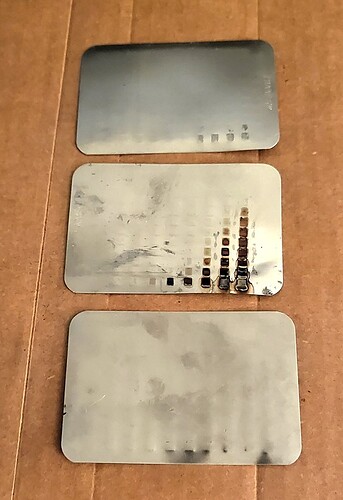
These are blanks that were provided to me-aluminum (approx, 1/8" thick), stainless steel (super thin business card thickness), glass (1/4" thick), and ceramic (3/16" thick).
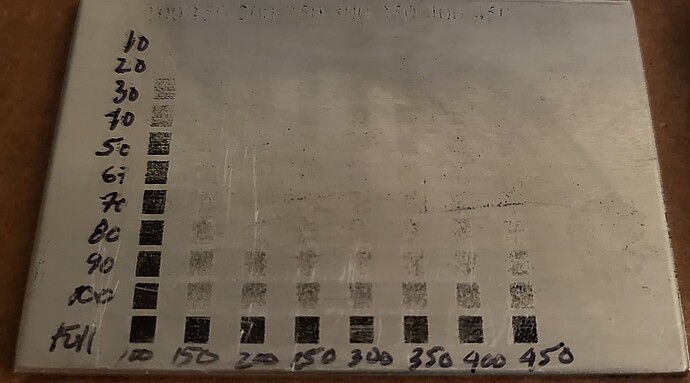
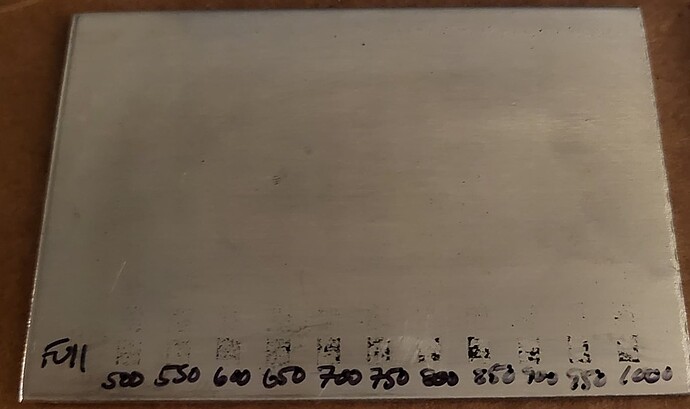
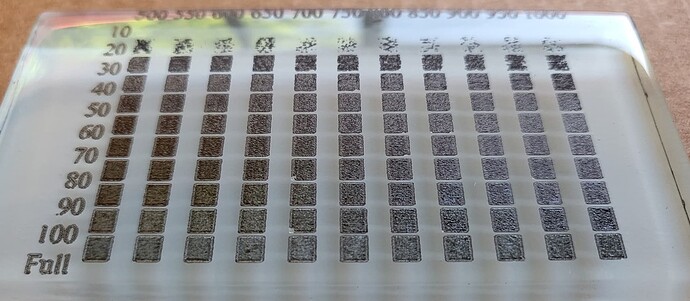
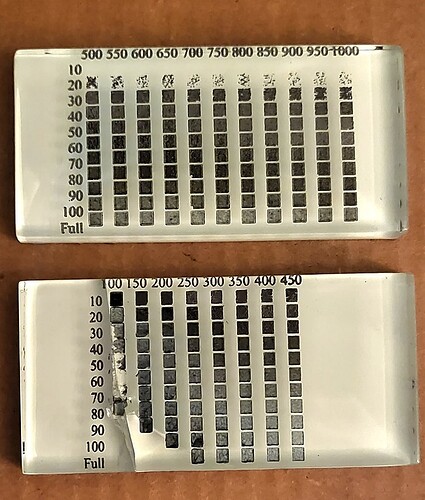
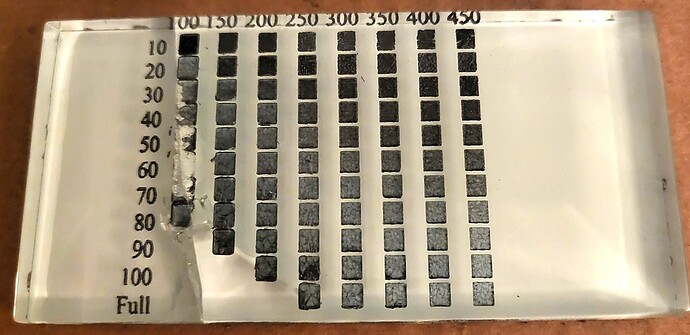
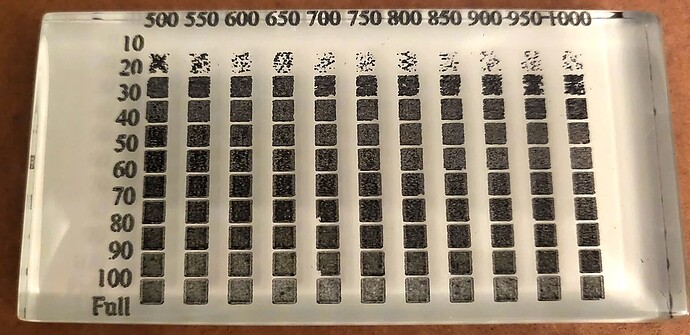
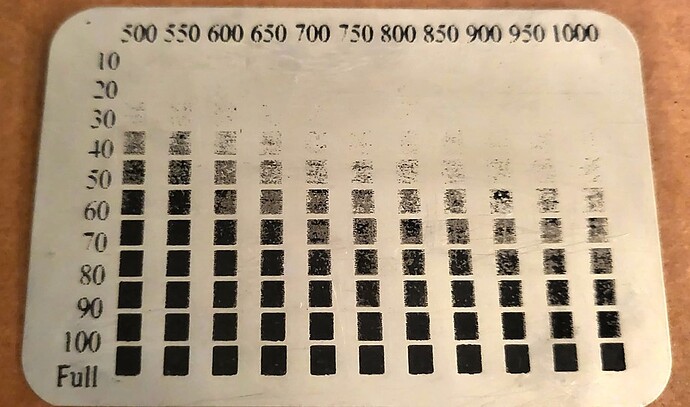
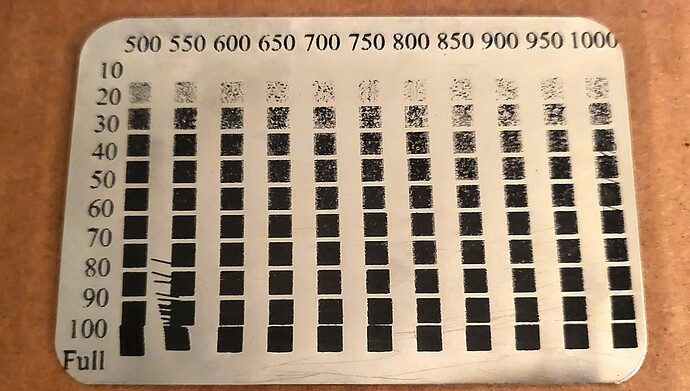
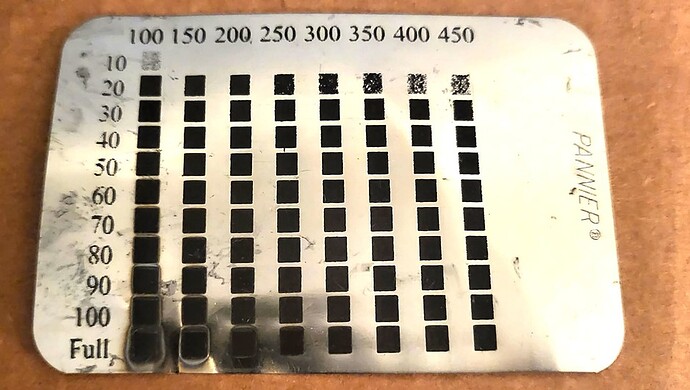
The numbers across the top (or bottom if I had to hand-write it) of each sample are the speed, and the side is the power. I used an LPI of 225 for each sample square.
Before applying Cermark, I cleaned each surface with alcohol. I applied with light, even coats like spray paint. After engraving, I cleaned with alcohol again, but then took a razor blade to see if it scrapes off. These are the final results on a Glowforge Basic 40 Watt machine.
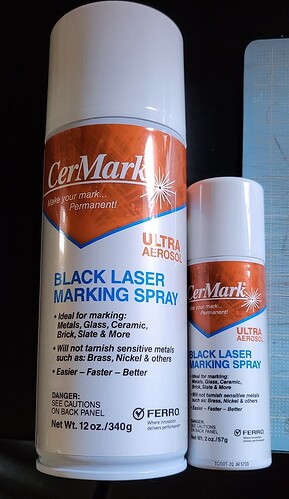
Sample can vs large can:
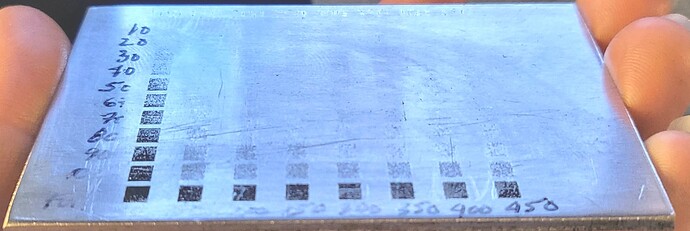
Aluminum: This was the most difficult to leave a mark. Full Power/100-200 speed were the best results.
Tile: 10 Power/450 speed were the best, but the higher speeds/more power had consistent results. The 60-90 range in power at higher speeds yielded good results. Too slow and too much power damaged the tile.
Glass: 70-90 Power/ 500-650 Speed were the darkest with the least damage, aside from 10 Power/100 speed (this is probably too slow for normal users). Too low of a speed is damaging to the glass, and it cracked the sample.
Stainless Steel: Full Power/1000 speed worked every time. Lower speeds caused significant warping/damage. I had inconsistent results between my first two tests at the same settings, and I’m not sure if it had something to do with spray consistency. My first test shifted because of the light weight, so I redid it. The second test didn’t mark lower powers at all, so I’m assuming there might have been a difference in my coats.
Damage on the back due to high power/low speed:
Test Results:
I hope this helps give people a starting point when trying to determine Cermark settings.
I know Cermark is quite pricey, but I was able to do all these tests with a sample spray can, and I still have plenty of the can left. The sample can is 2oz, and goes for 12 dollars, plus tax, and shipping. So it’s a cheap way to try it out if you’ve ever been curious. I’ll include the link here for anyone interested. I also learned that Cermark cannot be shipped over air (some of the other sprays I order also cannot travel by air), and so only ground shipping is available.
