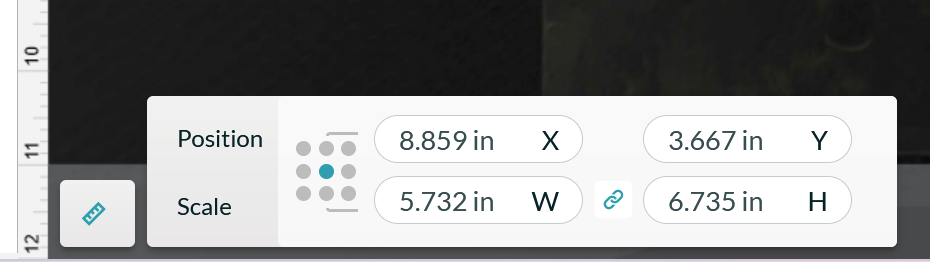
I really like the feature in glowforge dashboard where you can select/define the coordinate origin of an object by selecting the ruler and position “dots” as shown in the attached example. To no avail, I have searched high and low for doing the same type of thing in INKSCAPE. Is there a setting in Inkscape to do this and if so, where is it? Thank you
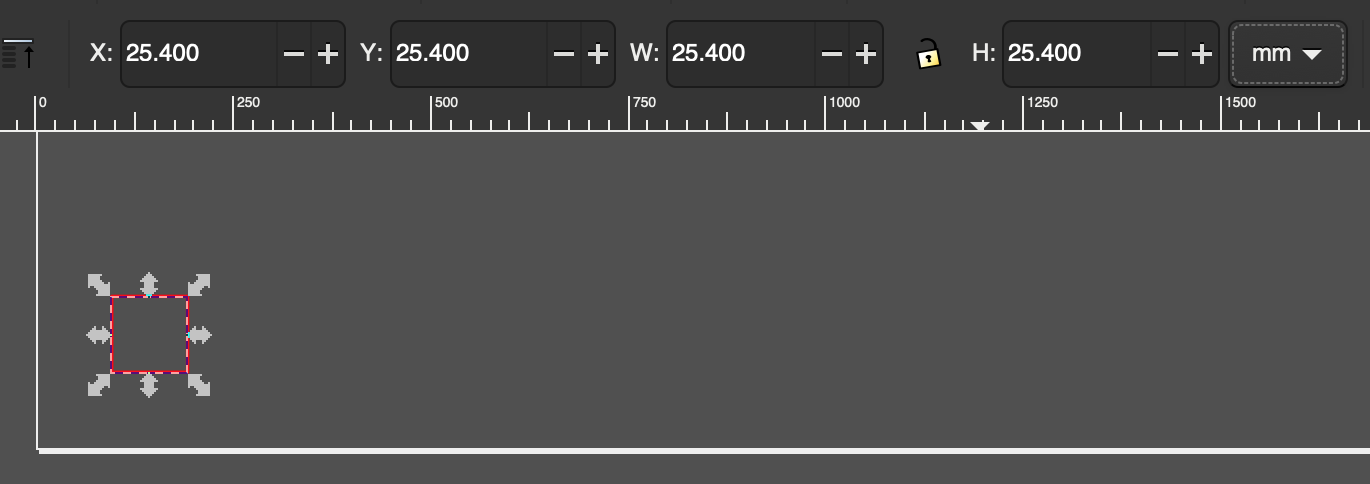
You can define the X and Y coordinates in Inkscape, but I don’t think it orients to the center, right, or left with a single click.
2 Likes
It orients to the bottom left corner as 0,0 you can change that by changing the border to the object. And of course, there are all sorts of sorting stuff.
1 Like
Yes I know I can define the XY coordinates but I DO want to change/use the center as the reference point…not left side. Perhaps Inkscape can’t do that “easily”. Thank you.
Yeah, I missed your point.
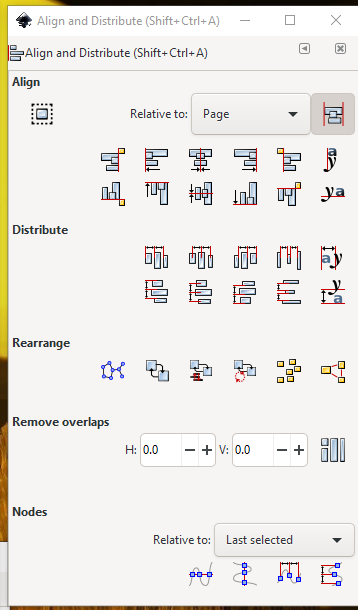
I think you can do that using guides or rulers. Align to ruler, then use the alignment tools shown just above. I’ve never done it but Inkscape has some great documentation.
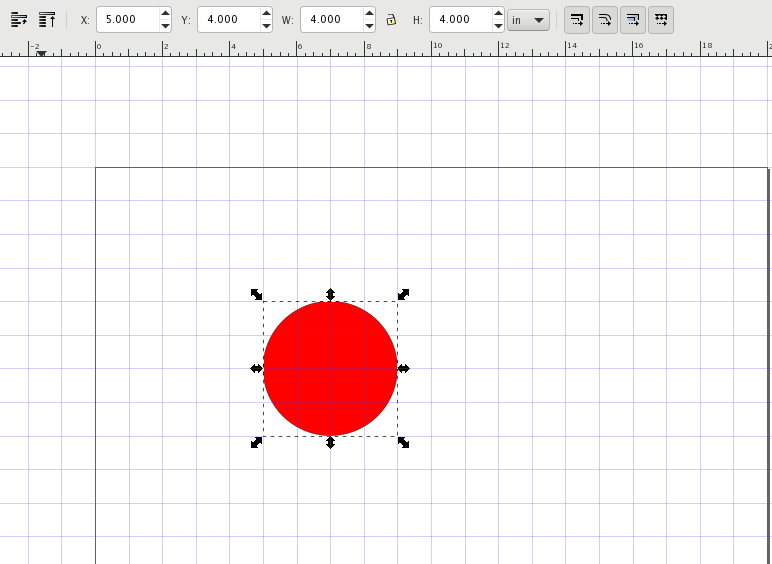
If I’ve needed to align say, by center, I just create another “throwaway” object and align everything to that. I’ve done that a few times when making a grid of shapes, for example.
1 Like
OK I played around with it just now after dinner, only took a few minutes. Longer to type this than to figure it out.
You use guides, set your guide origin either by hand or by entering the data in the Guideline popup (double click). When you move an object/path near a guide origin, it snaps to any edge, corner, or arbitrary node. If you turn on “snap to centers of objects” (over on the right near the bottom), it will snap your object exactly as it states. You just have to get it somewhere near the center for it to snap to center.
Here… I was bored so I made a short video showing how it works. Just snap to center, you can also snap any node to a guideline, as I mentioned above.
I forgot to say earlier, guidelines do not have to be horizontal or vertical. If you double click on one, you can set the angle - so you could for example line up objects by center along a diagonal.

2 Likes
Like most programs, there are slight differences in concept that make some moves easier than others. I miss the Autocad style easy dimensioning, instead, there are workarounds, some requiring you to do some math. Where you read the placement relative to 0,0 and the height and width, you can go in and change any of those numbers by typing something different.
Watch the video. You can just move them around by hand. No need to fool with typing in numbers.
If you are willing to type in changes in snap settings instead ![]() (or put up with fixed settings that become more problematic, though I do end up changing those by typing in often enough as well)
(or put up with fixed settings that become more problematic, though I do end up changing those by typing in often enough as well)
You can also drag guides from the upper corners of your window to get 45 degree guides. Little time saver.
1 Like
You can even Shift-Ctl-pick a guide at a rotation point and rotate it and it will snap at 15 degrees at a time ![]() (with just Shift-pick it will rotate smoothly)
(with just Shift-pick it will rotate smoothly)
1 Like
Thank you all for the work around ideas. They all would/do work but they all are “work arounds”. Doing them is not hard if this only needs to be done once in a while but can add notable time when having to do over and over. Glowforge’s “object origin placement” feature is very direct, clear, versatile, helpful, and easy. Hope Inkscape incorporates this functionality someday. Thanks again.
I took a minute and looked around to see if there was a plugin that did this. I didn’t find one, but I did find this:
https://inkscape.org/forums/extensions/accessing-and-changing-object-location/
Looks like it might be tougher than it looks. I wonder if this guy ever succeeded?
Or this one?
If it were me, I would do it essentially the way that everyone is talking about here, with a little optimization that just works with the way I think:
Drag a guide to the canvas.
Double click on the guide. Set the x and y of the guide origin.
Click and drag your object center to snap to the guide origin.
Yes this is a work around, but no, it doesn’t add significant time. I’ll test it and time myself: Looks like it took me about 15 seconds tops, and most of that was me deciding on coordinates as I went. With practice, I’d get a lot faster, so would you.
It may be marginally slower than the interface in the UI, but the tradeoff is that the UI editor has a weak feature set compared to Inkscape. I’d rather use Inkscape for my entire workflow than do a hybrid process with Inkscape the the UI.
Beyond that, lets say you need to do a lot of this sort of thing, with regularly spaced copies of a group of objects you can create a custom grid and snap your objects to that. There are guide extensions that can create grids of guides too:
https://inkscape.org/~samueldellicour/★inkscape-guide-tools
If you have a geometric arrangement of objects you can use the shift-G command to convert a shape to guides – #2, below:
There are lots of ways to make this fast and easy within inkscape. IMO the GF UI isn’t something to wish for, it’s something to be avoided.
1 Like
If your time savings in doing it from selecting your desired origin point are worth more than $20/month, you might look into Illustrator. You can choose any corner, plus center, and you can also just drag from the corner of the rulers and set any position in the art as 0,0.
It seems like this would have to be a full time thing though for the savings to pay for an Illustrator subscription.
Not sure if Affinity Designer allows for designating different origin points.
Thanks everyone for the ideas and time you put into this question. I agree that overall it is definitely preferable to use Inkscape for all the design. Hence my question. It is just this one feature I preferred in the Glowforge UI. I will use one or more of the ideas described. Thanks again everyone.
1 Like