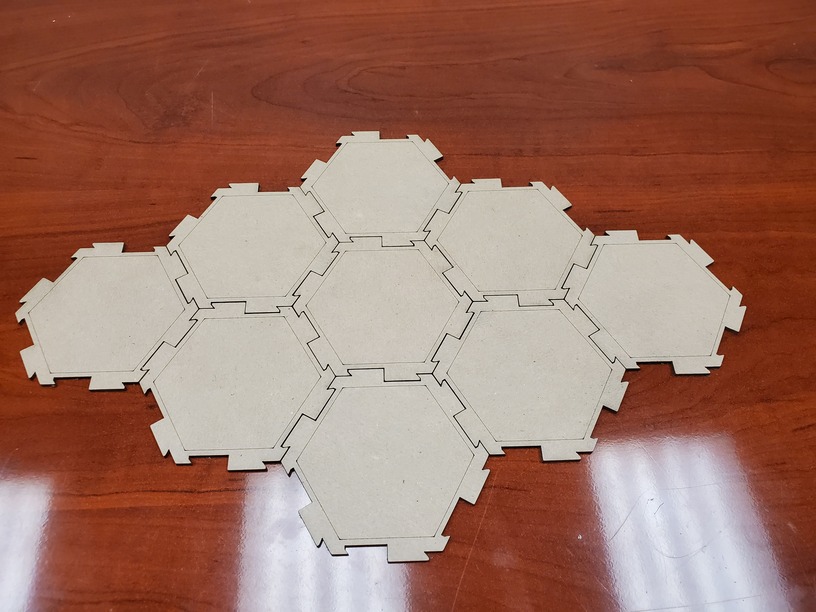
Ok… blatantly stealing the interlocking hexes idea, but it works for my 4X space game sooo… First test of 0.1 chipboard.
The inner hex is 500/15 score just to have a template of where to lay down the printed labels. And the cut is 190/100 (not full). Think aside from some laser-fingers from the black ash that came off of it, they turned out pretty nice.
I’ve done something sort of similar - and I used A4 adhesive labels onto the cardstock, then lasered the whole thing to get squares in my case. It is fiddly getting the alignment right. I used a super light score on a registration mark outside of my actual pieces to test the alignment and rotation first - then turned on the actual cuts.
I’m not sure yet. But I do have a silhouette 3 that might get that task. Not sure if I want to mess with lasering labels yet. No matter how tempting LASER ALL THE THINGS is.
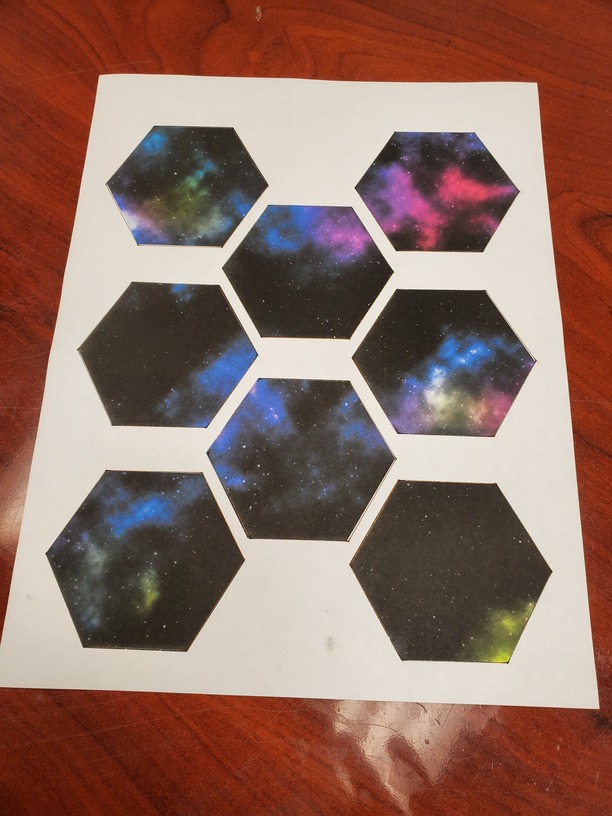
Likely going to be cutting these labels on the Cameo 3, but I am currently waiting for my pixmat to get here to do so… Sooooooo… I had a couple sheets of full size labels and decided to see what the GF could do. Almost perfect guess on the feeds and speeds. 500 speed and 40 power and it ALMOST cut all the way through both the label and the backing. I was shooting for JUST the label so I’m going to consider this one a win, but back the power down to 30 next time if I do it again.
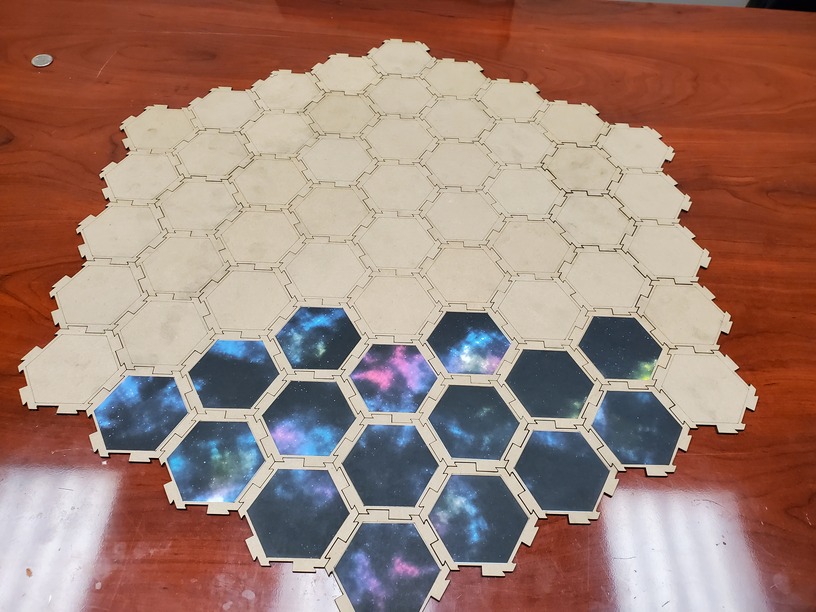
And here is the full map (61 hexes) with a couple sheets of space labels on them. This is the the prototype of course, but I can see that this is turning out a lot better than if I had tried doing this without the GF for sure.