So I work as the Tech Director at a public school (USA) and we are 1:1 with Chromebooks for grades 3-12. This is great except that only 6-12 take theirs home which means that 3 grades of classrooms have to have a way to charge and store their Chromebooks. We started with carts, slotted organizers, I think one teacher even used a dish rack but they all had the same issue, busted plugs and damage to the device (usually the keyboard) from students hastily jamming them into place.
Now I find myself with this high precision laser, a bunch of draft board from a canceled project, and a set of calipers. Since I couldn’t FIND a solution, I MADE one. Well several actually cause each is specific to the model of the device.
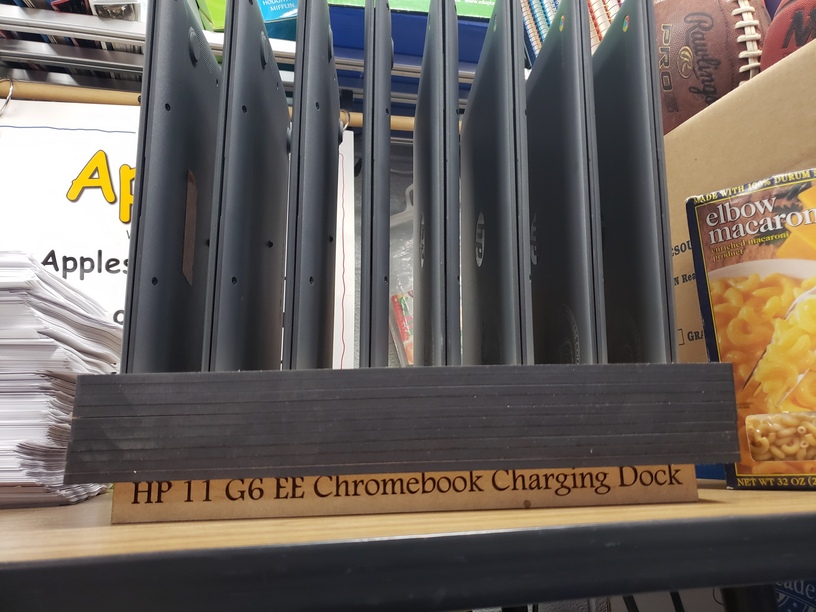
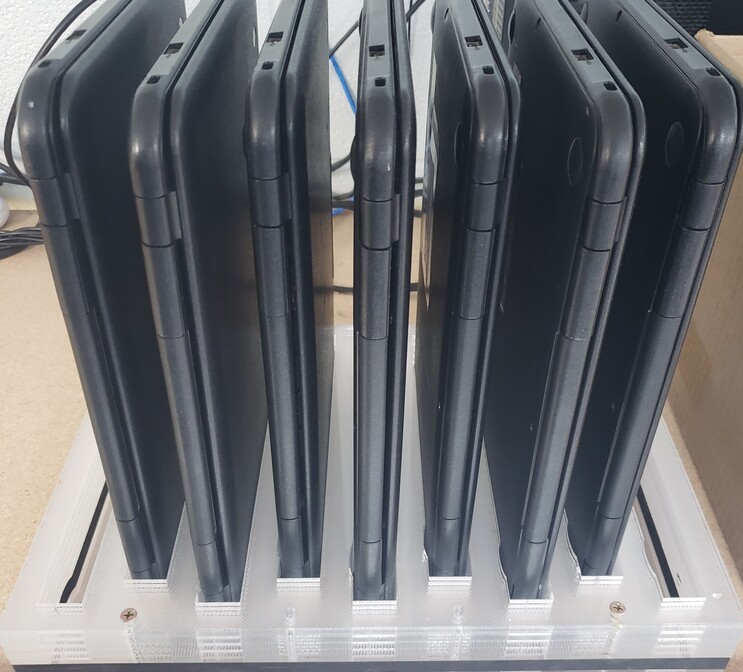
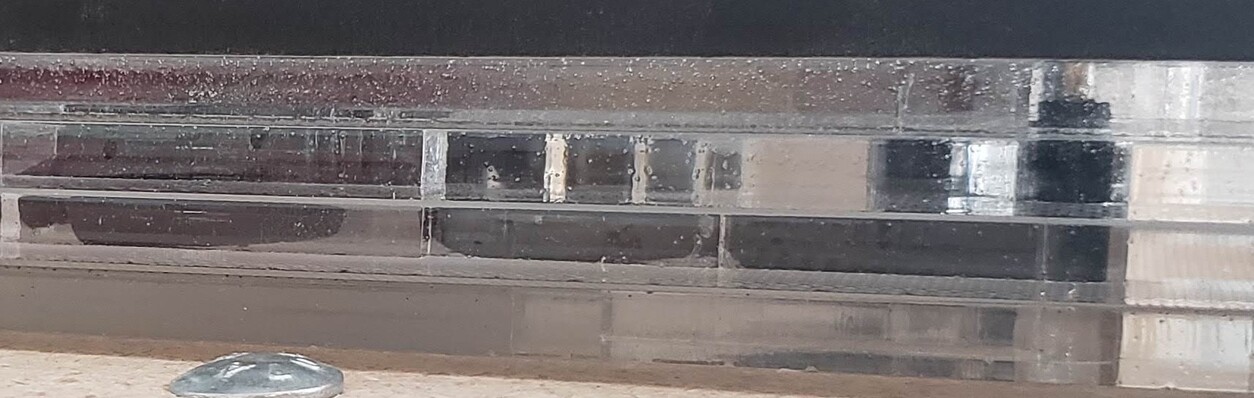
Each docking station is comprised of layers of Thick Draftboard and topped with a single layer of clear acrylic (not pictured). Size tolerances are tight enough that it just barely squeezes the device so it always hits the plug in the bottom straight on to prevent damage.
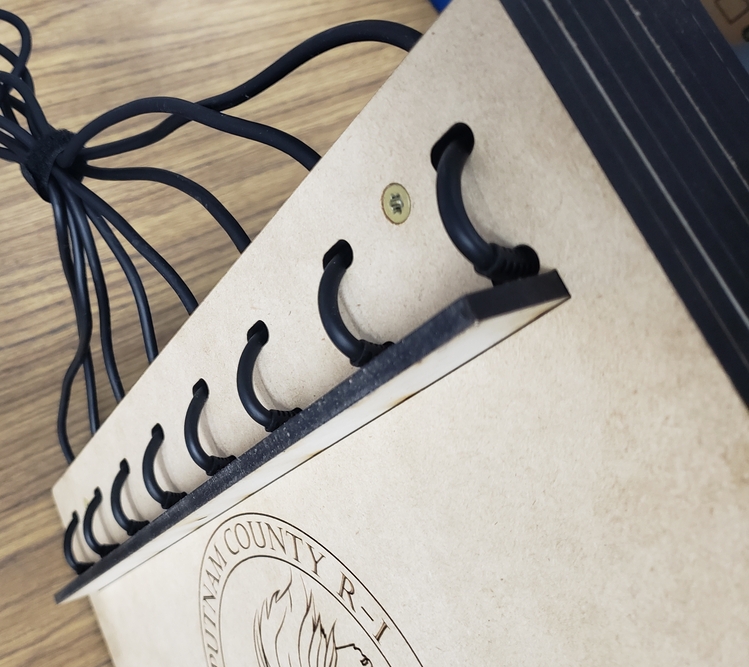
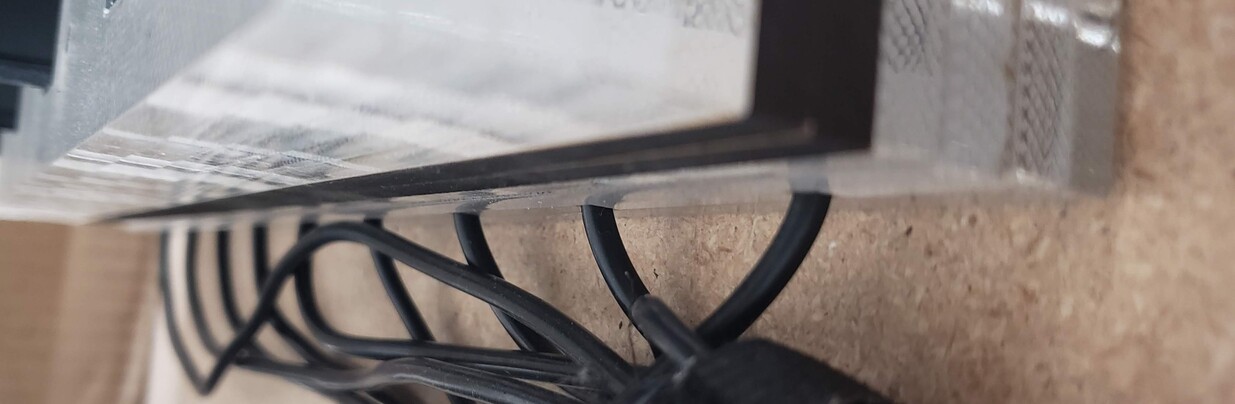
All cables are ired at the back and pressure locked in place to prevent damage from yanking, moving, etc.
The top layer of draftboard is etched with student names so that the same student gets the same device everytime (in theory).
Held together with 2 sets of screws the top layers can be removed by the classroom teacher without risking rewiring the entire kit.
Additional layers of thickness provide additional support in lower (rougher) grades.
Since the entire thing is the solid material the weight does a fair job of preventing slip, but rubber feet can be added to the underside for more grip.
Made for Lenovo N21, N23, HP 11 G6 EE, and Asus C302C (files in the laser designs section)
I suggest chamfering the edges of the acrylic and possibly lining at least one or two points to prevent wear on the surface of the device as over time the in and out movement will wear marks in the surface finish of the Chromebook.
One of the things I’m doing for future models is to build in the stress relievers. Most Chromebooks are ABS plastic on the cases and the draftboard does not appear to create any wear points after the last 4 months of daily use. By adding thickness, it will make it impossible to insert the device without risking damage to the screen
Maybe I am misunderstanding your design, but your post says that the layers of draftboard are topped with a single layer of acrylic. This single layer of acrylic will scrape the finish on the Chromebook unless you take some step to dull the cut edge, either by chamfering or making a bumper for the contact points.
Draftboard is a wood fiber product and will eventually wear on the finish. I am surprised there is no wear visible yet, but wood fiber is very abrasive and will eventually cause marks. ABS is really rather soft and is highly susceptible to wear. I am guessing that the case is actually ABS/PC as this is more resilient, but will also show wear over time.
according to the casting marks its just ABS (These are cheap chromebooks). I think I’m getting away with the acrylic edge because of the depth, the acrylic is only very lightly in contact with it the rest is the draftbord where again its only in contact just enough to align.
On the Acer dock, we are seeing wear on those but they are anodized(?) aluminum cases. The only reason I wouldn’t consider putting felt or some other lining on the edge is because these are meant for use in a classroom where they get nasty dirty very fast. Basically, it is one less thing I have to disinfect later.
I think you mean Radius–rounding the corners, inside or out–but especially for the slots! This will prevent stress cracks that are bound to happen in the acrylic from the sharp inside corners (and happily all design programs have a button to add & change radius).
(Chamfering usually refers to the edge–it’s good to do, but can’t be done with the GF that is only perpendicular beam orientation).
No, actually, I meant chamfering the edge of the cut on the acrylic to prevent that hard, sharp edge from scraping the finish on the Chromebook. It is also called breaking the edge and it should be used for any edge that may come into contact with a person or something softer than the edge material.
It could be done with a gradient etch with the GF.
It is most easily done with a deburring/chamfering tool run along the sharp edge. A hobby knife also works well with a little practice.
Thanks for clarifying–my mind was just on the set up with the actual cutting lines.
It is indeed a great idea!
I have found some acrylics I’ve used do leave sharper edges than others. A piece of sandpaper wrapped around a block also works in a pinch, too. Likely best here is the type for metals (grey sheets) and not wood. (And if you don’t like any resulting scratches, go over it with finer & finer grit & even to buffing if really want to send it out scratch free).
When cutting the acrylic I switched to manual settings and slowed the cut by a fair amount. combined with being thich acrylic it leaves a very slight curve on the edge, just enough to not be sharp anywhere but the outer corners which I should have rounded as well.
I would agree tho if you are worried about making these sale quality a bit of finishing polish could be applied to the entire thing.
A pass with a propane torch will polish the edges pretty quickly. Just be careful not to let it sit on a specific spot for too long or it will melt A waving pass of the torch on the edge is good.