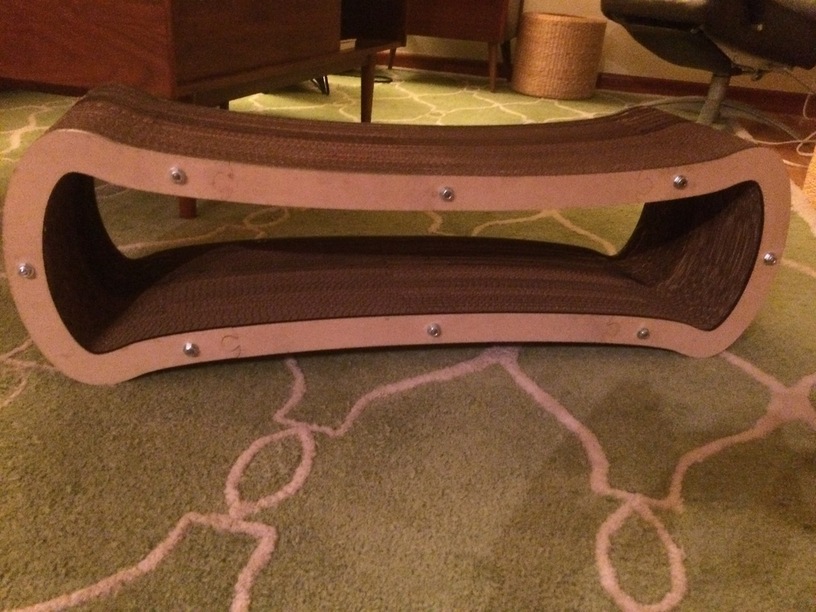
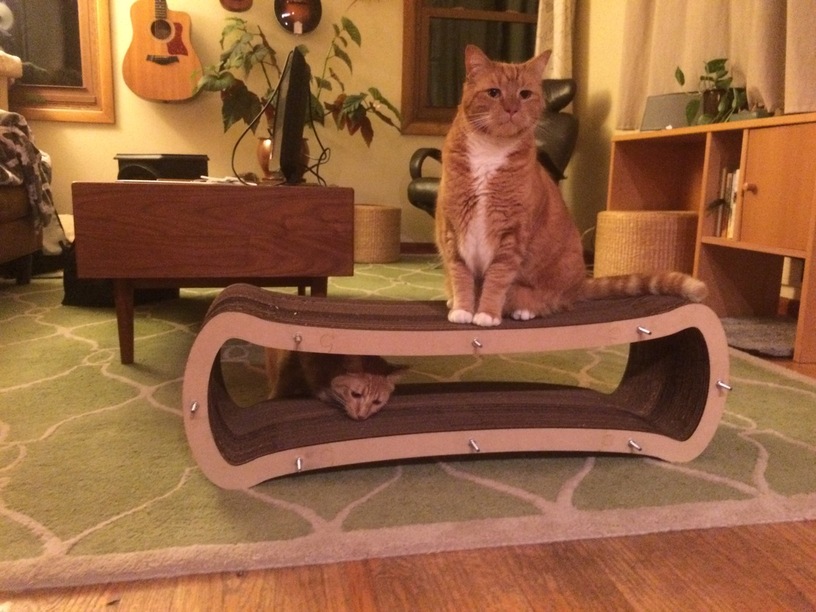
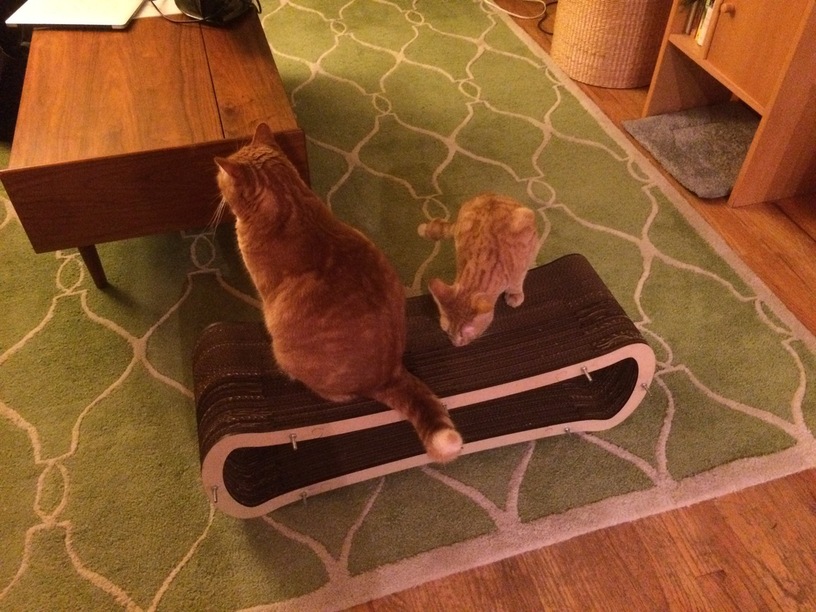
I am finally willing to admit that I’m a cat lady, but I’d like to think that I’m more "classy " than “crazy”. I saw a somewhat tasteful cat scratcher online for 80 bucks, and I thought: “80 bucks?! I could make that!” Fast-forward (or more like slow-forward) a week and 65 layers of cardboard later, the neverending project was finished. It’s just over 3 feet wide, a foot tall, and a foot deep. (Cats pictured for scale).
The details:
The 2 outer layers are each comprised of 4 interlocking pieces of MDF. There are 65 layers of cardboard sandwiched in the middle. It is all held tightly together with eight 12-inch bolts. (I still need to trim the excess bolts on the back side). The idea is that I can unscrew the nuts and replace the layers as they get shredded, although I don’t know how interested I am in taking it apart and going through all of that again.
One of the biggest challenges was breaking the form down into interlocking pieces that would fit into the Glowforge bed, while maintaining structural integrity with the finished product. I staggered the location of the joints from layer to layer to eliminate the potential of weak spots so my 15 pound orange tabby “Jones” could sit on it without crashing through. Although that would be a great YouTube video, I might cry to see all my hard work ruined.
This is a great project and your cats clearly appreciate it! One of mine is obsessed with her cardboard tunnel and I’ve considered trying to make one but didn’t think I could do it with a Basic. Staggered interlocking layers is genius!
Thank you! You could totally do it with a basic. I didn’t use the pass-through slot, hence the need for interlocking pieces. Just make sure you have A LOT of cardboard on hand. cutting the cardboard down to fit into the bed was a bit tedious, oh and you have to make sure that the corrugation is running in the correct direction.
I’m happy to share any advice or design files if you want to take it on!
Looks really nice! If you do decide to share it, I might try and take it on… my girlfriend has been bugging me for some kind of glowforged cat furniture.
Awesome! And they look like they love it. (Although I hate when peoples living room looks like a magazine layout… instead of mine - like an episode of hoarders… LOL)
I’m so glad you made one of these! I actually had something like this on my things to do list for a long time, waiting for the Pro so I could cut the profiles in one go. I dropped the idea after awhile with the same conclusion you came to—too much work. And I wouldn’t have a large enough supply of consistent thickness cardboard so would have to buy it. Still, if you wanted to do something really unique like a DeLorean or something, it might still be worth it.
back 25 some odd years ago when I worked in a record retention company we had our 1 cubic foot boxed made and I did get to see the machine and plate they used to cut them out.
I personally might have went with the one that looks like a 12x8x1 rectangle.
I am short of a cat for cat furniture, (There are few that I am not violently allergic to) but have been thinking of multiple offset layers for other furniture. What I realized is that a piece of cardboard folded over would be much stronger than two pieces even though you could only have straight lines, but two parts with straight lines back too back would be stronger still as some sort of “H” channel. a single Inkscape shape with multiple cut places would do the job and I think that having the grain in many directions might help as well. Having a big paper cutter to make many boxes into properly sized cardboard would seem a necessity for such a project I think.
Covering the cardboard with some carpet would make it permanent and still very scratchable, for the cats
Just to give you something to think about, suitable creasing in paper allows curves to be produced. Not sure if this would be possible, or practical, with corrugated cardboard. Would depend on the scale I suppose.
Haha! It might have taken me longer than the cat scratcher construction to get the front room to look like this for the dinner guests we had coming over that evening. Trust me, there is definitely hoarding here, it just mainly happens in the basement.
Exactly! …and this is why I have a basement full of craft supplies for everything you would need to do every kind of craft. Perhaps I should open it up as a communal creative space.