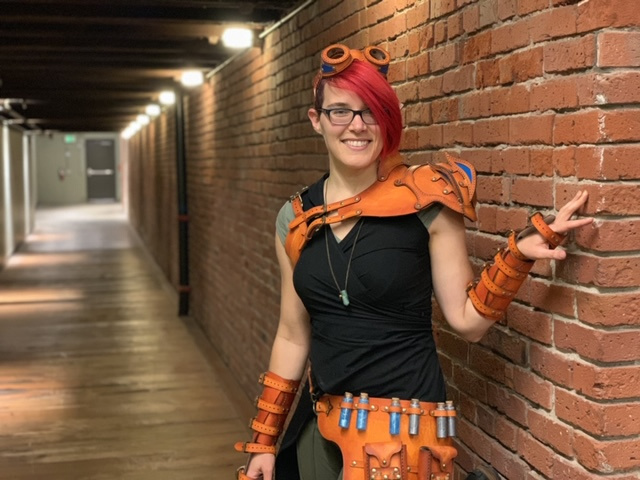
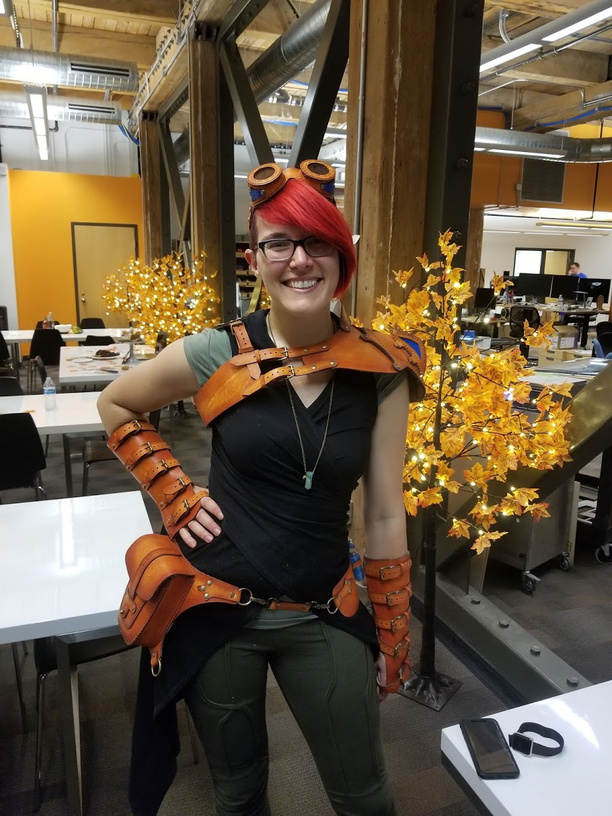
It’s dangerous when the office has a fall ‘make something’ contest that can include costuming… and it’s even more dangerous when I find a stack of beta ![]() leather in the basement that’s been hanging around for longer than I’ve worked at Glowforge. @Kusmeroglu was kind enough to model the results
leather in the basement that’s been hanging around for longer than I’ve worked at Glowforge. @Kusmeroglu was kind enough to model the results ![]()
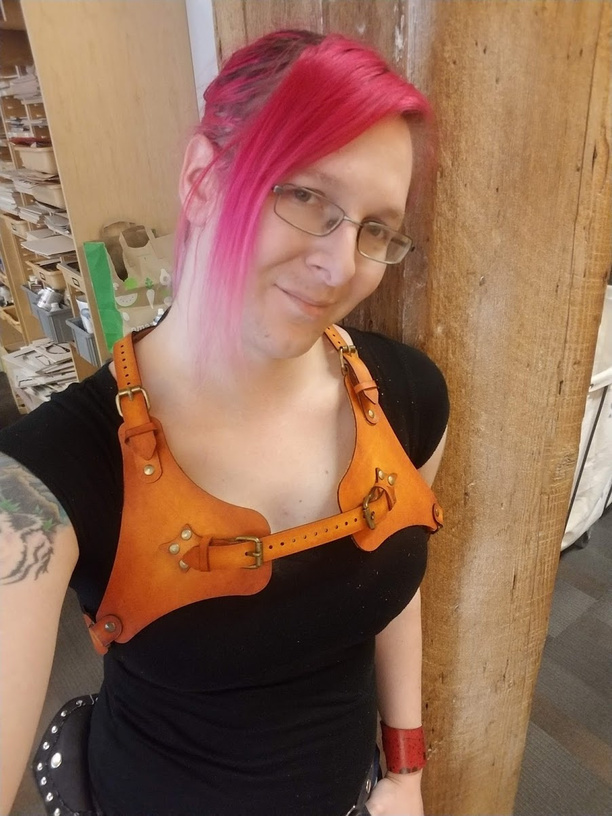
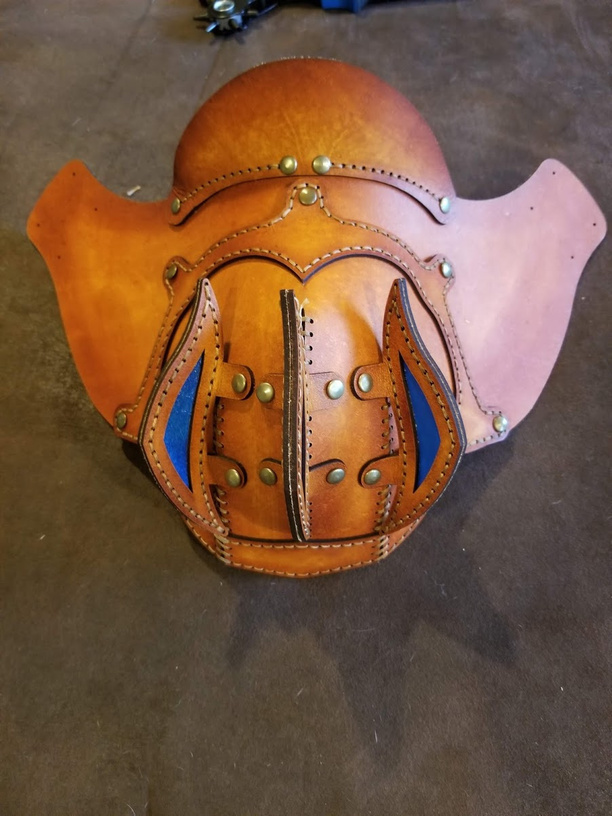
All told, this was about two weeks of mad dash crafting that I wasn’t sure I’d finish (and truthfully, I didn’t finish.) The shoulder armor was intimidating as all heck, especially since the extent of my leather stitching work to date is the wallet that I made in my first month or two at Glowforge… So I made a backup chest piece:
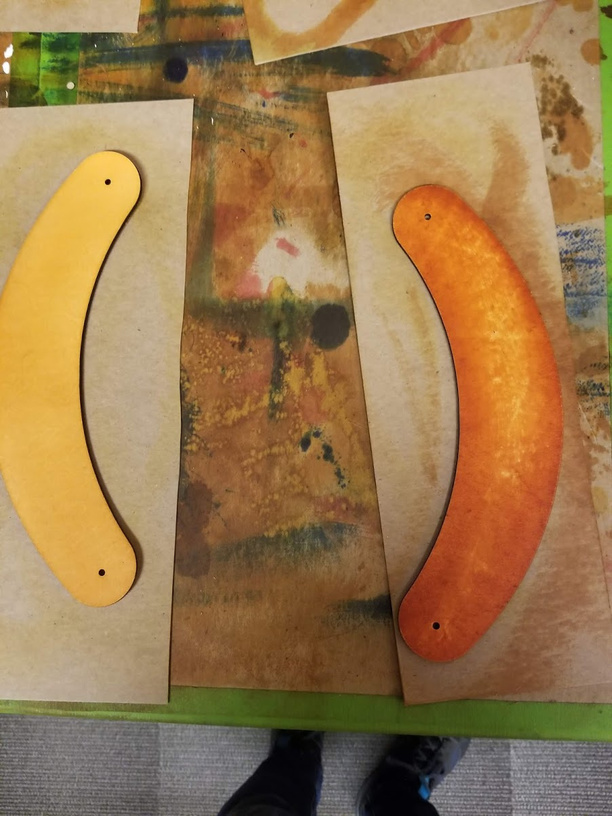
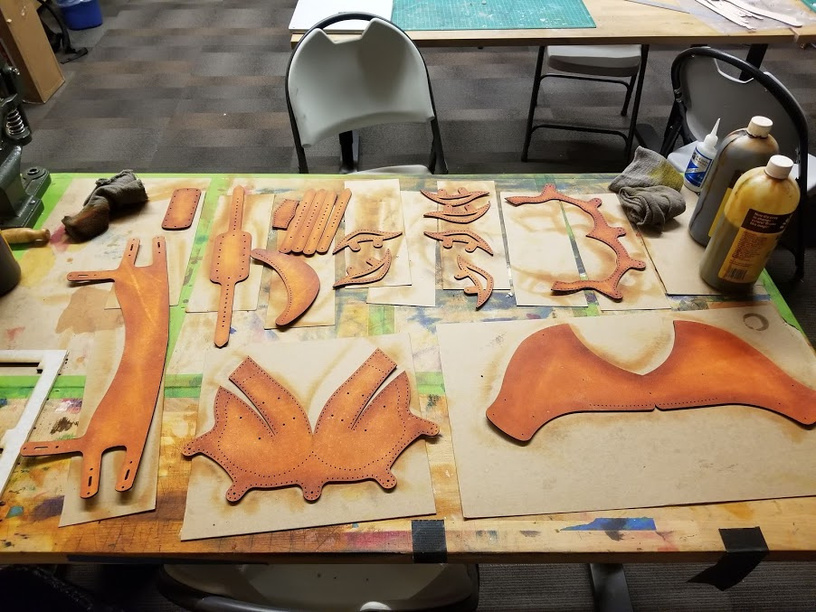
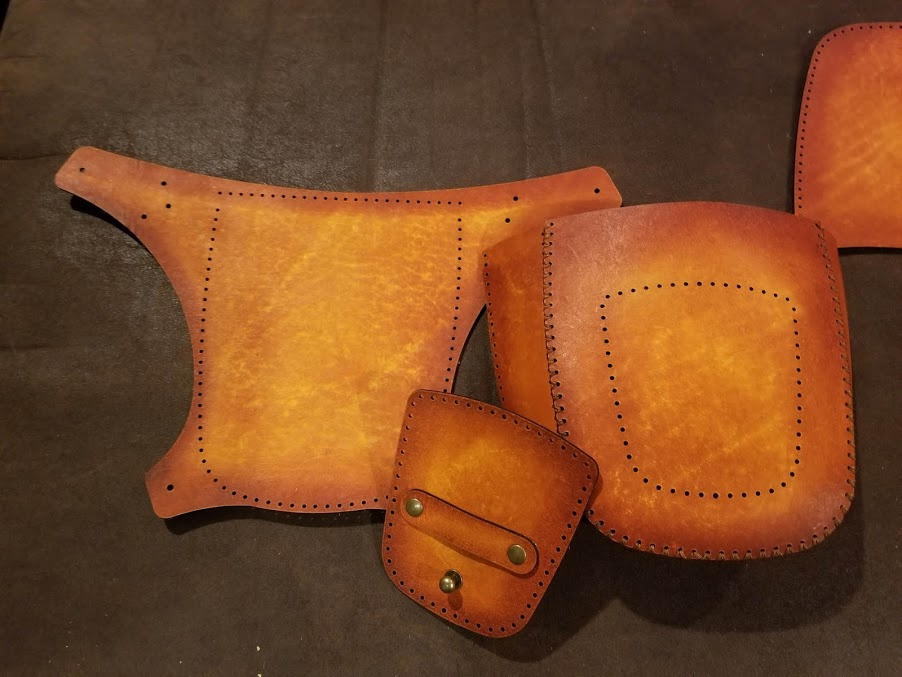
The dye scheme is a combination of Fiebings Light Tan and British Tan, starting by dying the entire piece with light tan, then working in from the edges with british tan to leave some highlights and give it a bit of a worn look…
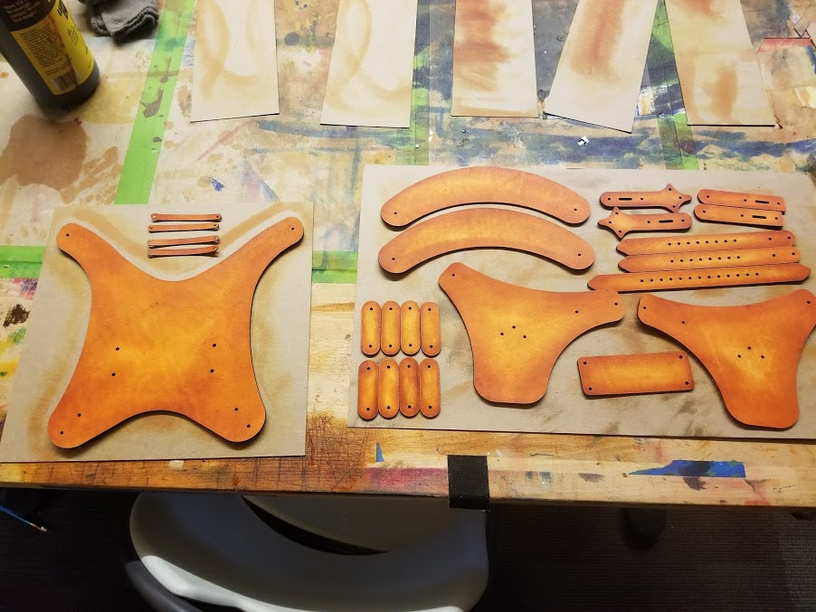
And the first chest piece wasn’t that many pieces to dye…
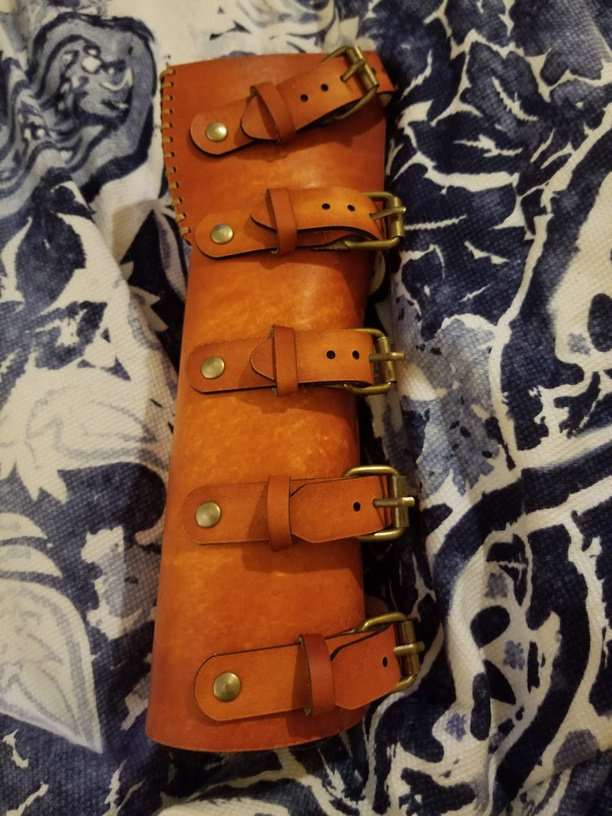
Armed with early success, I set off for one of the pieces with the least stitching… something for the arms.
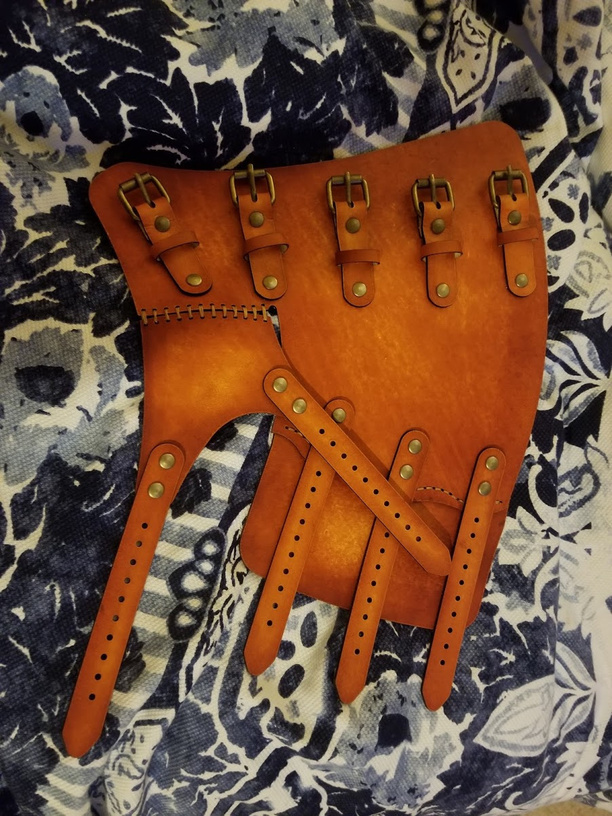
And it didn’t turn out too bad!
Which left me bold enough to attempt a little bit of insanity…
No big deal! Same stitches as the last thing, right? Just more of them?
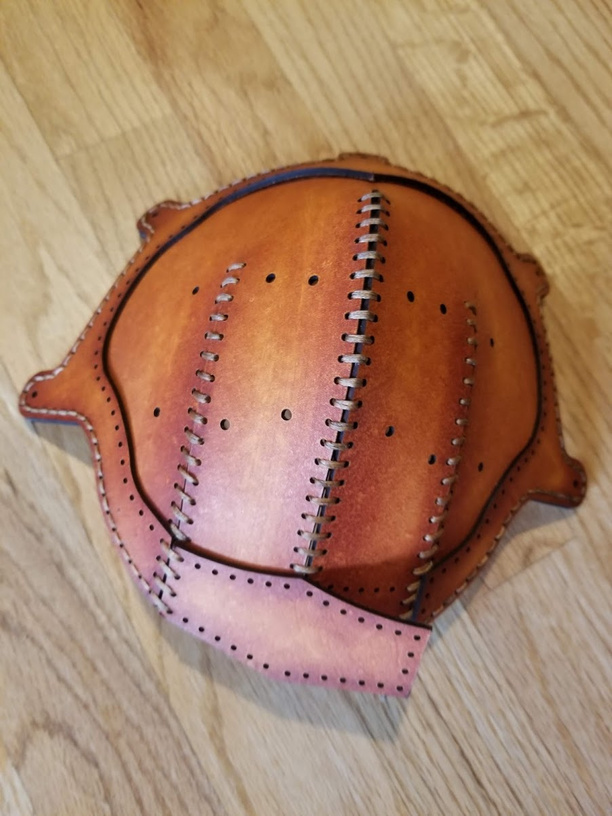
What have I gotten myself into? But… once you start, nothing to do but see it through! Down to the little details and the best decision I made in the entire project…
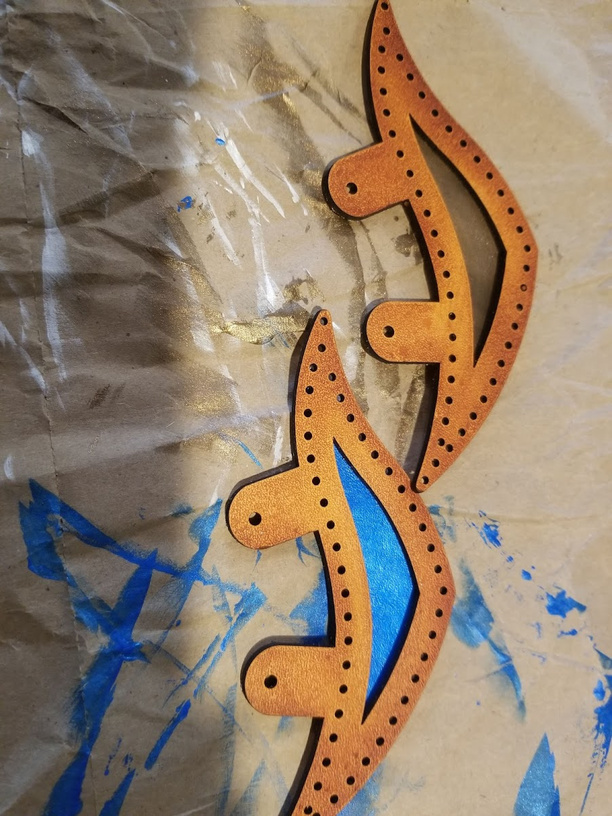
Bronze accents? Or Blue ones?
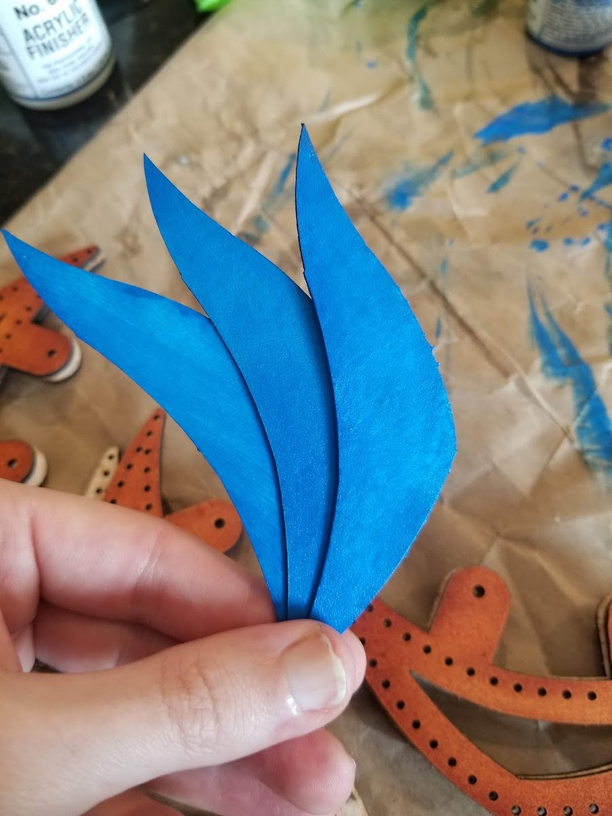
Blue it is! One of the few appearances of ![]() thin leather in the entire build. The Angelus Pearlescent acrylic leather paints are some of my favorite things
thin leather in the entire build. The Angelus Pearlescent acrylic leather paints are some of my favorite things ![]()
Victory! Also… oops! Nothing like finding out that the rivet holes at the end of your stitch were left the same size as your stitching holes… hand tools to the rescue!
Then on to the next set of details…
I swear, I’m getting over this whole no-stitching thing. Also… I ran out of rivets. If I’d counted before ordering my hardware I might have realized that the shoulder armor was a good 50 rivets all by itself!
But what can you do? I mean, other than move on to the next bit of stitching while waiting for the magic of Amazon Prime?
Wait… Prototyping! I mean, I’m not going to switch rivet colors at this point but my prototypes don’t care what color of rivet I test fit with…
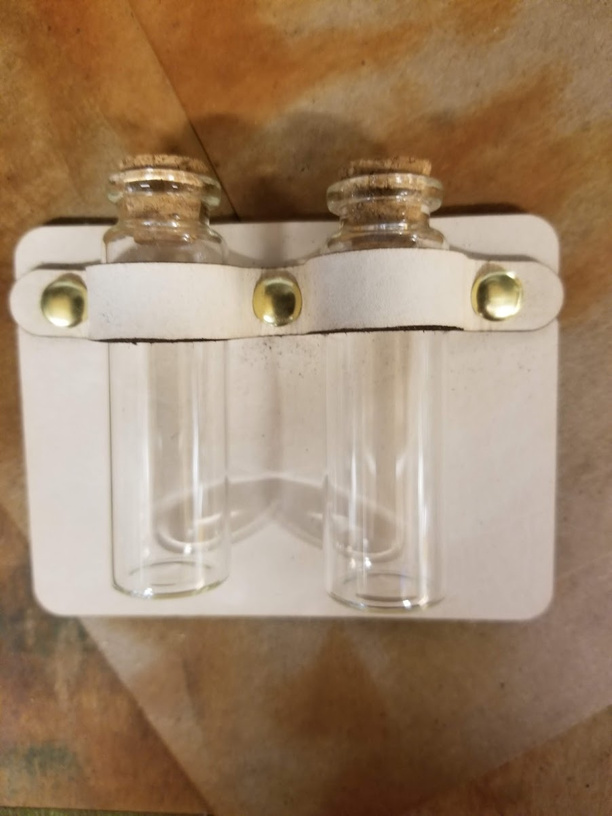
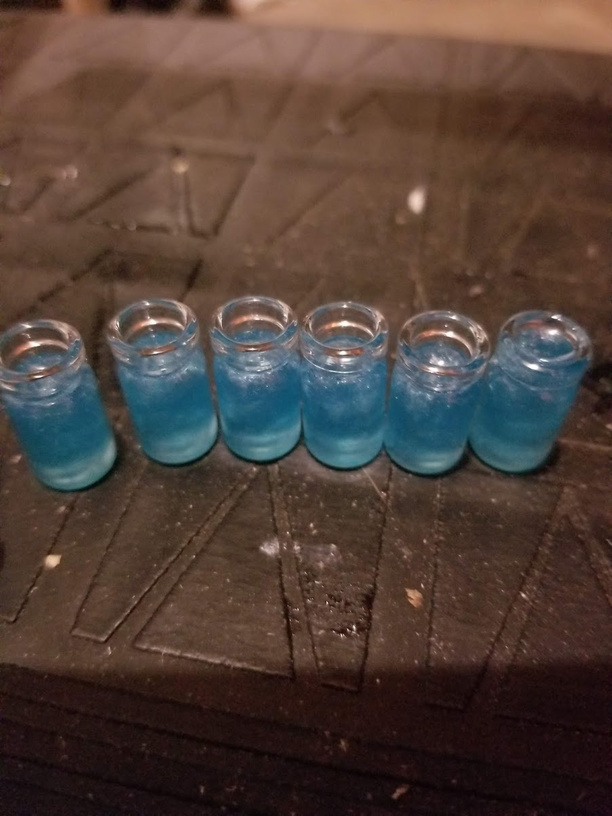
And I could get on with the resin pouring…
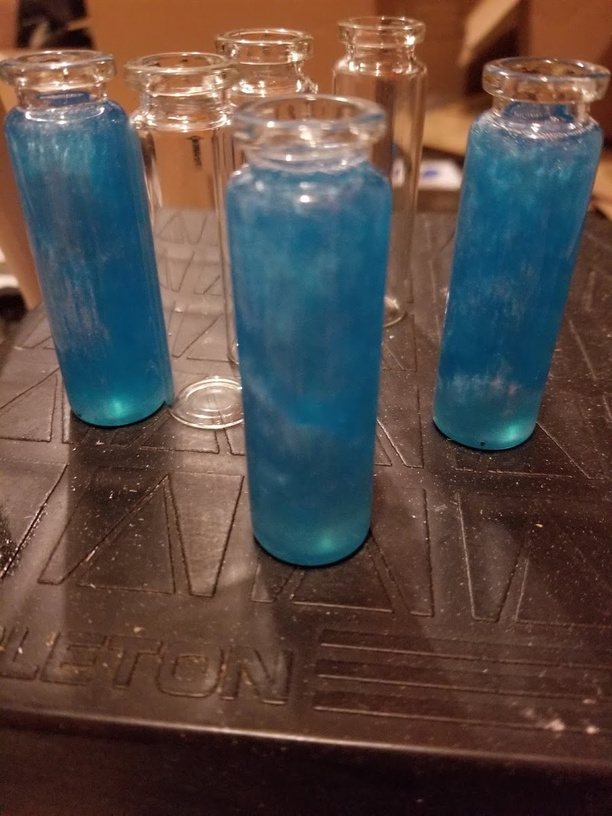
Into really tiny vials…
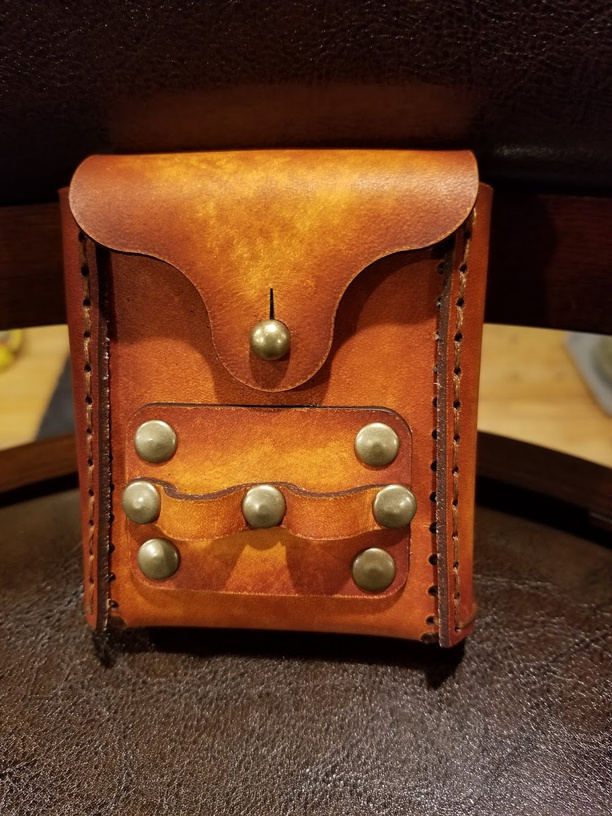
And while the resin was curing, my rivets showed up and I was able to finish the hip bag and potion belt…
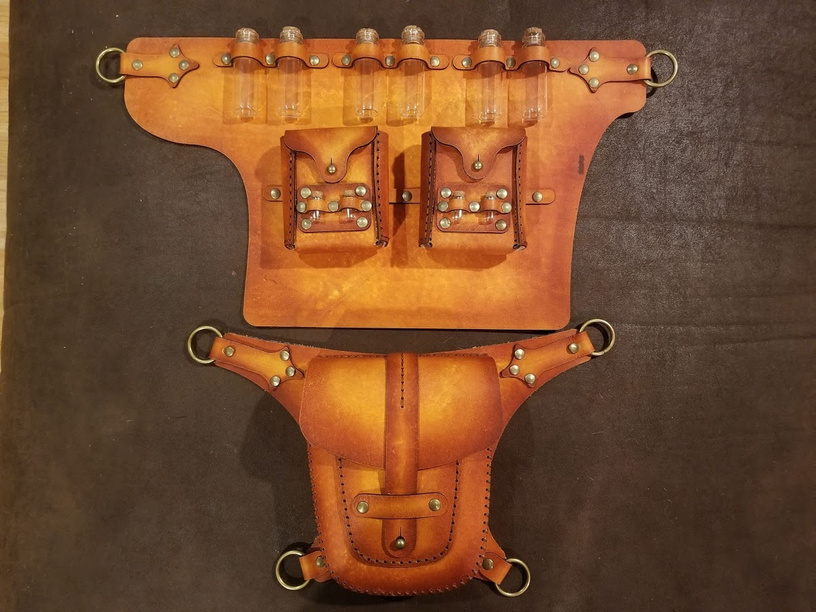
Well… not really finish the potion belt. Once I got the pouches fitted I felt like it was just a little too long. I cut a few extra strap bits with the idea of installing a few O-rings where you could clip extra pieces of gear… I figured I could just hand punch in a few rivet holes for that and call it a day… but I was running out of time and I needed to finish the goggles…
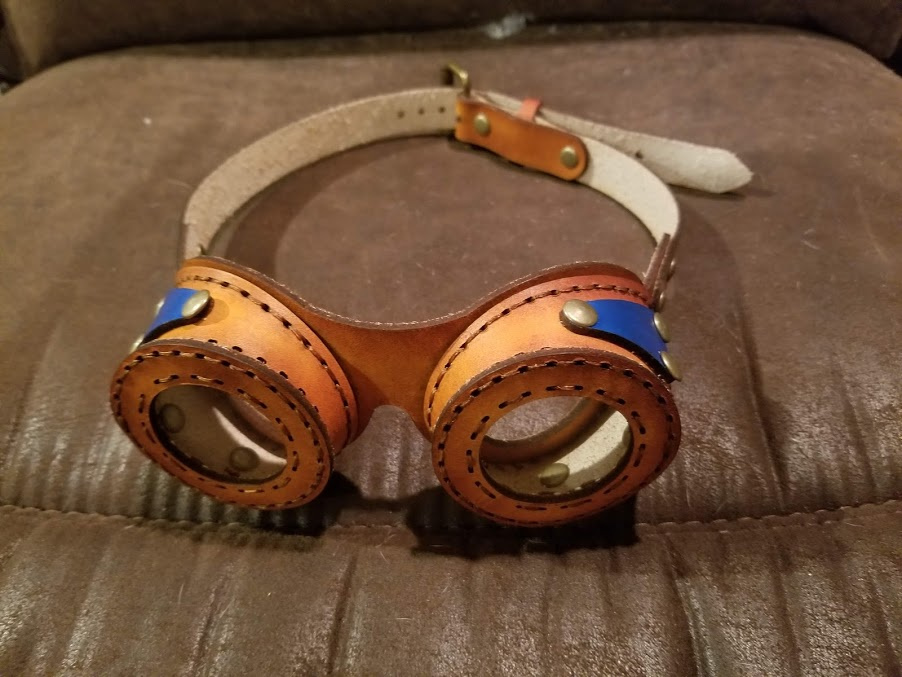
I found a mythic piece of thick Green Glass acrylic in the scrap bin that had just enough usable space to get a few lenses out of… and then found that trying to fit a lens that thick into these was more hassle than it was worth and fished some medium clear out of the scrap bin instead. (I’ll try the thicker lenses on another pair when I have more time!)
All told, I’d call it worth it if for no other reason than to get to see the massive grin it put on Linden’s face when she got to try it all on.
Random Trivia…
Total print time: 4 hours (okay, 2 minutes shy of 4 hours, but we’ll keep the difference between you, me and the logs.) Some of that was done on a Basic, some on a Pro.
Total amount of ![]() used: 15 12"X20" sheets of PG thick leather (that includes Mr. Failed Print up there), 3-ish 5"x10" sheets of PG Thin leather (lots of fishing in the scrap bin for those), 2/3 of which was used just making buckle keepers. Of the 15 sheets of PG thick used, there’s a really healthy amount of usable scrap left that will get turned into straps, fasteners, bracelets or any number of smaller projects.
used: 15 12"X20" sheets of PG thick leather (that includes Mr. Failed Print up there), 3-ish 5"x10" sheets of PG Thin leather (lots of fishing in the scrap bin for those), 2/3 of which was used just making buckle keepers. Of the 15 sheets of PG thick used, there’s a really healthy amount of usable scrap left that will get turned into straps, fasteners, bracelets or any number of smaller projects.
Total hardware count: 3 lobster clasps, 3 button studs, 6 O-Rings, 21 buckles, and ~200 rivets.
Thread used: I went through most of 2 25 yard rolls but there’s a crazy amount of that lost to waste.
And finally, total episodes of Voltron watched while stitching: I think I got through all seven seasons of Voltron Legendary Defender (in fairness, half of those seasons are only 6 or 7 episodes each.)
 or if I need to cut down a bit from one of the hides in the basement and attempt some passthrough sorcery.