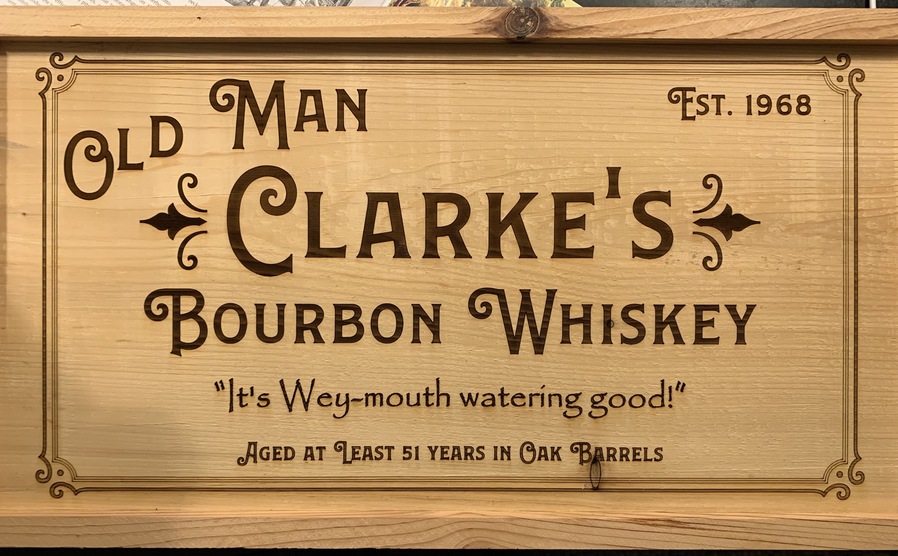
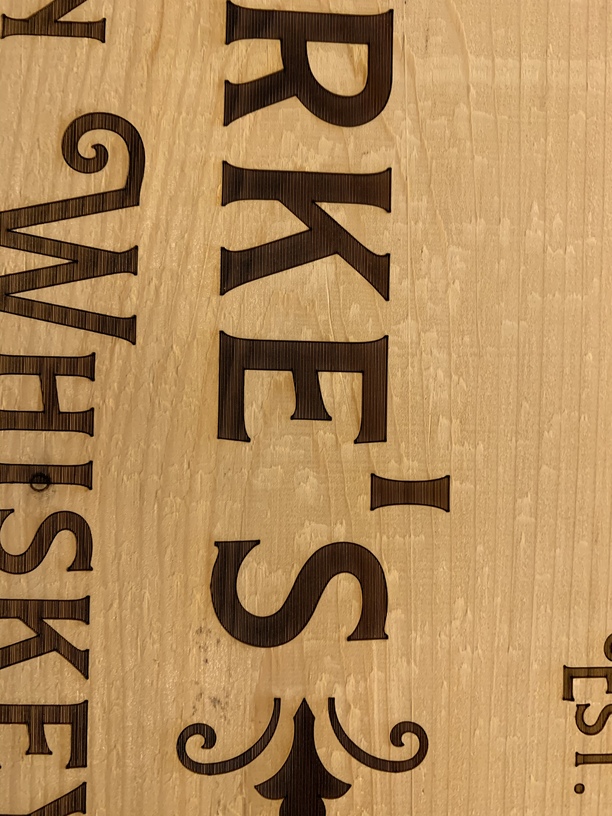
Got a nice effect for a sign I made for a friend’s birthday gag gift. Engraving at 75 lpi left a less than perfect edge on the letters, so I turned all the engrave paths to scores and ran it again and it came out very nicely.
44 Likes
Yes! Outlining engraved text with a vector adds a definition to it. Nice!
I’m sure I would have gotten along with Old Man Clark just fine.
5 Likes
Hmm what scale is that and how long did it take total? That’s a good trick, 75lpi + score probably went pretty quickly compared to a higher lpi engrave.
2 Likes
Oh and the texture is cool.
I wonder what a defocus would do here.
3 Likes
Wow, that is really exceptional! I’ve only used 75lpi a couple times, it can indeed be an interesting effect and I should use it more. Thanks for the tip!
2 Likes
The overall sign is 10x18”, it’s a piece of semi-finished white cedar board. The biggest letters are 2” tall or so.
The mistake I made from a job time perspective was to engrave the outermost border. The top and bottom horizontal bits were fine but the vertical sides took forever as the machine went back and forth all the way across the job (without speeding up) to do a tiny little area on each side.
It would have been much faster to offset the artwork similar to what I did for the inner three line border, but at a tighter spacing (75 lpi, for example) and then run it as a bunch of closely spaced scores. As it was, the outside border engrave took about half the total job time. Not sure why the software decided that was the most efficient tool path.
4 Likes
Assume this is all vector, the border was engraved separately because it was a different color.
To fix that you’d break the border path up and give each vertical side its own fill color so they could be engraved separately.
2 Likes
Previously, related:
1 Like
The text looks very crisp.
2 Likes
Excellent work! Thanks for sharing.
1 Like
So, the main issue with the technique described in that related post is the inability of the glowforge to taper the power when making changes in direction. I wonder if they will ever fix that?
Thanks for the tip on separating the side pieces to keep it from traversing the entire part.
They did, recently. It’s called clean corners and if you don’t have it already you will soon.
This technique should be revisited.
For more information, search the forum for “clean corners”. In which you’ll find the October update and its discussion.
3 Likes
Thanks for the info. Now I wonder if the scores I did yesterday featured this or not. Doesn’t look like it is possible to turn on/off.
Simply score a basic shape (like a star) on some scrap, and see if the charring in corners is still there. It can not be turned off, which is just fine.
2 Likes
Ditto … the score just sets off the engrave so that the fewer LPI works well. SAVES MUCHO TIME. 

3 Likes
Sorry, missed this question. It took about 1h05m to do the engraving, and about half of that was “wasted” going back and forth while doing the border. Then I set all the engrave paths to score and that took a few minutes more.
It would be cool if you could use the same path for multiple processes in the same job. i.e. use this vector layer for engrave, and then use it again for score. As it was, I didn’t think to do the score until I saw how the engrave came out at 75lpi, so without moving the piece of wood, I reconfigured the layers to be scores.
If I had thought of doing it this way from the get go, I might have created two sets of identical vectors and then assigned the engrave to one set and and the score to another, but that seems kind of unnecessary if the software allowed multiple tasks for the same vector layers.
And, assuming the settings were the same, I suppose I could have combined the text layer and the border layer and perhaps the engrave would have just done the whole thing in one pass…
All true.
As for duplicating paths, Inkscape has a “paste in place” option, and also the “duplicate” function. Either one would work, but you’d need to change the stroke color and remove the fill to get them to be a different step in the UI.
2 Likes
This really is a nice effect!
Very nice! I’m actually a big fan of low LPI engraves as I love the fine line texture it produces. Scoring it afterward really gives a great edge finish and I’ll be trying that on my next project for sure.
1 Like
Looks great! I really like that font too.