Commercial project - 30" long bus!

Hello folks,
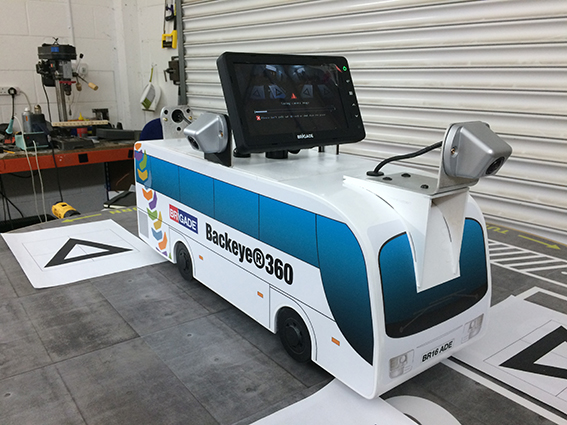
I don’t post much of what I make as I get so involved with making all sorts I often forget to photograph the process. Here’s one I did remember to take pictures of. This is a commercial commission for a company that pioneers vehicle safety systems. They needed a bus model to use in a demo unit at trade shows. Finding a plastic toy version proved hard so I stepped in to make them this. It’s all 3mm ply, designed in SketchUp and assembled using layers of ply for strength. The finished model was painted with rattle can acrylic and the graphic is a sticker I had printed with my design on it.

IMG-5147
Finished bus ready for exhibiting

IMG-4930
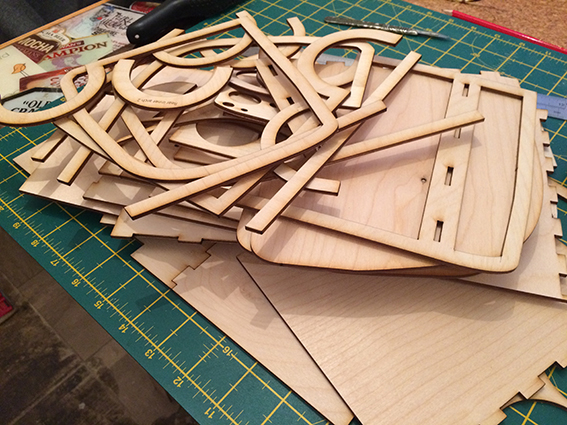
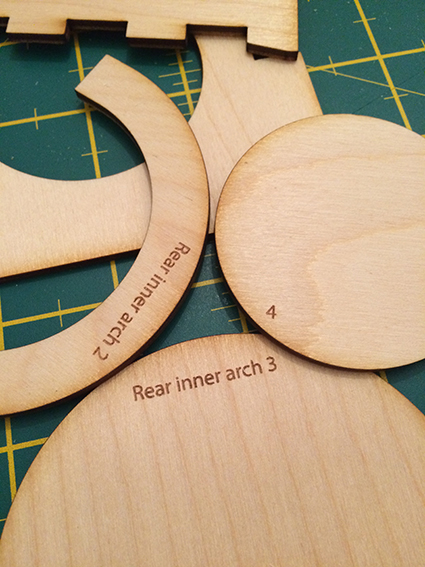
Here’s the parts -quite a few!

IMG-4932
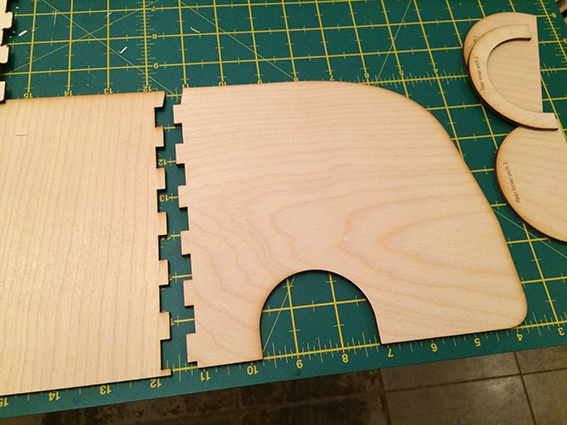
To get the length required I simply made this joint

IMG-4933

IMG-4934
Loads of pegs and wood glue


All the parts have engraved names

IMG-5134
It’s very rigid and light weight


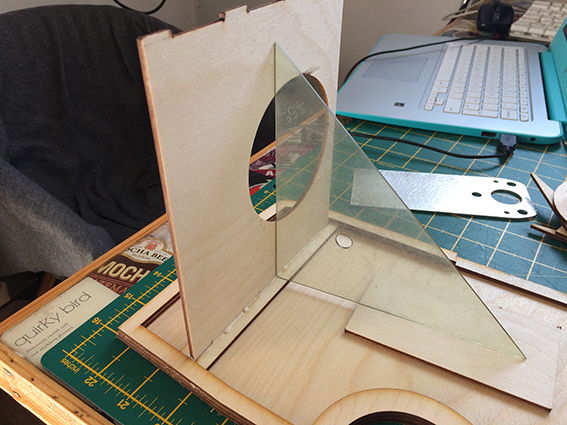
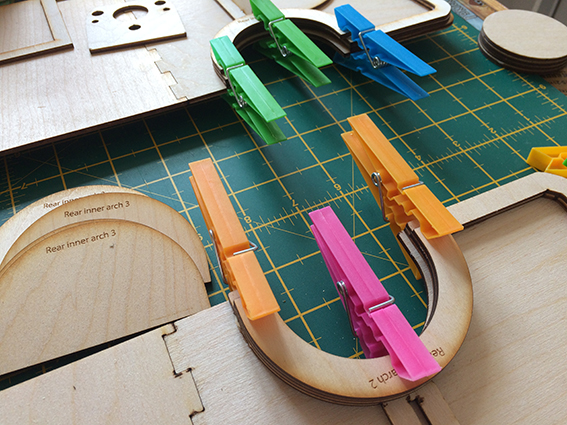
This is how I achieved the curves on the front and back, 1mm apart kerf cuts. After the cut I soaked the parts in water then taped/clamped them in place to dry before adding glue.

Hope you like it!

73 Likes

My new favorite project. Nicely done. So cool.

2 Likes

Nope. I LOVE IT!! Holy smokes that bus is fantastic!

Friendly suggestion, you should post more (please). :slightly_smiling_face:

5 Likes

Truly excellent! I wouldn’t have guessed it was wood from looking at the finished result! :grinning:

4 Likes

Very effective - great to see a large 3D piece made this way - you should be proud.

4 Likes

Thanks everyone - it means a lot to get praise from the community. The client is really happy too so I’d best get my invoice in!

6 Likes

Wow, amazing project! More please!

2 Likes

What an absolutely gorgeous project! Perfection!

1 Like

Wow, I’m on board with all the praise!

How did you fill the curved kerf cuts before painting, or did you cover them with another material?

3 Likes

The finishing is pro man, looks like it grew that way. :sunglasses:

3 Likes

All the cuts are on the inside of the curve, so the outside surface is solid ply still.

1 Like

Beautiful

I see… The curve you show above is cut on both sides.

1 Like


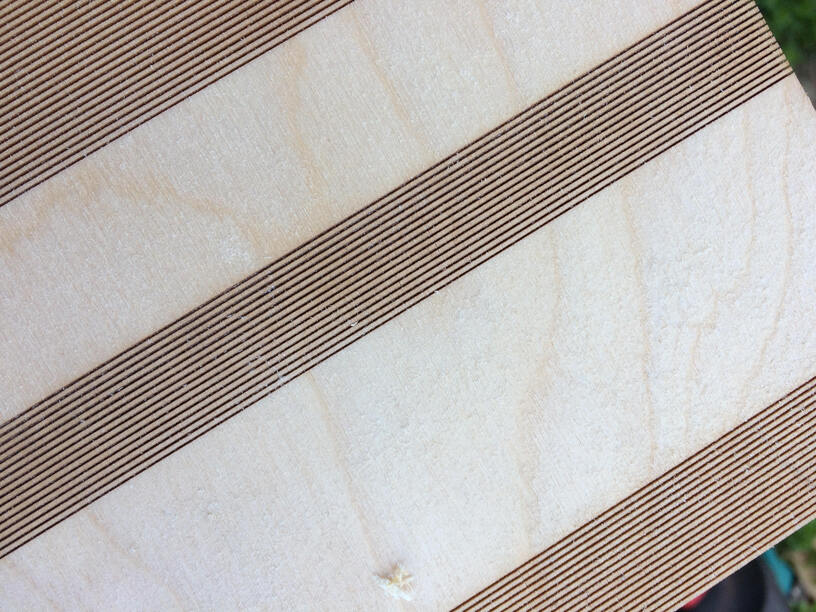
Here’s a test piece to show the kerf cuts better. I got this one wrong, the orientation of the ply is 90 degrees out. It works best if the kerf cut is parallel to the grain.

6 Likes

You’ve really got to have that dialed in for it to work…great job on it. :grinning:

Thanks Jules! I’ve done similar without a laser, and I have to say, the Glowforge makes it much easier!

1 Like

I really like how you used the laser to label the pieces

1 Like

Thanks Nick - without that I’d probably still be working out what went where!

1 Like

Had to lift my jaw back up after seeing this. The effort you put into the curves and the outer finish really paid off. I second the suggestion that you should post more!

3 Likes

Thank you Dan - you’ve made an excellent tool, I’m just using it.

1 Like