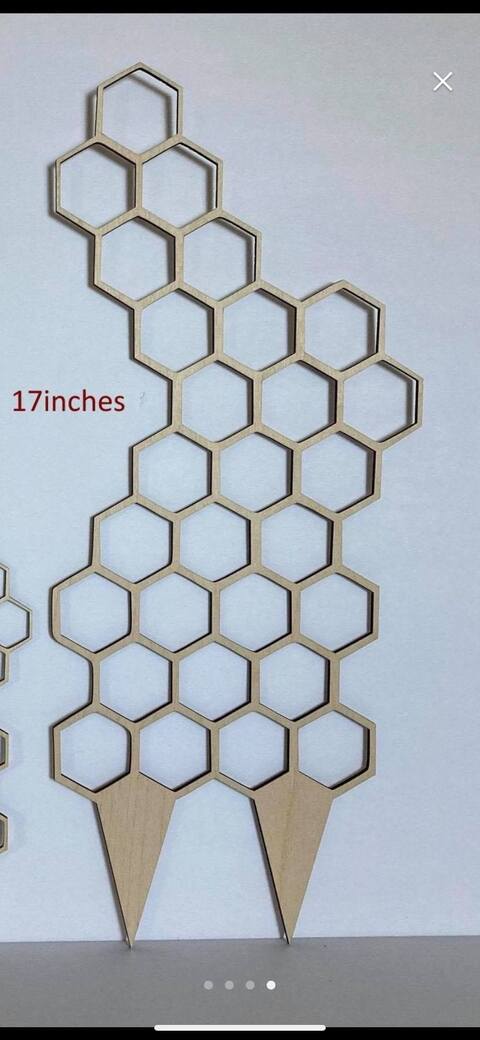
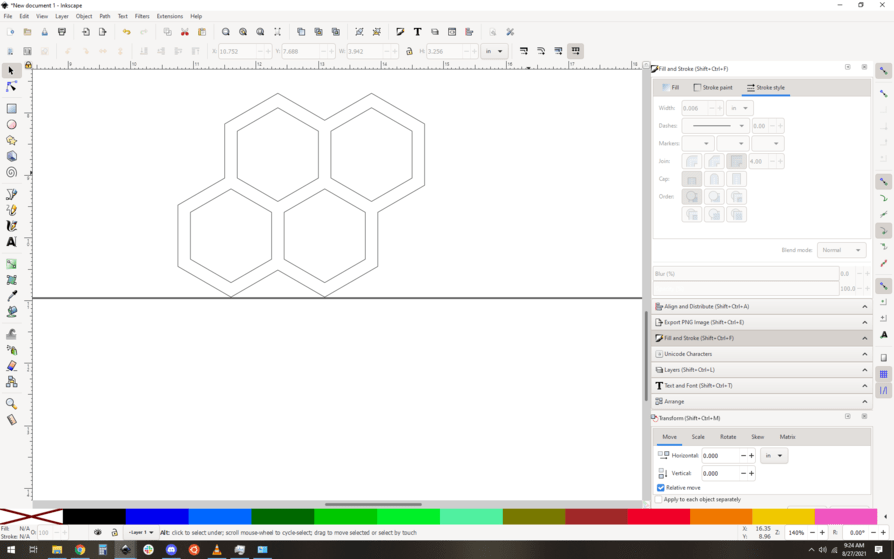
I am creating a custom design for a customer, in the Glowforge app, using hexagons and am trying to figure out how to connect them so it cuts the perimeter and not in between each hexagon. Design similar to photo.
3 Likes
Someone might have ideas but this is the sort of project that a good external editor makes short work of and the GF editor is underqualified to do.
Are you familiar with any of the common editors? Inkscape, Illustrator, Affinity, etc?
I could show you how to do this design in a few minutes on Inkscape, but won’t go down that path if you’re not an Inkscape user.
2 Likes
I use inkscape and photoshop a lot. Tried in inkscape but couldn’t figure it out.
1 Like
Ah then you’re in luck, it’s really easy. Hang on, should take me 5-10 mins to get you going.
3 Likes
Thank you so much for helping.
OK it’s a few steps.
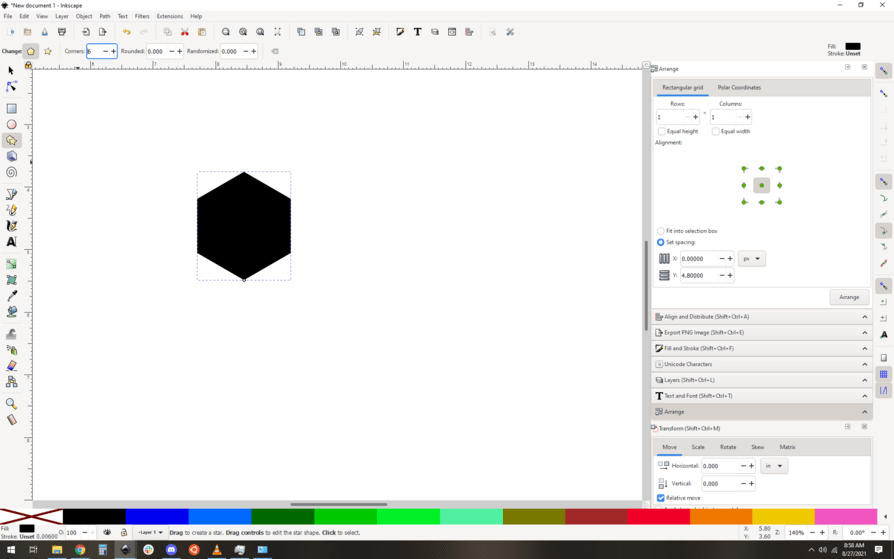
Lets start with the polygon tool, and make a hexagon. The trick here is to hold down the control key while you do it, so it’ll snap it to be nicely oriented vertically.
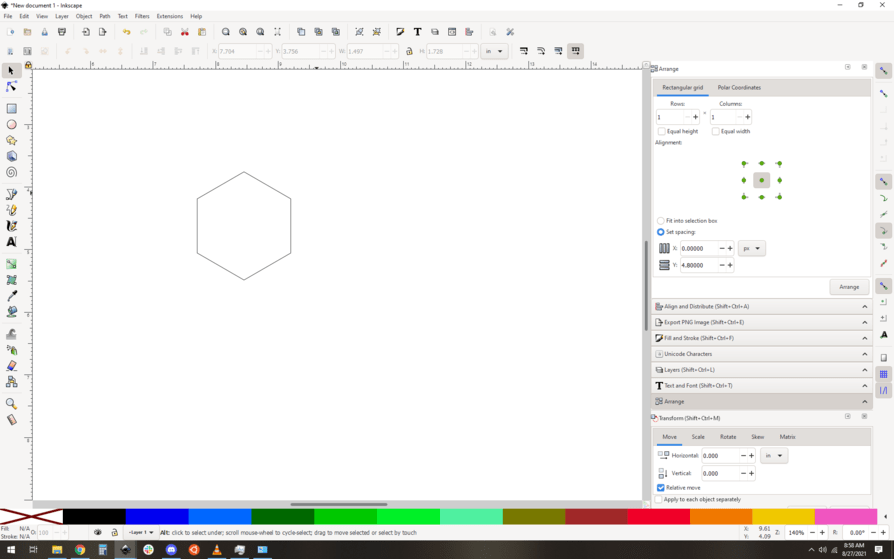
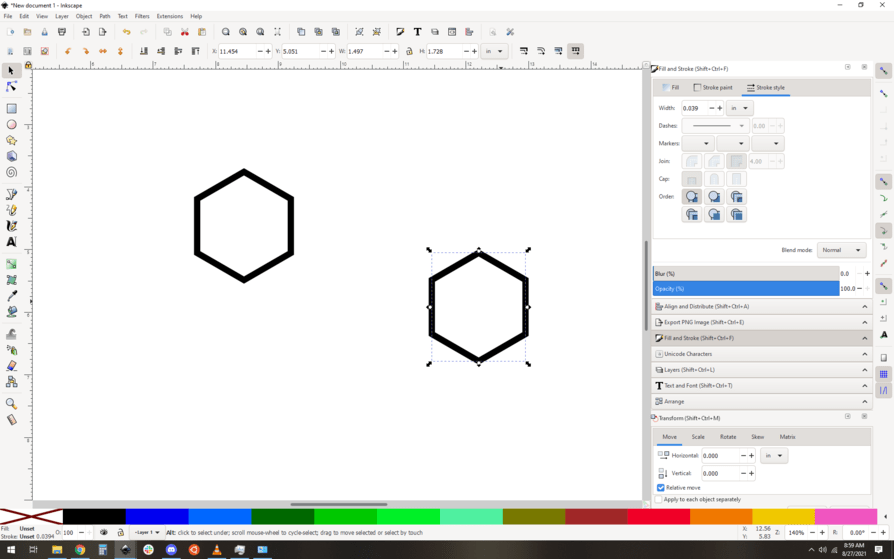
Now we want that to have a stroke and no fill:
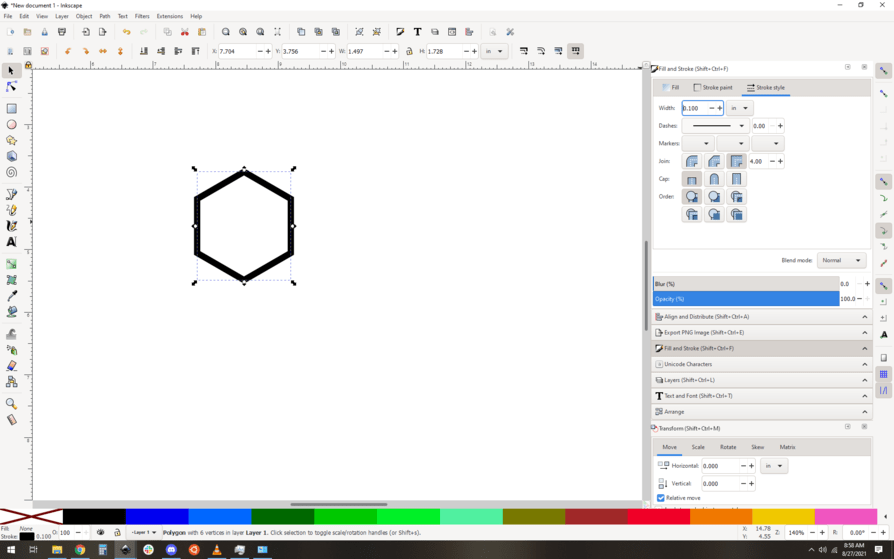
That line is waaay too skinny, so lets alter the stroke to be 0.1" thick.
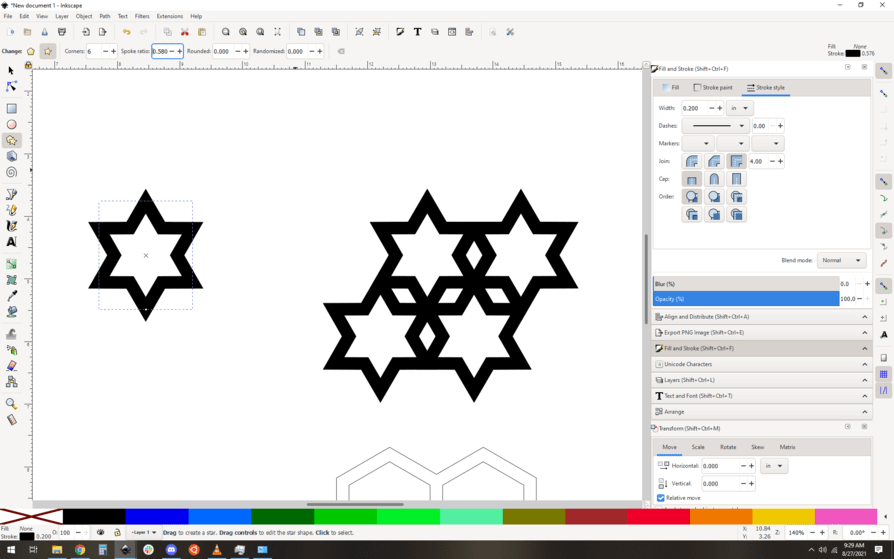
Now lets see how it looks when you snap a few together. First thing though, lets use clones to do this.
Make a clone:
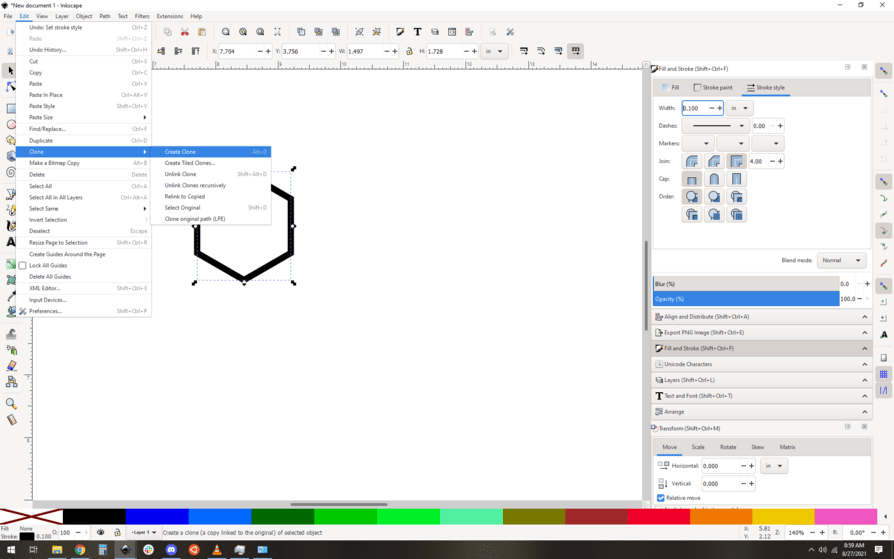
Now take that clone and copy and paste it a few times, and snap the corners together how you like.

Now look at the design and decide if the thickness is what you want. The fun part about using clones here is that you can change the original and all the clones update.
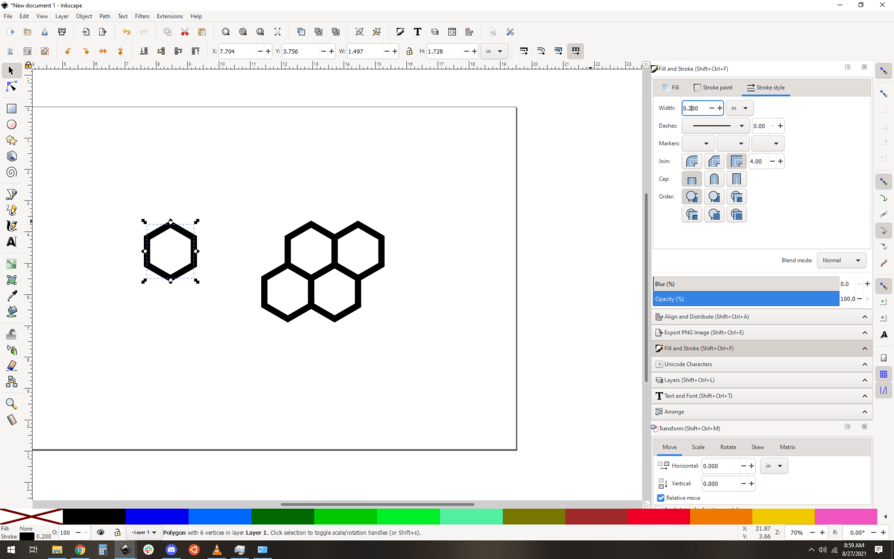
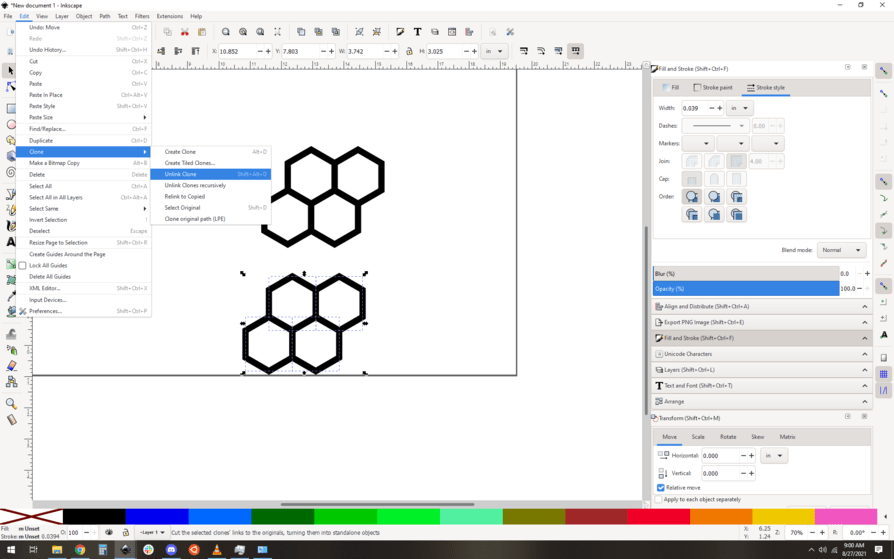
I like that thickness better, so let’s proceed. The next steps involve destroying the clones, but I don’t want to delete them in case I want to change the design later. So I make a copy of my clones:

Then I unlink them, making them their own shapes and no longer clones.
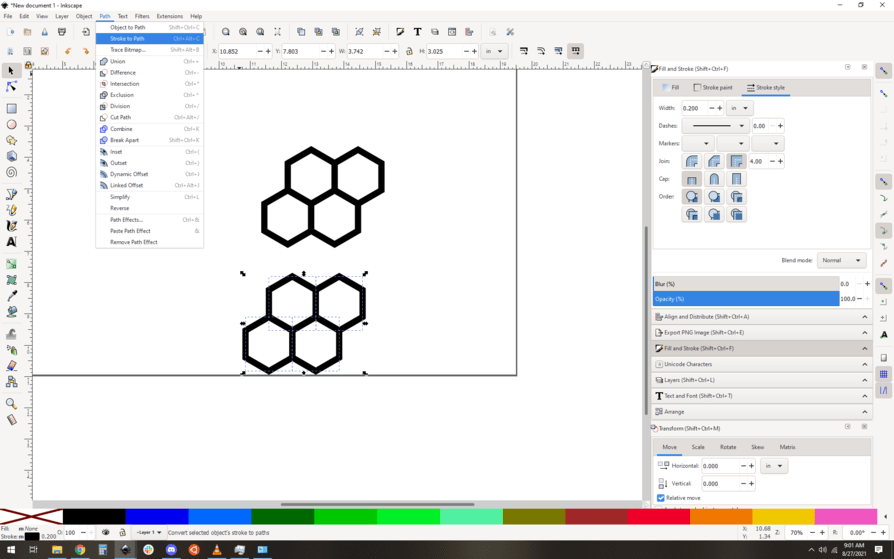
And now I want them to be actual shapes instead of just lines with fancy thick strokes, so I use path->stroke to path.
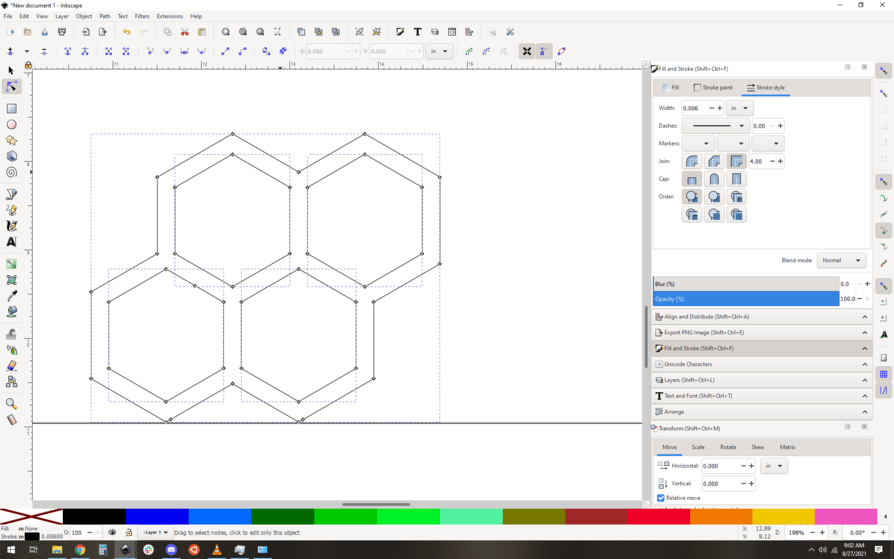
If you go to the node tool it’ll look like this…
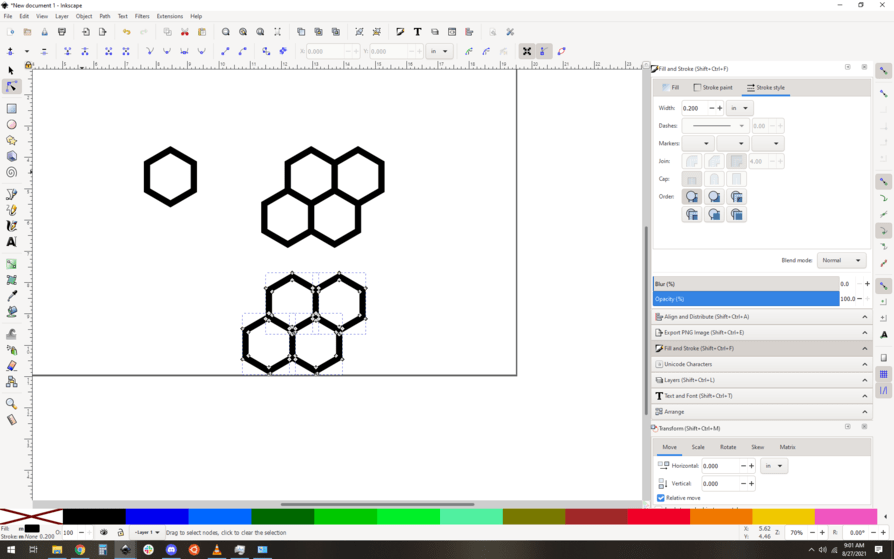
But they’re still separate paths, so if you get rid of the fill you’ll see this:
You can see the overlapping lines, which is bad news for what you’re doing. So what we need to do is join these shapes together, in Inkscape that’s known as a union (path->union):
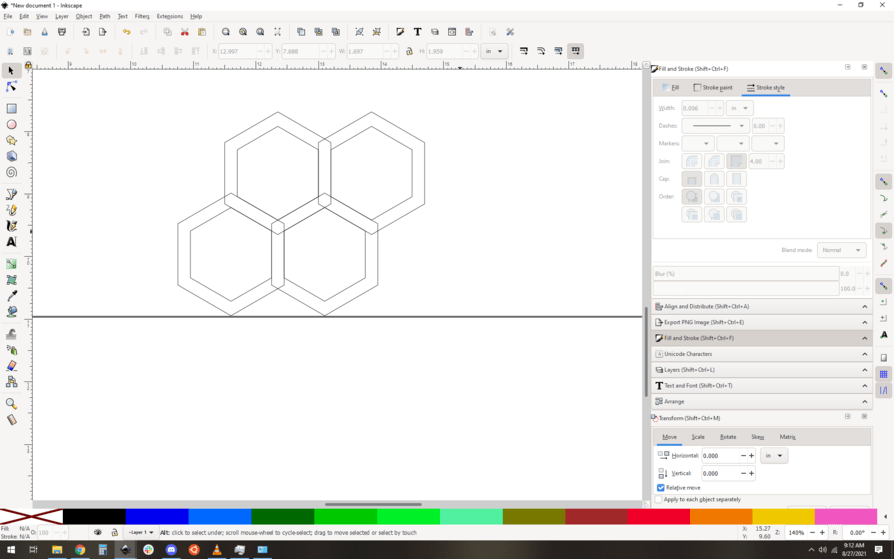
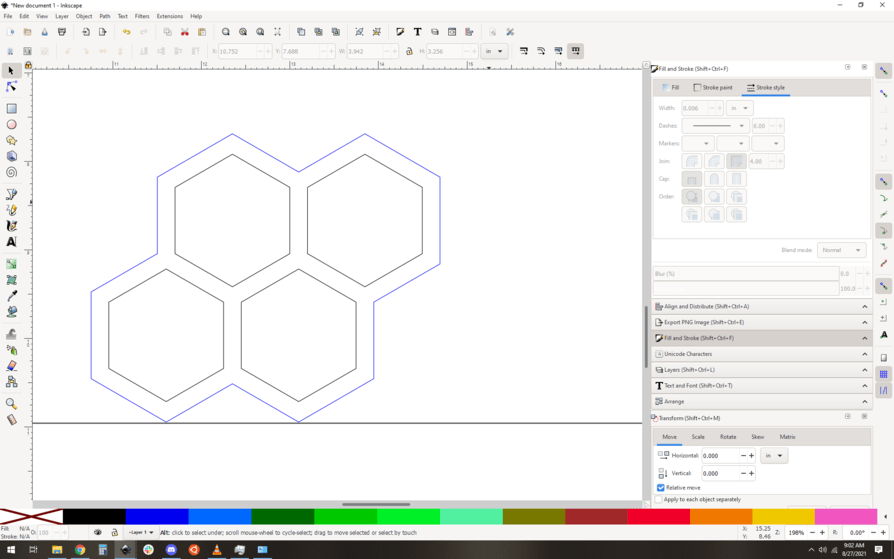
Great, it’s ready to go, mostly. There’s one last step if you’re being really conscientious: you really want the inside shapes to cut first, followed by the outline. To do that we color code them. First step, we break the path apart, with Path->break apart. The difference now is that you can see all the shapes are separate objects. This is good!
Now change the color of the outside shape:
Then as a last step, group everything up by selecting everything and object->group:
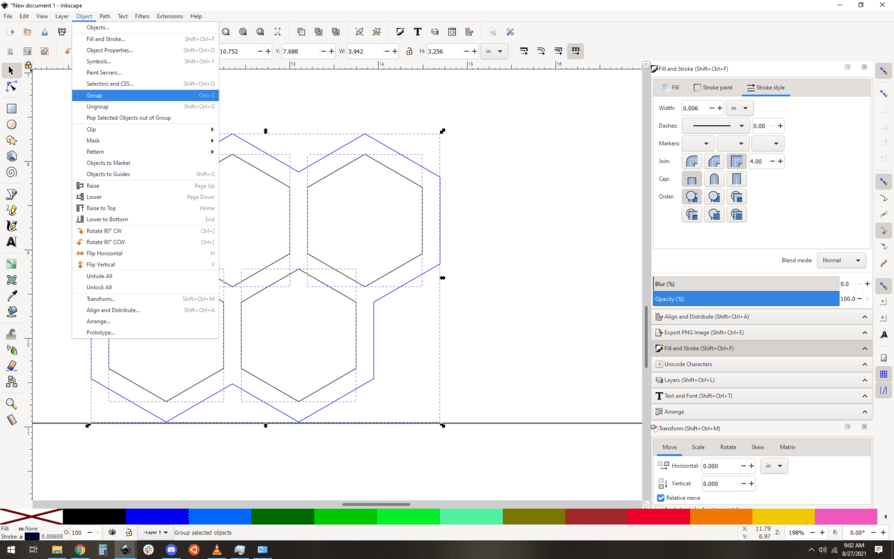
And there you have it, a nicely grouped, color-coded ready to go shape.
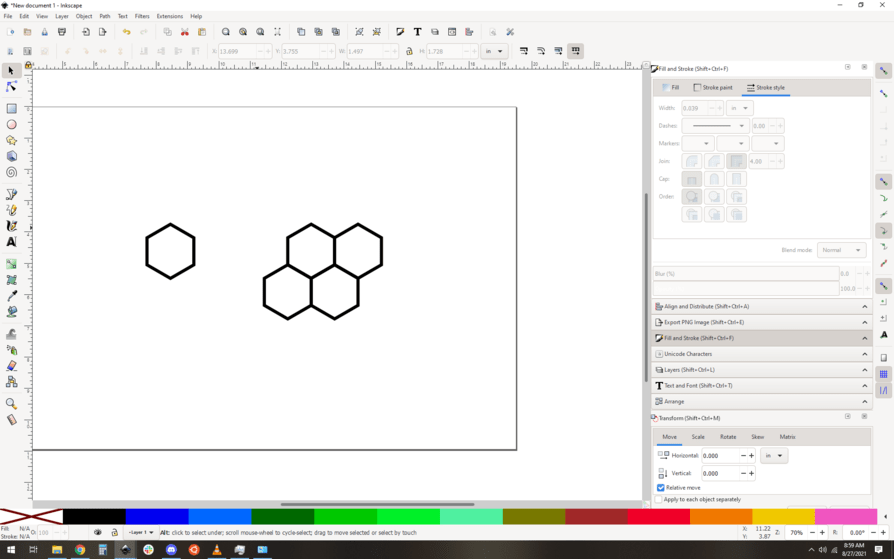
At this point, I save the doc, then copy the group and paste it into a fresh document, keeping this one as a design file with the clones. That way if you ever want to get crazy with it, you can modify the clones and repeat the finishing processes. Check it out, some quick clone modification:

In each of these all I did was fool with the original shape, and the clones changed with it. Lets you tweak to your heart’s content.
So yeah, overall, the process to do this will take you 5 mins, but writing it up like this? Ages ![]()
33 Likes
You are awesome and have saved me a ton of time. Thank you Thank you Thank you!!!
Have a blessed day!
4 Likes
Awesome! These are pretty fundamental path modification skills, if you take time to play with this and really get these concepts in your head you’ll find yourself using this stuff all the time. Designs that you used to think looked really hard to make will suddenly seem pretty attainable.
9 Likes
Truism
6 Likes
This is a great tutorial @evansd2
I suspect I’ll be linking people to this post in the future 
2 Likes
I’m glad you like it. There are other ways to do this, but this method is pretty quick. I’m curious, so I’ll time myself starting from scratch, one sec.
Heh, 47 seconds to do exactly what I did in that tutorial.
Granted, I cheat a little, because I know the keystrokes for most of this.
- Make a hex
- control D for clone
- Drag clone
- control C for copy
- Control v for paste
- drag to snap them together
- drag to select both clones.
- control C
- control V
- drag the new pair to the old pair, snap them together.
- click original path.
- mouse to set stroke and fill
- Drag to select all clones.
- copy
- paste
- new clones selected, so immediately go path->stroke to path (didn’t even unlink the clones! this is speed run after all. That being said I can never remember the keystroke for this, something something C I think. I coulda saved .5 seconds!)
- control-shift-+ to union the new shapes
- mouse to set stroke and fill
- control-shift-K to break apart
- click on blank space to deselect.
- click on outer shape.
- shift-click the blue swatch to change the outer path color
- drag-select all my paths
- control-G to group.
Done! 47 seconds. Of course this is a silly time, because I knew exactly what I was going to do, and when you’re designing you are often feeling it out as you go. Real world work takes a fair bit longer.
7 Likes
Get ready everyone for the Inkscape design time trial world championships ![]()
In our next challenge we’ll put circular text around your child’s scanned artwork, ready to engrave while also cutting out a circle. GO! ![]()
That’s pretty easy too… the trickiest bit is getting the text size rotation and kerning right. Some fonts handle text to path better than others.
Start up a new thread if you need assistance with it?
My brain hurts!
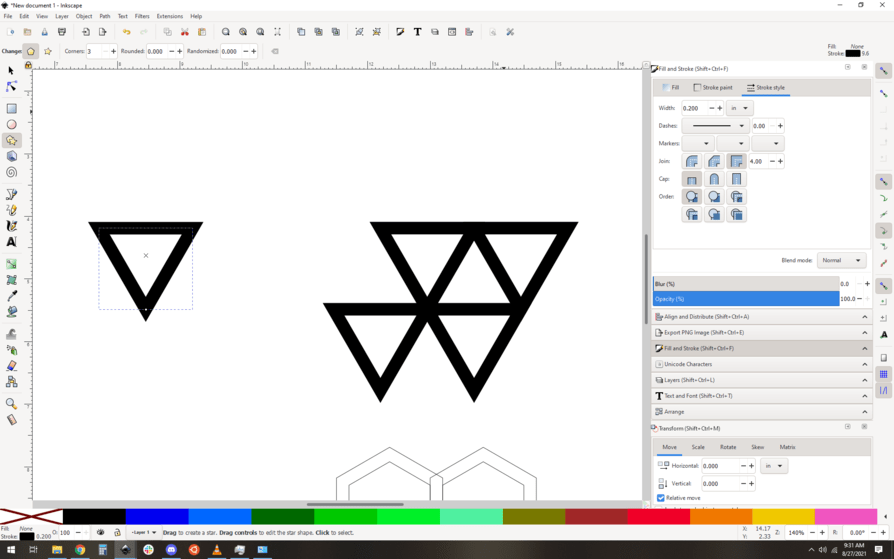
My first problem when doing something like this is getting the shape I want. If I want a hexagon the tool makes a star because that was the last shape used and I haven’t found the magic keystrokes to change it.
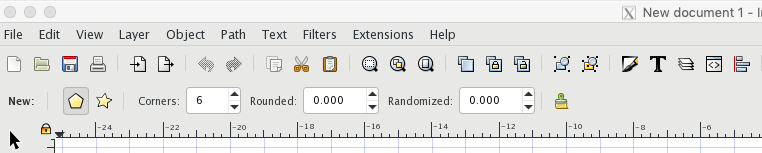
And not just how many sides but star versus polygon. Look at the two yellow icons on the left.
In that example it’s a hexagon because it’s 6 sides and the polygon option is selected.
1 Like
Thanks for the write up @evansd2. What a great lesson.
1 Like
What is the best way to save this so it does not go away in 30 days?
Just bookmark it. The conversation won’t go away, though it might close due to inactivity.
The forum bookmark system is pretty good, I use it quite a bit.
1 Like
This topic was automatically closed 32 days after the last reply. New replies are no longer allowed.