I like Fire and Light and Science, which I guess is why I bought a Glowforge to begin with. It’s also why I built a Lichtenberg figure generator. The basic premise is you use a high voltage to create lightning shaped burns into a piece of wood.
The first iteration, I made with a 2000V Neon sign transformer. It worked okay.

The problem was it was only making small traces. Channelling my inner Tool Man, I knew the answer was I needed MORE POWER!

I got a 9000V Neon Sign transform, which did the trick!

Now, wait a second Joe. This is the made on Glowforge Category! What does this have to do with the Glowforge?
I’m glad you asked, other Joe.
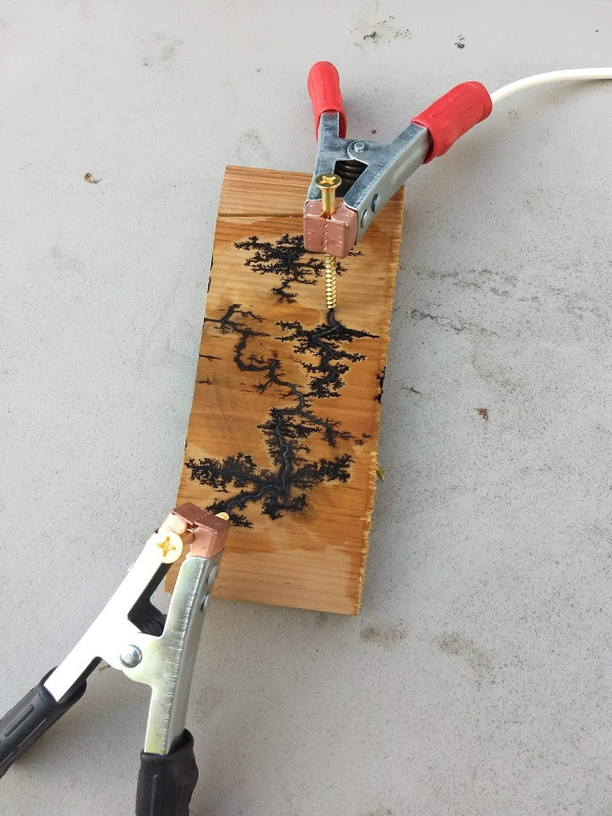
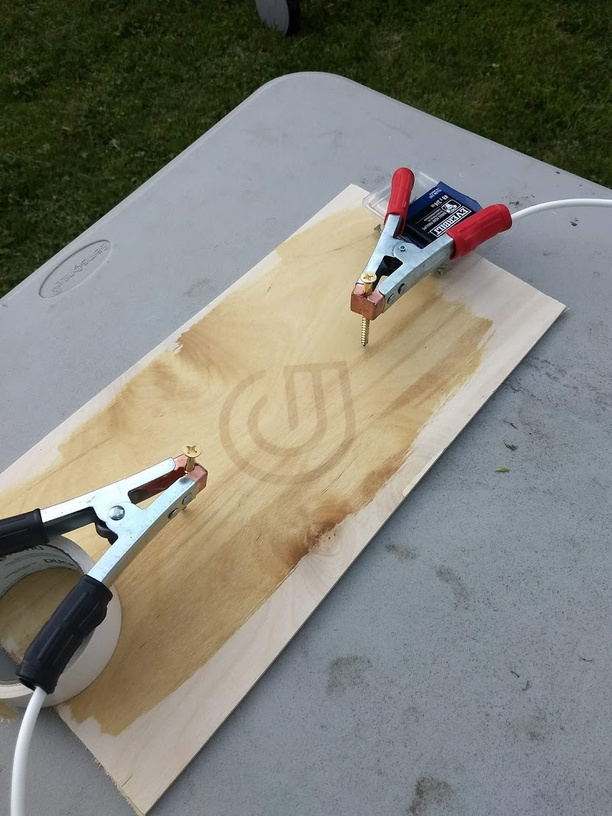
The way a Lichtenberg Figure generator works, you need to use a solution (I use baking soda and water) to wet the wood to get it conductive enough to form the figures. It will follow the path of least resistance to try to complete the circuit.
My hypothesis is that by etching a piece of wood beforehand, it will allow more of the solution to be absorbed, thereby directing the main branch of the Lichtenberg figure.
I got a couple of pieces of generic Baltic Birch Plywood that I had. I kept one as a control, and one with an etch in it. I also decided to etch a piece of PG Maple Ply. The BB didn’t have that great of a finish on it, so I wanted something with a better finish.
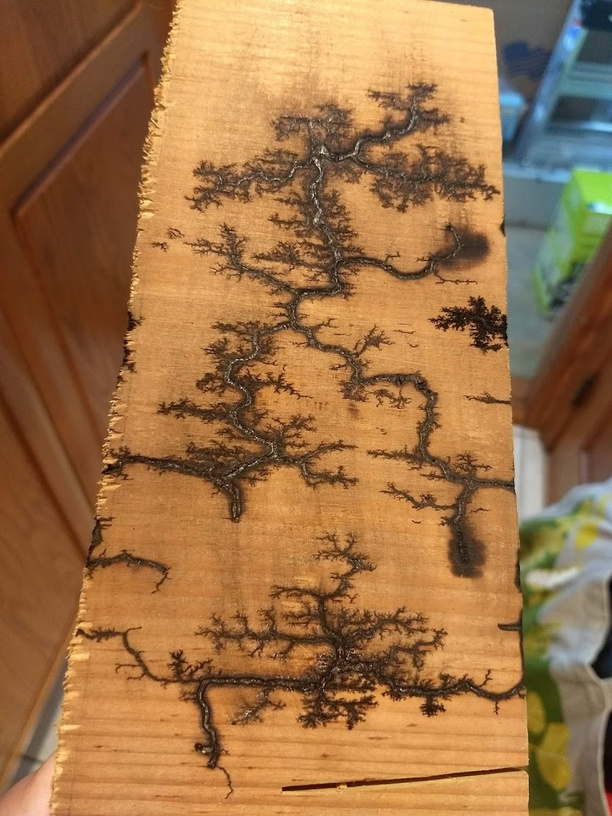
Control
Here is the Baltic Birch Control. It worked rather well. The solution was absorbed rather well.

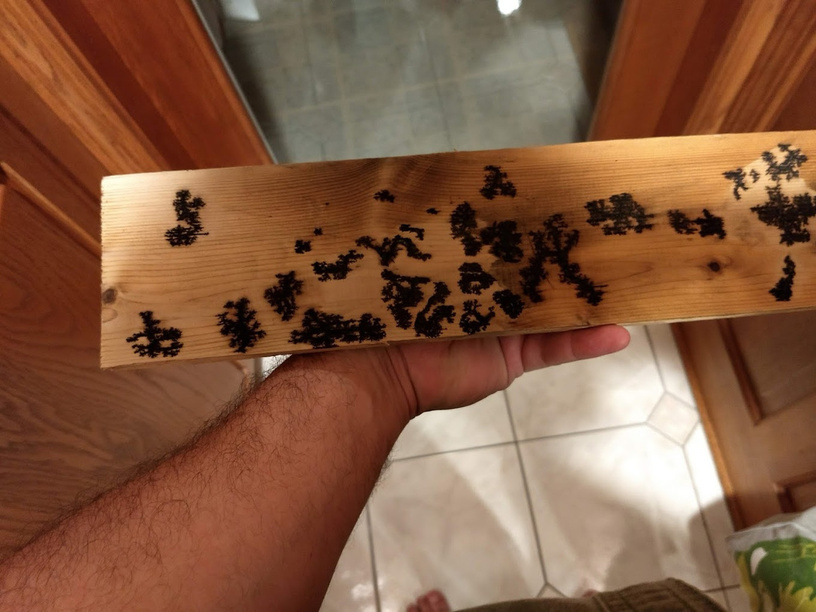
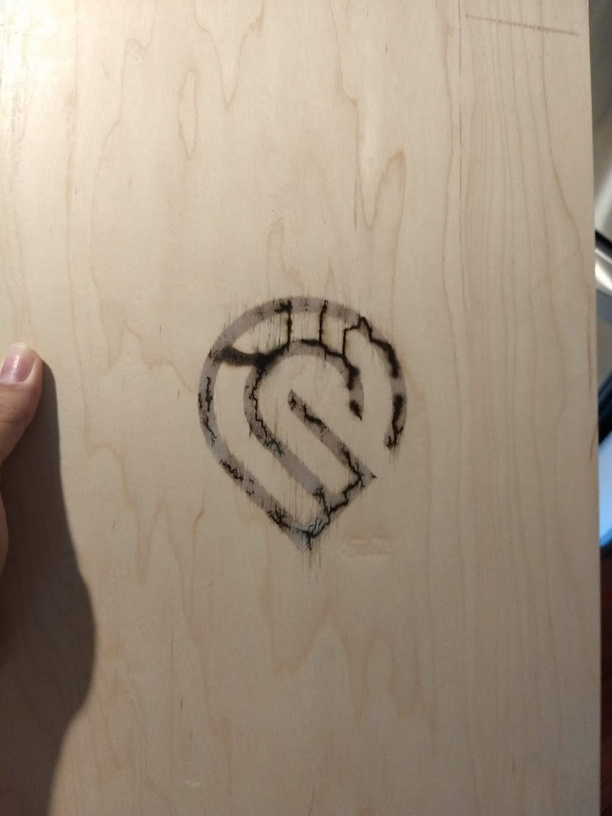
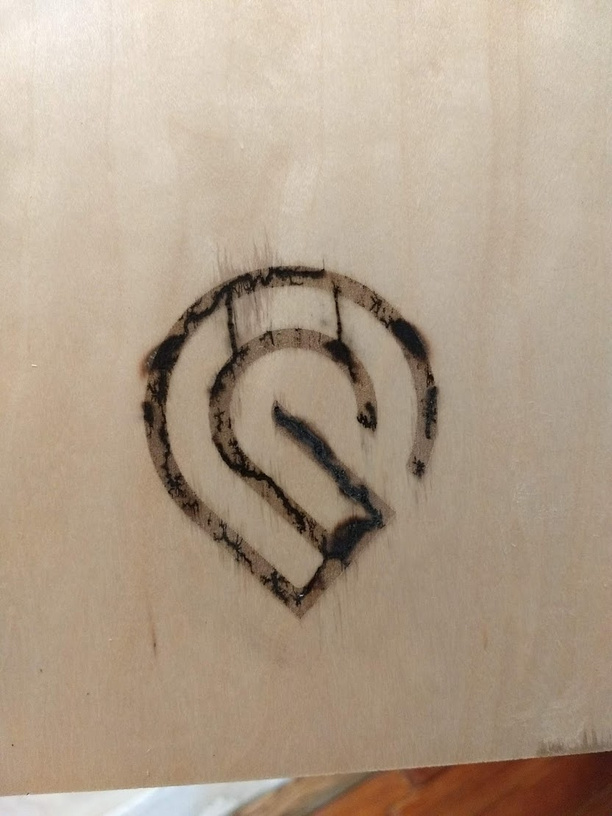
BB Etch Sample
Here is my test sample. An obscure image was used for the etch. ![]()
It did not work as I intended. At first I though it was following the etch, but then it veered off.


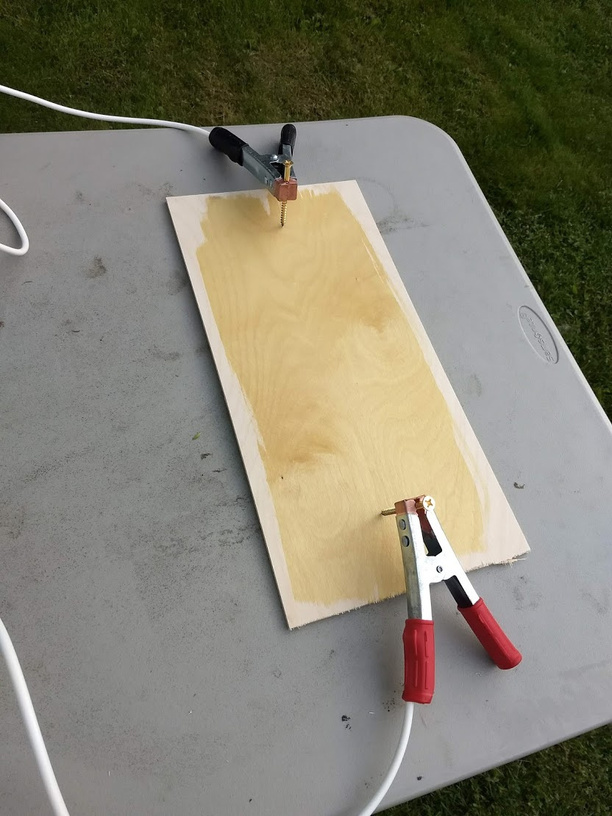
PG Maple Ply Sample
Here we had some interesting effects. First, the finish on the PG did not readily absorb the conductive solution, except in the etched areas. Second, I got some nice light shows.
First go, it was a very slow burn, but I only achieved that by having the probs directly on the etched pattern. I did not get any effect when placed on the unetched sections.

I added more solution, and got some nice arcs!

I added more solution, and re-positioned the probes a few times in this video. I apologize for my crappy camera work. SAFETY WARNING: I ALWAYS TURNED OFF THE POWER BEFORE GOING NEAR THE LEADS!

And one more with some nice arcing!

PG Maple Ply Sample2
I decided to try a slightly deeper etch. I was running short on time, so I made the ![]() slightly smaller as well. I got some promising results, but it was dark so the video wasn’t the best.
slightly smaller as well. I got some promising results, but it was dark so the video wasn’t the best.

Not exactly what I thought was going to happen, but promising results. I have some more work to do, but I have guests visiting now, so no Glowforging for a bit.
ToDo List:
- Clean current samples
- Straight line tests
- Hardwood instead of Ply
- Score instead of engrave
- Different Finishes
Thoughts, Comments, Suggestions?


