For one of my first projects I wanted to make something functional.
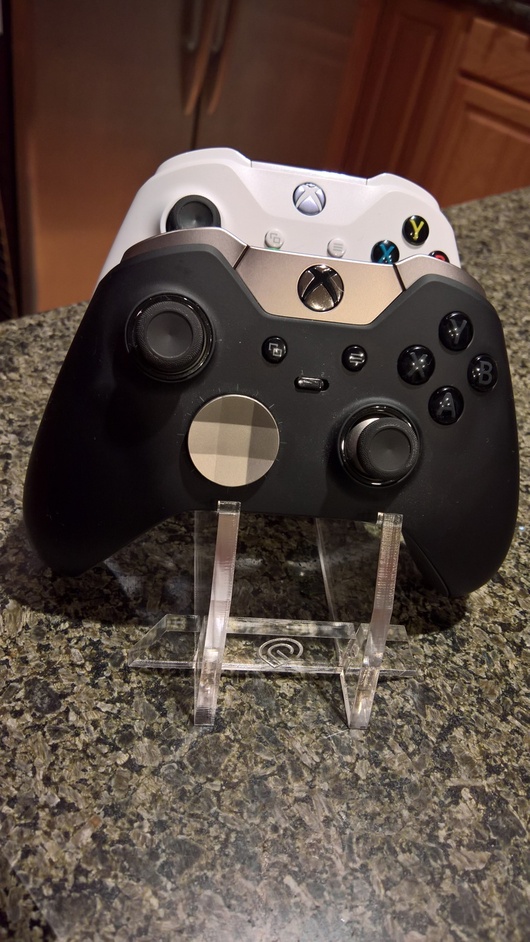
Being a gamer I have a lot of game controllers making a mess of my desk
and TV room so I set myself out to create a stand that would be simple and clean
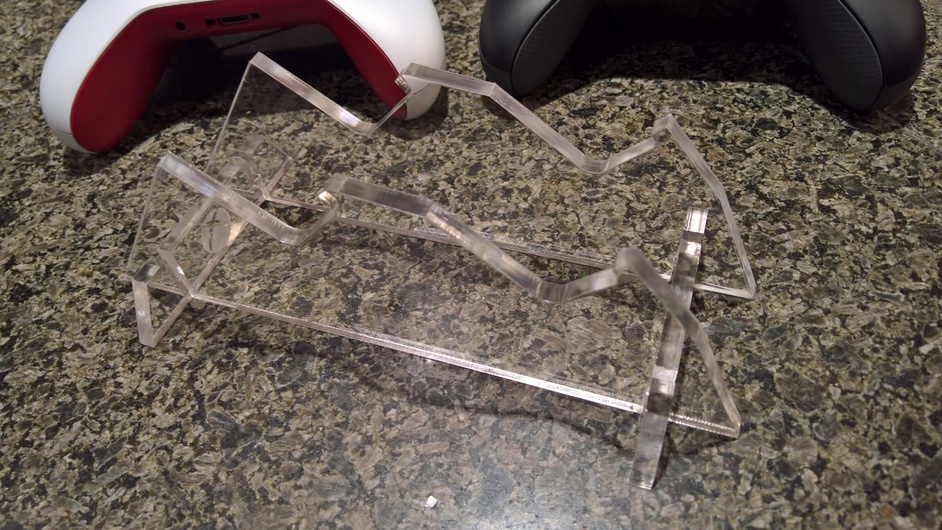
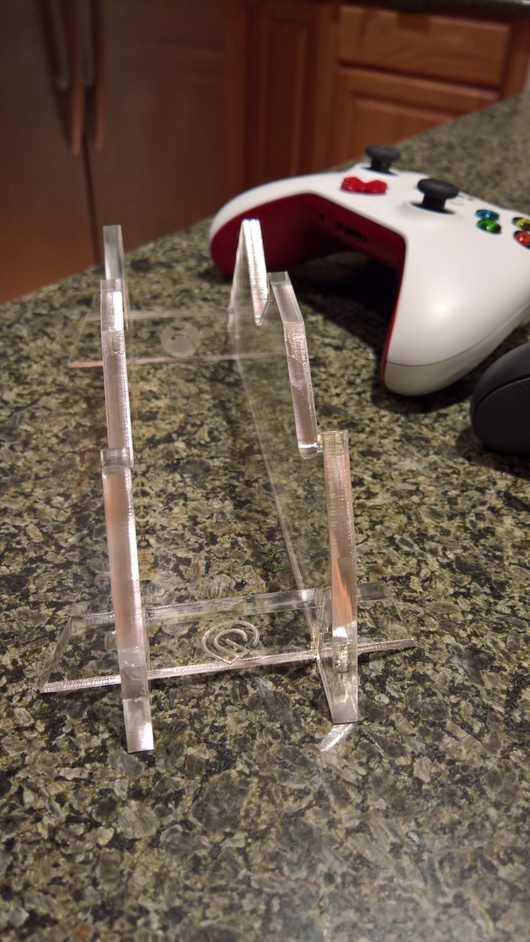
looking. I decided to go with acrylic because I like the smooth edges I get when cutting it with the laser and the smooth finish it has.
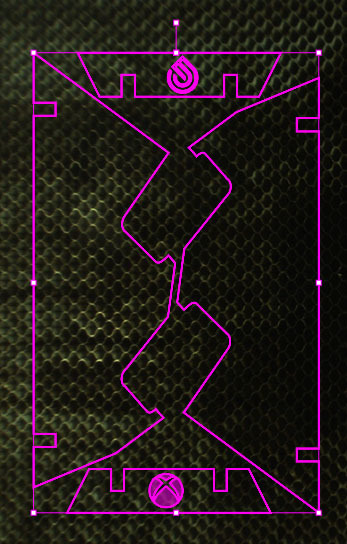
First I needed to get the right shape of the cross section so I could get a cradle shape that
would fit properly. I took one of my old broken controllers and cut it in half with a friends band saw, then scanned it in so I could put it behind my Illustrator drawing for reference (both size and shape).
I worked out a tandem cradle design that would hold two controllers, one in front of the other, in a somewhat vertical position so it would take less space on the desk/table. I did some bouncing back and forth between Illustrator and Visio and didn’t realize at the time that somewhere along the way of exporting and importing svg files it reduced the scale to 2/3 or so. Still not sure if it’s Illustrators export or Visios import that does it, but it did lead to some churn for a bit as I was printing tests with it.
I tried my first acrylic print with 1/8" thick sheet and it turned out pretty nice, but
felt a bit too light and unstable so I took the next one up to 1/4" thick and like it a lot better. I’m still working on getting the slots the right size. I think it turned out pretty nice and it seems to work well
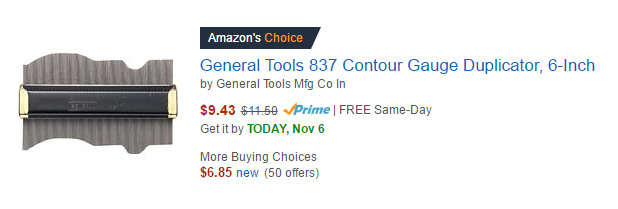
Just in case - for those w/o a friend with a bands ( or like me - w/o friends). You could always pick up and then use one of these to get contours/shapes of odd shaped items.
This highlights a potentially interesting question: since laser-cut stuff is all about 2D pieces and open structures, how do we add weight in ways that don’t mess up our designs? Sometimes just a little thicker material, but what else? Shot? Sand? Washers? high-tack tape?
I gotta get one of these, like I have room for more tools!
Another way to get the profile in cases where you can get to it is either a photo or a scan on your flatbed scanner. I’m doing this with a bunch of old knives I am rescaling.


 , I will prefer


 Great work! Thanks for sharing!