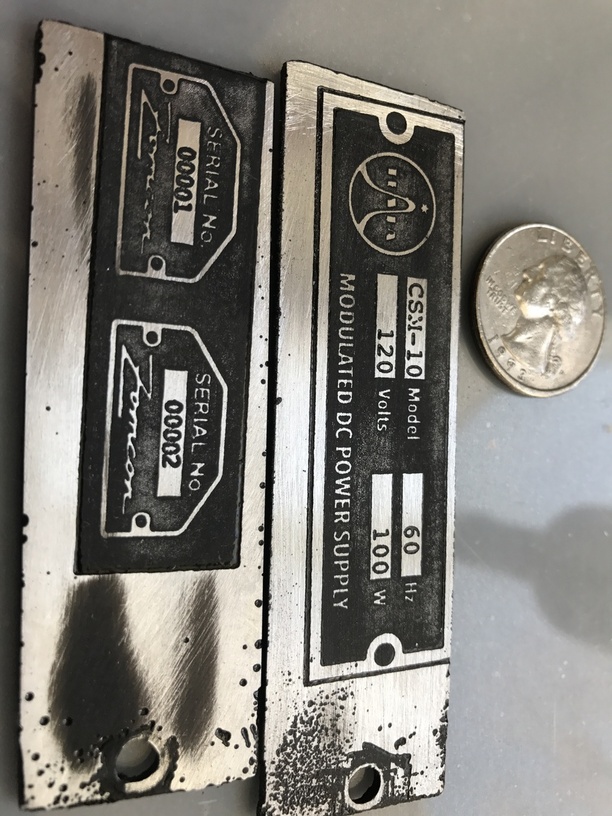
This video shows a process for making etched plates. It only has a small part where lasers are used to make a mask on the part, but I like looking at all kinds of processes. It usually gives me ideas for projects or another way to do things. This would have been cool to just laser off the paint, leaving a nice name plate. There a few steps that I will use in the future.
John really is one big ball of energy. He is a man on a mission and seems to be singlehandedly putting machining and machinists as the top dogs of the shop world.
I went to his three days fusion360 class a couple of months ago, and that guy is all energy. I guess you have to be extra motivated to be an entrepreneur though.
Really nice work!
I am about to try this on some brass, and ideally I hope to mask and etch both sides so I can etch straight through.
Will post when I get it to work (or when I can’t).
I watched this the other day and got excited for the idea of setting up the etch resist for circuit board etching. Years ago I used to do this with my dad, and we actually had to print transparencies that were dark enough to prevent a bright UV bulb from curing the resist. This process was kind of a pain in the behind. And while I’ve been tinkering with my CNC mill to do PCBs all mechanically, it’s kind of a pain and my CNC doesn’t have the tolerances to make small things. Now I just have to wait for the magic ticket email and think of all the projects I can finally do!
Hrm… not sure why that gave me the ‘Owner’ badge. I’ll be waiting for a while (My order is right before the crowd-source campaign ended). Unless it knows something I don’t know