Continuing the discussion from Glowforge's Trace Functionality:
This technique is used to create a “white space” border around the image that one is engraving before cutting out.
(Like a sticker sometimes has, or a stamp.)
CorelDraw works the same way that the other drawing programs do, but the terminology is a bit different…(I started in AI, so if I slip up and call something a Stroke instead of an Outline, or an Offset instead of a Contour…my bad. I’ll try to catch it before posting.)
One other note: I’m using CorelDraw X4 for the tutorial - I have the X7 but haven’t installed it yet.
Some very important drawing tips:
(These apply to all of the drawing software, so you’ll see them at the front of each tutorial.)
-
While you are preparing your drawing, try to create as much contrast between the paper and the lines as possible. Black ink on white paper will give you a better result than pencil on parchment. Light colors are not going to scan well; most auto-trace programs cannot differentiate well between pale yellow or pink and white.
-
Smudged lines are going to give a very messy outline when the item is traced. You want to create a clean crisp delineation between the black and the white for the auto-trace function to pick up.
(There’s a reason why they use markers for the Glowforge demos.) -
The higher the dpi (dots per inch) that you scan with, the better detail you are going to get in your scan, but the larger file size might crash the drawing program. It’s a trade-off.
Stuff you screen cap from the internet is 72 dpi, low resolution, and you generally don’t get a very good trace from it. Try to scan in the 100-300 dpi range for a better trace.
Here we go:
-
Scan your image and save it as a jpg file to your desktop.
-
Open CorelDraw and create a new file. (File> New)
-
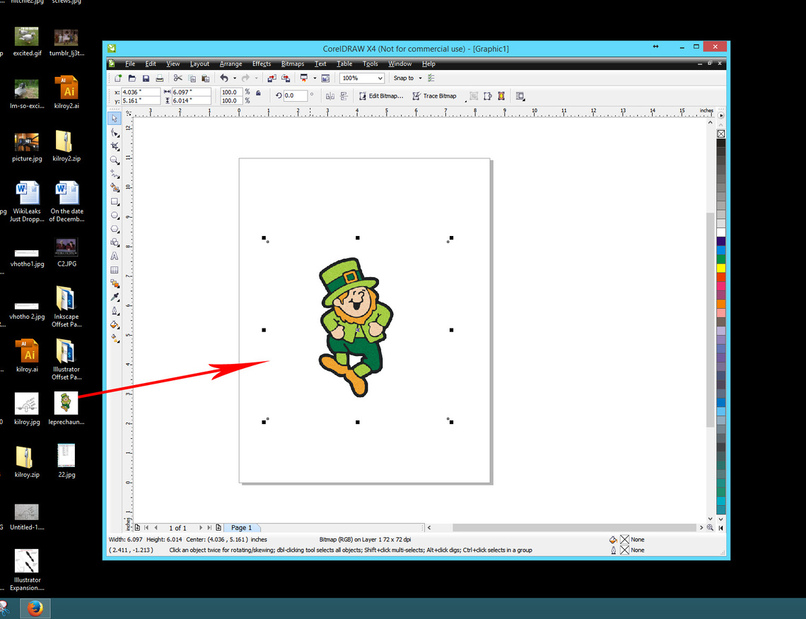
Click and drag the jpeg file from your desktop, and drop it onto the artboard.
.
Trace the image to produce an Outline (vector path) around it:
-
Click on the image to select it.
-
Click on Bitmap > Outline Trace > Logo (Use Line Art if Tracing a black and white drawing)

.
In the PowerTrace pop-up dialog, you want to check the Remove Background and Merge Adjacent Objects of the Same Color boxes.
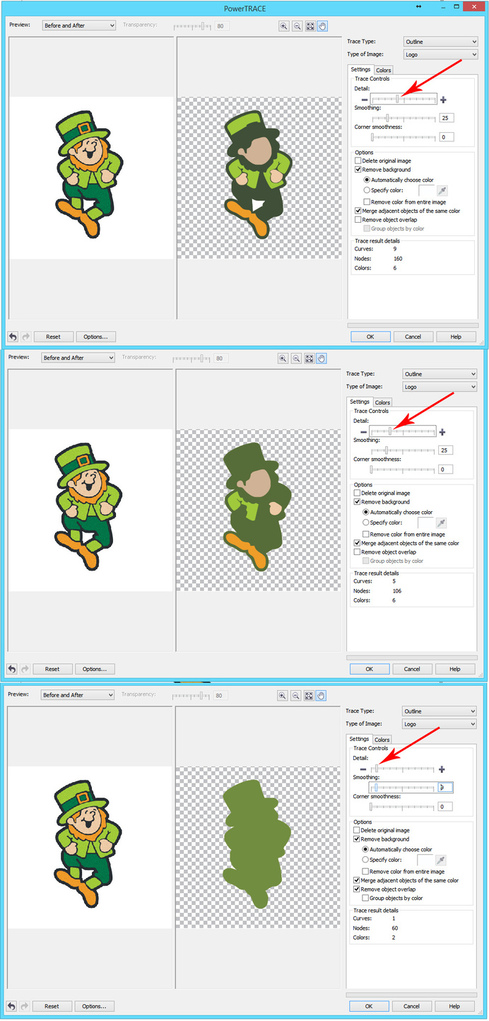
click on this image to expand it
Adjust the Detail Slider lower, one step at a time, until the white enclosed areas disappear. Then come back up a level if you wish to include the white cutouts. (You can reduce the level until those completely go away, but we want to cut out between the legs here, so we are just going to have to accept some other detail and delete the excess paths once they are created.)
Click Okay when you are satisfied with the trace.
.
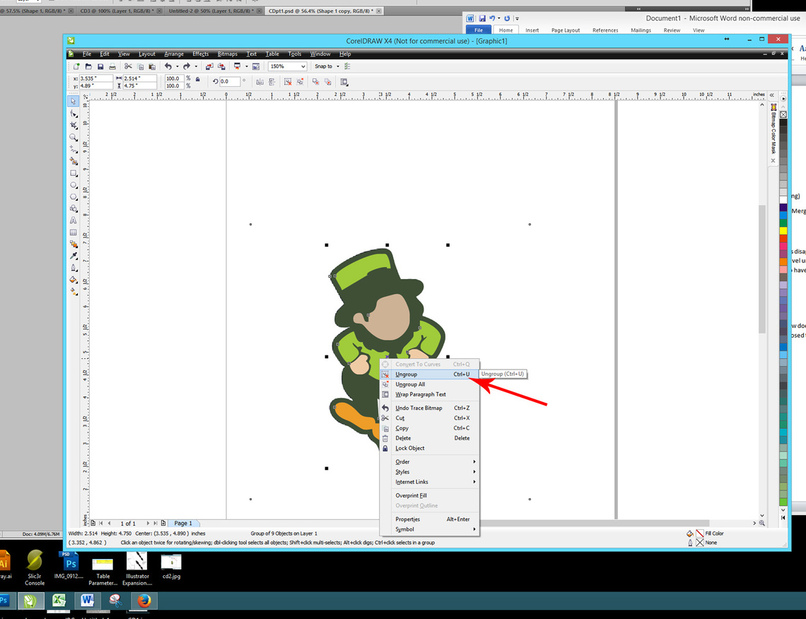
Click on the trace results on the board, Right click and Ungroup.
.
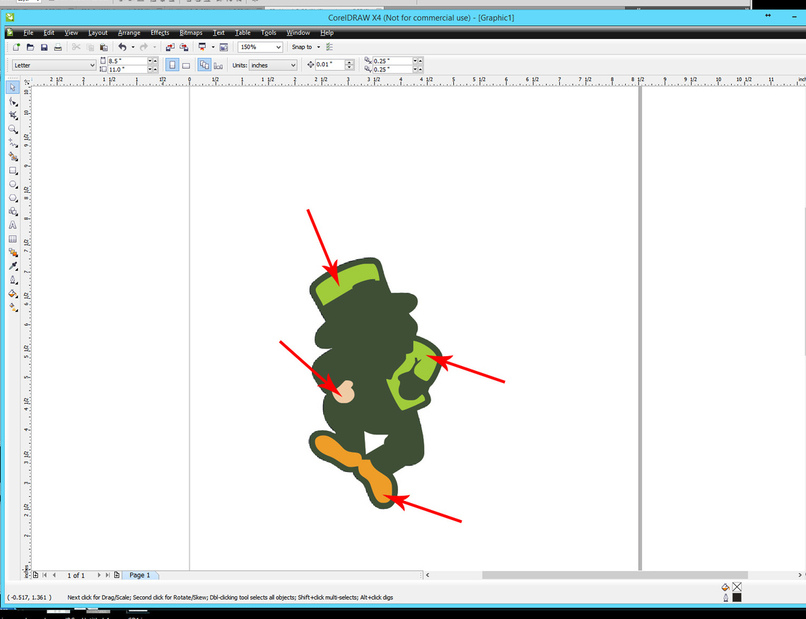
Click on the individual trace results that you do not need and delete them.
.
To make the Outlines visible:
(CorelDraw does not destroy the original image, it’s hiding underneath the trace results, exactly where it’s supposed to be.)
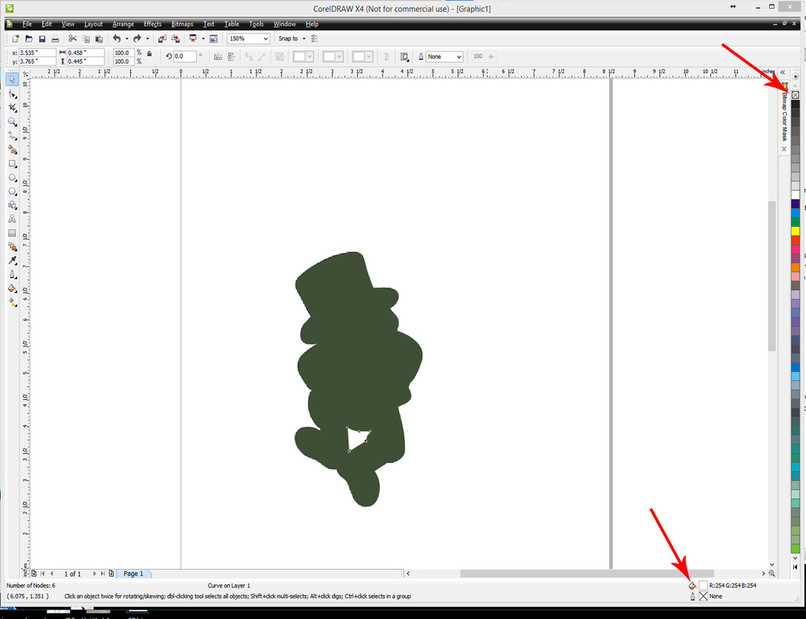
Click on the white filled Outline between the legs to select it. (It has a White Fill color and no Outline color assigned, according to the little boxes shown at the lower right.)
Change the Fill Color to null by clicking on the X in the right Fill color column.
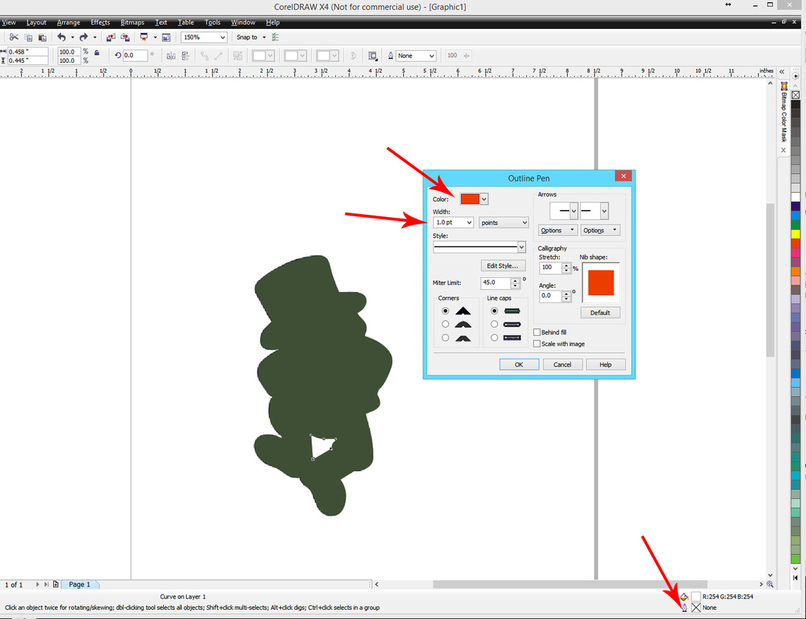
Double click the little Pen (Outline Color) box to set an Outline ( stroke) color that you will be able to see against the background. Set the Outline Width to 1.0 so you can see it.
.
Do the same thing for the Body path – set the Fill color to null, the Outline Width to 1.0, and the Outline Color to Red.
Now you can see the image behind the vector paths you created.
.
.
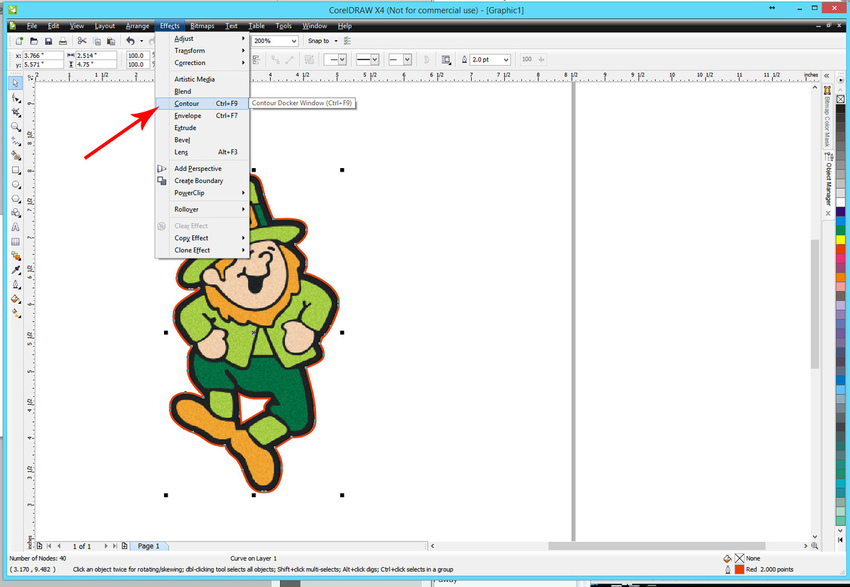
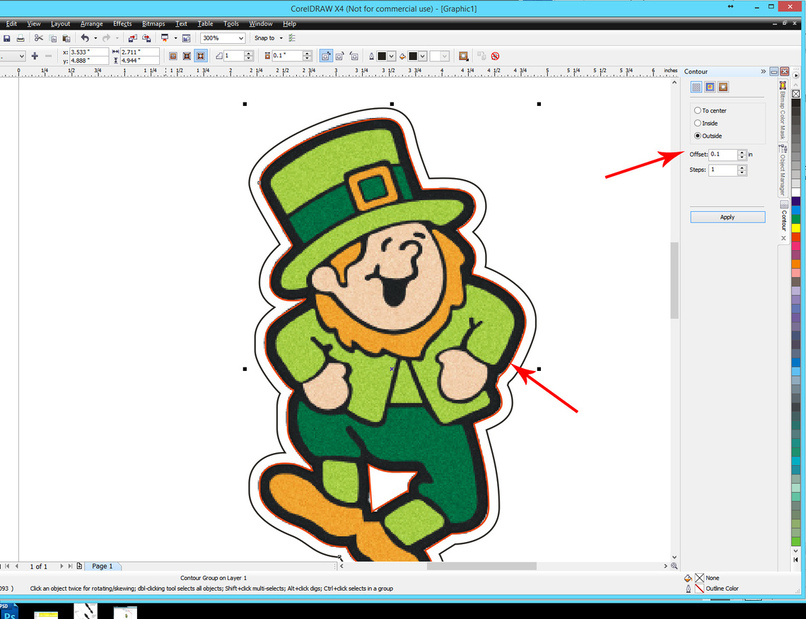
To Contour an Object:
(create a line that is set out away from the image, aka: offset a path)
- Turn on the Contour toolbox. (click on Effects > Contour)
.
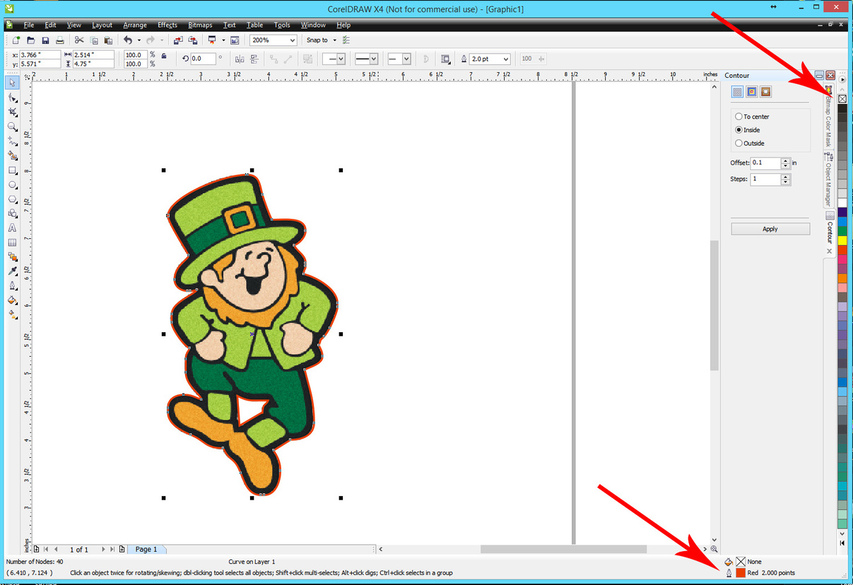
Select the Outside Outline (vector path) on the artboard.
In the Contour toolbox at the right, click the Contour icon.
Select the Outside Direction, add in an amount of movement for the path, and choose 1 Step for the number of steps to be created.
Then hit Apply.
.
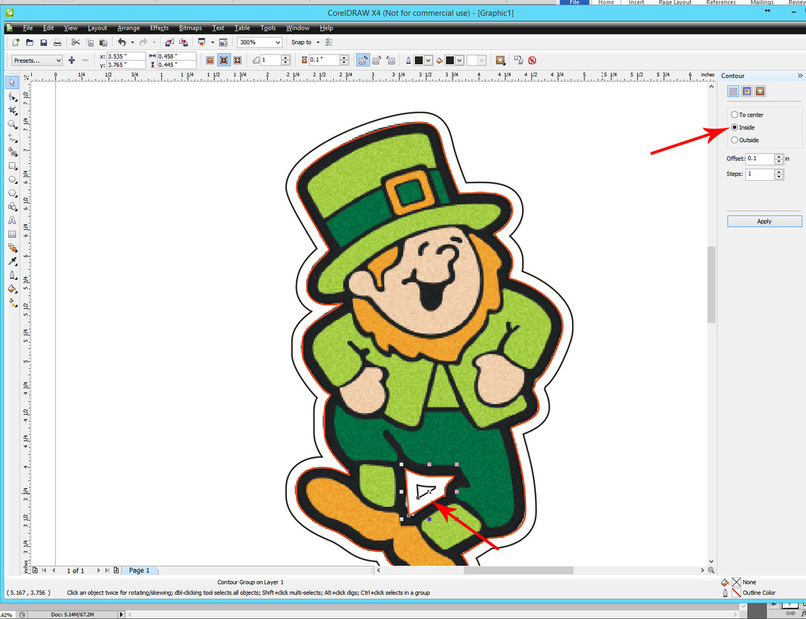
Do the same for the interior Outline (vector path) and choose the Inside direction.
.
Last step before saving:
-
Right click > Break Contour Group Apart.
-
Delete the Inside Outlines. (Red)
Save the File:
File> Save As > SVG

