Let me start out by saying, even though this is my first time posting, I am so thankful for this community!! I got my Glowforge back in October and have been self-teaching myself Inkscape and this community has been life saving for me. However, I have finally come across a project I can’t figure out despite scouring the community posts and hours of trying to get it to work. I have a file from a customer in jpg format. I need to engrave the logo and also be able to cut out around the logo. I have tried various tutorials posted on the community but still cannot find a way to cut around the logo. I can get each individual part of the logo to have a vector line around it but now around the whole shape. Any suggestions?

What material are you working with? What is your vision for the final product? A single engraved sheet? A back panel with attached parts?
There are many ways this could be converted to a physical object. Knowing your desired outcome would help.
2 Likes
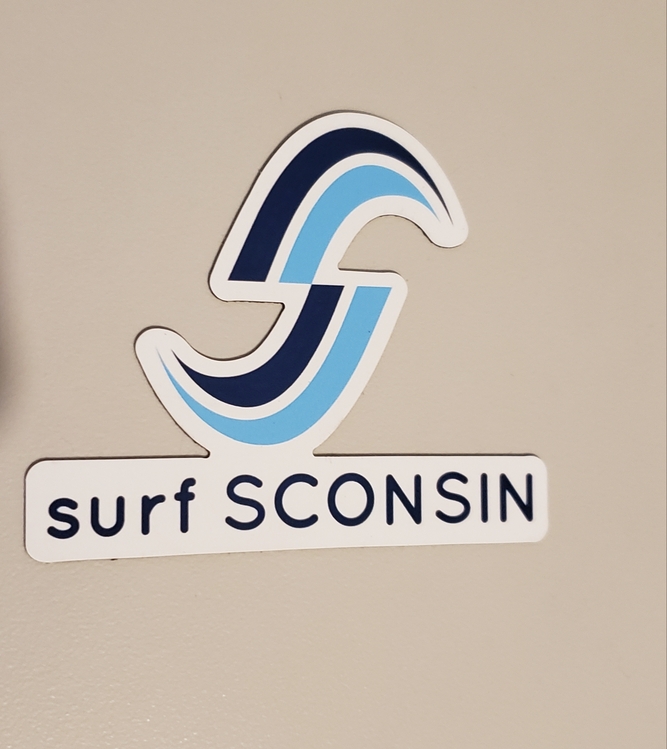
Thanks for your reply! The end goal is a leather patch. So the logo would be engraved on leather and then cut out following the shape of the logo.
OK, afraid I can’t help you there, other than throw out ideas.
Leather is not an easy material to work with. I’d be inclined to consider embroidery for a design like this.
That said, you could engrave the design, using the pattern or dots settings to make the blue parts lighter, then create a larger cut outline that could be sewn onto (whatever). That would likely be easiest done by hand. Given the shape, it might be easier to stick with basic geometry…
1 Like
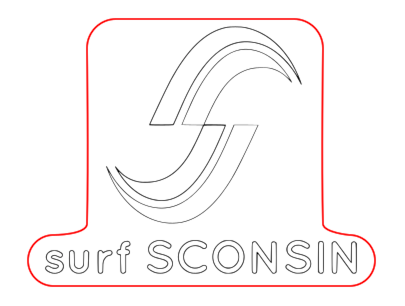
Is this kinda what you were trying to do?

If so i might be able to walk you through how i did it.
@primal_healer very similar but I was hoping to have the outline follow the shape of the logo like it does in this picture.
Could that still be done in a similar way to how you created this one?
That’s easily done by hand, but I wouldn’t think it would be easy to attach to a garment?
If it were me I’d select everything
Duplicate. Now you have two.
Combine one copy into one path.
Turn off fill. Add stroke.
Adjust he stroke width until it is the outline size you want.
Path->stroke to path.
Last minute fiddling to remove extraneous nodes you don’t want or need. Final tweaking.
Set stroke thin and no fill. It should be framing your logo.
I know this is a little hand-wavey but the process should work.
6 Likes
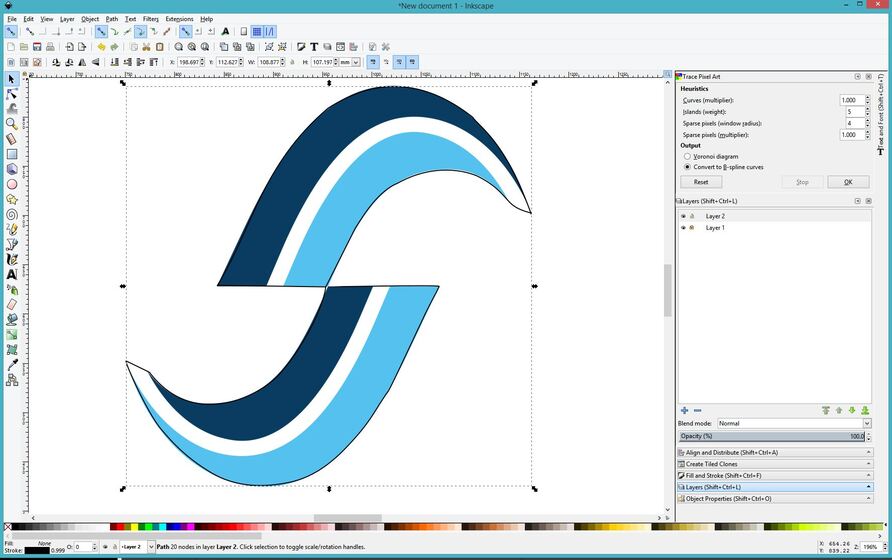
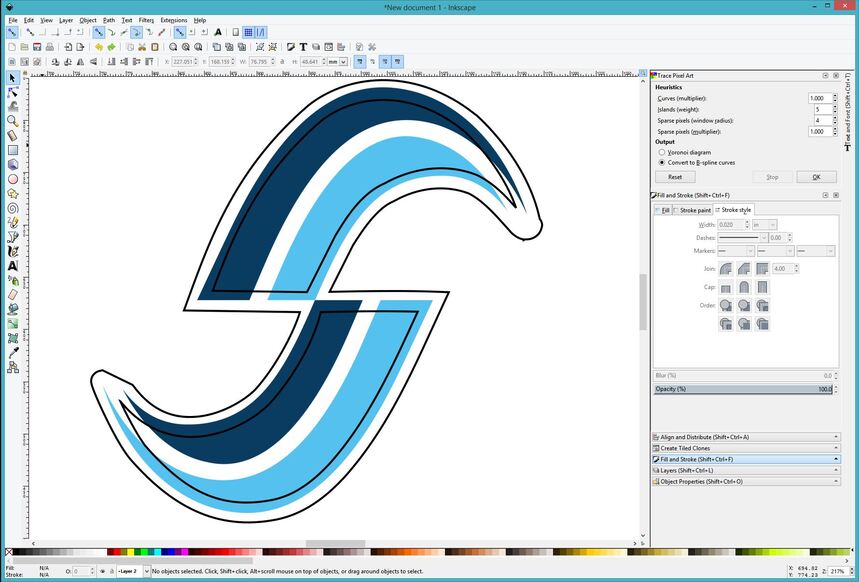
Just one additional suggestion to what the gang has already said above…I’d seriously consider manual tracing for that easy shape. The auto-trace to vectorize it makes a real mess. (Tried it a bit earlier.) And Inkscape has a really easy to use Manual Trace setup.
Lock the jpeg on Layer 1, then create a second Layer for the trace.
Quick rough trace with the Bezier pen on the logo:
Expand the stroke width…I used 0.2 inches, but you could use something a little thicker if you want more white area around it.
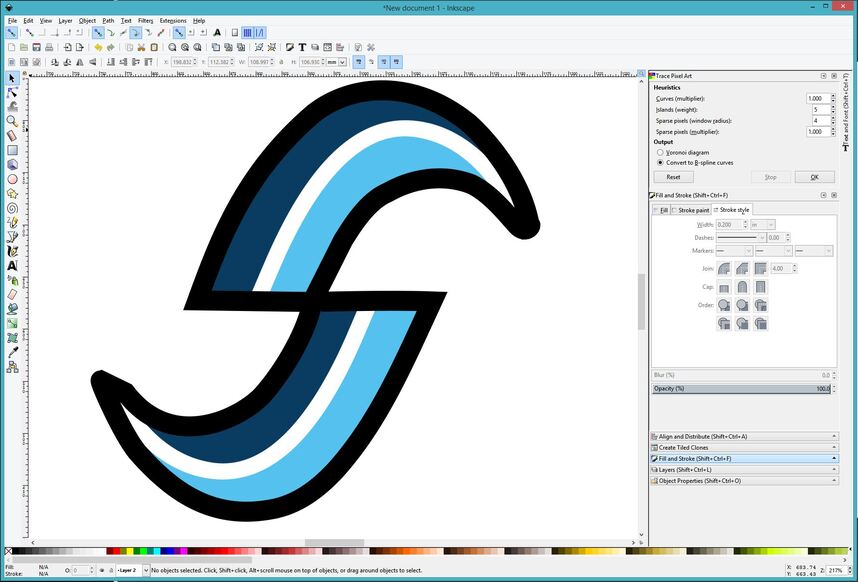
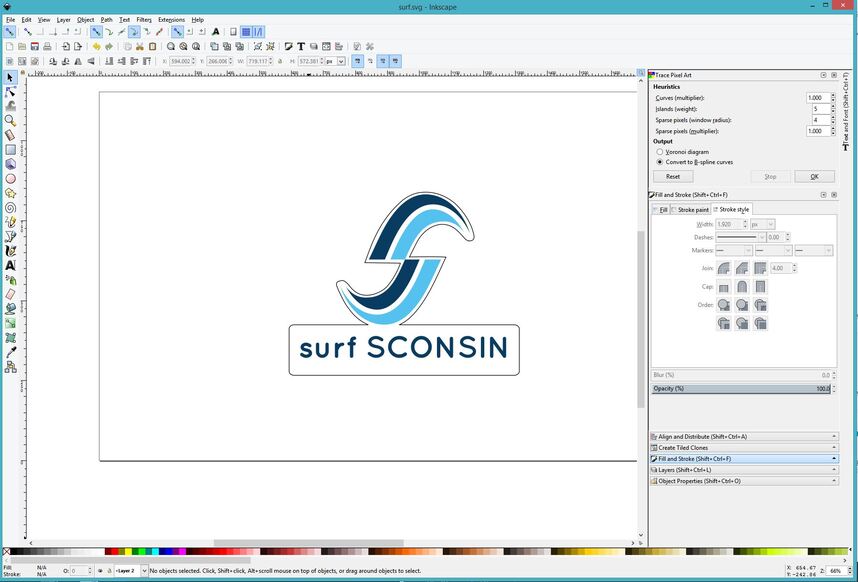
Path > Stroke to Path, then remove the fill and give them a smaller stroke size (0.02 inches) …
Delete the interior paths. Make your rectangle, align it and then join the shapes. (Path > Object to Path for the rectangle, then select both and Path > Union.)
Tweak nodes and you’re done.
8 Likes
Thanks everyone for your help! With your help, I was able to figure it out. I appreciate it!!
That’s also going to take some trial and error. We are thinking of trying to stitch it, but I’m thinking that might be a pain. I’m trying to research different ideas…
Contact cement works well if the directions are followed (apply to both surfaces, wait a bit for it to set up and then make sure you have really good aim when you go to stick the piece on).
1 Like
This topic was automatically closed 32 days after the last reply. New replies are no longer allowed.