Imagine a perfectly flat sheet, about 100mm square, which had the surface ‘cross-hatched’ with V-shaped tool , creating grooves about 0.1mm wide and 1mm apart.
Now lay gold leaf on it, and burnish the gold into the engraved surface. Distress the surface with a brown pigment, and wipe the surface clean.
OK so far ?
Now create that appearance in Gimp, to use as a texture/fill.
That’s all !
I’ve tried searching for custom grid, but that points me to the background layout(?) grid. I’ve tried Filters/Render/Pattern/Grid, but I can only change the grid color, not the background color as well.
I want to use this as a layer behind a ‘garnet’ semi transparent layer that I’ve already created, but beginning to think it might be easier in Inkscape, then import it.
Thoughts anyone ?
John
Not a Gimp user here, does Gimp allow you to make custom pattern fills? That would be the easiest way to do it in Photoshop. Make one rectangular/square repeating section to your specs, define it as a pattern swatch and then use that swatch to fill the larger space.
I think it’s so the vector method. I don’t know Inkscape but I’d use AI before Photoshop for something like this. I’d probably finish it in layers in Photoshop or gimp in your case.
Hi y’all, and thanks for the comments and ideas.
I’ve tried the vector route via inkscape, and my preliminary results look promising - just need more practice trying out different effects !
Sort of shot myself in the foot !
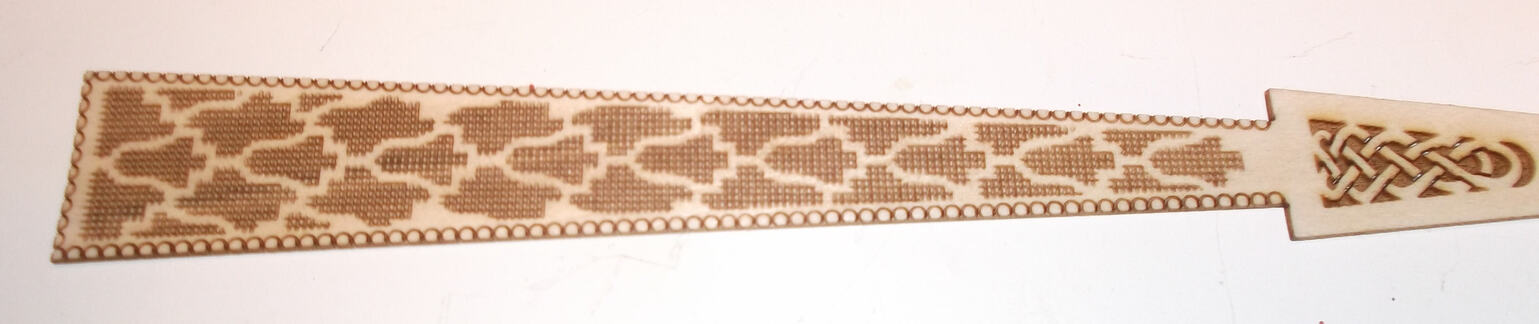
I’ve realised that, though Goldfinger will only ‘engrave’ across the bed, if I turn the fan stick sideways, I can produce a cross-hatch.
Setting it to 35 lines per inch, and with a jig to hold the stick in two positions at right angles to one another, I’ve produced a very acceptable effect by just giving my pattern a fill, and using ‘engrave’ to do its magic.
I’ve had no problems with cutting paper backed ‘gold’ foil, nor hot foil as in gold blocking foils.
I suspect that one might have a problem with an optically flat gold surface reflecting the laser beam back through the system, but given the nature of the surface that the leaf is laying on, I think that there will be so much scattering of the beam that it won’t present any danger to the optics.
I’m prepared to try it on that basis, so watch this space !
John
What method of application of gold leaf are you using? I was experimenting with those “Mr. Clean” sponges for painting just a skin of glue before applying Mulberry Paper. From what I know of real gold leaf the stiffness of the sponges might be able to hold to the texture, though I believe a soft stiff brush pouncing was recommended.