A work colleague asked for a custom frame to give as a gift to the group costume their team wore on Halloween.
I’m happy with the final product, but I did learn a hard lesson I wanted to share:
Short version, the test that determines whether your job is within the working area of the laser ONLY evaluates artwork that is currently selected. If you have some pieces set to “ignore” but later plan to use them on a multi-pass job, they could still stretch outside of the working area and you won’t be able to execute them.
So, if you have something that requires multiple passes (i.e. engrave, then stop the printer to interfere such as lay down paint, then engrave or cut) you should set up all parts of the job and make sure they fit within the working area BEFORE starting one part of the job.
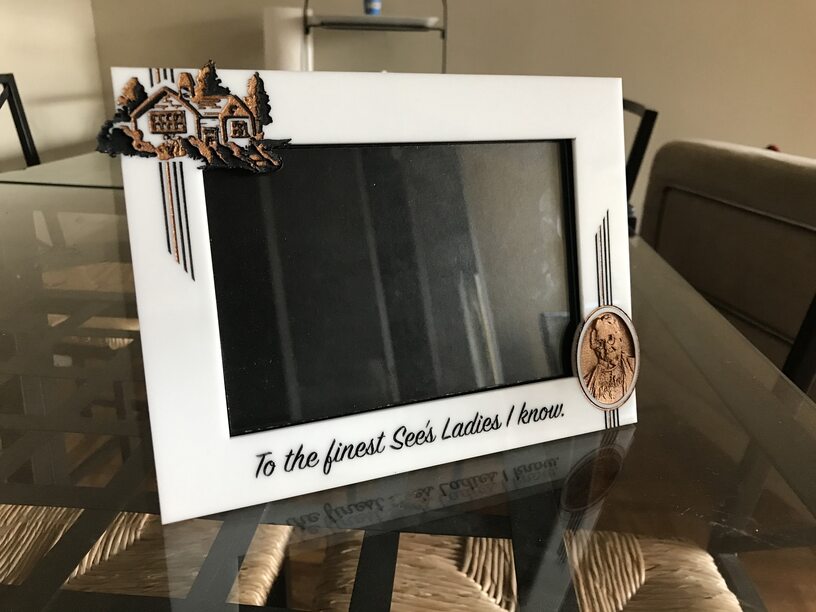
For example: in an effort to squeeze every iota out of my material, I wasted a bunch. In this frame I engraved out of white acrylic, fill in the engraved area with gold paint, let it dry, cover it with tape and then engrave a second area to be filled with black spray paint. Finally the laser cuts it out.
As you can see from the picture, the black and cutting areas extend just slightly farther than the gold. So when I set it up to engrave the gold, I moved it as far as it would go to the left, hoping to take up as little space as possible. After engraving the gold areas and filling in with paint, when I went to engrave the black areas, it said there was no artwork. I realized this was because it was evaluating what was feasible based only on what was selected.
Sooo… just wanted to pass on fair warning to everyone.
