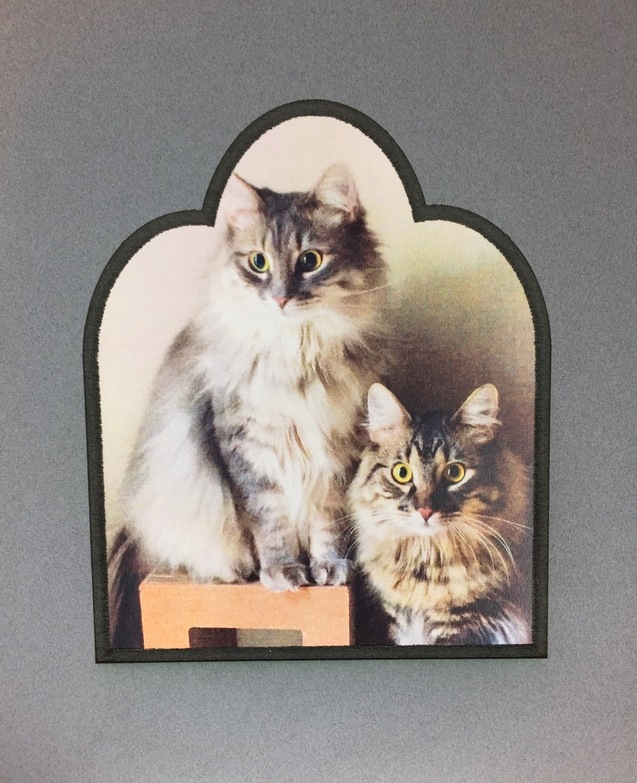
Just fooling around with some crappy waste matboard to see if I can get a nice bevel on a custom cut. Turns out I can! Not perfect, and the cut edge is dark instead of light, but very usable. This is the first iteration, I already know of some changes I want to make on the next try, but thought you’d like to see:
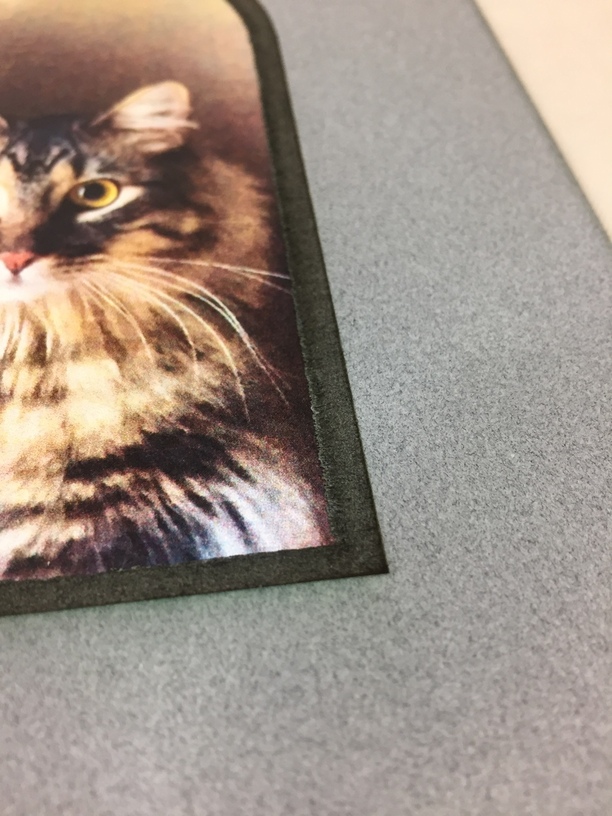
It’s hard to see the bevel in the photo, but it does look pretty cool. This one is shallower than the standard 45 degrees, that’s easy to fix. I’m planning on putting together a step by step for Illustrator/Photoshop if there is interest. Meanwhile, here’s the settings I used for this one (standard .05" mat board):
Engrave 3 passes at power 100, speed 1000, 270 LPI, map grays to power from 10%, .05" focus height. Do one more pass at the same settings except map grays from 0%. Cut settings: power 100, speed 250, 1 pass, .05"
Total time required for this roughly 5 by 6 inch opening in an 8x10 board was over 2.5 hours. I did not mask the board, by the way.
I am definitely not a cat person, but that looks good. That’s giving me some good idea for grandparent gifts for the holidays–with pictures of their grandson.
Adorable cats and great pics and neat frame. Thanks for sharing. Looking forward to the details. It was not the best week for me to get my new Glowforge. Way too much work. Wedding this weekend and parish picnic Sunday. Monday I’ll finally get to devote some time to this beautiful machine and making beveled cuts is on the list.
So much patience! You have more than I for sure. The first thing that I thought of is that it might be a neat approach for a secondary mat opening - you’d have both the contrast in color and the shape.
I haven’t done it, but I bet mat board takes sanding fairly well. Probably decently easy to take off the excess char and any irregularities that may pop up.
It would be very easy if you masked the mat board before engraving, and just leave it on to do the painting (or maybe bleaching?). The masking I have peels off paper easily without tearing.
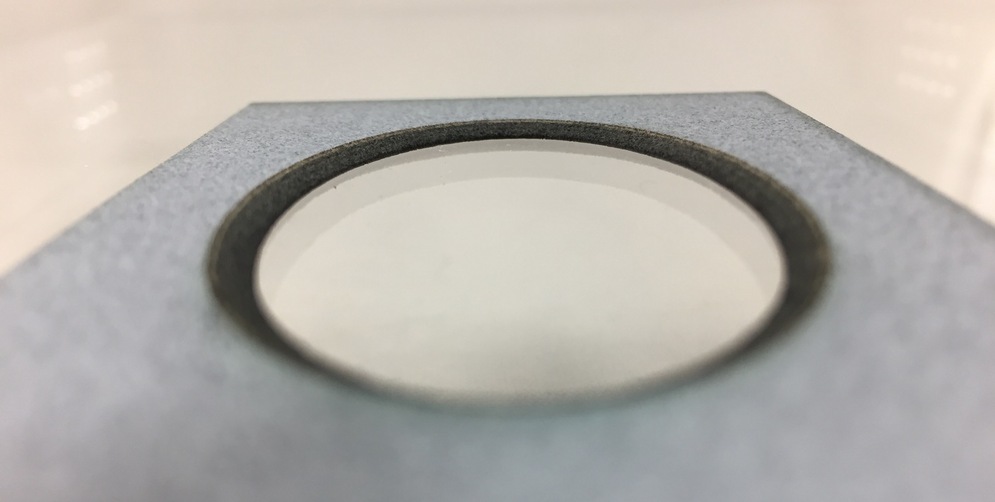
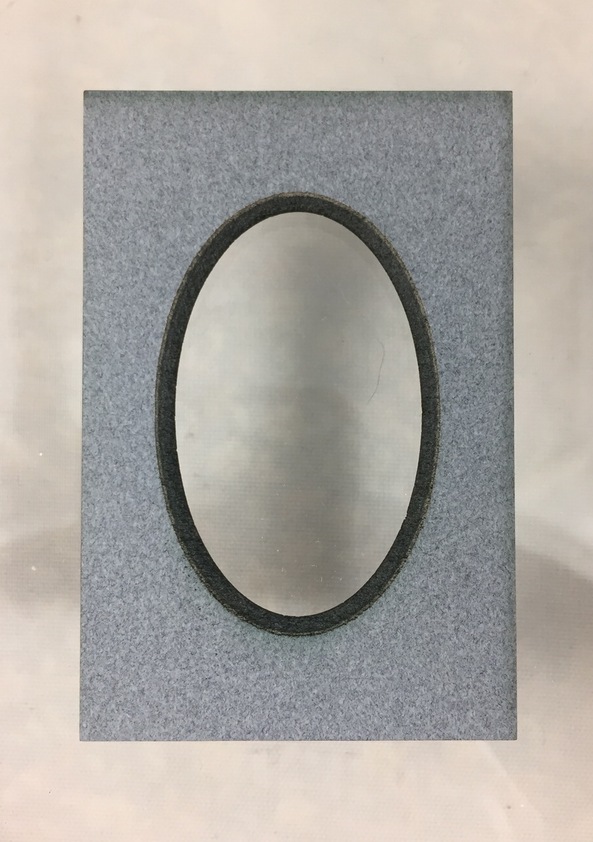
Again, the bevel doesn’t photograph well but it looks great in real life.
The settings I used for this one:
Four passes of engrave at Speed 1000, Power 100, Map Grays To Power from 1 (not the default 10), focus height 0.05"
Followed by a score of the inner oval at Speed 250, Power 80, focus height 0.01" (one pass).
Then cut the rectangle with Speed 250, Power 100, focus height 0.05", one pass.