We’ve had rather lengthy discussions about it here on the forum. The kind of precision required to work with a Print and Cut file is going to be hard to achieve with an overhead camera aligning visually. (It’s gonna be best right under the camera, and worst at the far edges.)
What you are doing is creating a sort of three-point registration manually by following the steps in the P&C tutorial there. Once you get it set up it’s not bad, but it does take some time to get it aligned.
A three-point registration is in the hopper for future development though. This is just to get us by until then.
You’re very welcome to email support. However, if you open a thread in Problems and Support, it will get the same service (guaranteed response) PLUS all the sorts of useful help you see here. But it only applies to threads opened in that category, and moving a thread to that category doesn’t alert our support team.
I’m moving this to Problems and Support, and sending a note to @rita so her team doesn’t miss it!
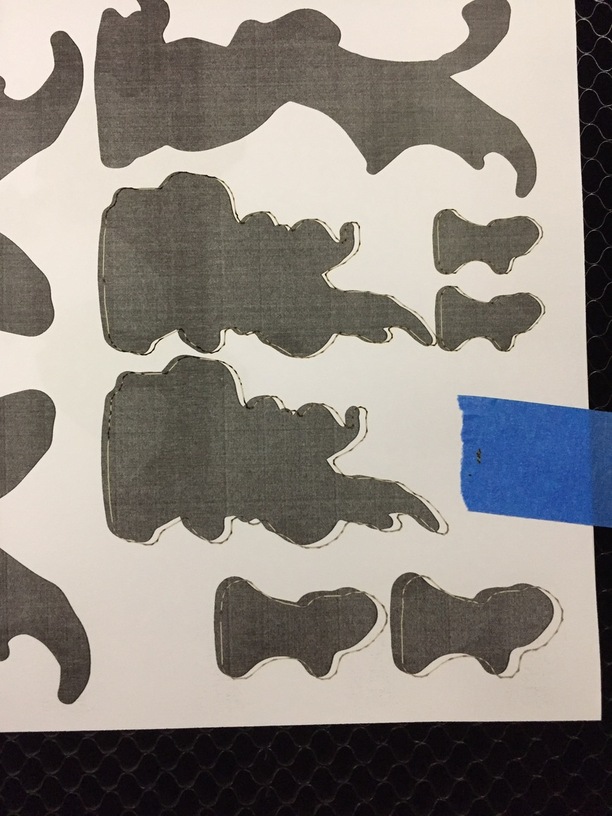
That’s a full 1/16" off… is anyone else getting this kind of result?
Here’s another test: this cardboard is 0.25" thick… I scored the “2” first, but set the thickness AFTER the artwork was laid down. The “1” was traced/scored AFTER the thickness was already set. I did both scores without moving the cardboard in the bed… any ideas what went wrong/right?
I always set the thickness first. It seems to help with focus and locking things in better. I figure they put it in the upper left corner for a reason - first thing to do before any operations setting
We’re still improving our layout and alignment, so your print may appear offset from where you put it by up to a quarter inch. For the most accurate alignment results:
Use Proofgrade™ materials
Enter the thickness of the material if it’s not Proofgrade
Use material that is not warped or tilted
Place your design near the center of the bed
Reboot the machine if you see the alignment drifting
@Jules and @cynd11 posted some helpful suggestions you can use while we work to make alignment better for everyone. I’m going to close this thread - if the problem reoccurs, go ahead and post a new topic. Thanks for letting us know about this!