A Quick Warning:
Important: This is going to get long and detailed. Unfortunately, you asked a simple question with a complex answer. I am going to do this the “long” way, which will have steps that aren’t always necessary but is thorough and should take care of a lot of the issues you find in downloaded files. It won’t be exhaustive, but it will be a good primer into how to approach these things. So, let’s dive in.
All of these files are laserable, but they require some extra work. I’ll take you through the process and then put the modified files at the bottom for you.
I’m going to assume that what you mean in all of this is that you’d like to engrave the pictures and then cut the outlines, so that you have a standalone bear, bow, or elephant.
The processes for doing this are similar, but the three files are of different types – the elephant is a jpeg, and the bow and bear are SVGs. These are what we call raster and vector, respectively.
Let’s also introduce you to Inkscape, a free vector editor that I’ll be using to do all of this. Almost every vector editor does similar things, so if you see something I am doing here, but are more comfortable or familiar with a different editor, it’s probably just a matter of figuring out what that program calls the functions in question.
Let’s talk about the bow first.
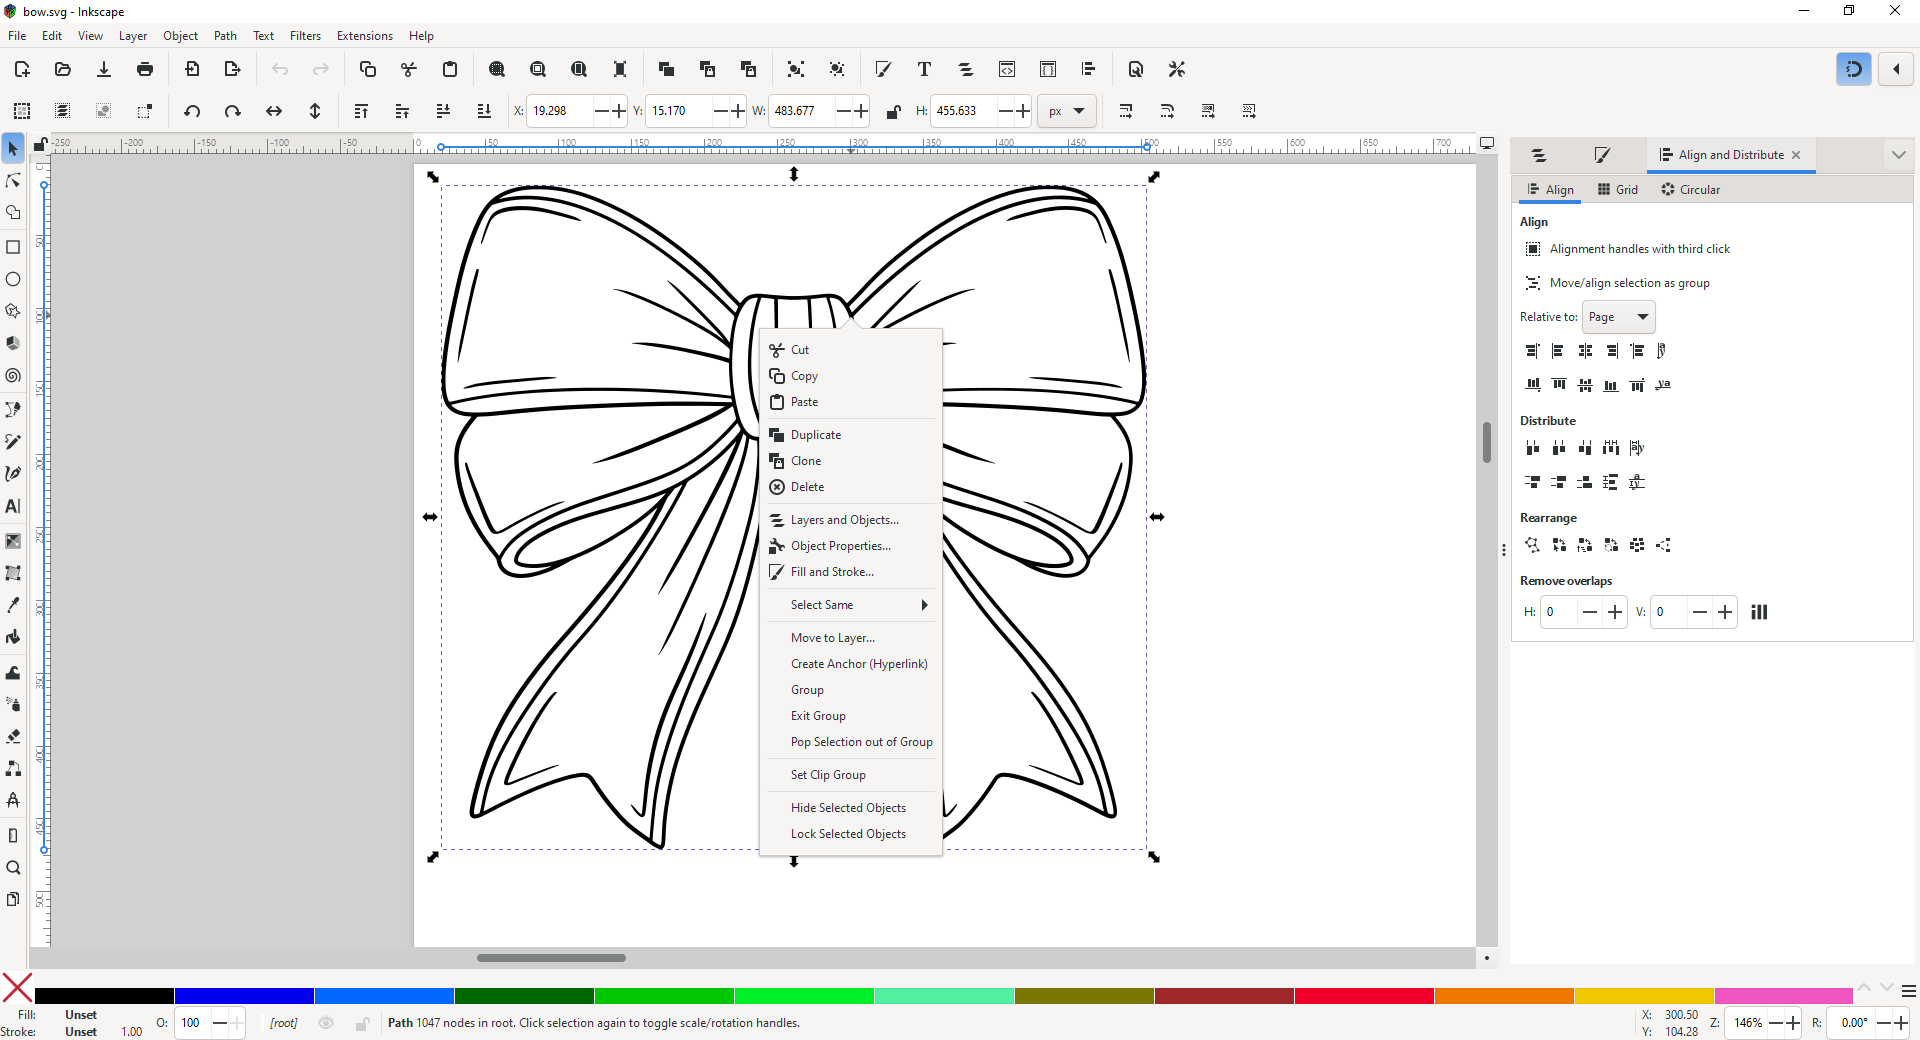
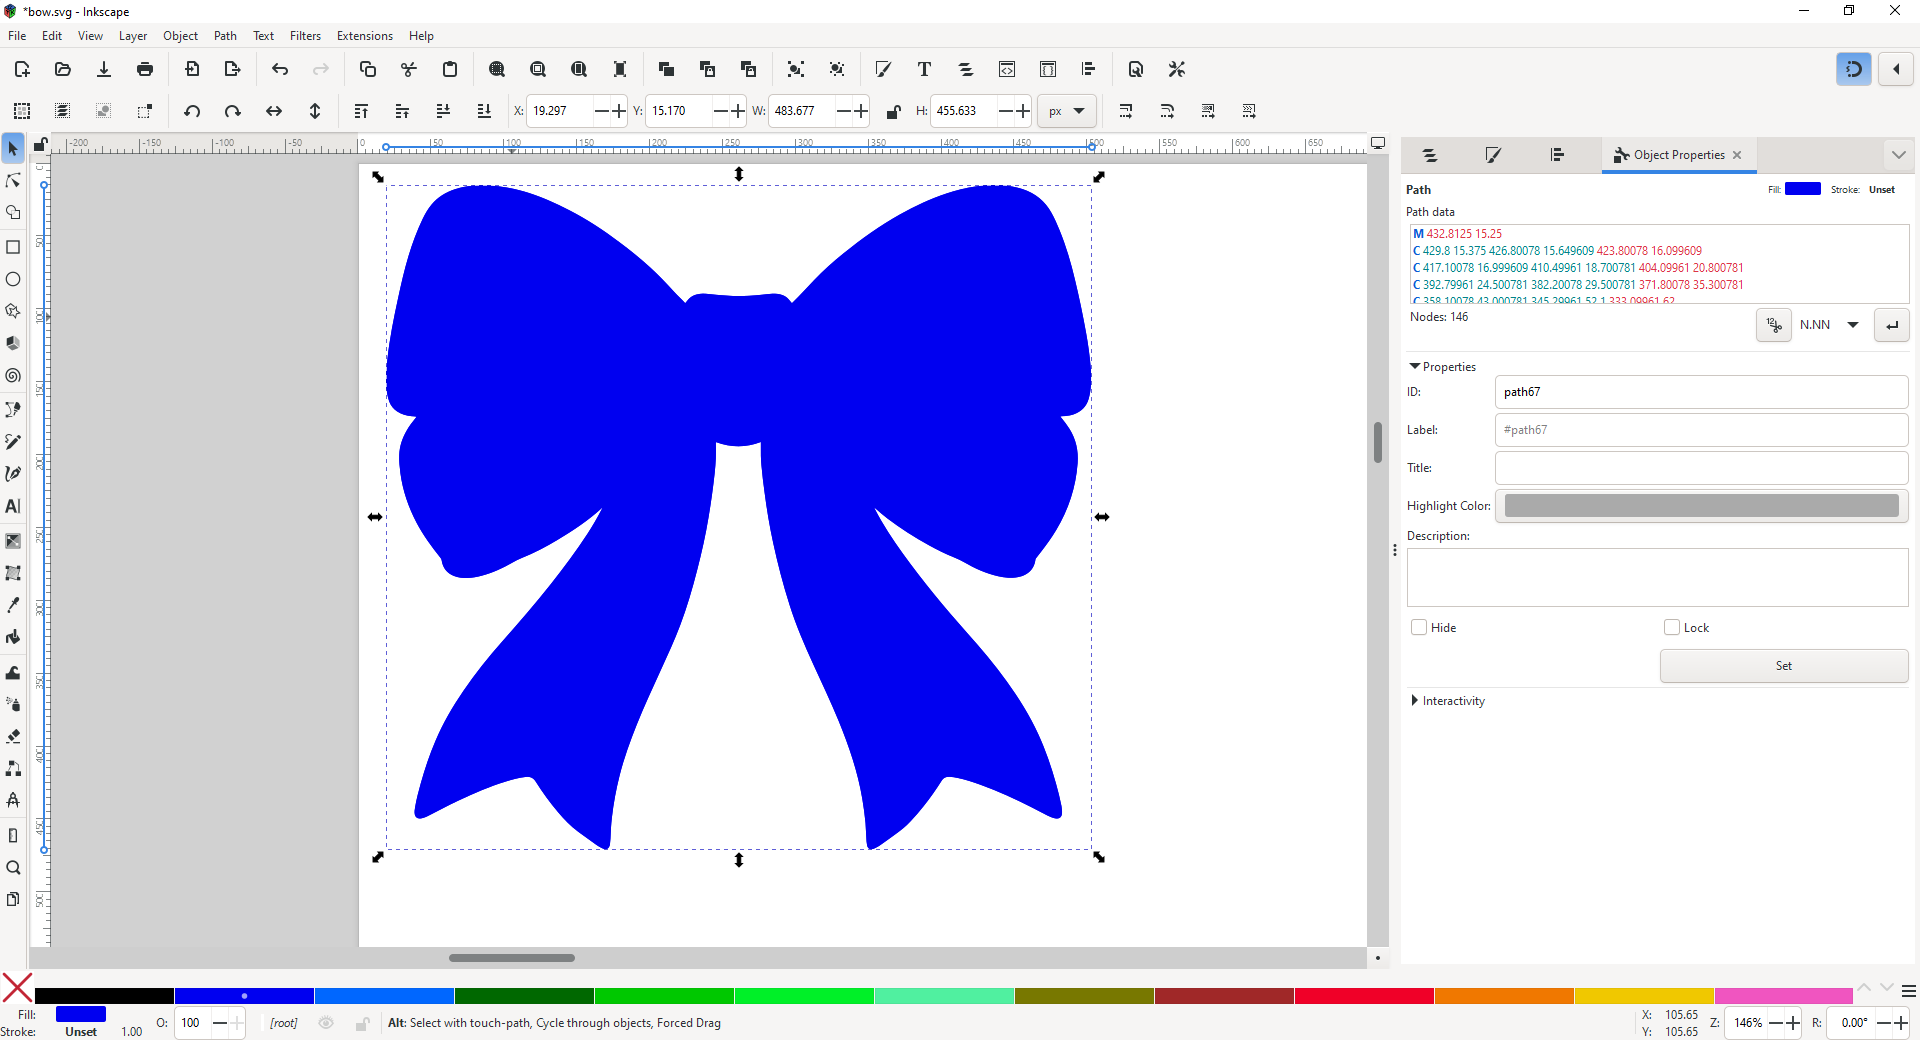
When you get a new file like this it’s a good idea to inspect it to see what you are working with. I opened bow and see this:
The first thing I do is right-click on the bow and select Object properties to see what type of object it is.
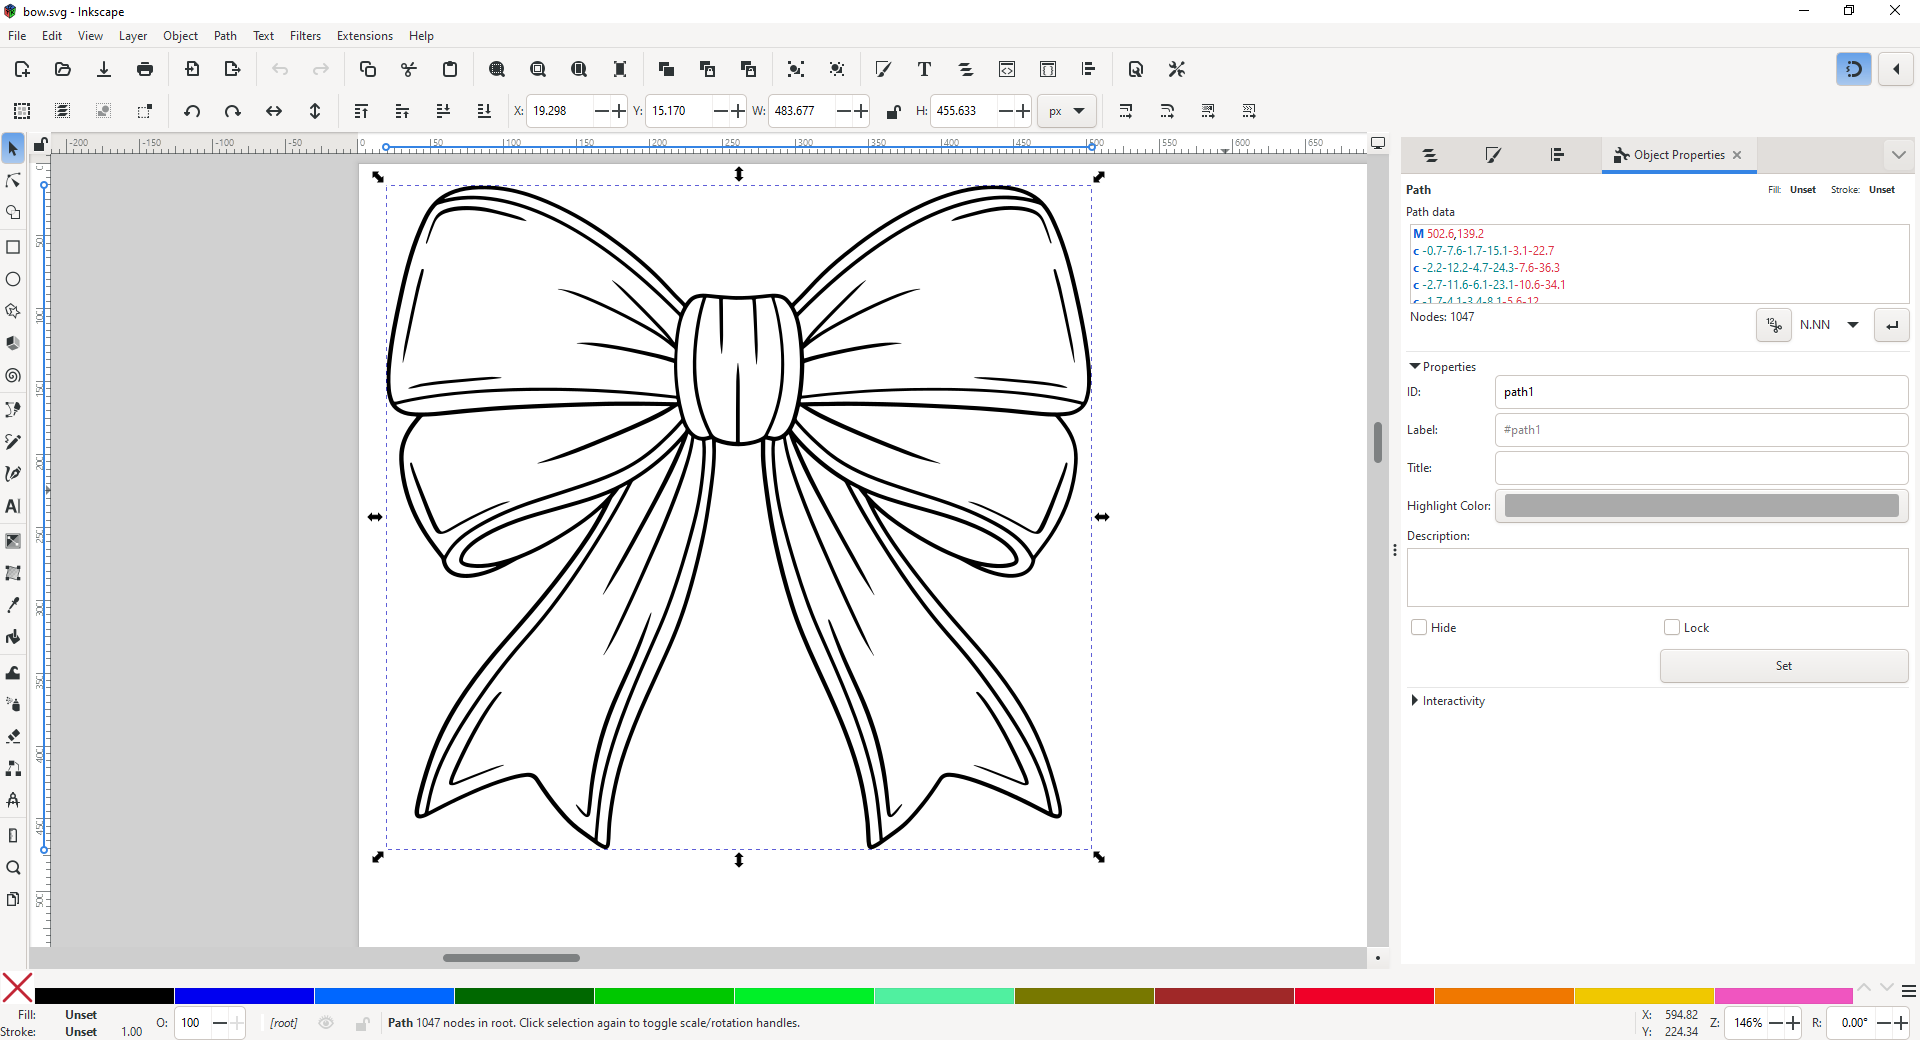
On the right side, we can see that it’s a single “Path”. This is good news, paths are easy to work with.
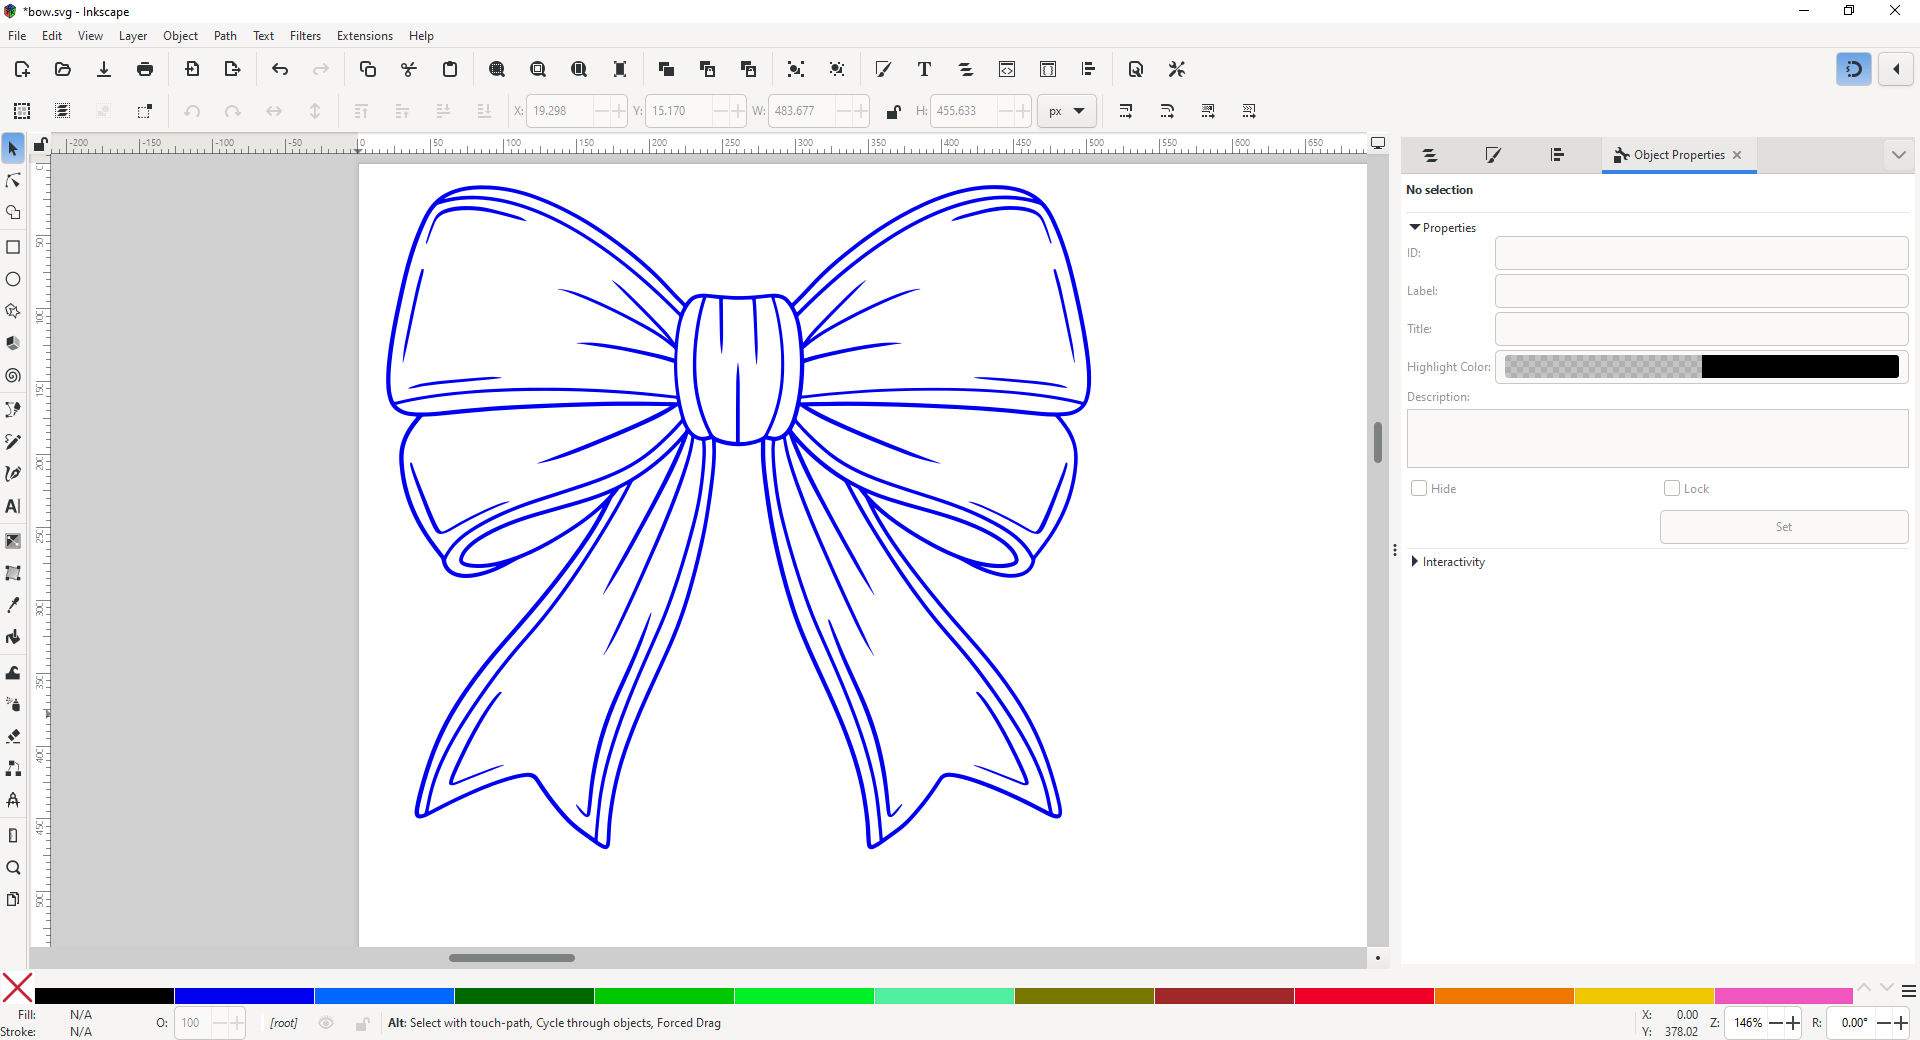
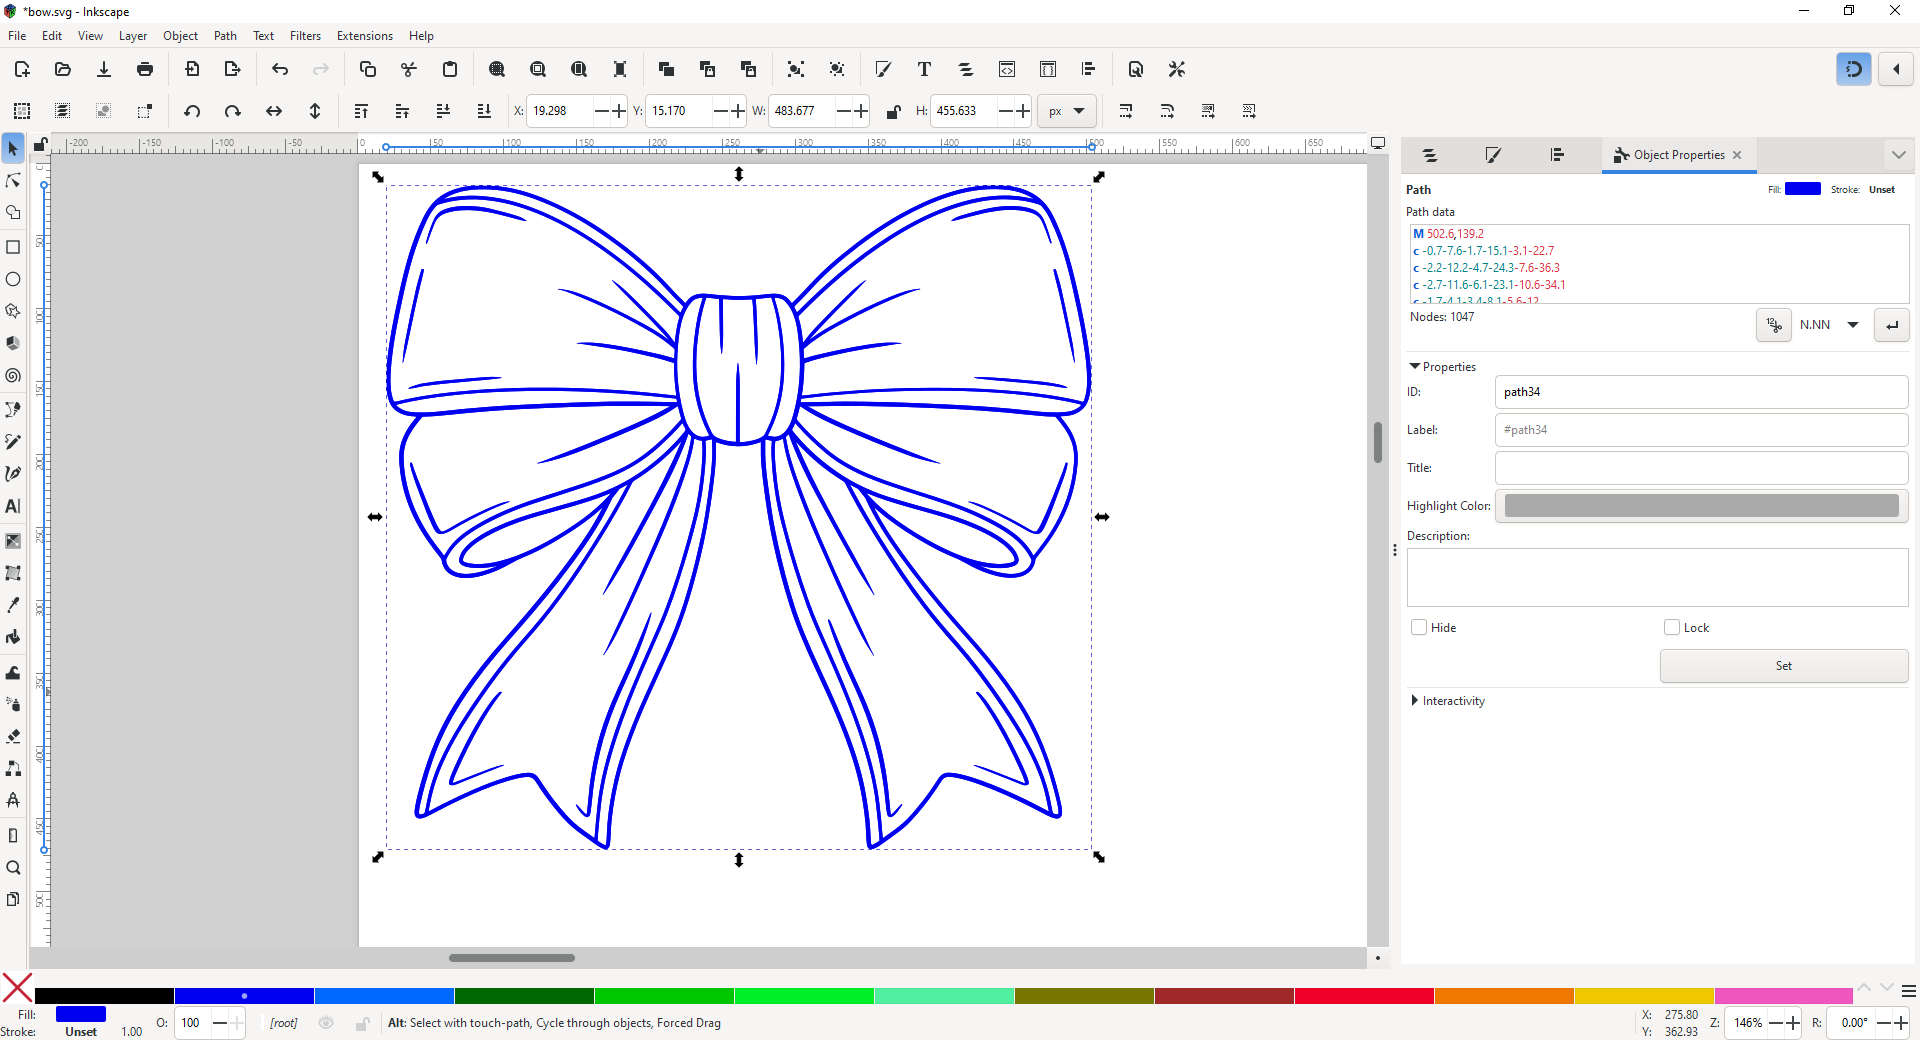
Inspecting the path and preparing it for engraving, I am looking for a few things: The path should be filled with a color, and have no stroke assigned. In the lower left you can see that it says Fill and Stroke are both “none”, so we should assign a fill color. I’ll choose blue just because:
Cool, the bow’s ready to go. What we need now is a cut outline. This is actually very easy to do when you have a single path to work on – we just need to isolate that outer edge. There are many ways to do this, but the simplest looks like this:
Steps to create a cut outline for the bow:
-
Duplicate the bow. Select it and go to Edit → Duplicate.
It’ll look like nothing changed, because it makes a copy right on top of your original bow.
-
Path → Break Apart
This looks like something’s really wrong, because what it just did is separate all the different segments of your bow into their own path elements (Note all the selected object boxes in the blue area), but they get a default fill color, so it looks like a solid blob.
-
Path → Union.
This looks similar, but you can see it’s one solid shape without a bunch of smaller shapes inside. Union essentially joins all the selected paths into one flat shape. We want to cut this outline, so…
-
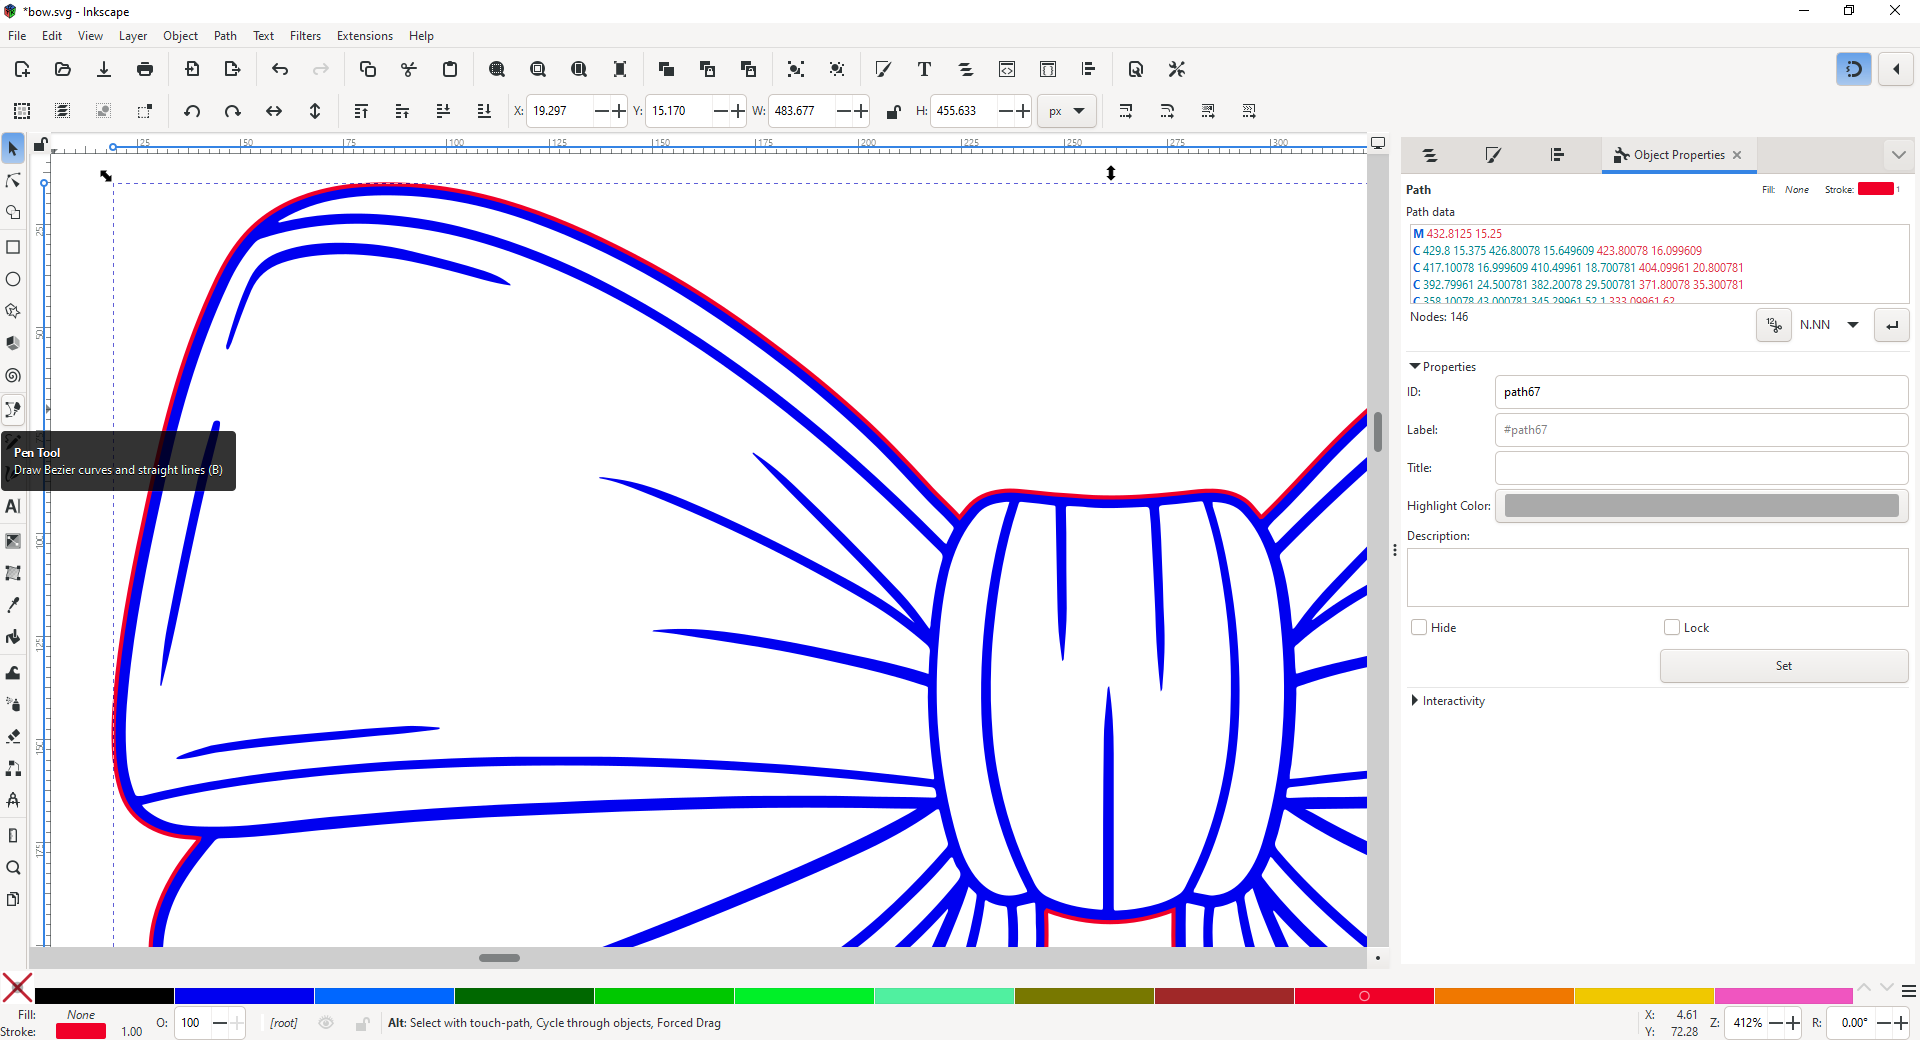
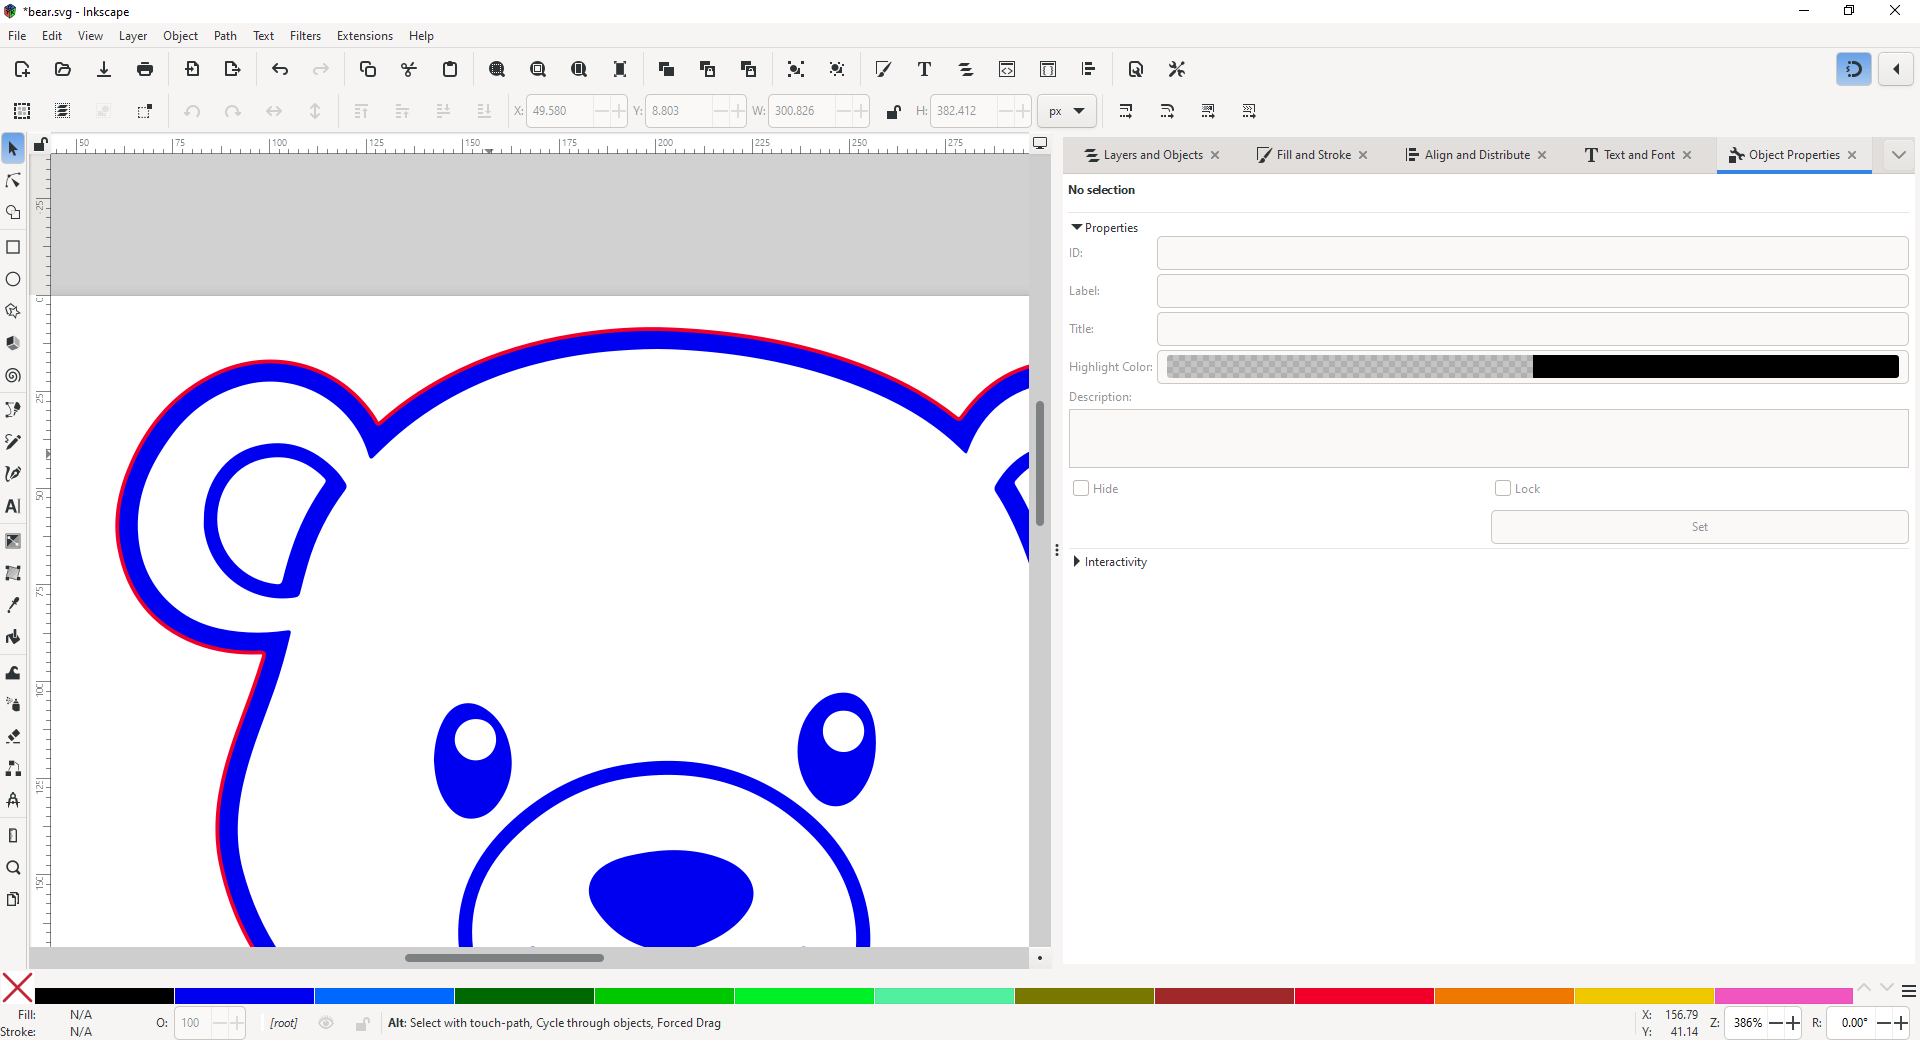
Remove the fill and turn on a (thin) stroke:
I used a red stroke and zoomed in a bit so you can see what you’re working with.
This reveals the original blue filled path underneath the outline you just made, perfect!
Optionally, it’s a good idea to select everything and “group” them, so you can’t misalign them going forward if you move them around.
OK, so that’s how you handle the bow.
The bear is somewhat trickier.
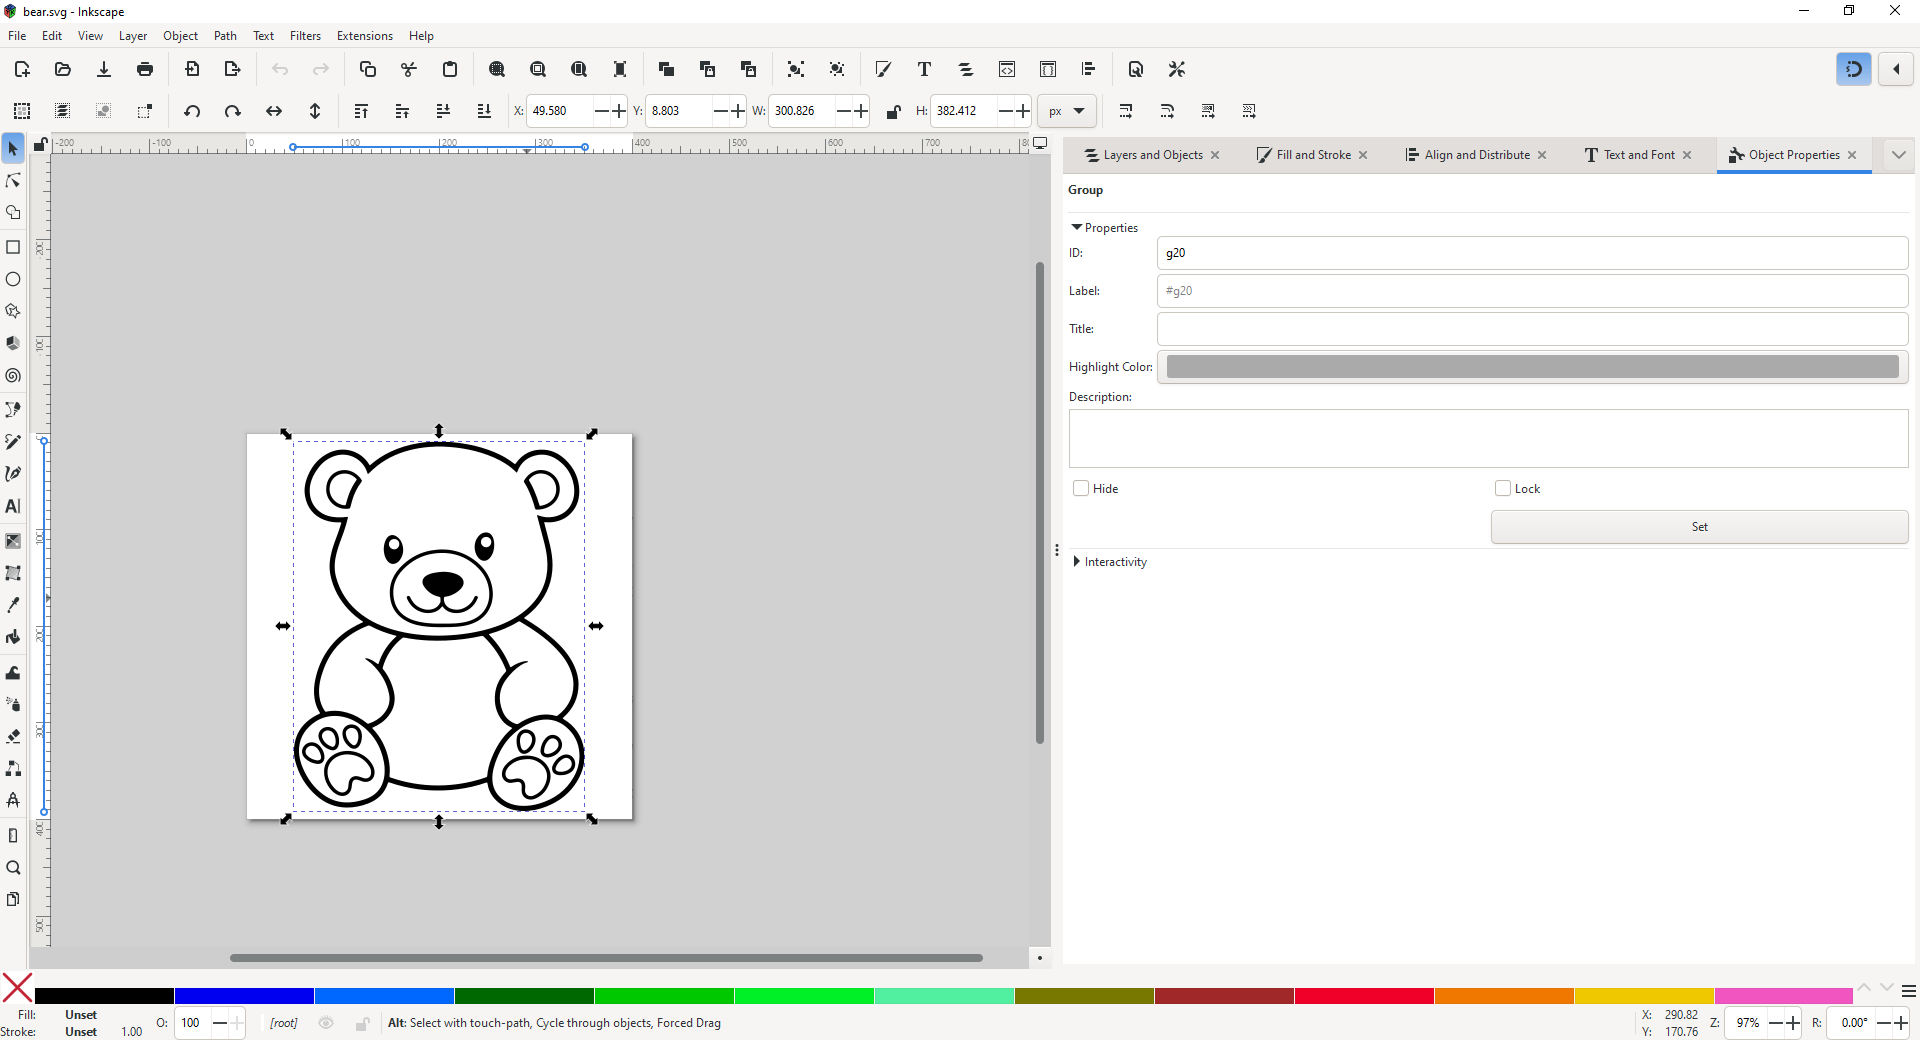
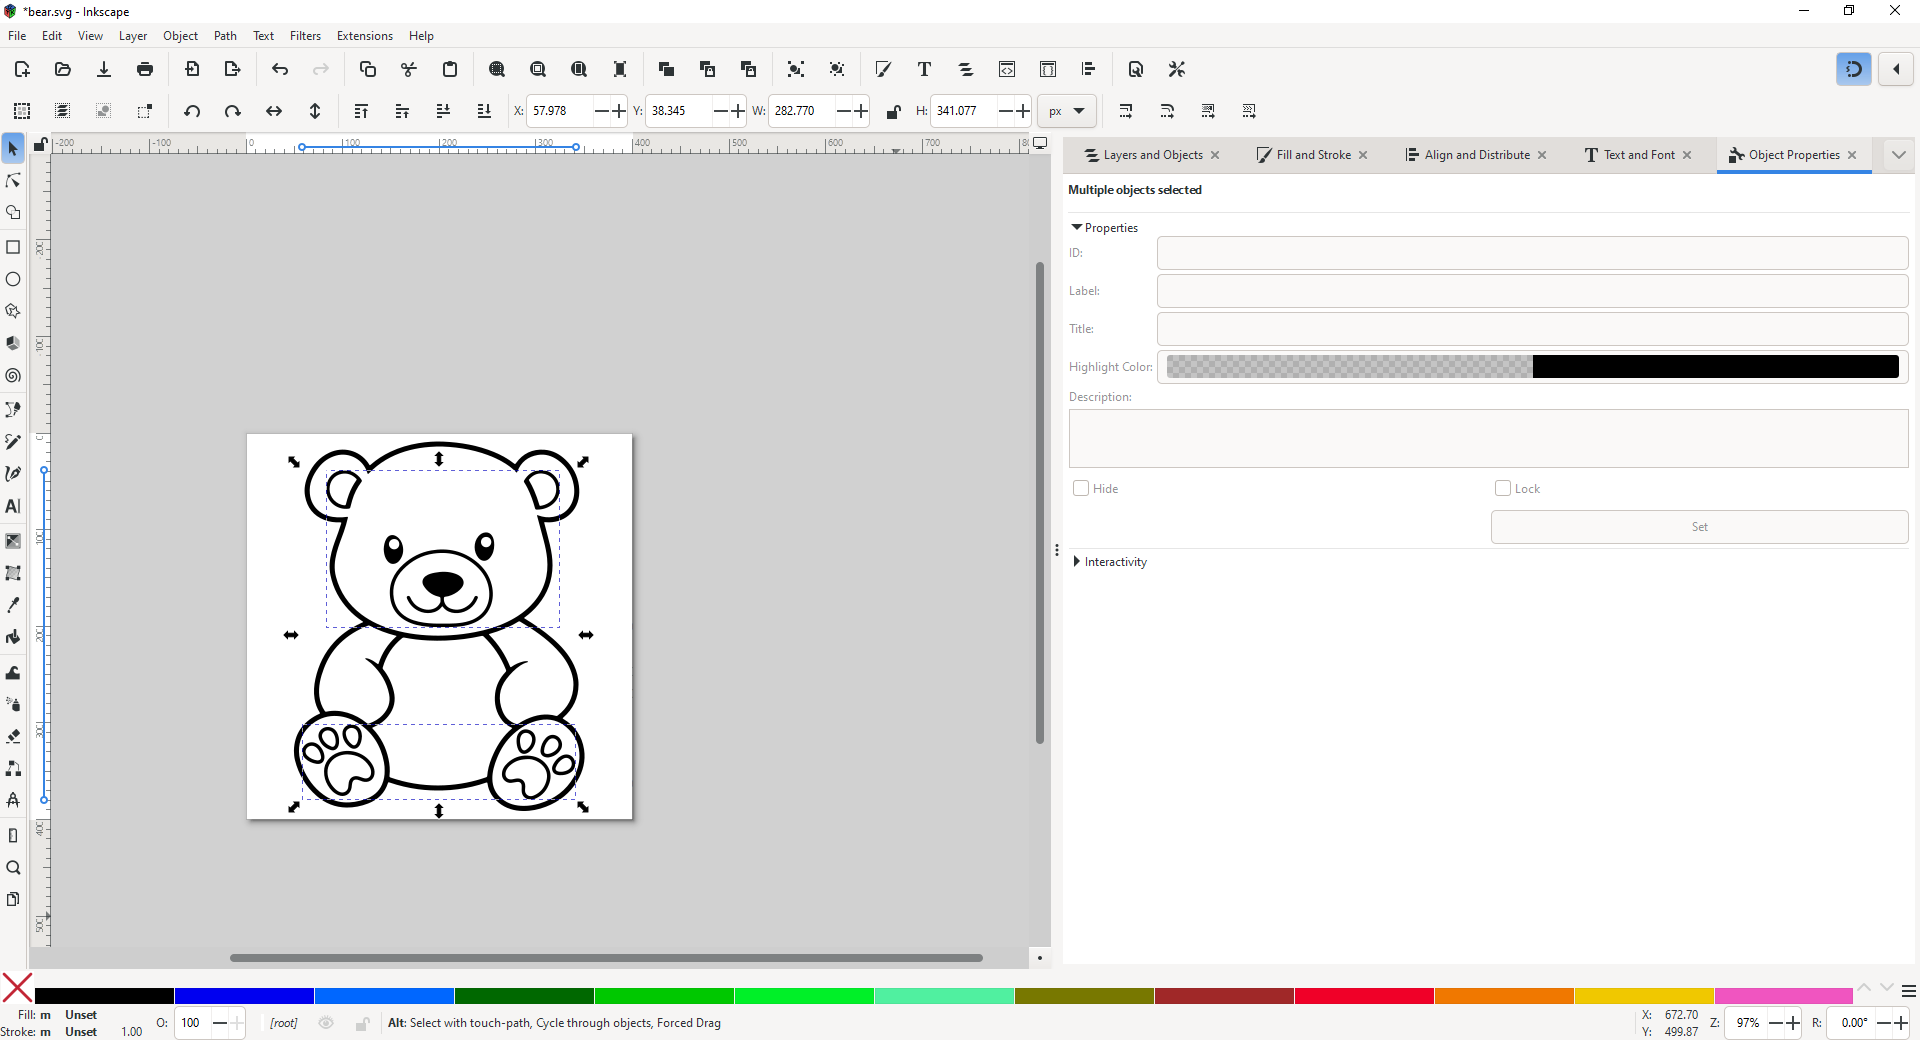
We start the same way:
But we see that the bear is actually a group – we need to find out what’s in the group. Sometimes you want to keep the group but in this example I would just ungroup it.
Steps to prepare the bear:
-
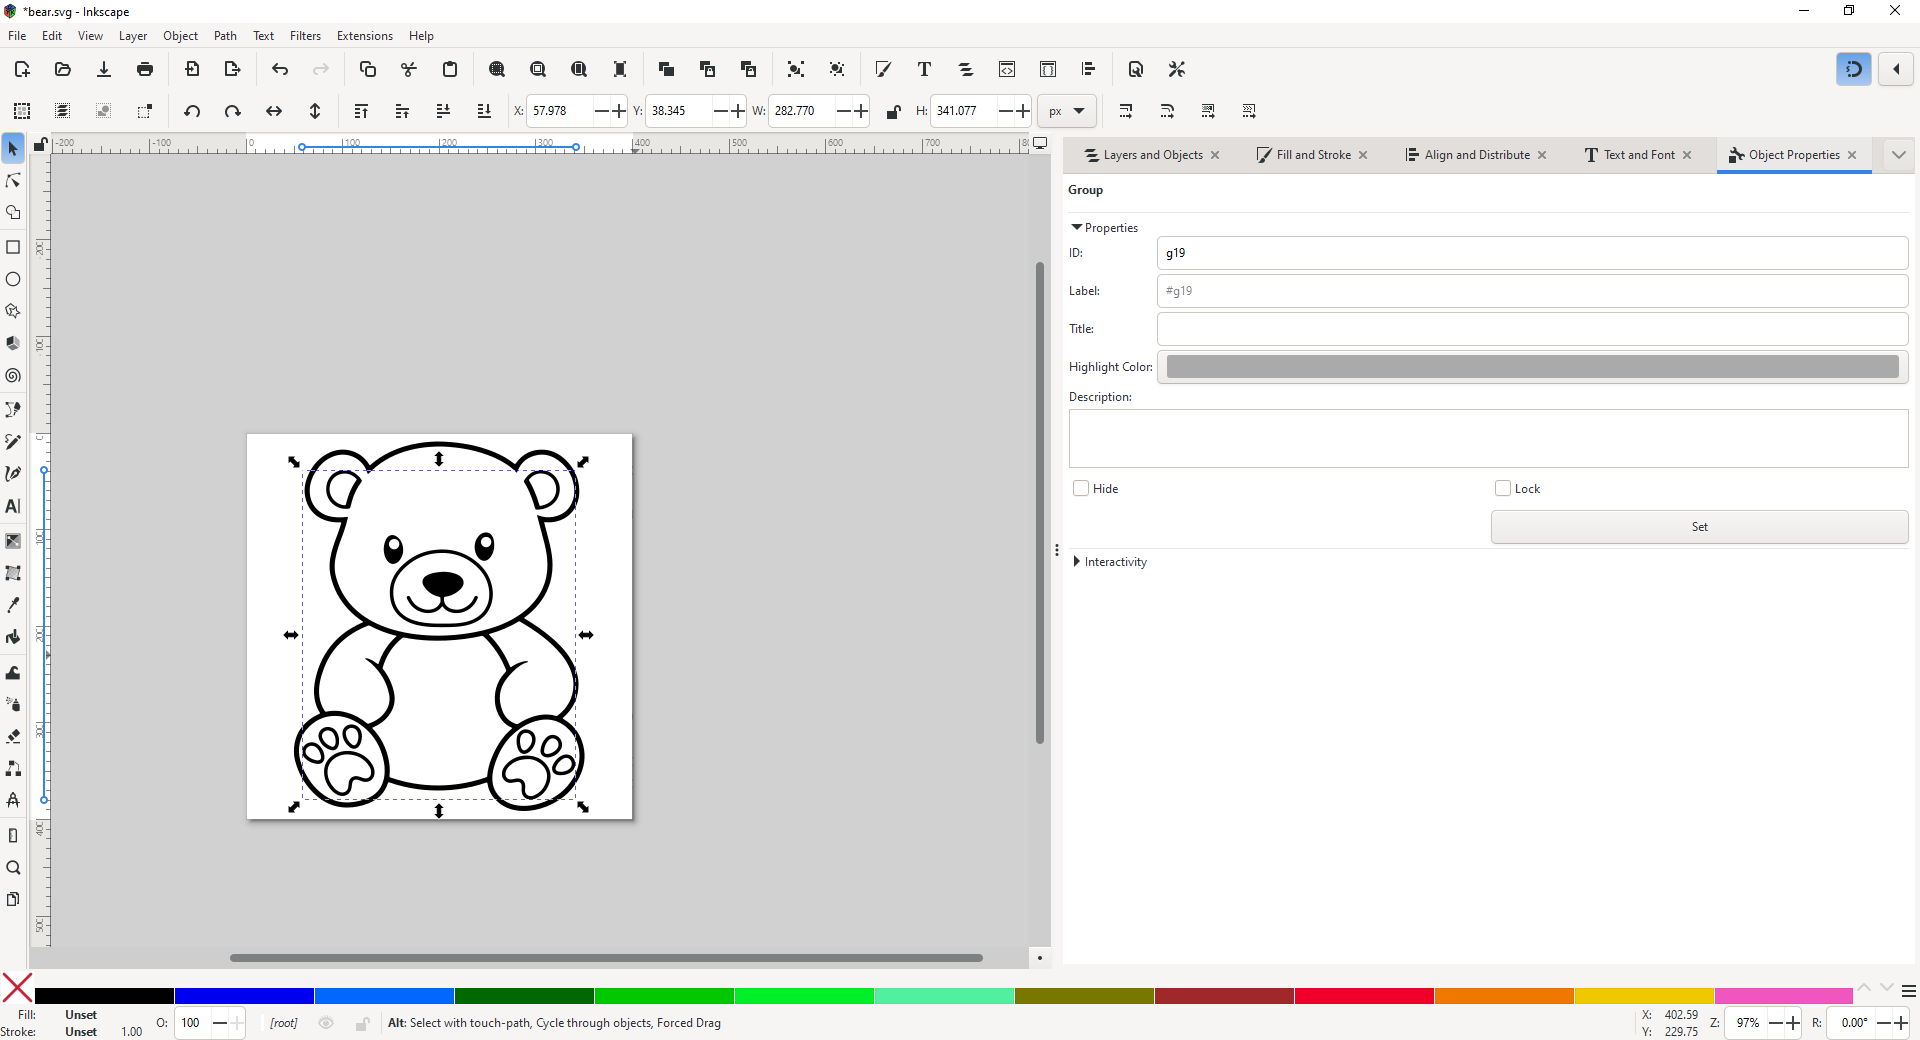
Select Object → Ungroup
Inspect the parts that we just ungrouped and … uh oh, the group contained another group of the inner details.
-
Ungroup that.
Hah!, that group had two more groups in it:
-
Ungroup that. Repeat if necessary.
Which had 4 more groups in it…
-
Ungroup that. Repeat if necessary.
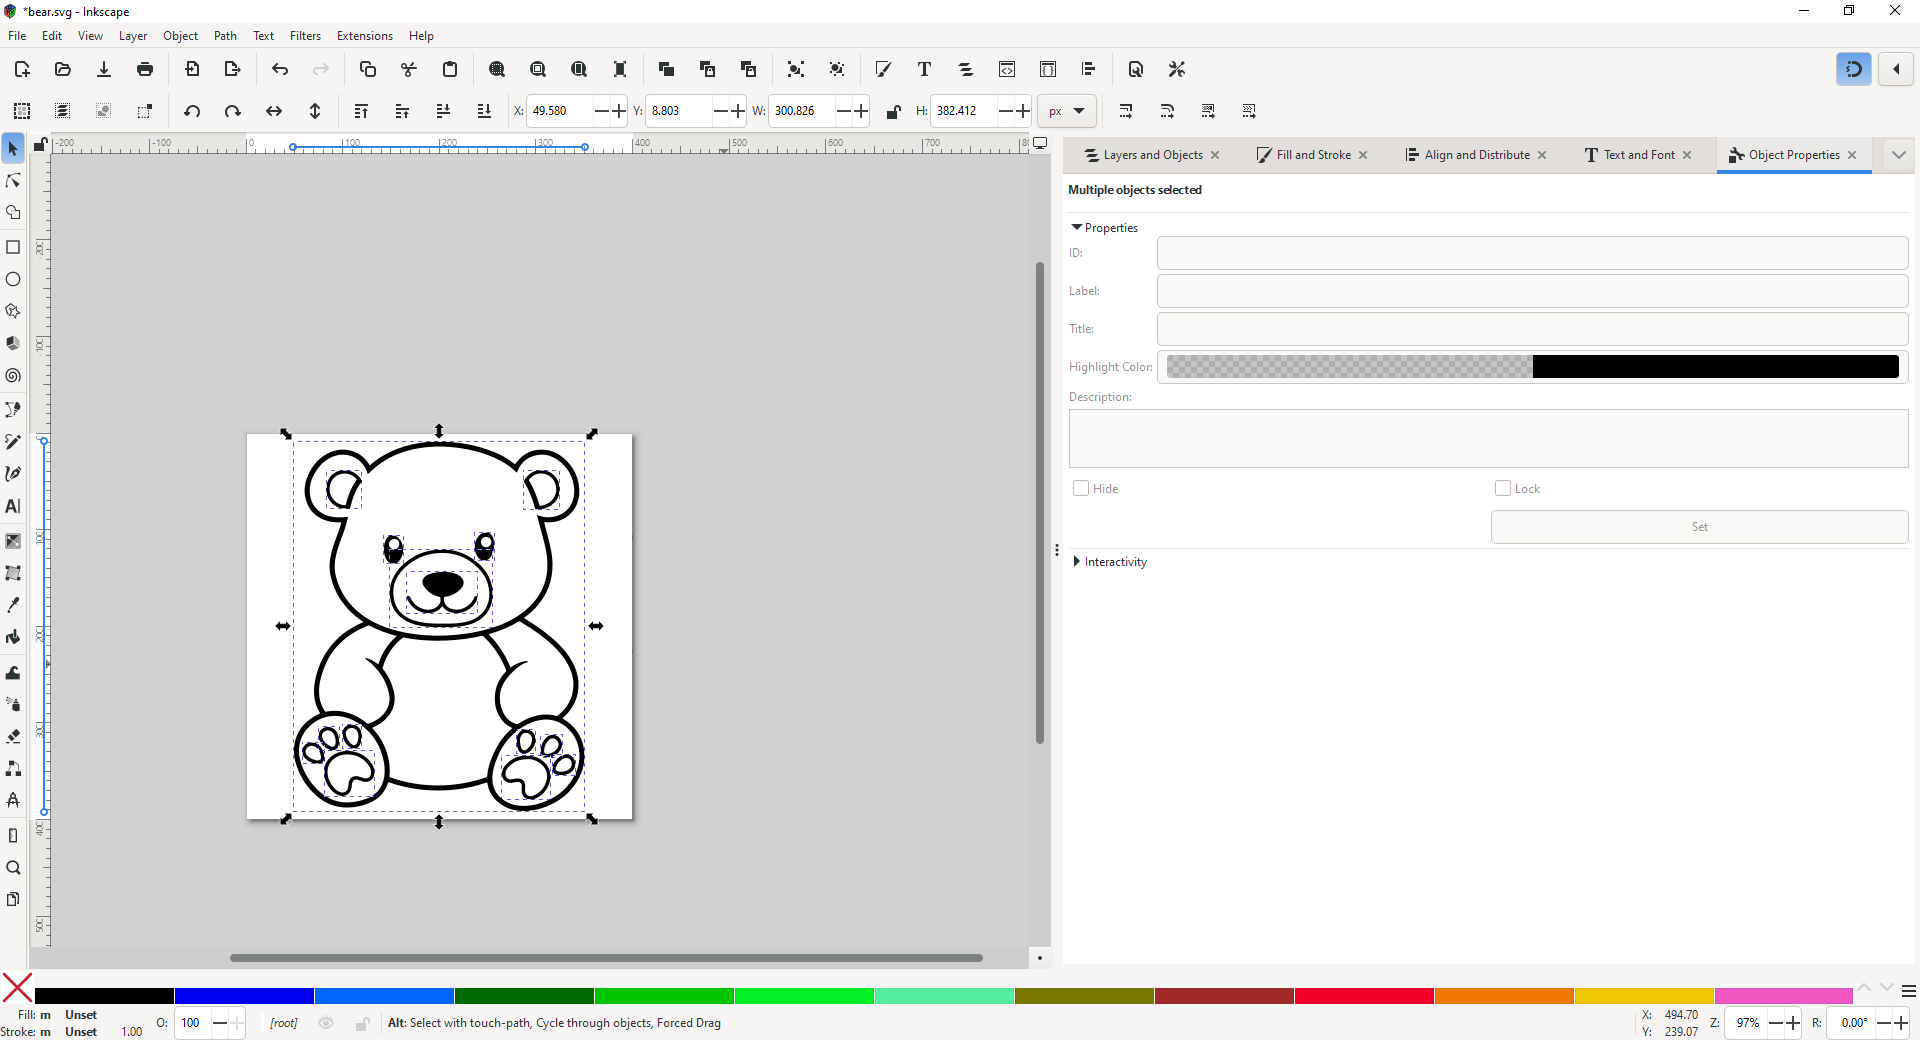
And again, and again. Finally everything is ungrouped and you have 15 objects of type Path selected. It’ll look like this:
Like our last example, this will be easier to deal with if it’s one big path. You can take all these parts and…
-
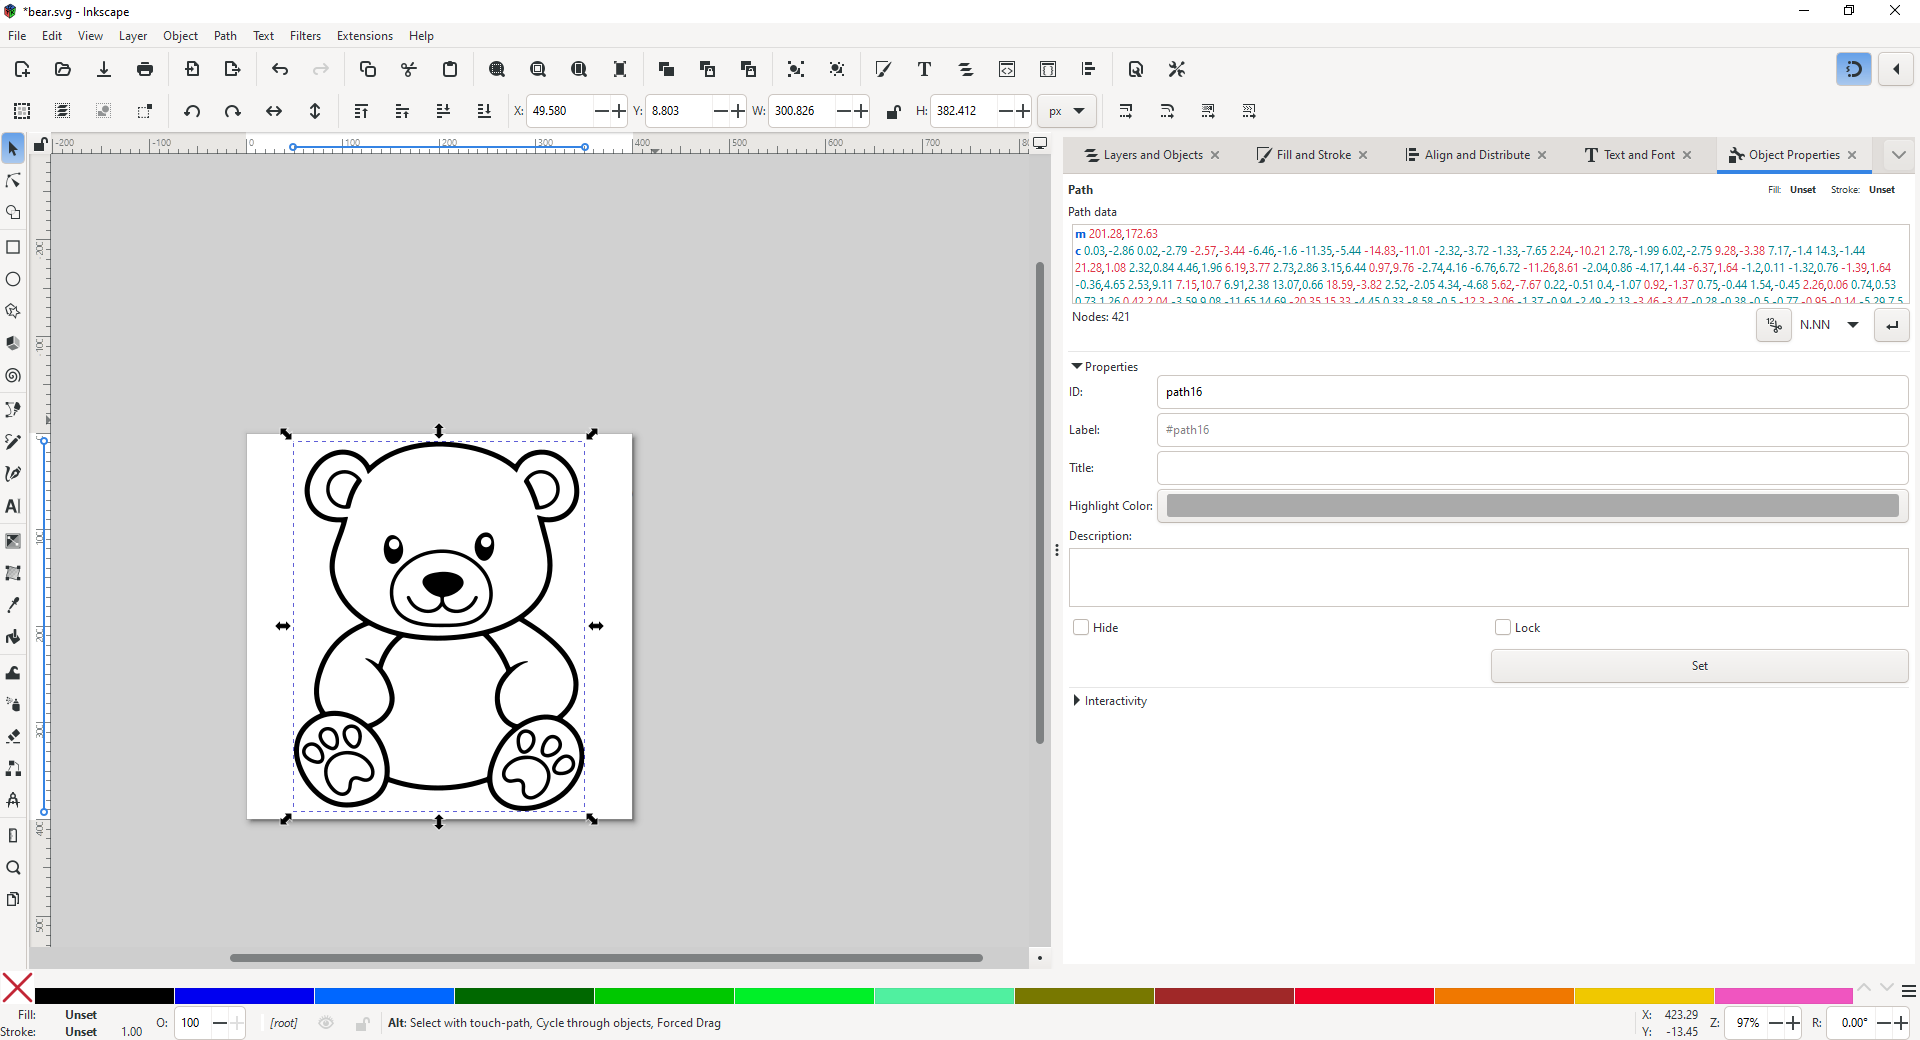
Do Path → Combine
Excellent, one big path. Follow the same steps from the bow and you get a clean outline on your bear too:
Now, On to the Elephant.
This is similar with one key difference.
Steps for the Elephant (JPEG):
-
Open a blank svg.
-
Drag your elephant file into the Inkscape window and it’ll import it.
Alternately, you can do File → Import and import a jpeg that way.
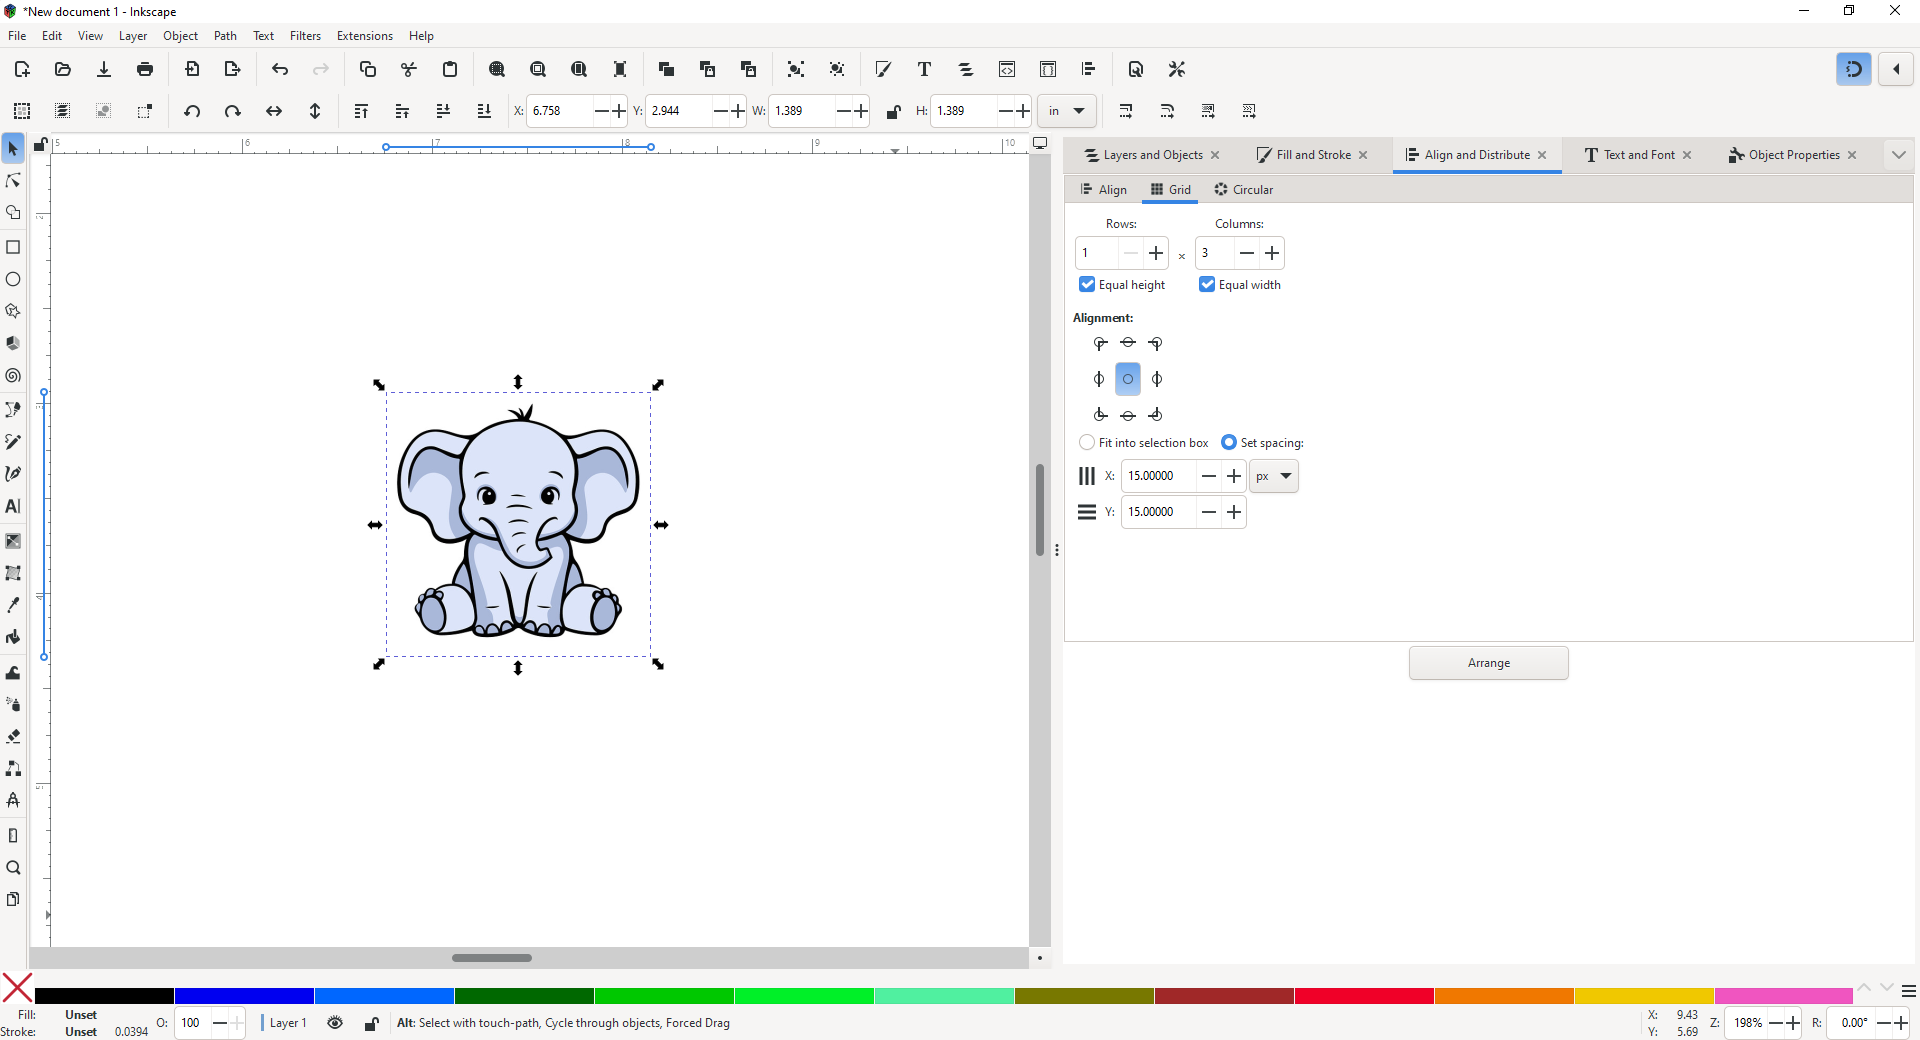
You’ll see a dialog, it’s pretty safe to use the default options, and you’ll be faced with this:
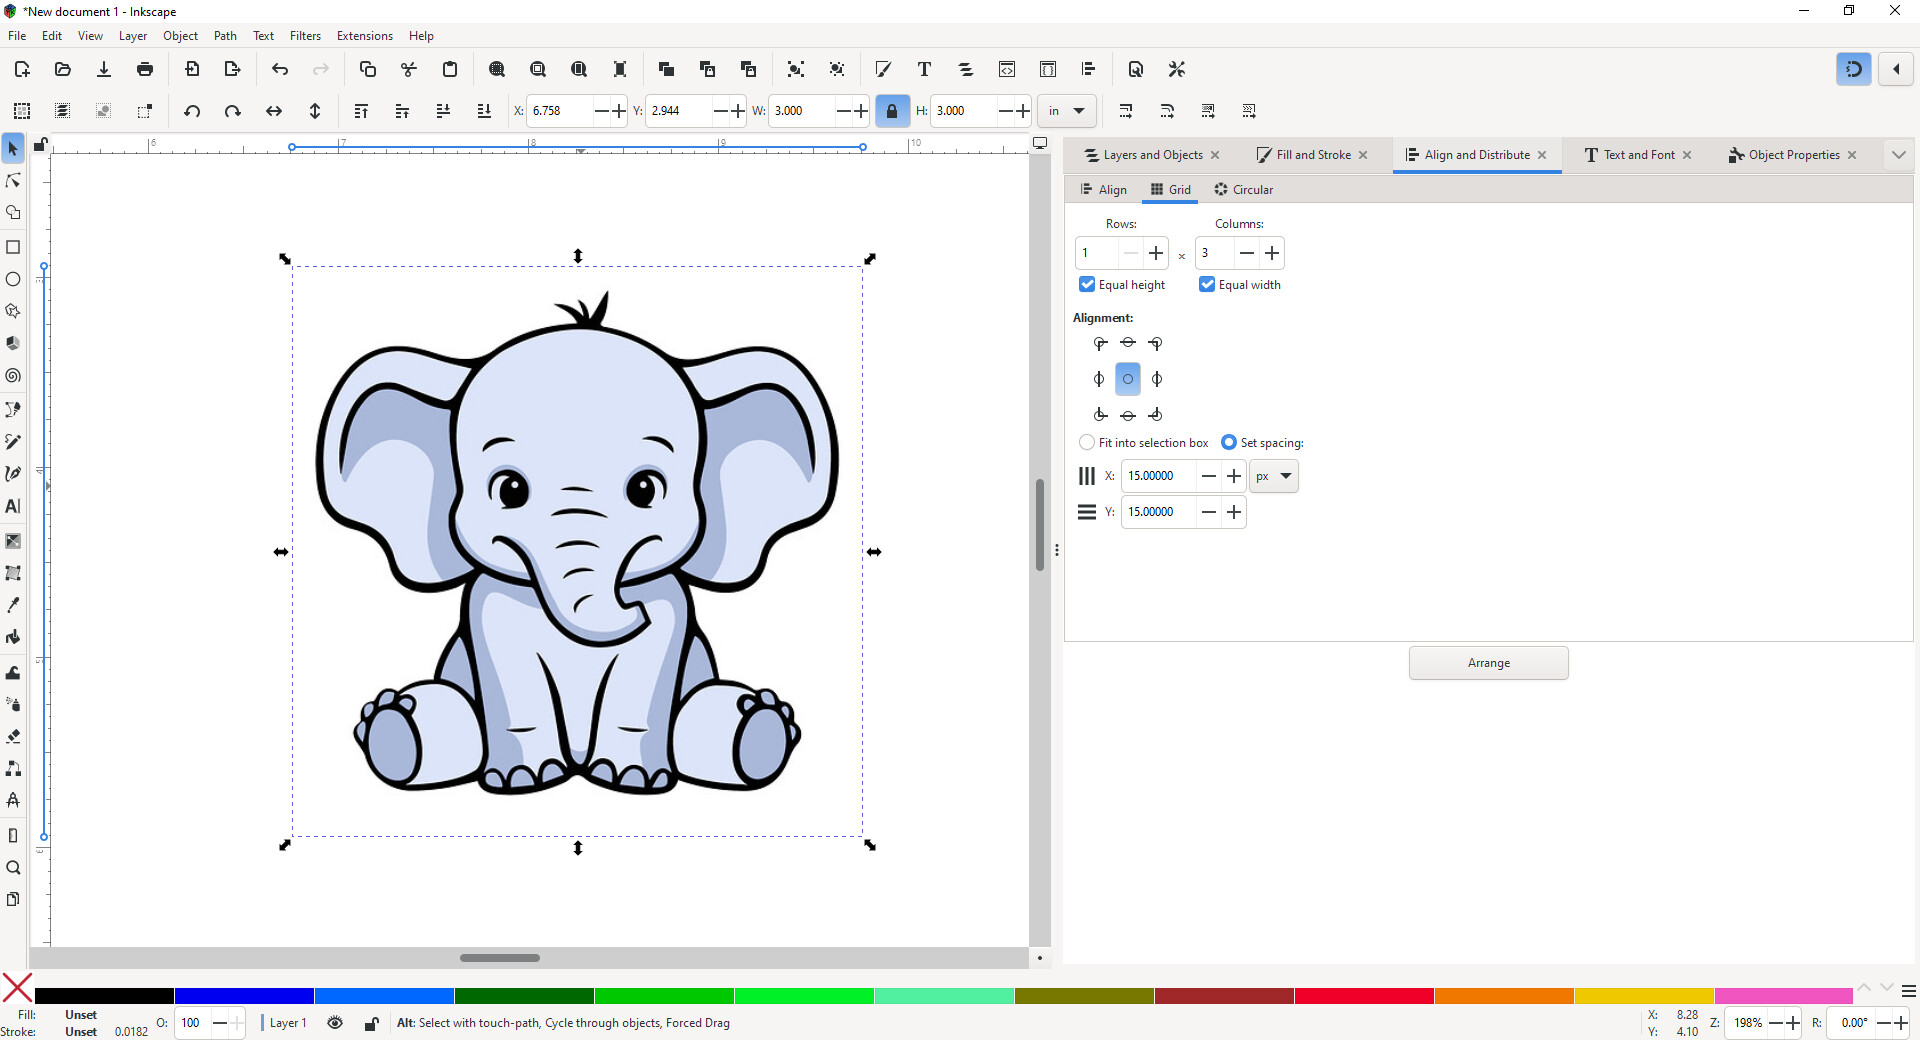
Now is a good time to choose what size you want your elephant to be. Right now if you look at the top of the window you can see its size as 1.389". Keep in mind that this reflects the entire image, with the white space. I’m going to choose something arbitrary and eyeball it, as scaling this exactly is a whole other topic and something to tackle later. Let’s go with 3" tall.
-
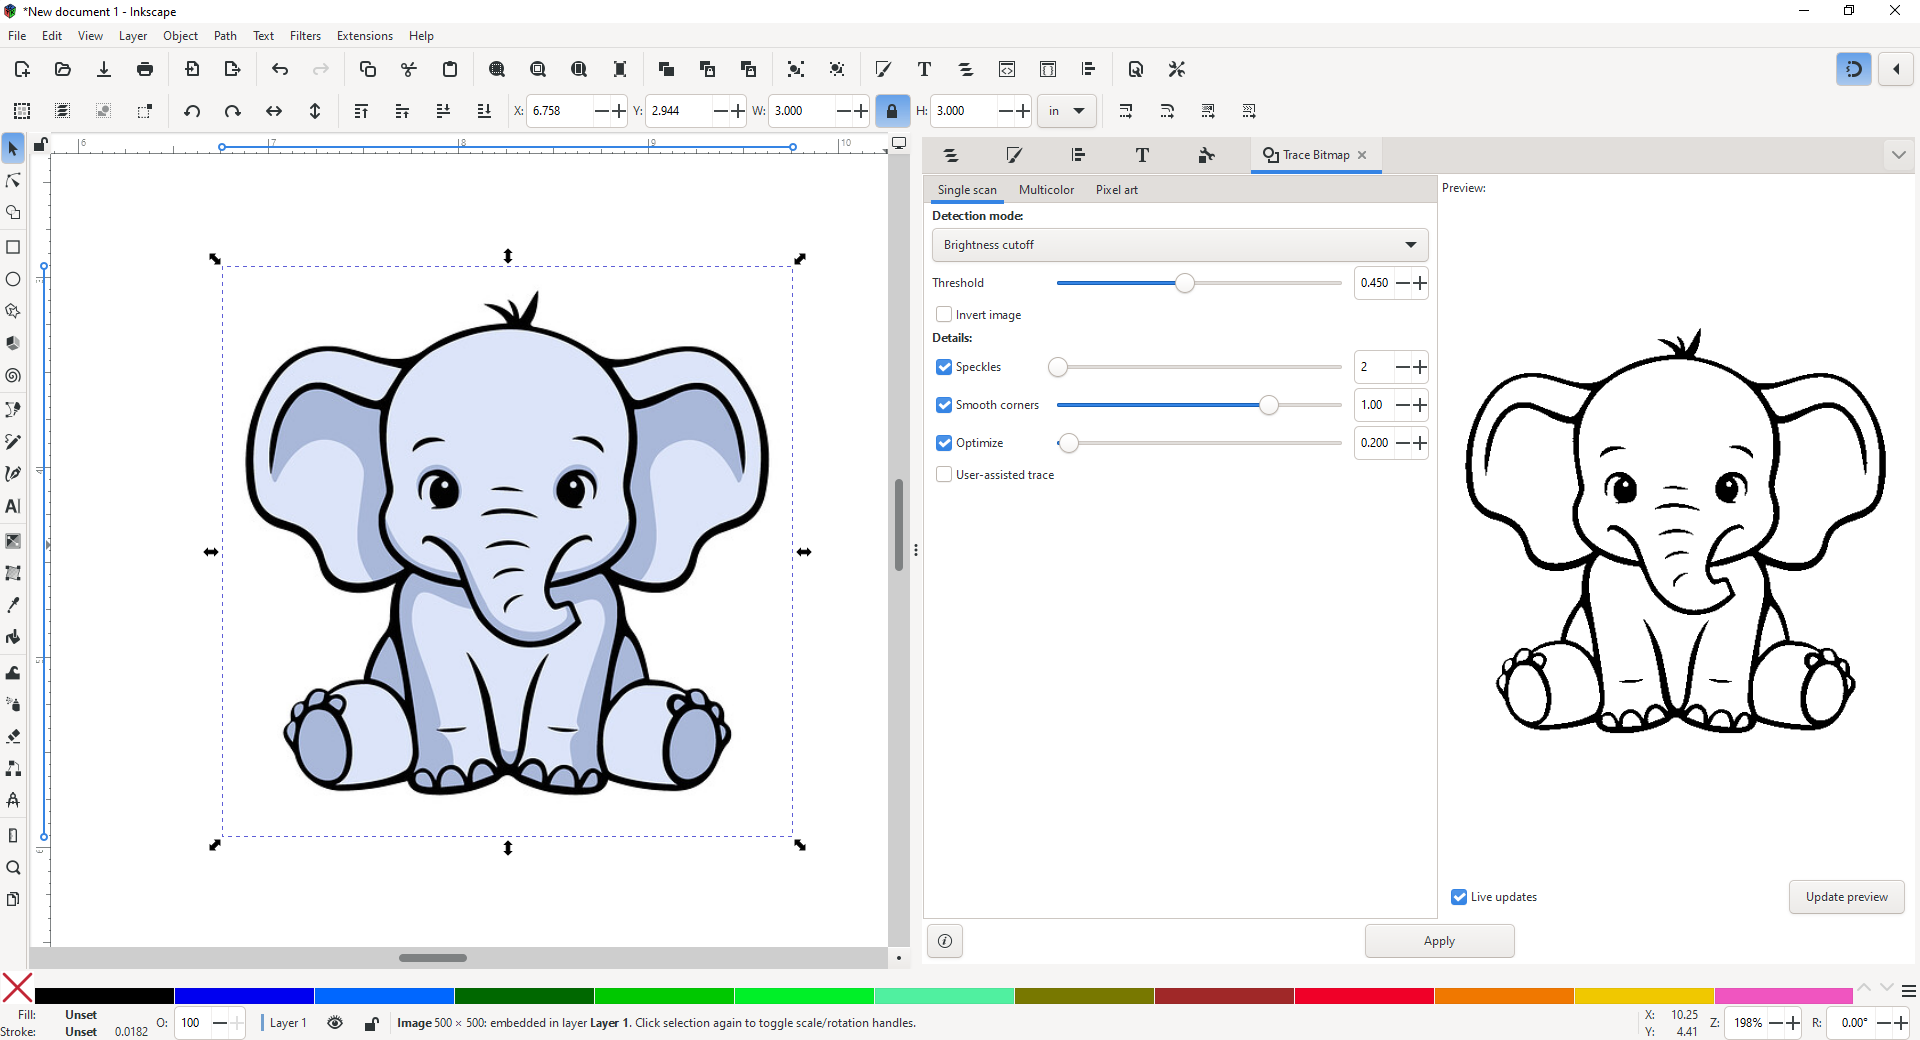
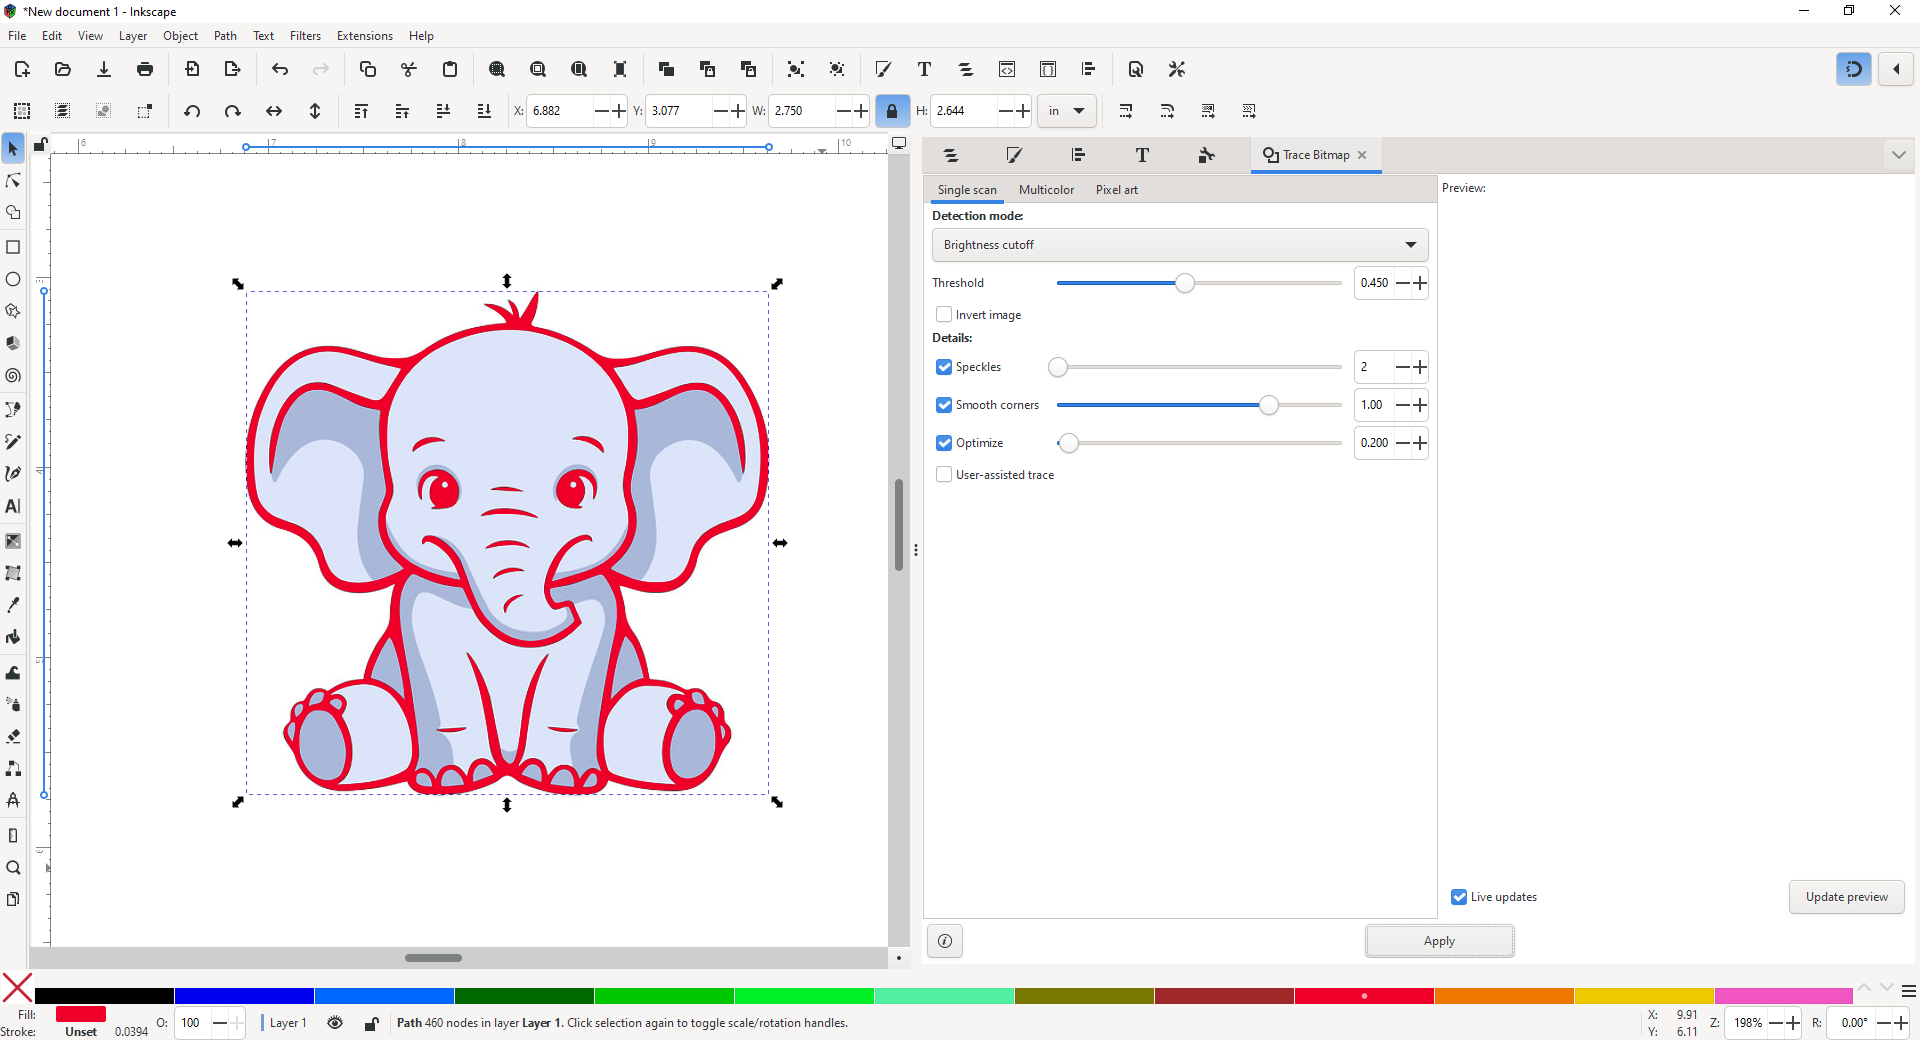
Path → Trace Bitmap
You’ll get a preview window that looks like this:
What you’re looking for is an accurate trace with clean edges, looks like we have that with this image. This is good news!
-
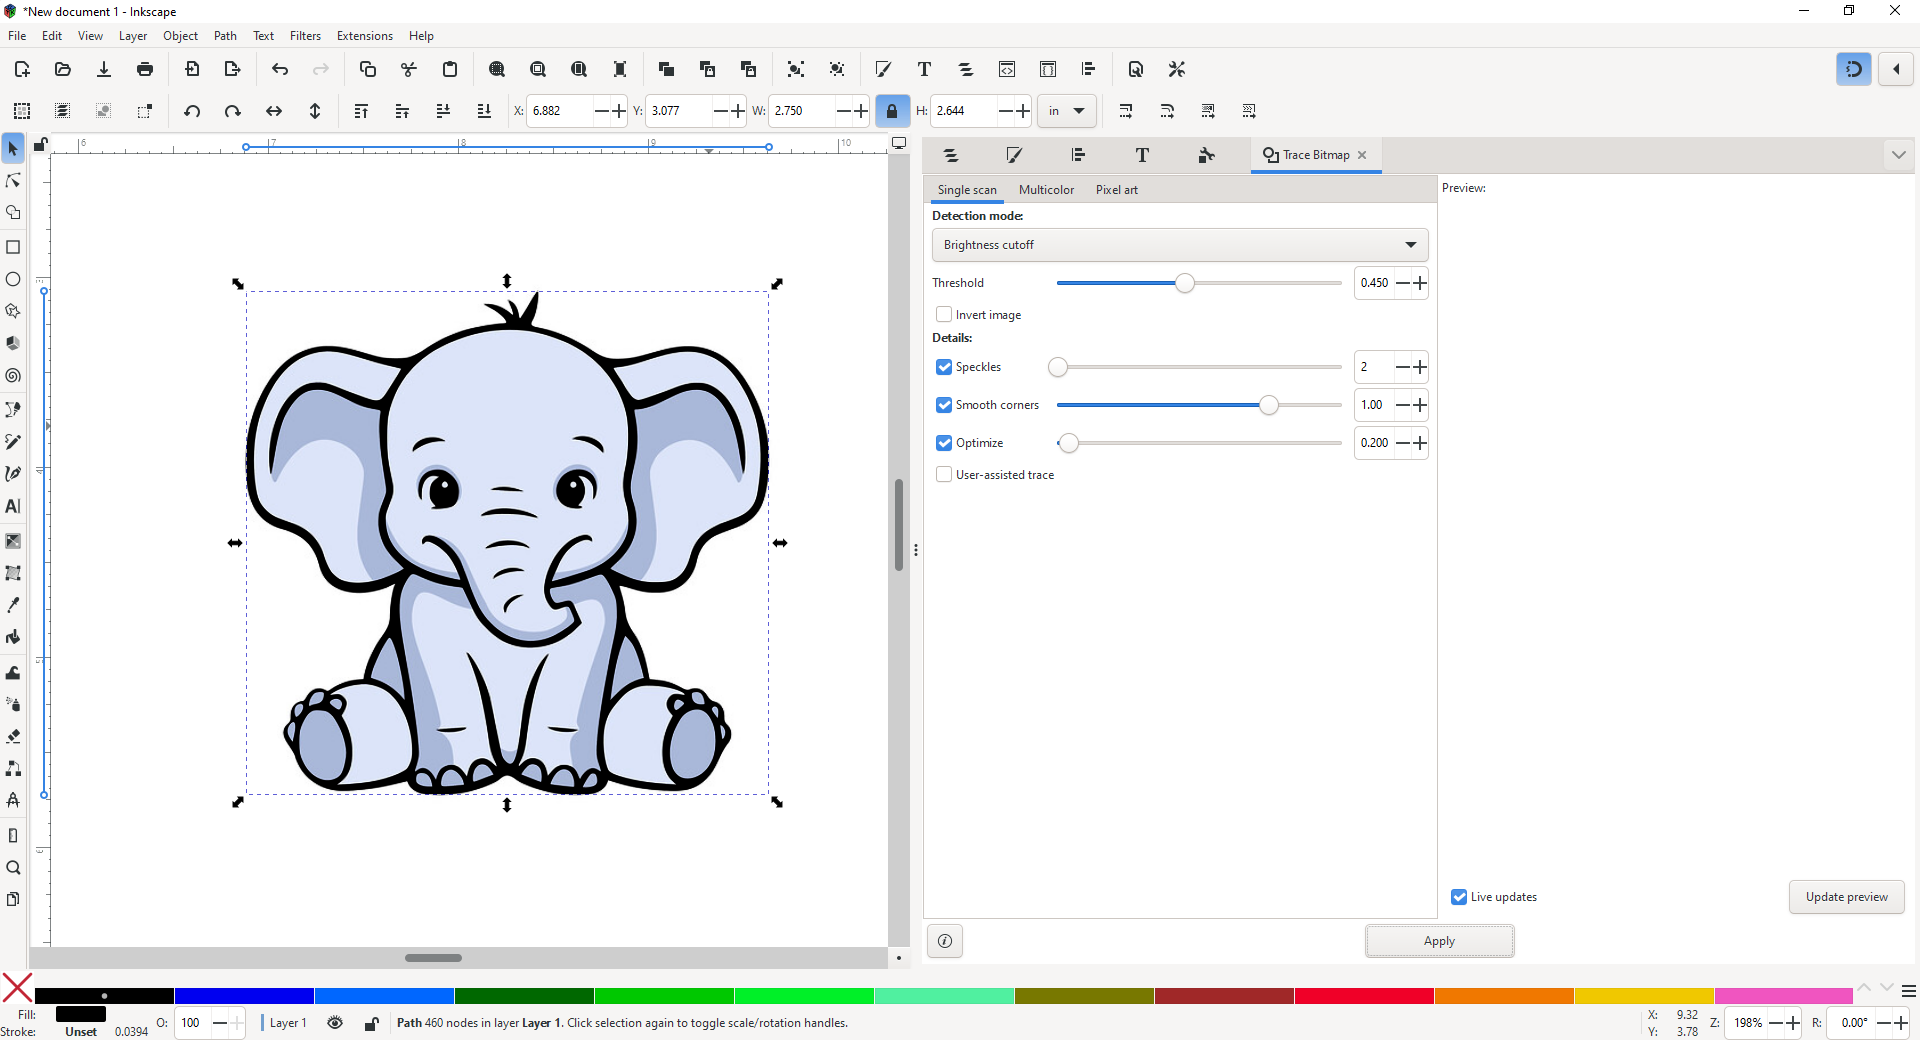
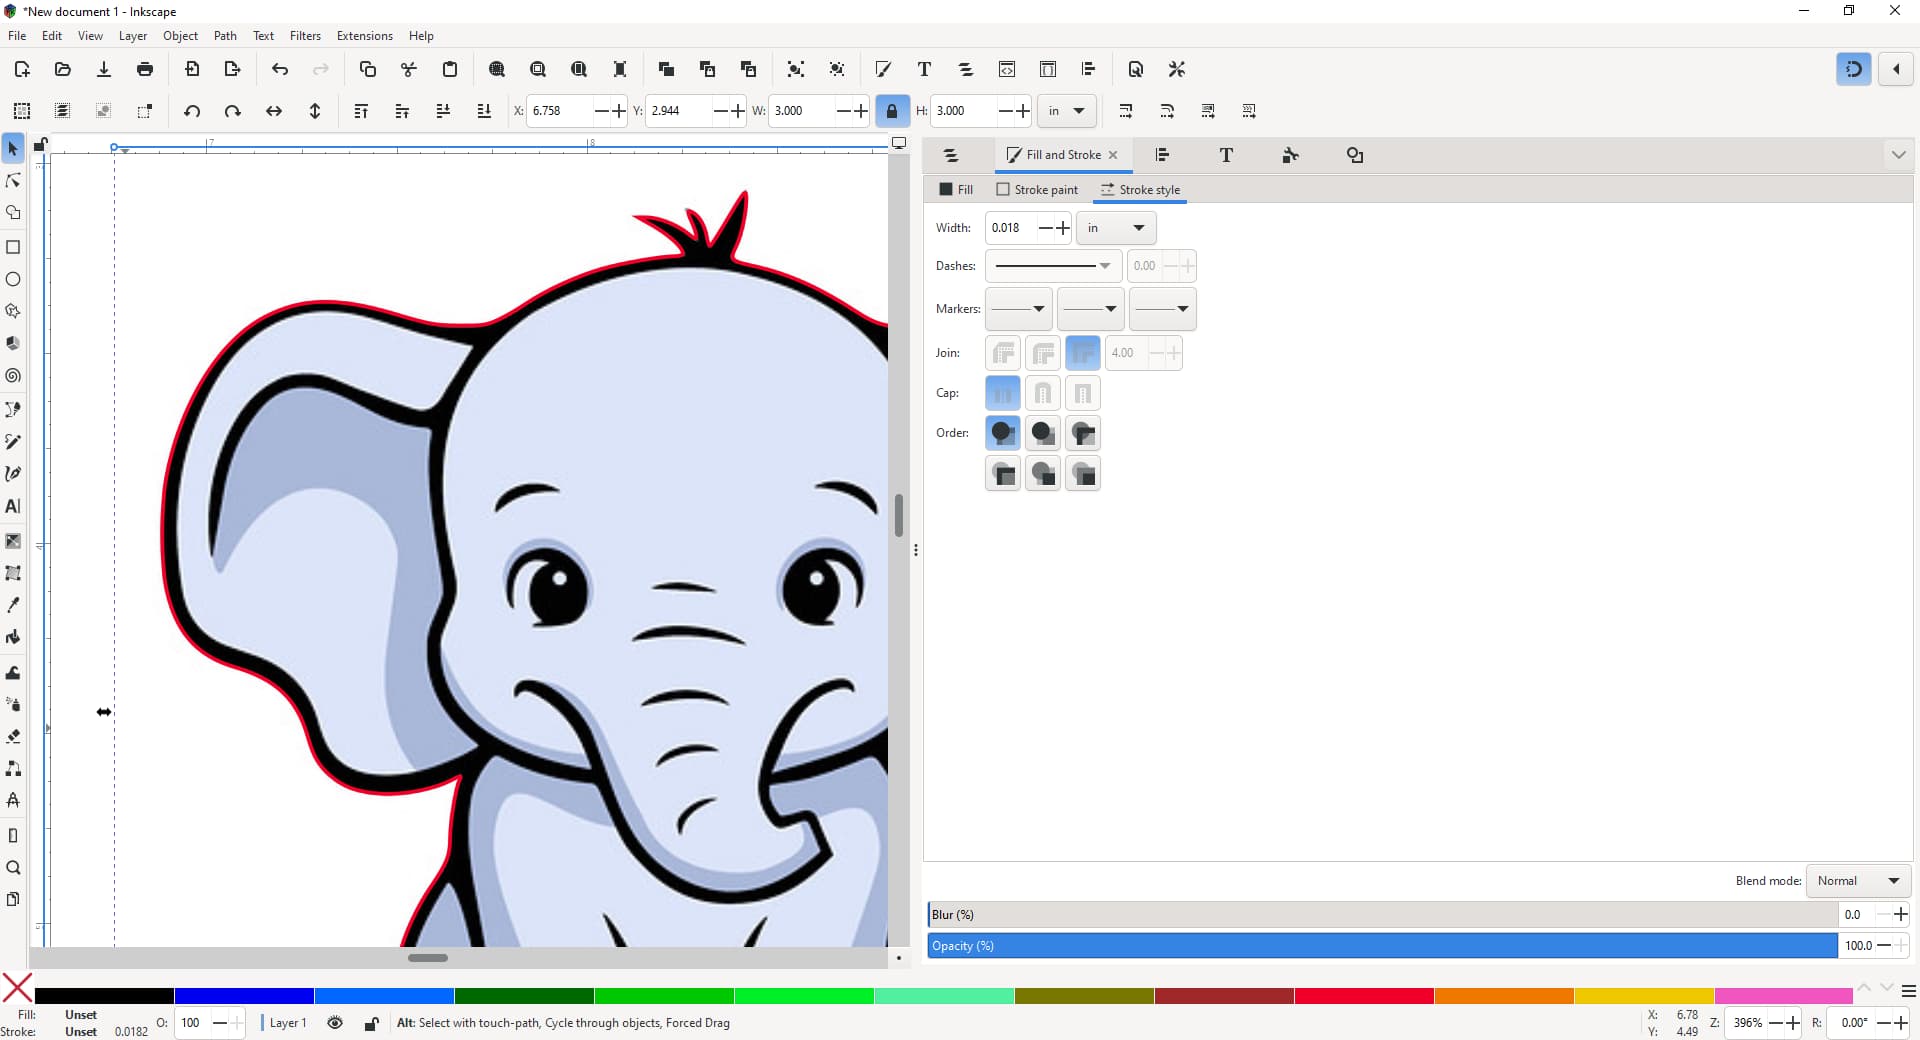
Click Apply and it’ll look like almost nothing changed:
But if you look more closely, the traced shape is right atop the elephant. I’ll set a fill color so you can see.
The process for turning this into a cut line is exactly as it was with the bow and bear…
-
Path → Break Apart followed by Path → Union, then set the fill and stroke.
And that’s it. Now you have an engrave ready to go with cut outlines.
There’s more to all of this.
There are multiple ways to do this, some that are faster and some that are more precise. There are ways to prepare jpegs for engraving. There are all kinds of rabbit holes you can get into when optimizing your process for evaluating your downloaded SVGs, but in the end these are the fundamental steps.
Hopefully this all helps!
Here are the three files, as promised: