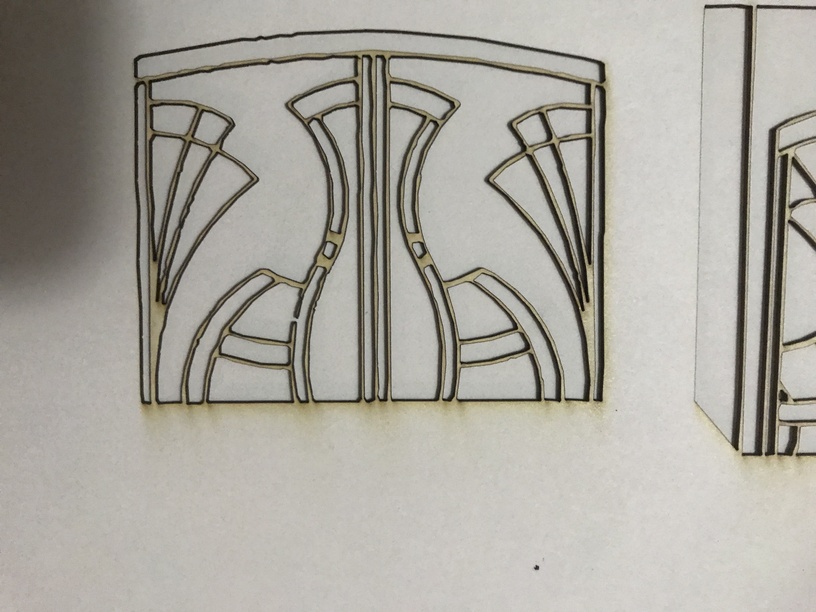
So i am trying to do a custom photo frame using the Glowforge to cut the openings for the photos. Not trying to do anything fancy with a bevel. When I cut without a mask, there is smudgy burn marks that I can’t get off even with denatured alcohol or acetone. I tried masking with blue painter tape and the tape ends up taking up the top layer of the mat board when I peel it off. I got a special “frog tape” low tack tape for delicate surfaces but this is doing the same thing, even when I try to make it even less sticky by sticking it to my tshirt first. Anyone got any ideas for how to either make a not-too-sticky mask, or settings that don’t leave char marks on cream colored mat board?
I did have success with engraving captions for the photos, which was the whole point of the project, so now I am being nit picky about not having the char marks. thanks!
No idea what settings you are trying to use - and I haven’t cut matboard, but I do cut a of thick chipboard. I think you might have better luck taking it off of full power, if you’re using full power, and upping the speed. I like to make 2 passes at higher speeds for paper products, opposed to one pass at a lower speed.
To set up 2 passes, I find the one pass speed/power that cuts through just barely. Then, I change it to 2 passes and up the speed until the time is approximately the same as the one pass time.
I was cutting at 230 speed / 70 power. 270/70 was not cutting through reliably, especially once I added the masking tape, which is sometimes two layers thick based on how I am applying it.
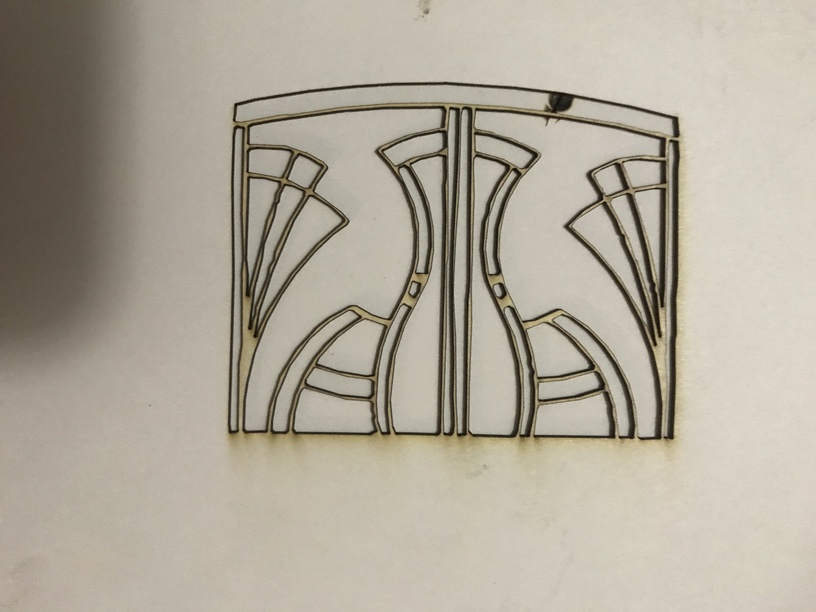
So if 270/70 is just enough energy to cut the 0.050 mat board, I was wondering if the char marks downwind of the cut are more a function of power or speed. Or is it just joules and it will be the same assuming just enough energy to cut the material?
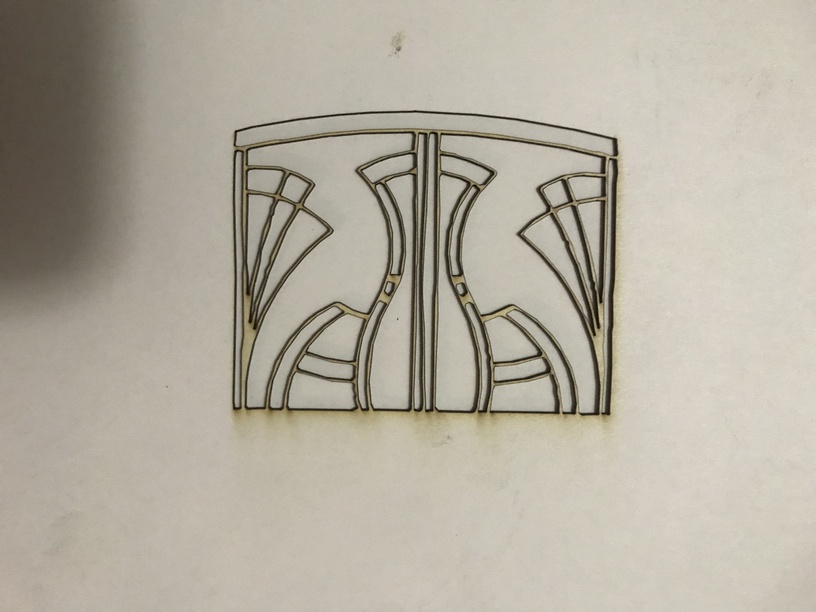
the weird part is I ran a puzzle cut out through it and the lines were fine. it possible it was the image itself. ill double check the belts just in case.
It doesn’t seem to be happening in the same places each time, so it’s probably not your artwork. If the belts are clear, try increasing the speed / decreasing the power.
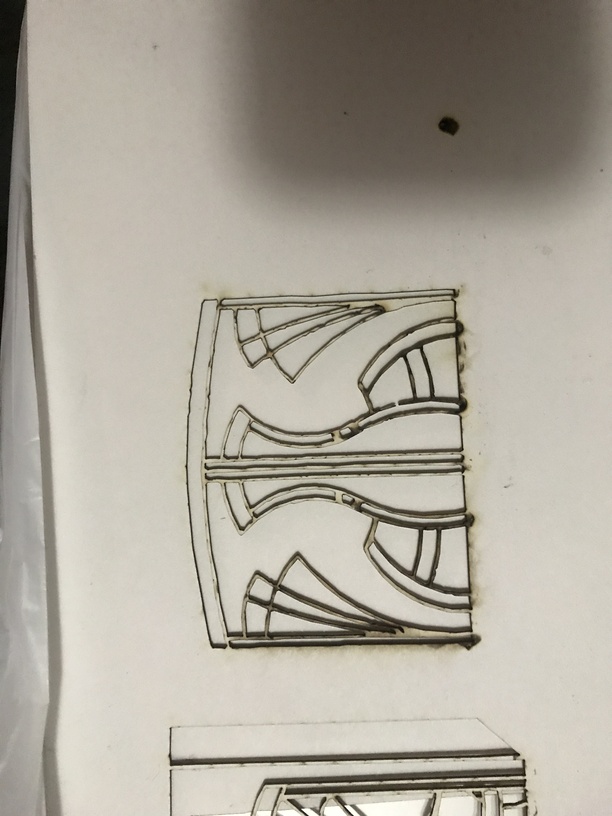
Also, a photo of the results before removing the pieces would help; we can’t see the thickness of the cut lines since we’re only seeing one side of the cut.
I beleive it was becuase it was a printed image and not a imagie directly form the computer it did something weird. I dont seem to be having the issue anymore with other more complex curves. thank you for trying to help me trouble shoot the problem. I was able to figure out the best was to cut my mat board at 2 paces at 65 and speed at 500. the detail is coming trough very well and at a decent pace.