I’m a relatively new Glowforge owner - got it about 3 months ago, and have done a few projects, but not nearly enough yet. (Renovations at the house sidetracked my ability to work with it until now.
I work with a theatre company, and plan to use it for creating props and scenic stuff as well as my own projects. And that leads me to my big question.
I want to use the glowforge to cut large letters for several signs to be used in an upcoming production, and was thinking about using DOW STYROFOAM™ Brand Extruded Polystyrene (XPS) Insulation… Preferably pieces about 1" thick.
Googling around, I get mixed answers as to whether it’s possible and or safe to do that on a Glowforge. Anyone have any experience or suggestions, before I set my workshed and Glowforge on fire doing something stupid?
Nope, you might want to give that a pass. According to the ATX Hackers no-no list, polystyrene foam is the number one cause of fires that get out of control in lasers.
I saw that one, but the problem with their list in this instance is that it didn’t specify the extruded or the expanded The Blue-board is extruded, and the old styrofoam pellet coolers are the expanded. And I’ve read other sites advertising that their thinner Polystyrene is ‘perfect for laser cutting’ so I’m bemused.
I may bite the bullet and try a tiny cut just to see what happens… I know we’ve got scrap blueboard at the theatre.
That said - anyone have any alternative suggestions for materials that would substitute? Light weight, and thick enough to give dimension on stage?
I’ve cut the pink foam insulation board on the Redsail for Halloween props - they make great tombstones.
It does cut really fast so start with low power & high speed and sneak the power up to what will cut through. I’ve not done any experiments with multiple passes so don’t know if that’s a better way. You do get a fair amount of bevel on the 1" sheets. (The Redsail also has a 50.8mm focal lens like the GF but it’s got 60W and an 18x24" bed. Oh, it’s also way faster than the GF so I’m not sure if the GF is a good candidate - might be too slow and so the fires can catch. Really careful experimentation is the order of the day.)
Bill, you’re very welcome to use a technique that I discovered when needing to produce some 3d text (think bas relief) on sheets of 6" thick blue Dow styrofoam, about 50 years ago, for a fund raiser.
This may not be what you need at the moment, but I’ve never found any reference to this method anywhere else, so tuck it away for the future !
Screen print a negative print of the required design using screen printing ink extender base, slightly thinned.
This is colourless but will print like standard ink.
Then place the panel in front of an infra red source ( we used a simple electric fire with two bars).
The ink absorbs the IR and heats up the solvent that it contains, which then dissolves the styrofoam.
At normal room temperatures, the ink solvent does affect the foam, but if you heat it, it does.
We used it to create text about 3/4" deep, and it works for simple graphics as well.
If you need a coloured background, just use the appropriate coloured ink, but also thinned.
John
You can get some control of the depth by controlling the distance to the heat source. Take care, because the effect is quite rapid !
PS You need to heat it before the ink dries. Dried black ink will show the same effect, but we needed to make it look as though the text had been carved into the self coloured foam.
That’s really cool. I could use that a lot for props and things for the theater. We tend to do that work on thick foam insulation using a CNC (or we layer using a 1" layer for the top and glue it to a backing piece). The school has a graphics art so should have the screen printing supplies. Thanks for the trick.
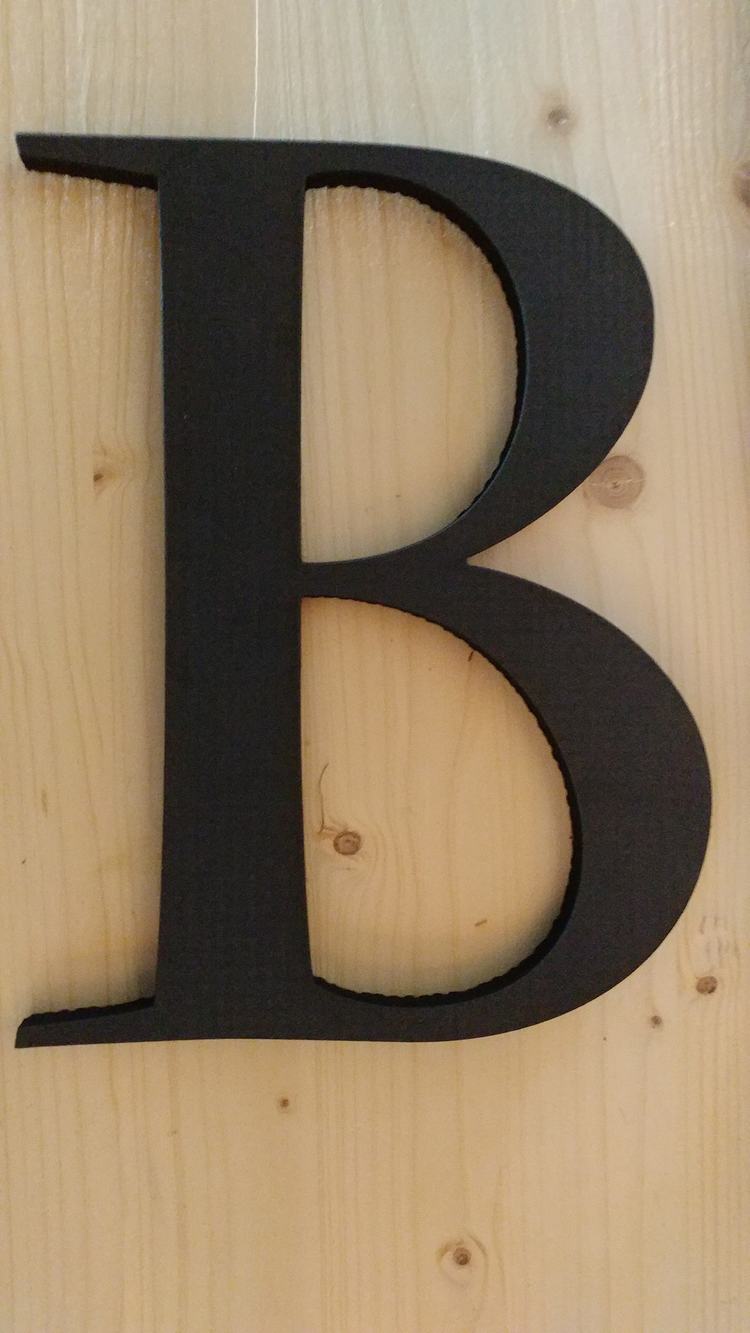
I tried the 3/8" EVA foam floor pads and they cut like a dream! Clean edges, no melting, and they are also heat-malleable, so if you carve something and want to add some curvature to it, you can do that later with a hair dryer or heat gun. This one is 8" high, and 3/8" thick. Thinking that I’ll double layer them to add a bit more depth.
You can order it in thicker pieces, which I haven’t tried before, but maybe later.
I also tried the blue foam insulation, and it works - but as I was warned, it’s very melty, so I had to do several passes with low power, which makes it less than ideal.