So I have very fine designs that I am cutting with acrylic. I have noticed that I am having trouble with breaking parts of the design when I am having to push out the parts that don’t belong in the design. I have seen videos on instagram where people engrave and when they lift the board up the pieces that don’t belong just fall out. I am using proofgrade settings for cutting acyrlic based on if I am using 1/4 or 1/8. I really want to be able to start selling on Etsy, but of course I cannot sell broken or imperfect items. Appreciate the help!
3 Likes
I would make them thicker if you can. I use an awl to gently put pressure on fragile pieces. Acrylic is different than the wood where it will melt back together before it cools. You either have to be extremely gentle, or change the design slightly to make it more sturdy when you push.
4 Likes
Had quite a fun time with earrings made from acrylic.
Swearing helps, swearing in Norwegian helps more.
The awl idea also works 
14 Likes
I’ve been trying to gently push out with like a pin or something small to avoid breaking, but it seems like to me im not cutting maybe all the way through? Just enough to make the cut but maybe I am not taking into account the masking/3M tape? Possibly slowing down the laser? Also dumb question but what is an awl? Thanks
2 Likes
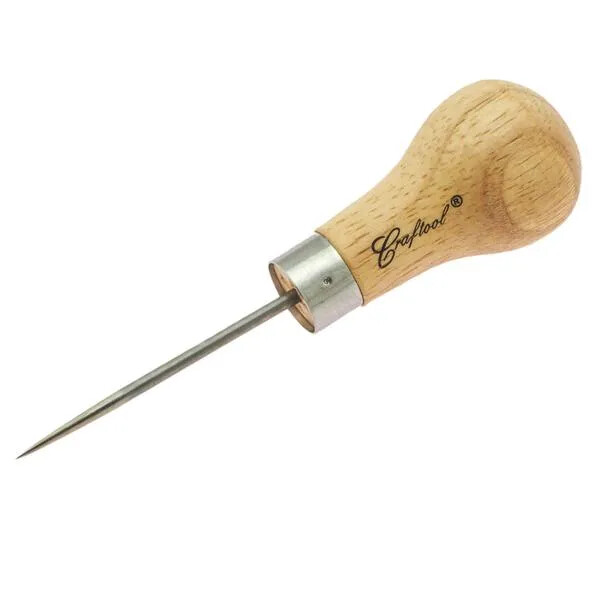
Yes, that’s what I use, very multi-purpose tool.  I don’t think I’m supposed to be using it that way.
@afsheenmasood If you are using proofgrade acrylic and proofgrade settings (sounds like you may not be using proofgrade settings) then it should have no issue cutting through.
If you were using the proofgrade settings, I would say your issue is more likely the acrylic melting back onto itself before being able to cool properly. I broke a lot of delicate proofgrade acrylic snowflakes this past holiday due to my very thin pieces melting back together.
My solution was to go back to my design, and widen the delicate parts ever so slightly. It’s something that is probably not even noticeable by anyone besides me (with the kerf these pieces ended up being where they should’ve been, so my design was probably too thin to begin with).
You may not want to change the width of those lines, but honestly I think that will save you the most headache. If you slow down the speed, that’s heat in one spot longer, which will cause more issues with acrylic, like burning or melting the pieces even worse (not to mention this is probably how so many acrylic fires start).
2 Likes
Think I saw some of that.
DISCLAIMER: Skulls and innuendo pointing to violence. Do not view if squeamish.
For the really thin projects @afsheenmasood , a slight heating may help. Not so much that it would tend to bend, but enough that it would not be so brittle as to snap when nudged with a pic tool.
My torch to warm things looks like this one, but there are several more flavors since I bought mine that seem to be cheaper, (because it now seems to be a thing for cooking. Who knew?).
https://www.amazon.com/Power-Probe-PPMT-Diagnostic-Temperature/dp/B000P6WMKK/ref=sr_1_25?dchild=1&keywords=butane+torch&qid=1624855966&sr=8-25
4 Likes
I use a set of tools that I modified get a set of mini pick and hook tools from harbor freight for $1.79.
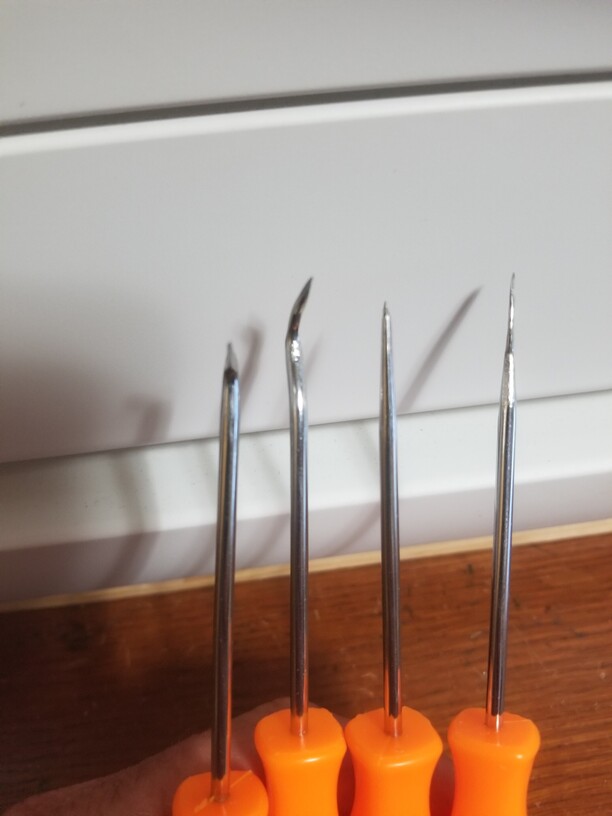

and sharpen to fit in the cuts with a slight twist you can get the stuck bits out
5 Likes
Better than probes to push out pieces I find that a narrow hose (mine from a C-Pap machine) attached to a shopvac is great for slurping out tiny pieces, without disturbing the material or setup, which will allow the cut to be run a second time at precisely the same place 
In my opinion, Glowforge cuts acrylic way too hot. But I understand why they overpower their proofgrade settings a bit, likely to account for variance and make sure it still cuts through.
My tested acrylic settings: To cut unmasked 1/8" acrylic, I use: 120 speed / 75 power / autofocus. You might want to bump up the power a notch to account for masking.
You might get better suggestions if you add a photo of your broken bits for diagnosis. 
7 Likes
There are many manufacturers of acrylic, and there can be a lot of variations between them for what appears to be the same color & thickness, so what may be ideal for the Proof Grade materials may work great with a sheet from another source, or not…
Fortunately we have the ability to modify the settings to get the optimal result for what we are working with! I consider the PG setting a starting point, and test & adjust as needed for the material I have when it’s other than PG stock.
As noted, you may need to also thicken up the design just for the life of the item itself–especially if you plan to sell. Do some “use & abuse” testing of your own–you don’t want a customer to come back to you complaining the item broke when they were using/wearing it–you want to make sure it doesn’t break when being used as intended, and even if not… There’s a reason “safety factors” are included in engineering designs, as well as a lot of litigation lawyers. But do what makes sense for the way the product is meant to be used or worn…
I tried to get fine areas for earrings (specifically for the ear wires), and found if you twisted the acrylic against the ear wire, the acrylic would break, and no way the earring would be an earring anymore. Not to mention the risk of sharp edges when acrylic snaps… so do your due diligence!
2 Likes