Hello All,
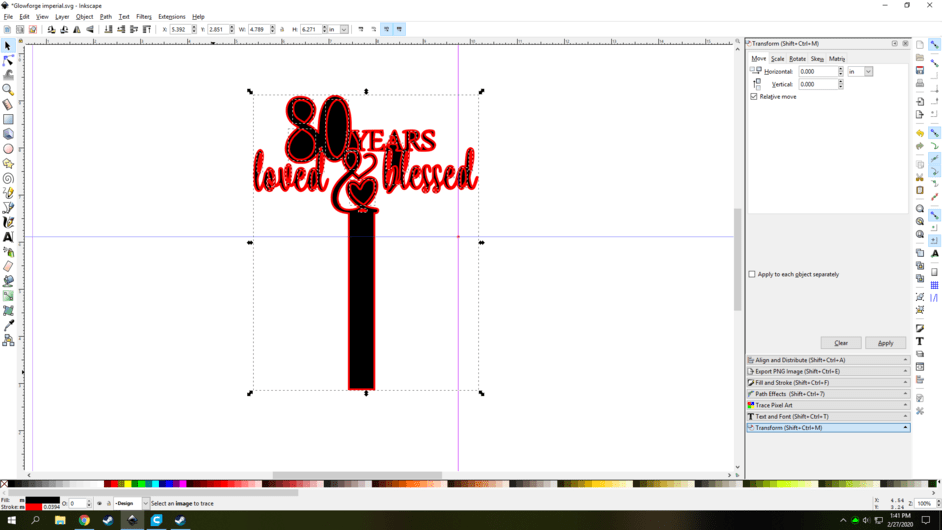
I am trying to cut a cake-topper and Glowforge is telling me that “jpeg images cannot be cut”. I am a total beginner with any/all graphic design software but I have downloaded GIMP and InkScape. Can anyone give me a quick tutorial on how to convert this image so that it will CUT on the outlines of all letters?
Thanks!

2 Likes
You must convert your image to a vector for the Glowforge to cut. You might give this program a try: https://www.vectorizer.io/
2 Likes
Yes, that worked! Thanks so much! What an easy trick!
Also worth learning about inkscape tracing. Search the forum for it, there are lots of posts about it.
https://community.glowforge.com/search?q=inkscape%20trace%20bitmap
1 Like
Thank you!
1 Like
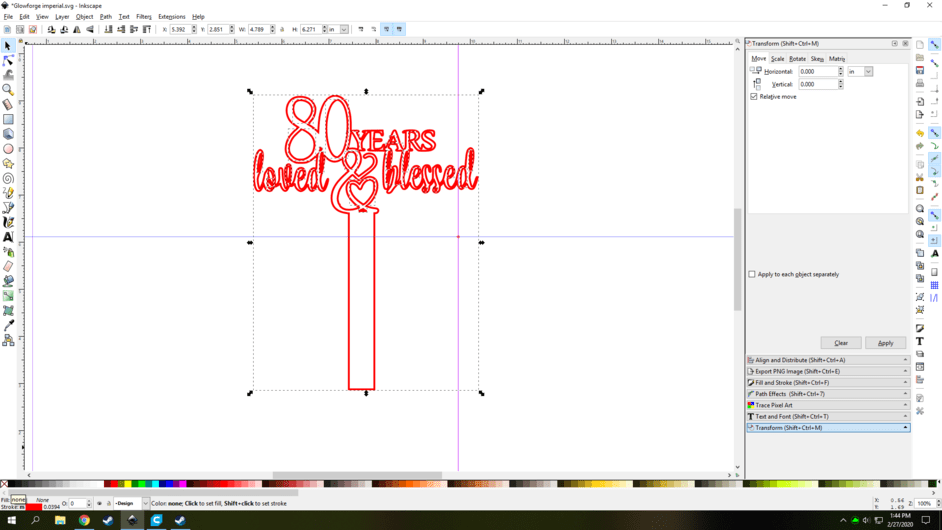
The quick way do it in inkscape is to…
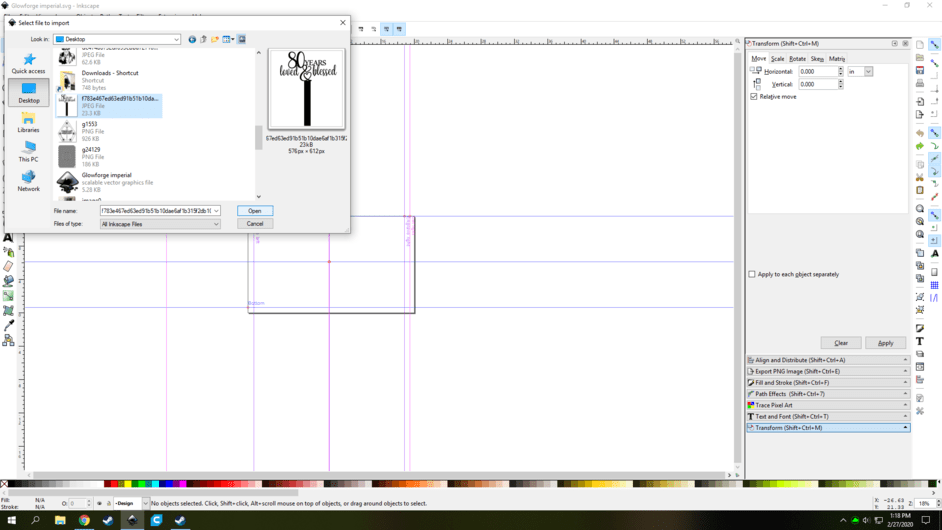
Import the file by dragging it into inkscape or selecting File>Import and bringing it in that way.
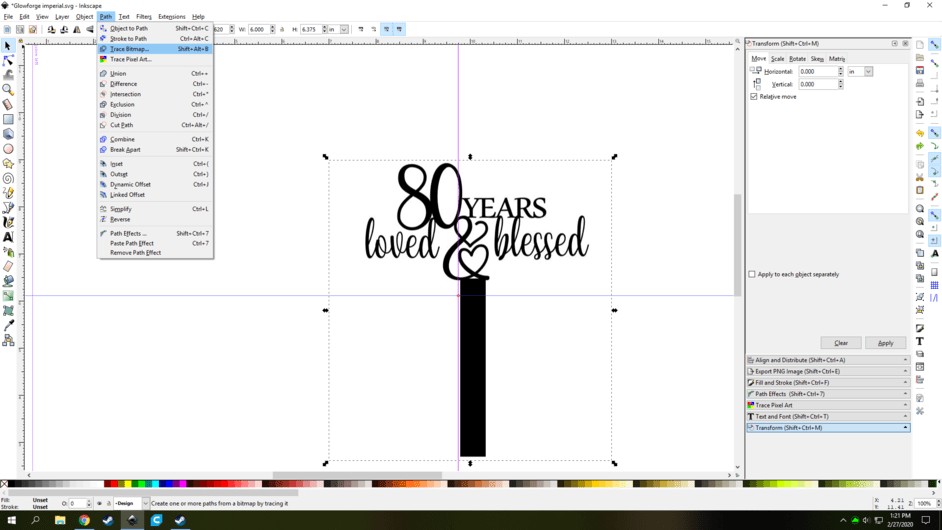
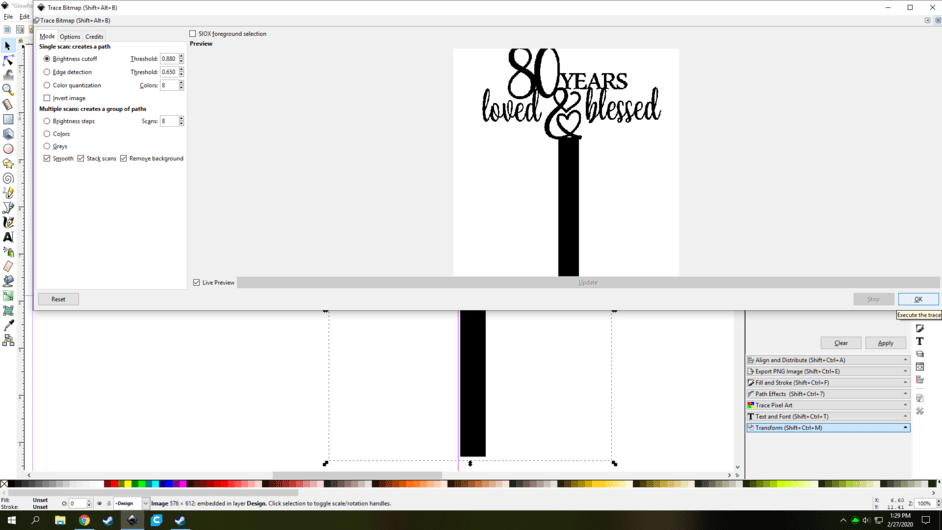
Once you have it on the bed select the image and press Path>Trace to bitmap.
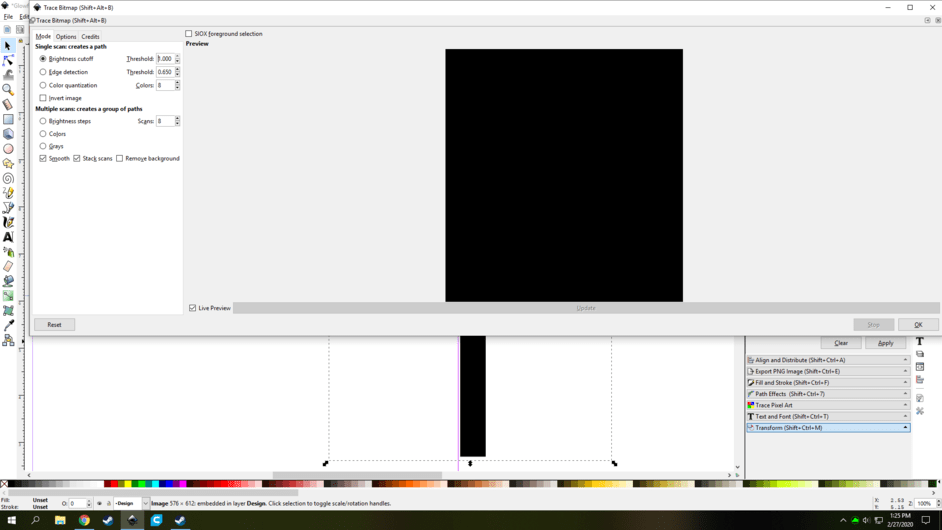
That will bring up this screen, you will want to click Live Preview so you can see what tweaking the settings is doing.

You will need to play around with the settings till you get something you are happy with. If it is just a simple black and white image like this having it set to Brightness Cutoff usually works best. i turn the value up till it all goes black then turn it down till the black speckles around the image all go away.
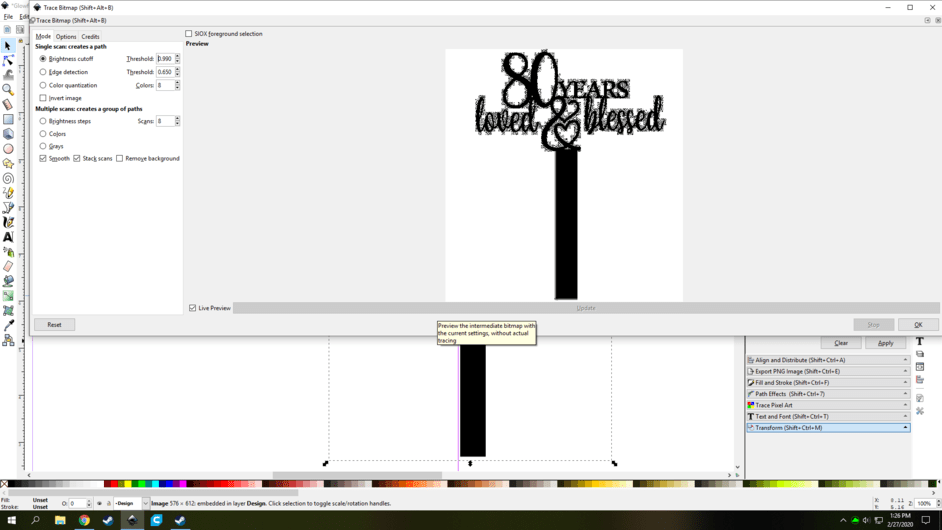
Once you get it looking good (keep in mind it wont look as pixelated as it looks in the preview because smoothing in on by default) you will want to check the box labeled Remove Background and click OK at the bottom right.
This will create a duplicate bitmap for you on top of the original image. You can then close the trace to bitmap tool and the new bitmap you created should be selected. If you click away and it de selects it no biggie as it should be on top of the image you created. If you look at the bottom it will say something path #of nodes in layer If it says Image and shows the number of pixels you have selected the image by mistake, just move it aside and delete it if you are happy with the bitmap results.
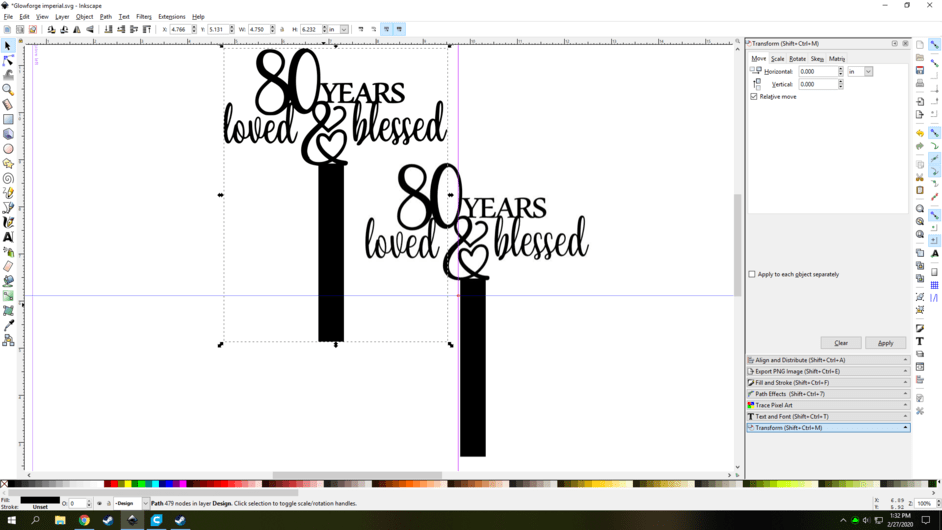
You can stop here and it would probably work out for you and allow you to cut it out on the glowforge.
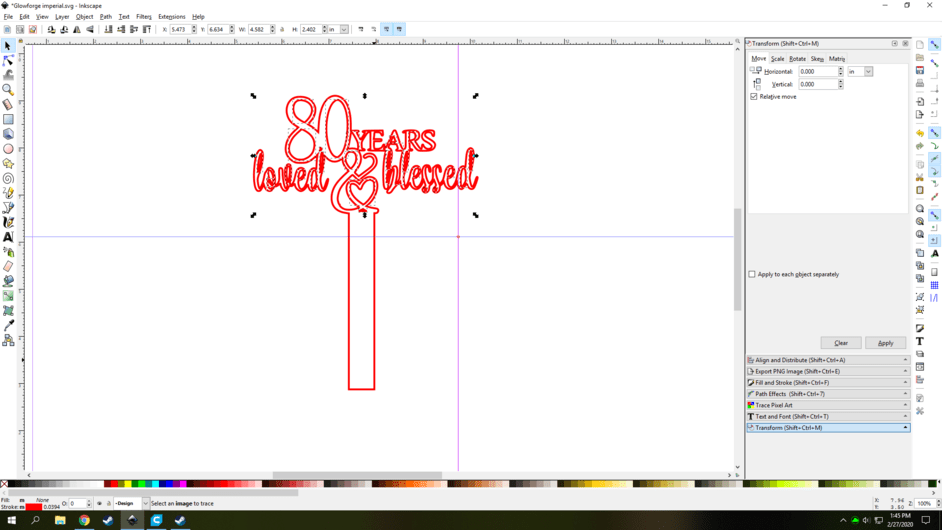
I would take it another step further tho and select the bitmap and click on Path Break Apart
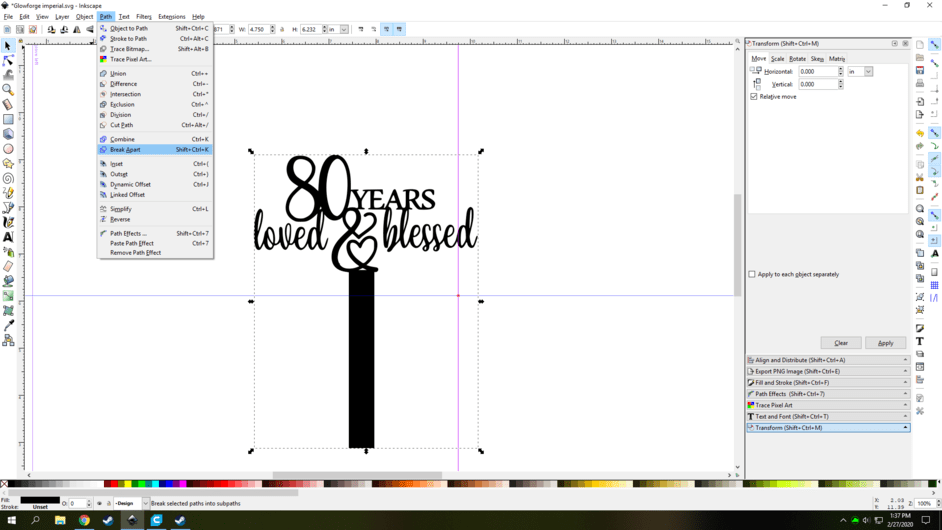
That will well break it apart
you will see the areas that were white inside the letters go black. With everything still selected you can then Hold down Shift (if you click away just left click and drag a box around everything to select it) and click on any of the colors at the bottom to add a Stroke to the outside of the shapes.(i chose red doesn’t have to be)
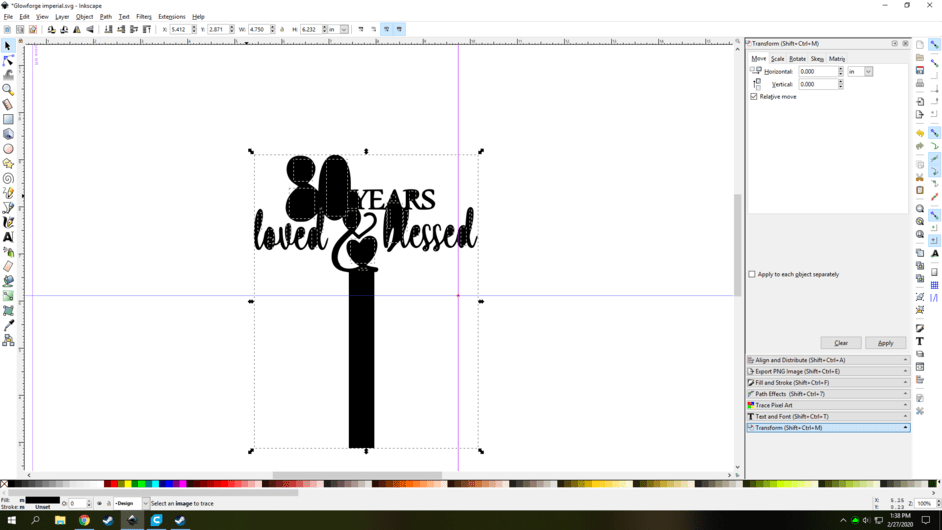
Then holt Ctrl and left click on the small box on the color bar on the far left side with the red X inside it to remove the fill color (the black color)
If you hold Shift and left click on the long part coming down it will deselect that part of the bitmap but still leave all the smaller cut out parts that are inside the letters selected
and then hold down Shift again and select a color other than red
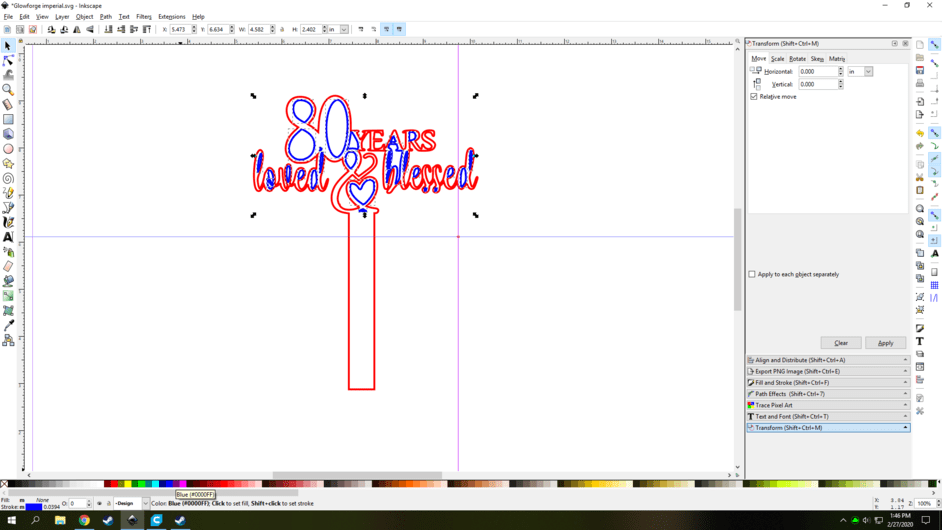
What this will do is split the cutting steps into two steps. so you can choose to cut the inside parts of the design first and the outside last. Its always a good practice to do this so that things dont move around on the bed while the job is running. If they are all the same the
Once you are done that select everything again and click on Object>Group to group them all together so they all move as one.
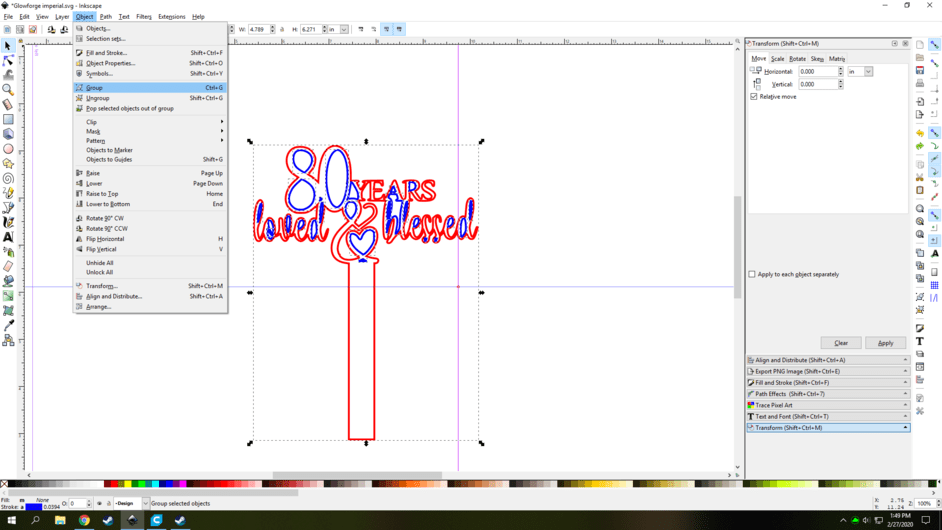
You will see the bounding boxes that were around those inner blue cuts go away and it will go back to just one outline around the outside.
You are now done and can save the file and send it to the dashboard.
When it loads in check that the steps on the left side are in the correct order if not left click and move them up or down as needed. (ignore all my ocd cut settings)
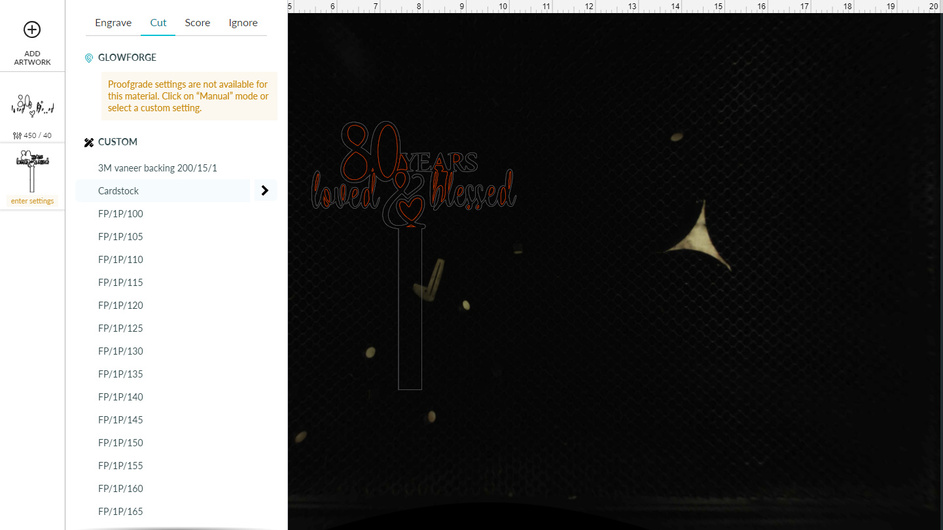
Select your cut settings and you are all set to cut ![]()
7 Likes
In Inkscape you can tell what you’re looking at (vector or bitmap) by “View>Outline” or the keyboard shortcut “Ctrl+5” (5 twice). A bitmap which is what a picture is, and will display in outline as a box with an “X” through it, while a vector will show as the design.
Outline is also a good method to zoom in and check the integrity of your design and for duplicate paths in a design that cuts twice when you didn’t expect it to.
Nice tutorial there Primal. 
3 Likes
Thx in a good mood today so tried to pass some along, and thx for the tip you posted there it will be added to my inkscape talent stack.
4 Likes
this is also true in Illustrator. in illustrator it’s under the view menu, click outline. or type Ctrl-Y. then to switch back, Ctrl-Y again or go back to View and choose GPU Preview.
3 Likes
You’ve probably already cut this and you’ve gotten a lot of great advice, but I wanted to show you a little design tip. The connected areas in your design are pretty fragile so I moved things around and beefed up some of the connected areas to make it sturdier. The “blessed” will still be a bit fragile, but you could tilt things and tie it into the “&” if need be, but it might not be necessary really.
(This is a svg and you can right click and save it if you’d like a better look at it.)

10 Likes