Cutting Polyurethane Foam - Impressions

Here are my settings and impressions for cutting Polyurethane (PU) Foam on my GF Pro

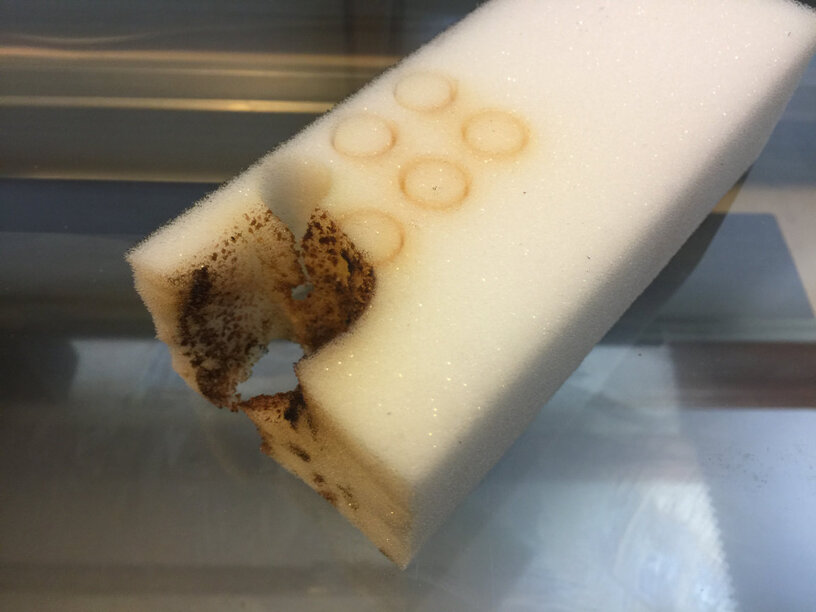
WARNING: I caught the foam on fire while investigating settings (the onse below have not caused any fires), PU foam should NEVER be left unattended on the laser (I know this is for everything on a laser, but really pay attention to this stuff)

Cutting 0.5 inch PU Foam:
Speed: 340
Power: 100
Passes: 1

Cutting 1.5 inch PU Foam with an acrylic adhesive back (See special notes below):
Speed: 200
Power: Max
Passes: 2

Engraving:
Speed: 950
Power: 10

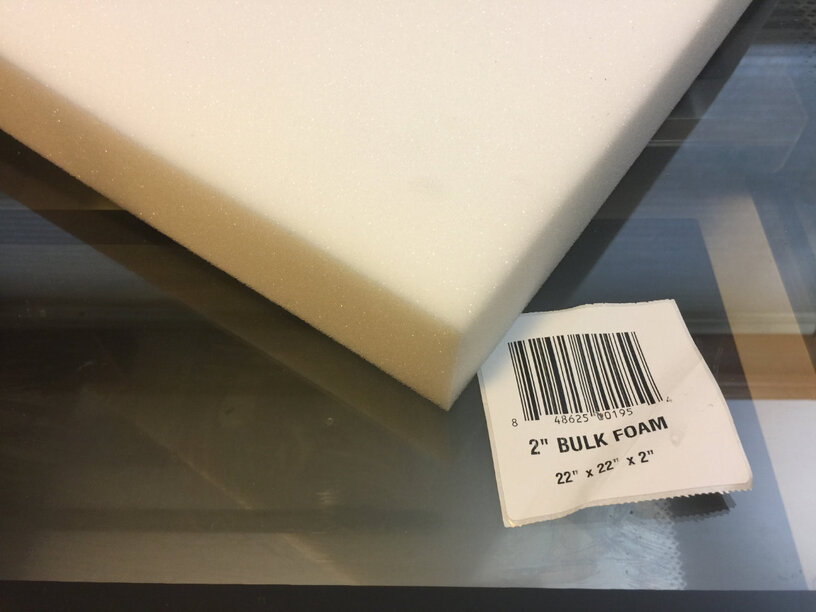
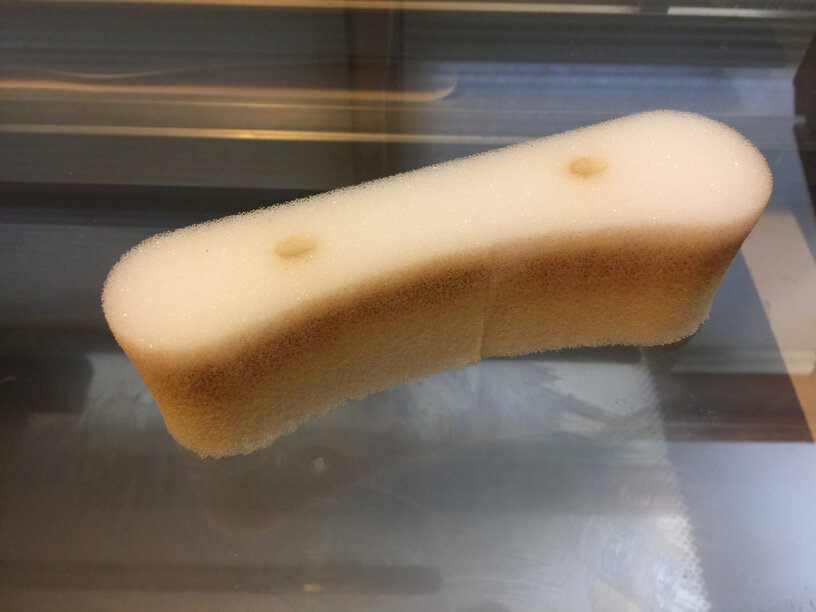
Reasons to use PU Foam: As an open cell foam it is very soft and is good for creating custom trays and organizers.

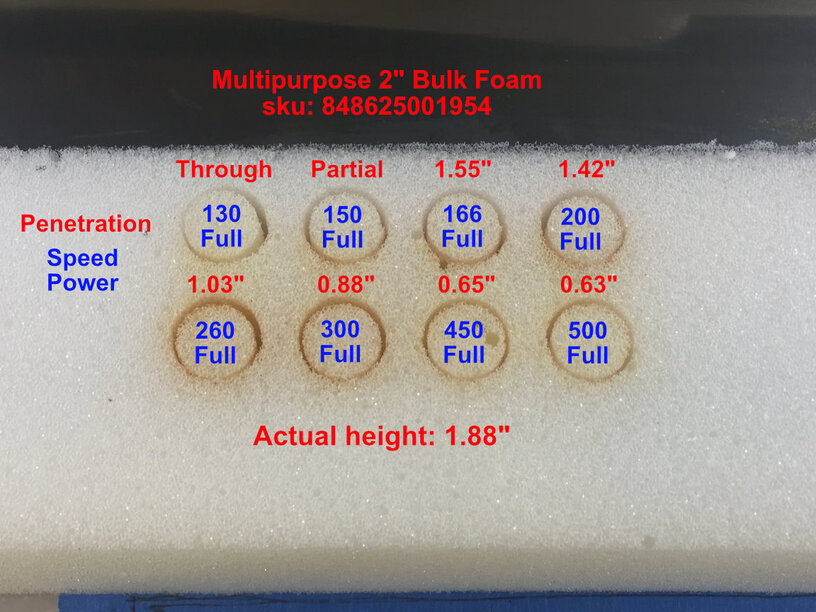
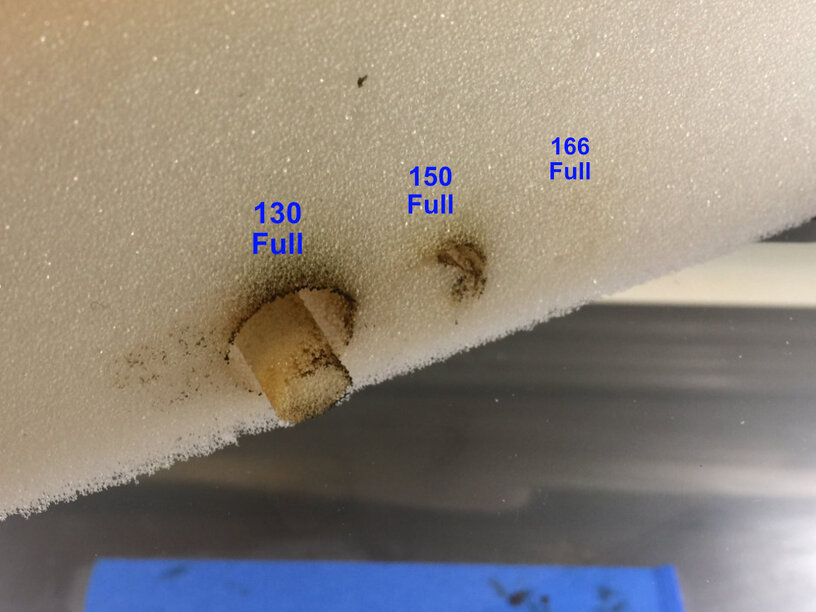
Impressions: PU Foam vaporizes readily and exhibits a mild Heat Affected Zone (HAZ) where the side of the material that was cut is slightly melted. While it is relatively easy to cut through PU foam, finding the settings that minimize the kerf (material lost when cutting) was especially difficult for the thick (1.5 inch) PU foam (see below discussion on focal height). Because of the open cells of PU foam, engraving (text for me) did not result in very readable results, but blocky shapes do show up when engraved. Where accurate dimensions are important I found better results cutting 1/2 inch foam and stacking multiple pieces to get the height I needed. to minimize the kerf when cutting the 1.5 inch foam I set the focal height of the laser in the middle of the PU foam (0.75 inches below the actual top of the foam).

Special Notes on PU foam with acrylic adhesive backing:
I found that I needed to cut the adhesive PU foam with the adhesive back facing up. This produced the cleanest cut edge of the adhesive and resulted no HAZ on the adhesive.

7 Likes

Just be careful, breathing in the fumes can cause asthma and other breathing problems.

1 Like

Same with anything. Everyone should have their laser venting outdoors.

I didn’t initially find this thread until after some personal hands-on experience but would like to add some corroboration to the discussion. I was initially forum-searching using terms like “urethane rubber”, so maybe future others may easier land on this thread.

This is for the sponge-like compressible foam found in a seat cushion, not the stiff white (formed) packing foam used in shipping (packing peanuts)

Some searching on lasering this material turned up at least one cutting video and a webpage from another machine vendor listing polyurethane as a cutting material. These of course, aren’t tacit endorsements polyurethane foam should be in a Glowforge’s diet. (Vented outside, here)

At first considered a source like Sailrite, but if they’re not going to provide an MSDS or address laser-cutting suitability, I might as well take my chances with a more immediate source. The ubiquitous Home Depot lists a Multipurpose 2" Bulk Foam. I found this in their Carpet aisle high up in the storage tiers. 22" x 22" x 2" slab. $8.98. Actual depth for my slab was more like 1.9". Description specifications claim this is a Polyurethane Foam.

With the crumb tray out, I razor-bladed a brick portion & made the adjusted height calculations.

As @starckj indicates, you need to watch polyurethane foam like a hawk. First round of my blind test settings, it FWOOOOMP’d when it got down to 100 speed, Full power on the Glowforge Pro. At that crawl, the laser penetrated through, and (presumably) bounced back on the immediate resting steel surface resulting in my contribution to global warming…

By round 3, I started dialing in the settings for my machine. Penetration depth was found by inserting a flat wooden coffee stirrer down to see how far it’d go:

The goal was to find a setting to have it come as close as possible to peeking through the bottom without banging on the steel plate. For me, 150 speed on a 1.88" deep block seemed appropriate.

The black is a sticky residue that I believe comes from an actual flame event. As OP mentions, the faces parallel to the laser beam is coated in a similar (but not as charred) sticky residue. Trying to wipe with isopropyl alcohol only thins it a bit, but still remains sticky. Treating it as a kitchen sponge seems to nail 95% of it: massage a squirt of dishwashing liquid in it, and repeatedly rinse/squeeze with fresh water. Let dry. The brown-ish discoloration will remain, so this would not be suitable for presentation purposes, ie, mostly if you have a utilitarian need. If they carried this foam in a gray or darker, this would mitigate the unsightliness.

I should also note that on an unscientific firmness scale:
soft - medium - firm - extra firm
Home Depot’s offering sits somewhere between medium & firm.

3 Likes