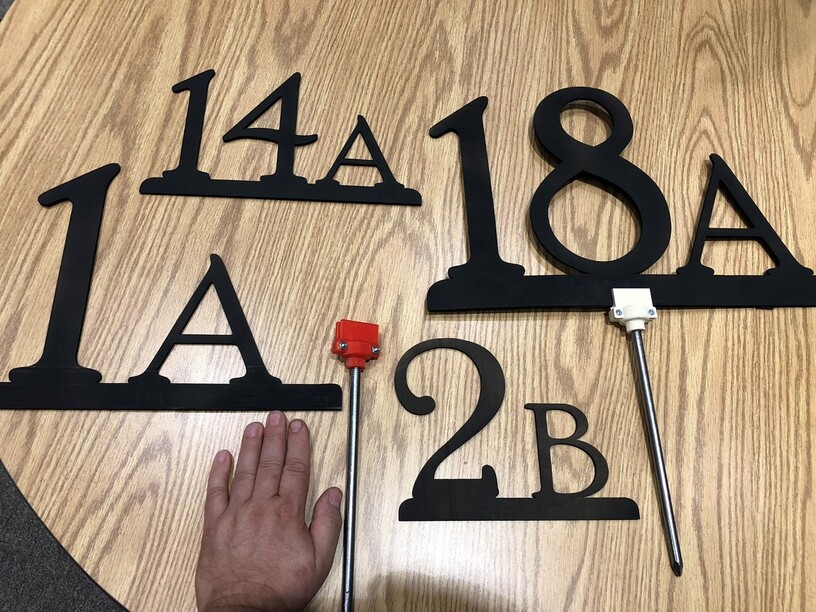
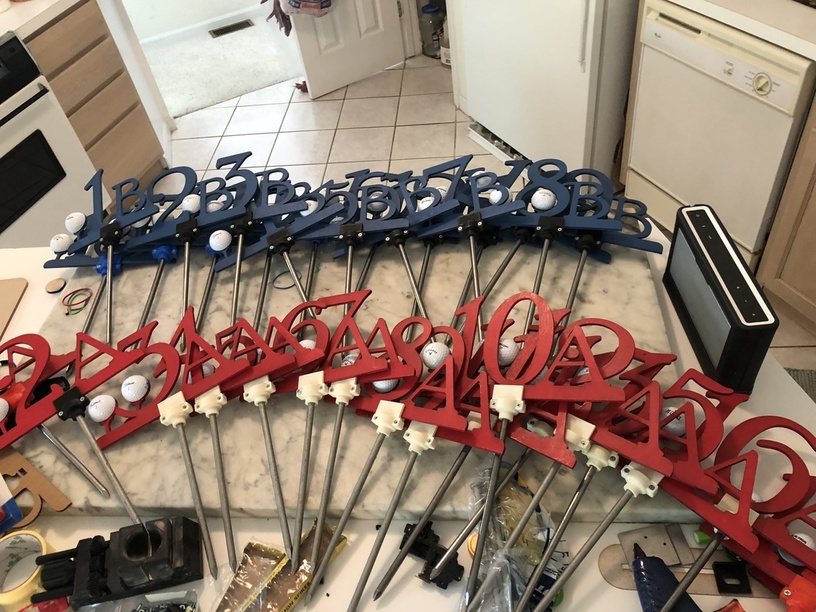
I have been displaying some of the LED edge lit signs up at church. Someone came up to me and asked if I could make some numbers for their annual golf tournament gala dinner. They usually get a local sign shop to make some one use signs for the tables. I said sure. No problem. How many. 36, she said. Uh Oh! Two tiers of 18 holes shotgun start for the 36 teams. I came up with some samples out of cardboard, two sizes. Made some nifty holders that would use 20D spikes on my 3D printers.
.
Boy, I’m glad she like the smaller versions. I don’t think I would have been able to finish and come out ahead with that much plywood.
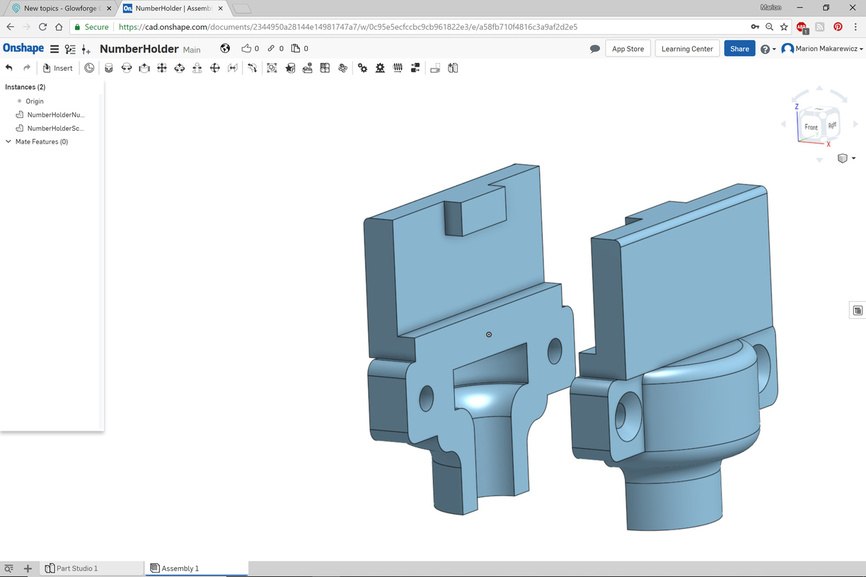
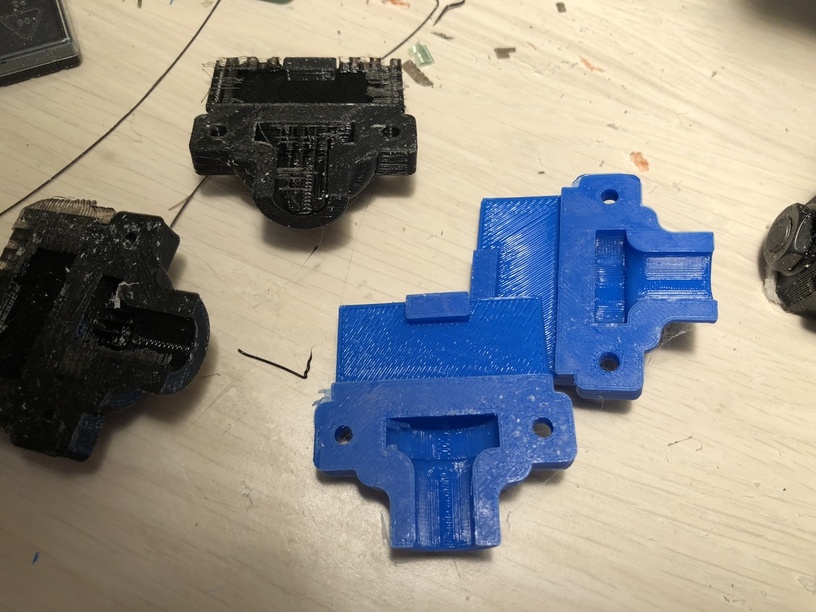
The most challenging thing was keeping two 3D printers going knocking out the holders. They took about two hours a piece to print. It actually was a good to print the same thing over and over on two printers using two different slicers. I learned a few things along the way.
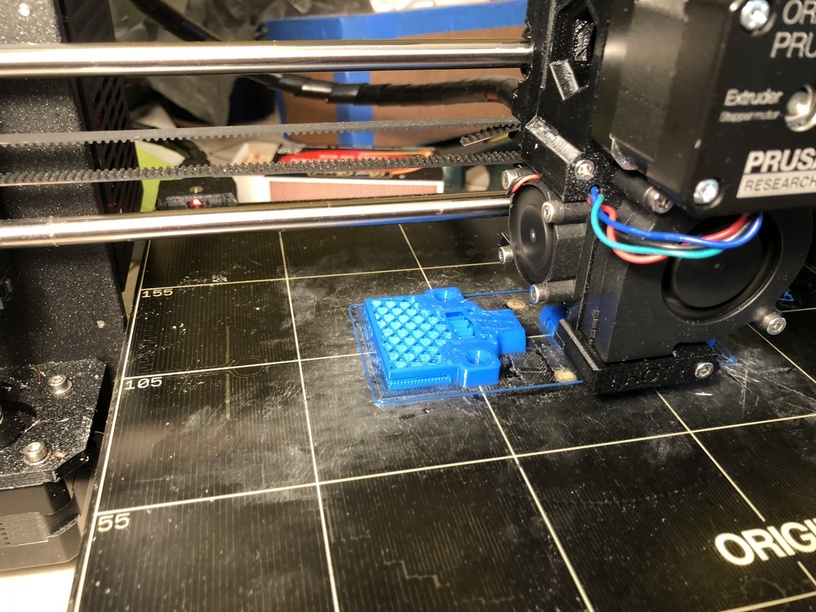
I used 6-32 x 3/4" machine screws. I played with a snap fit, but the screws seemed a bit easier to design and print, plus allowed for assembly and disassembly. I learned that those little screws might have a nice machining burr on the end so I have lots of little circles sliced into my forefinger where I tightened the nut and the screw came through into my finger.
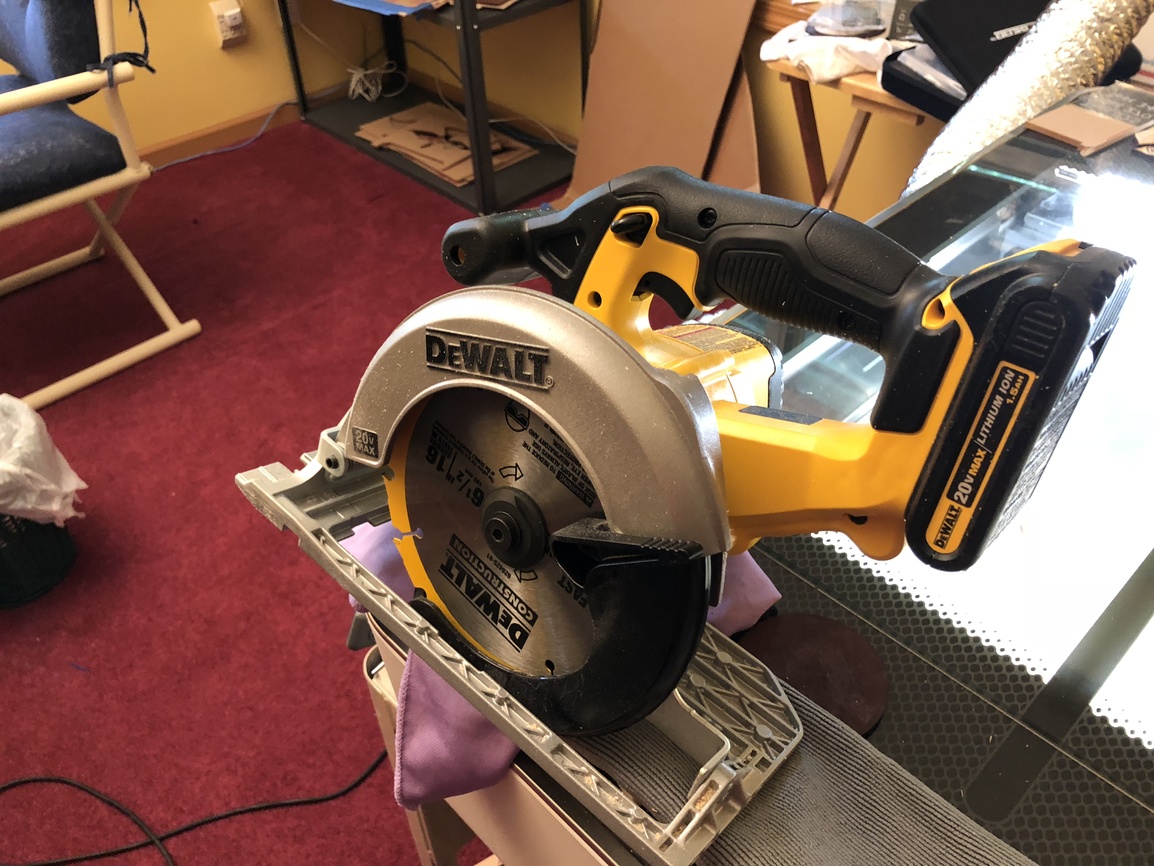
Isn’t there some rule that you have to buy a new tool for every project? I already spent the profit from this projectd on a cordless circular saw. Now I re-dimension plywood much more easily.
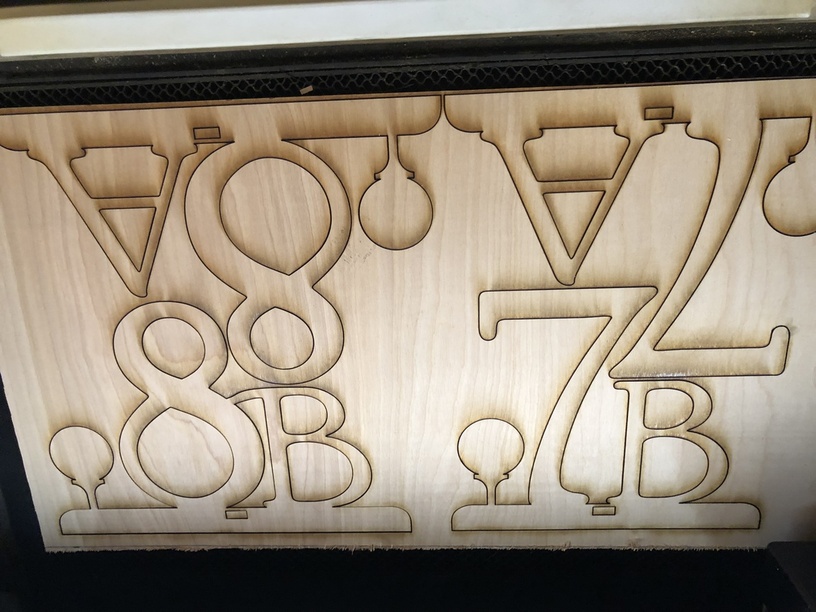
I did the design in Inkscape. First I made all the numbers one through eighteen. Then I made the two bases, A and B. For each number I saved a new file for 1A and 1B, 2A and 2B, etc. Then just lots of union of the paths. Making the numbers 6 inches high allowed me to use the design space somewhat efficiently. Each set of numbers took between eight to ten minutes to process. While one set was printing I sized the plywood and layed out the design to avoid waste. Had no problem sticking the designs where I needed them by camera. The preview worked just fine.

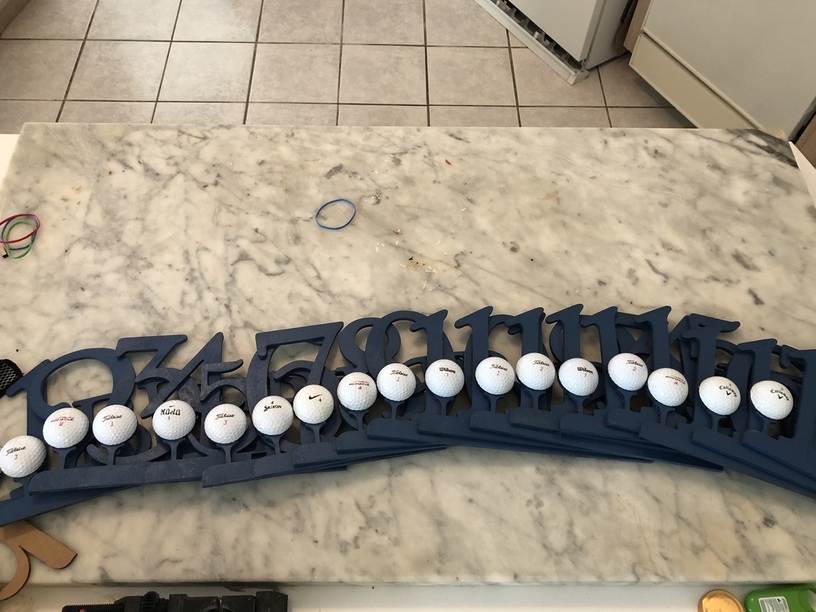
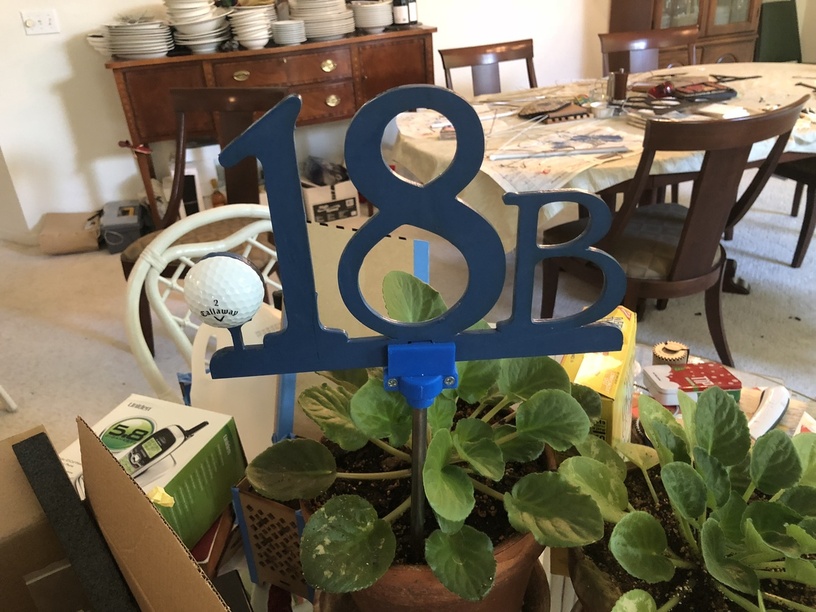
The layout of the numbers was a bit of a challenge to get past my desire to not waste any plywood. This one worked well. Most of them I could fit two in the bed at a time, but some of them required a little creative nesting. Still, a lot of scrap plywood. I used three 2x4’ sheets of .202" birch plywood from Lowes. No masking, no post processing. The blue paint covered the char and smoke. The red didn’t quite make it. A Valspar exterior enamel. The red needs another coat of paint.
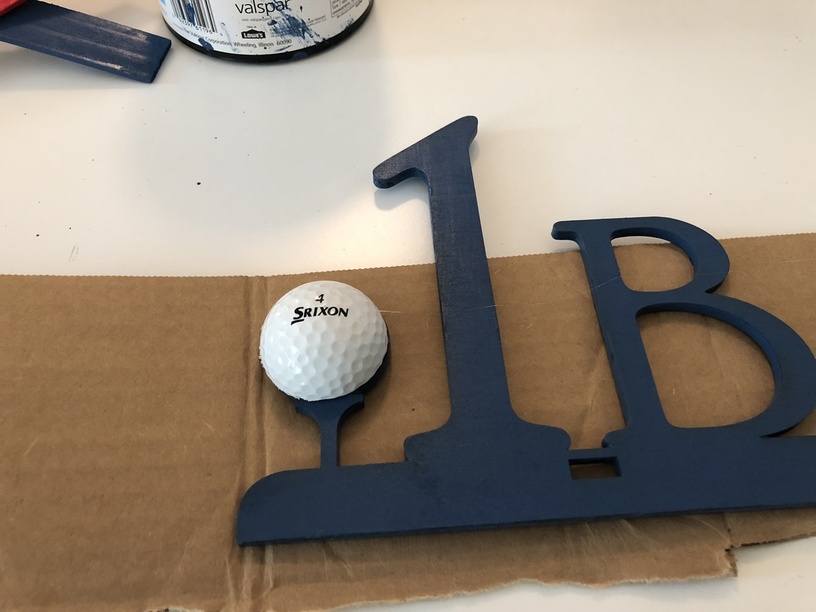
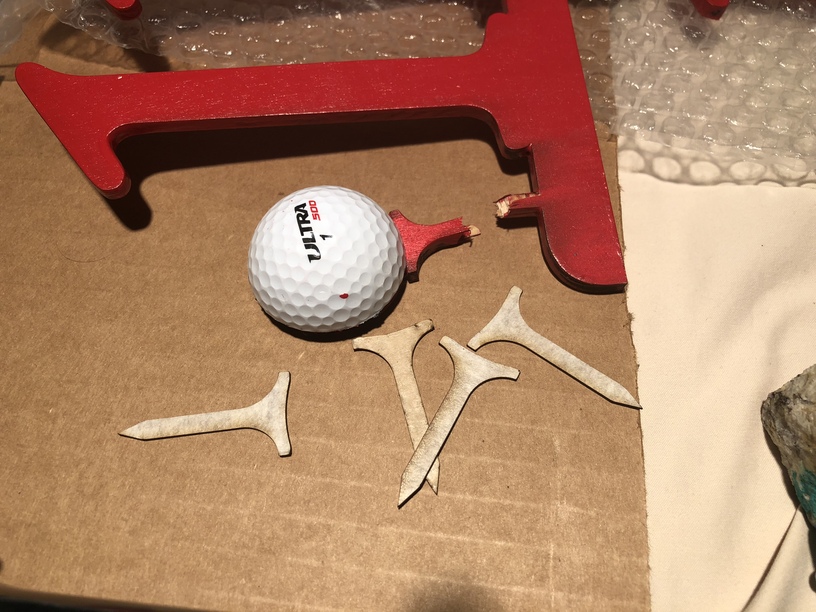
I got the idea to add a decorative element to the numbers. I have boxes of golf balls that get hit into my back yard. I’m on the 16th tee of a course. I didn’t have my chop saw with me, so I asked a parishioner to slice the balls in half.
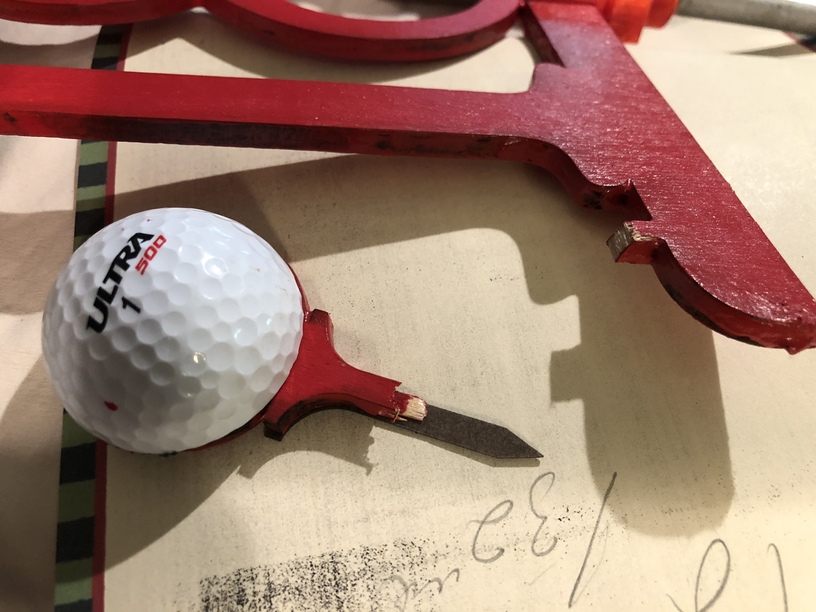
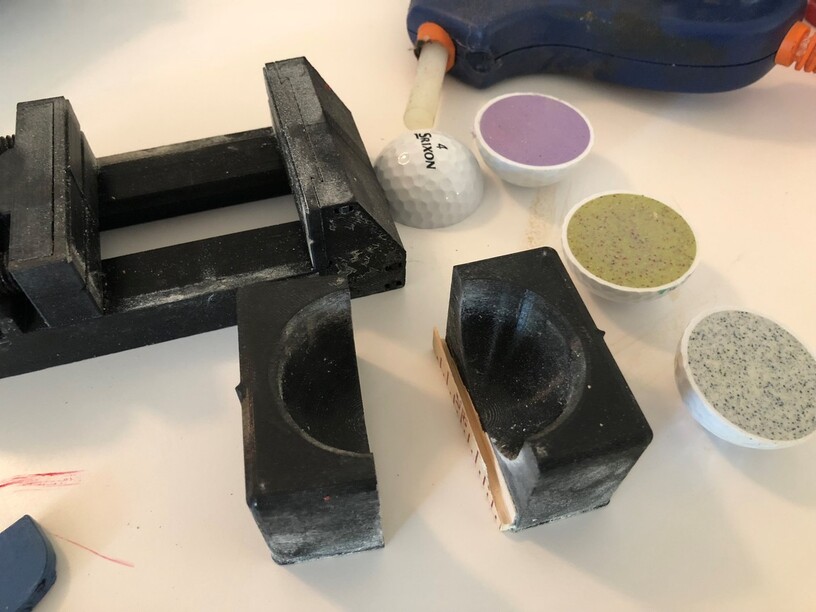
I provided him a jig to hold the balls:
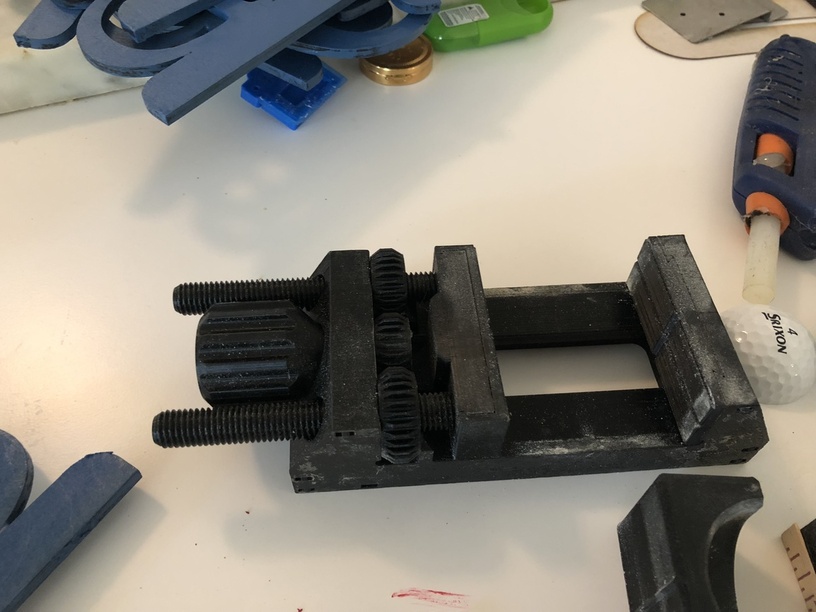
I used Christoph Laimer’s machinist vise that I had printed out. I made a little jig to go into the vise to hold the ball secure.
He used a radial arm saw so that he could get the depth set and not worry about cutting through the jig.
https://gph.is/2HAp2zC
Painting took about two hours all together.
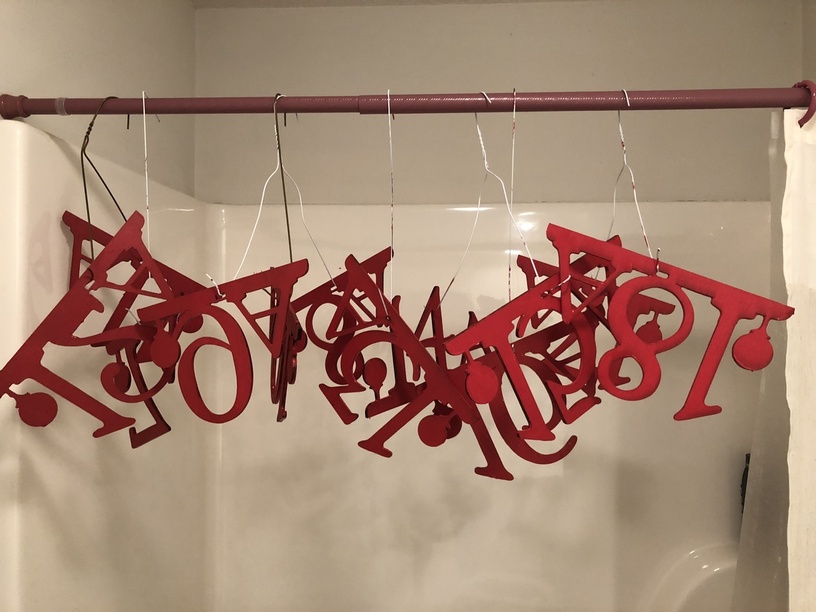
Cut some coat hangers up to hang them.

Some weird dining room chandelier I have.
Ready for pickup.
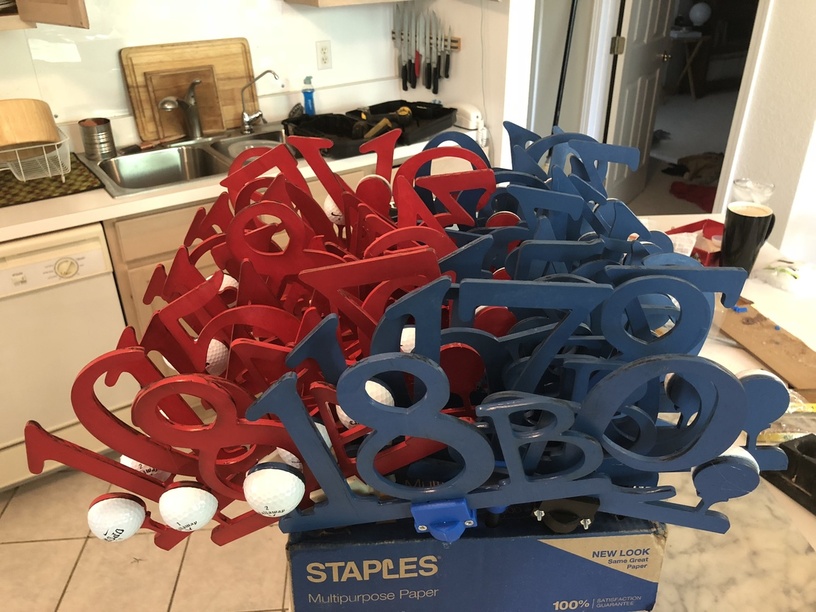
And they will end up in flowerpots on the tables.
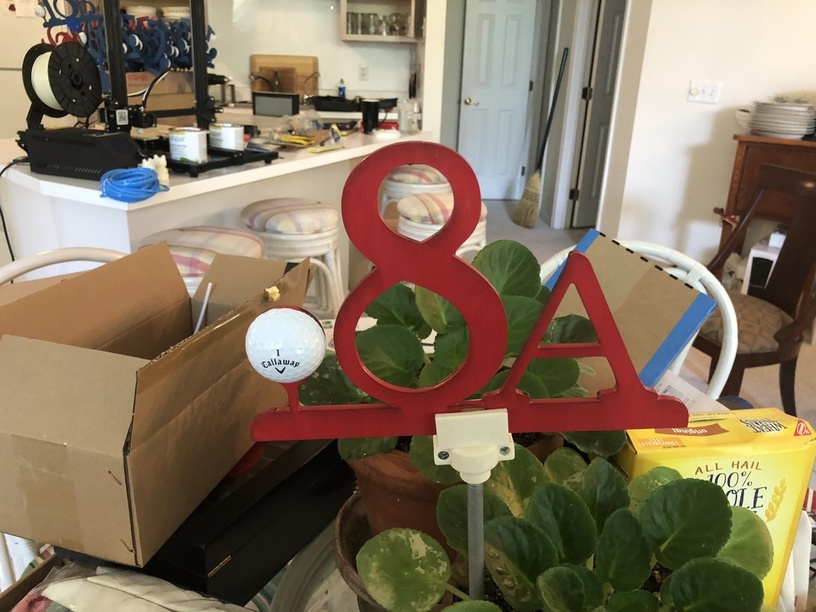
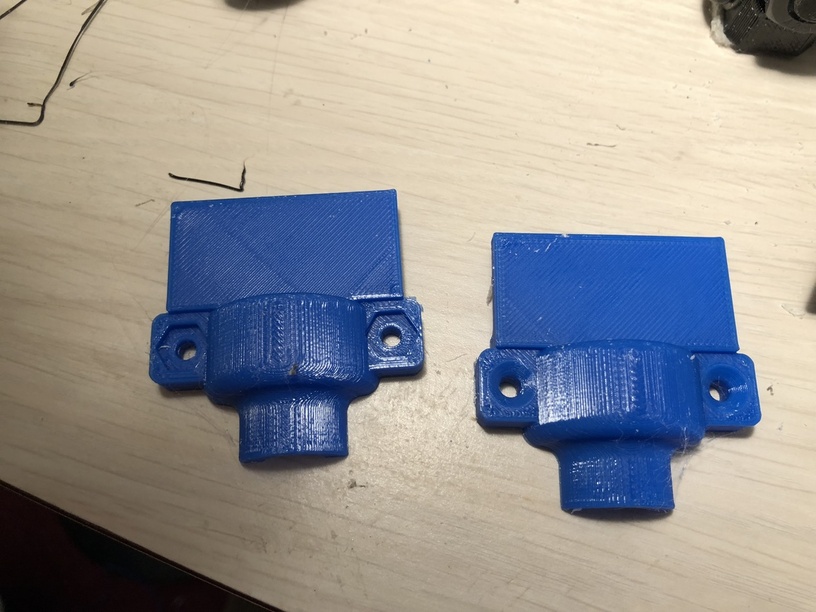
She really liked them. Just what she wanted. And I got $5.00 per sign. I’m getting them back after this year’s tournament to get another coat of red on and also fix a couple of the printed spike holders. I changed the design after about the fourth set and improved it for holding with the little cutout to fit into the numbers. Also, I’d like to use red filament for the red signs. I just didn’t have any on hand except a translucent and I didn’t want to spurge. The ivory doesn’t go too well with the red.