Decided to play around with another one of Takamatsu’s images.
I like Target, simple, good variation in grays.
This is a test, so I put the forge through two different runs. I used Honduras Mahogany. A pretty soft wood. Both are 3.5" square.
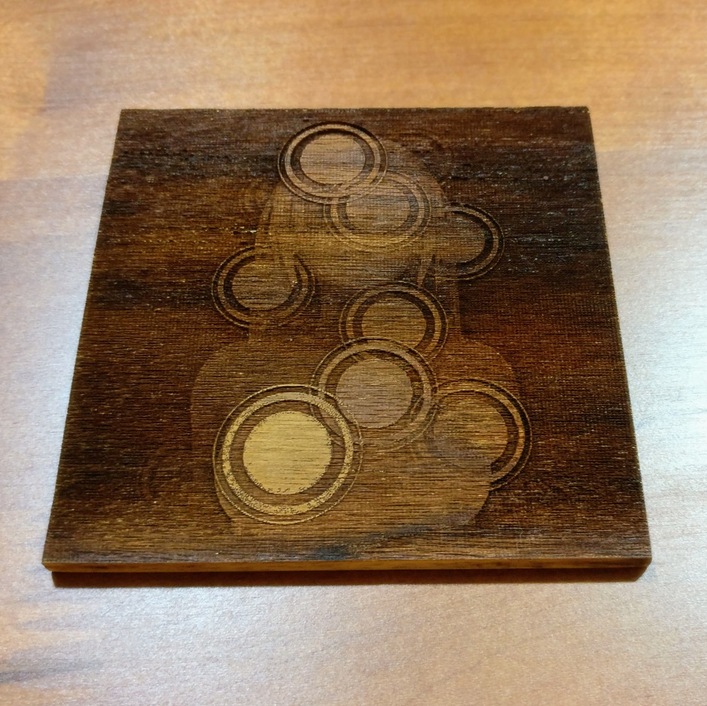
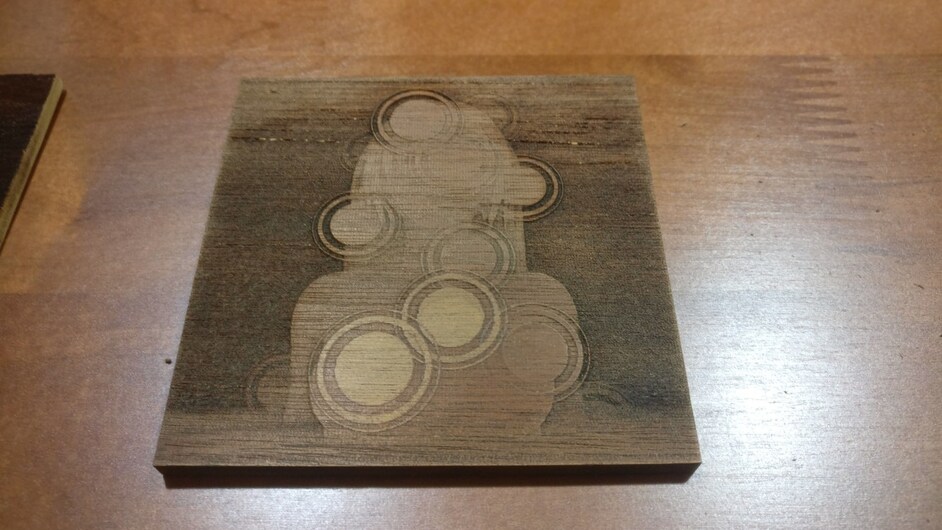
First up. Vary power, Min power = 0, Speed = 500, Power = 40, 225 LPI, 2 Passes, Focus set at wood thickness.
Not bad after cleaning up with some IPA. Some decent variation.
You can really see the lines. Interesting note. The laser cut a lot deeper where there was no wood gains, making the wood’s rings peaking up over the rest of the etching.
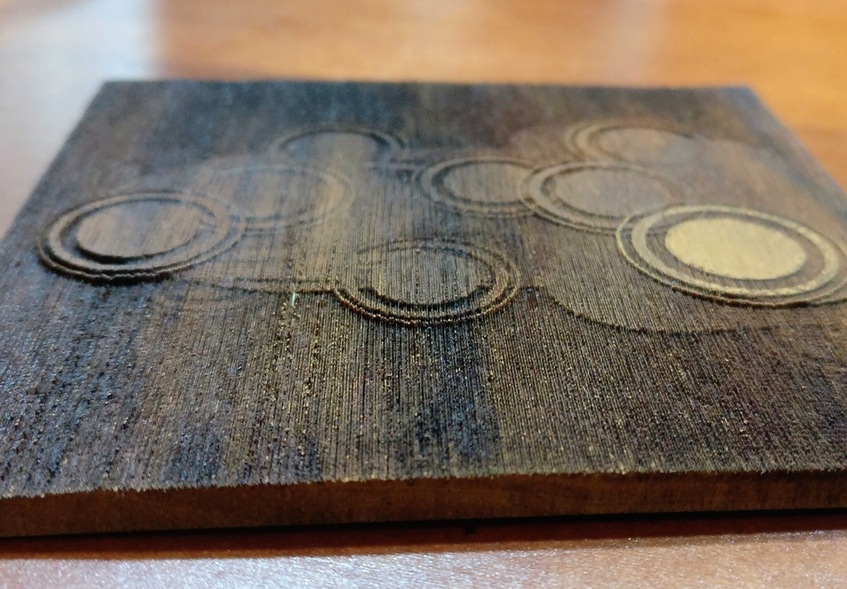
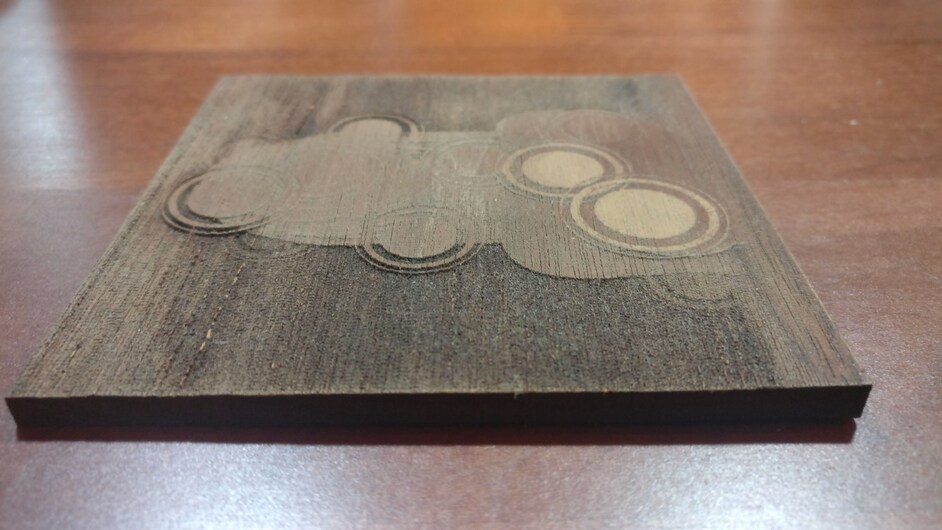
The depth differences really pop when looked at from the side.
Still a lot more charring than I would like.
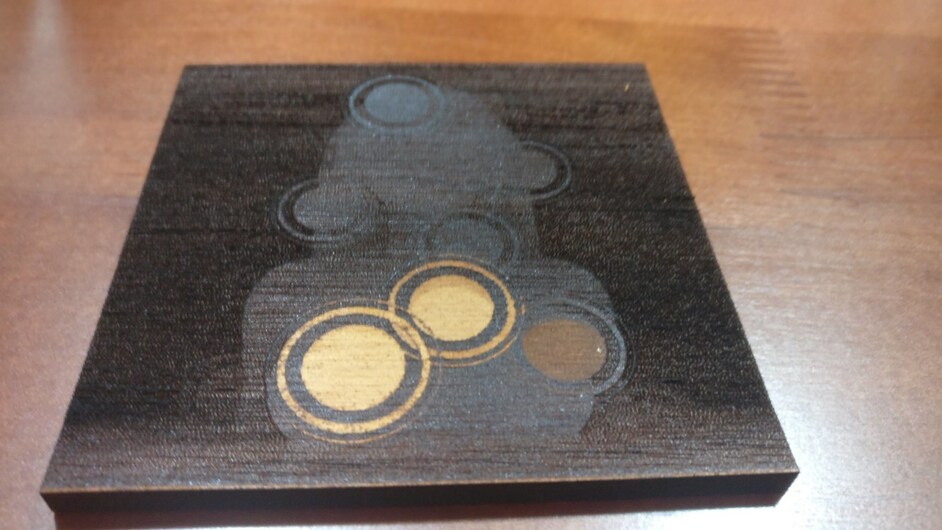
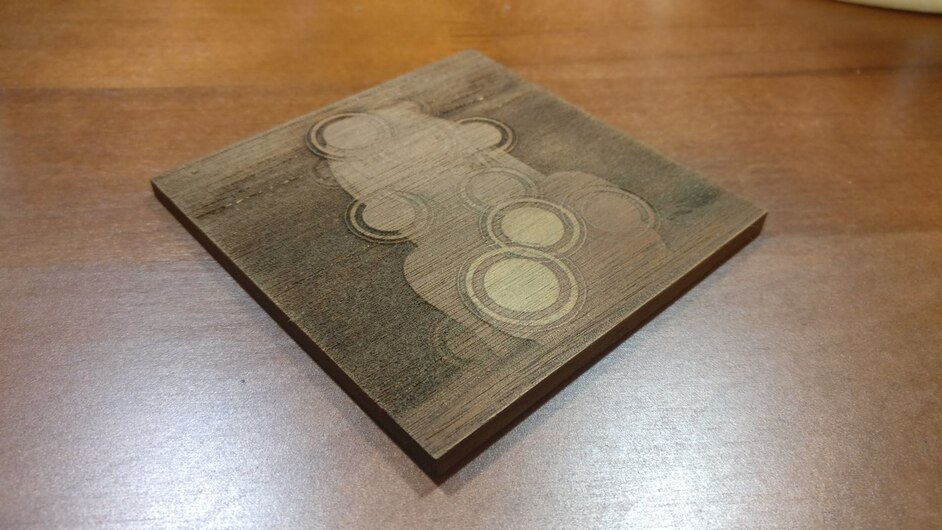
Second. Vary power, Min power = 0, Speed = 600, Power = 25, 270 LPI , 2 Passes, Focus 2x the wood’s thickness.
Running with a lower power setting, faster speed, higher LPI and soft focus.
Before cleaning with IPA
Post cleaning.
That line of wood grain really showed up.
Still a fair amount of depth differences. Not nearly as much charring.
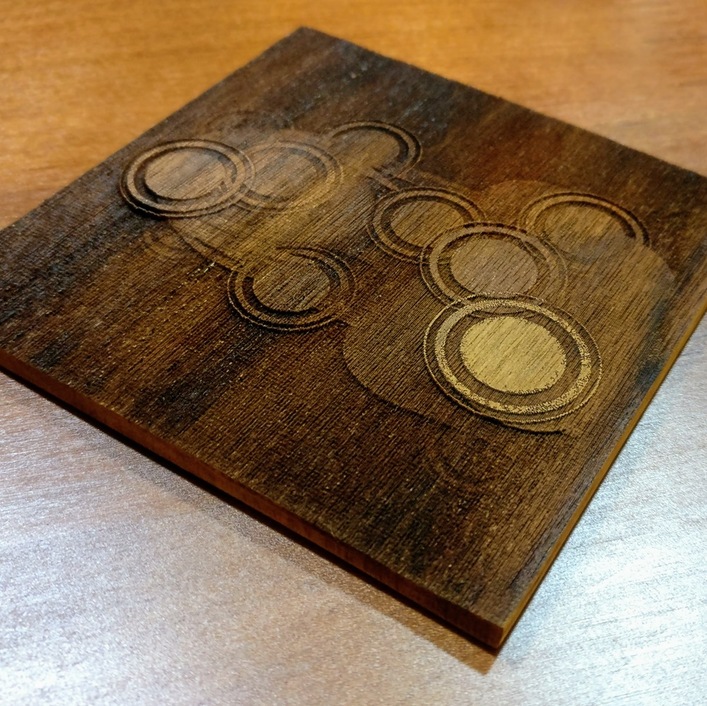
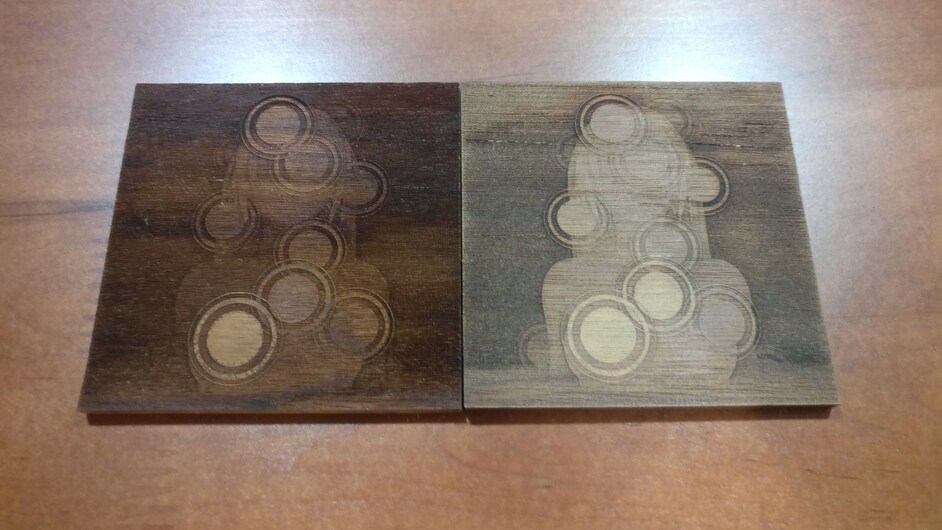
The two side by side.
First run on the left, second on the right.