So, I’ve been trying some 3D engraves using grayscale depth maps and have been having varying results.
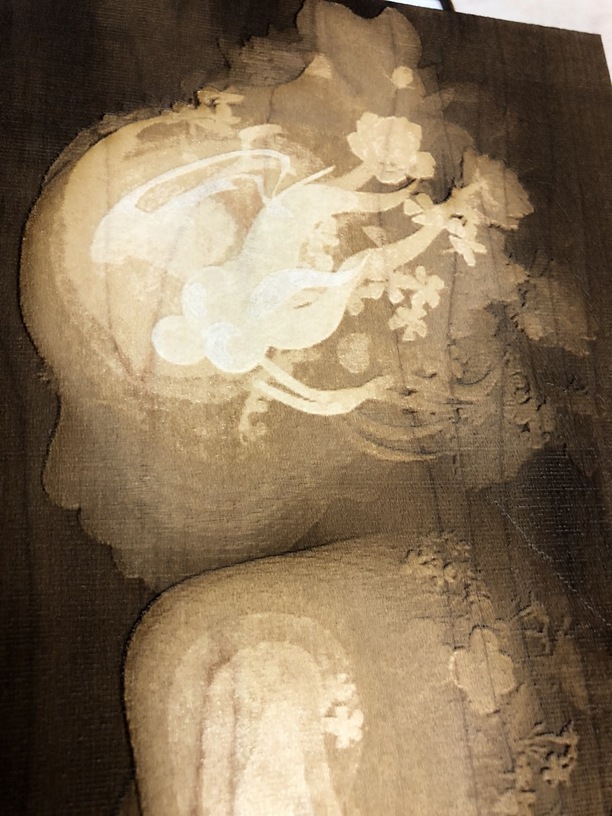
For one, with masking on, I’ve found that at some grayscale levels, it removes the top masking layer, but leaves the more transparent adhesive layer. Makes sense, but adds an annoying clean-up step.
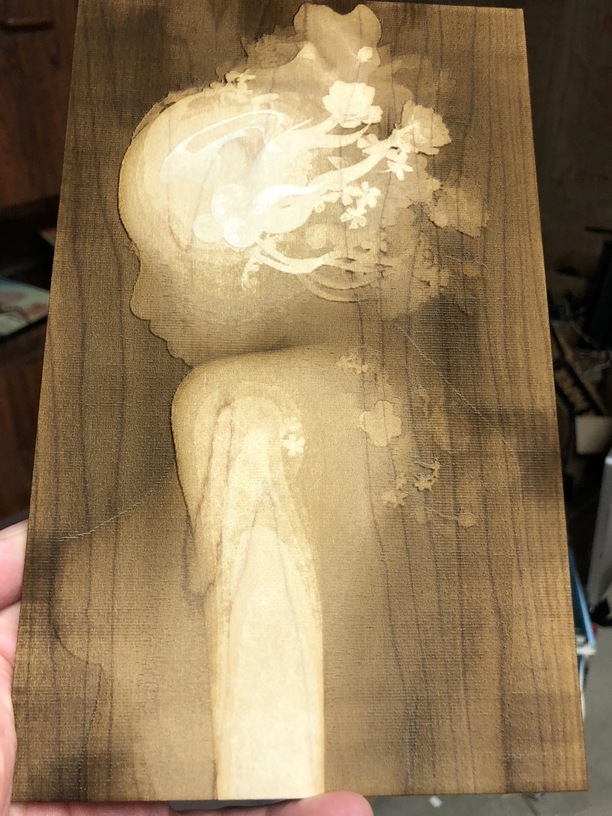
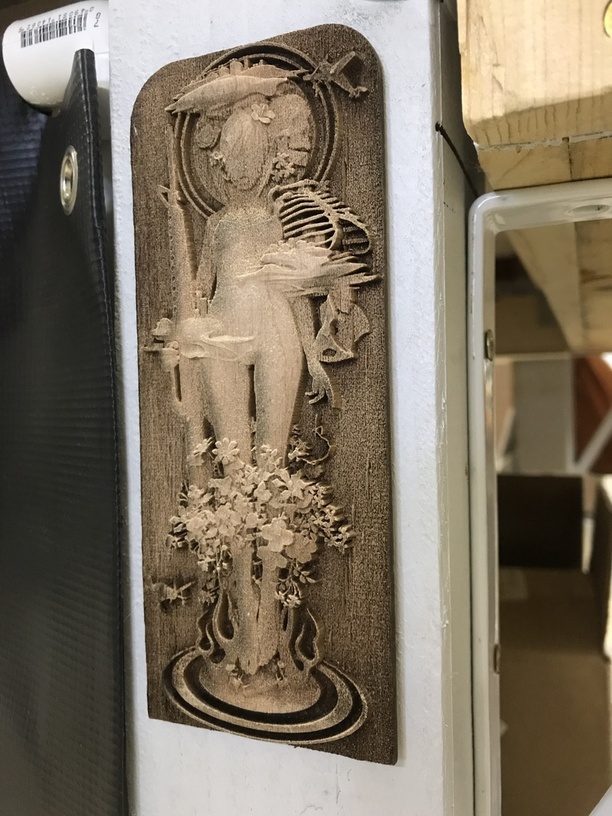
Using proofgrade maple hardwood, I tried an SD engrave and got:
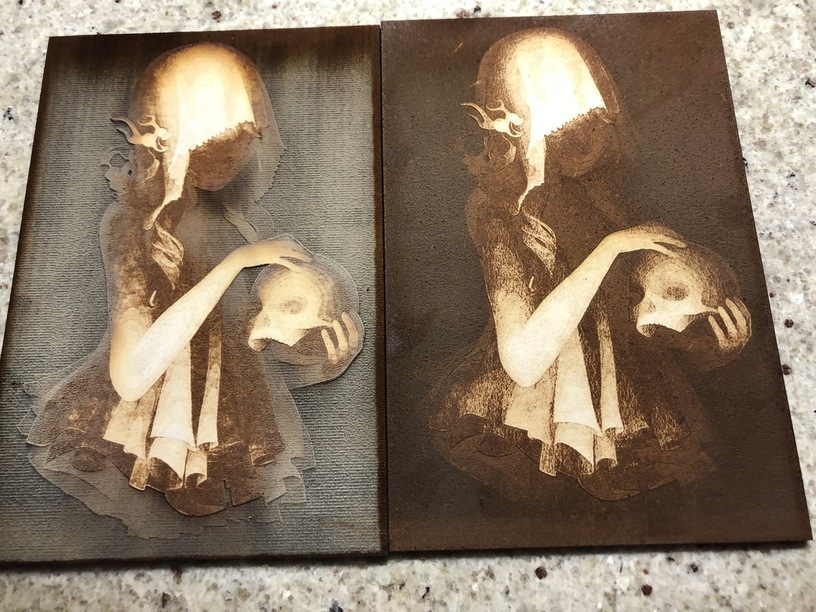
Then, I switched to proof grade draft board and tried an SD and HD engrave of the same SVG file.
I don’t understand the differences between SD and HD. There are parts of each I like. The SD engraves seem deeper at the right locations and, oddly, the SD engraves have better resolution in some parts and HD in other parts.
Which makes an obvious feature request: Would it be possible to tag regions for HD engrave and other regions for SD engrave?
In the image below, the SD engrave is on the left and the HD engrave is on the right. In some regions, the SD has better “resolution” and in others, HD looks better.
I gotta say… Ever since they introduced these “HD” settings, I always just kinda look at them, think they’re ridiculous, and either use SD or come up with some setting I think will look great, and it always does. I can’t imagine I’ll ever want to use the HD settings as they exist today.
I like SD better than HD, HD takes to long as mentioned and is to dark. Also, in light areas the protective layer is not burned off and can affect the engraving with residue as you mention. My next experiment will be to use manual settings some where between the SD and HD settings. Good luck! report back if you do that too!
James, a bit early in the morning for me, but I found the top image achingly beautiful.
Could you post the svg for me, as I would love to reproduce that effect for myself.
Thanks,
John
It seems like we all share the same problems with engraves. Has there ever been an explanation of what the different settings are suppose to produce. I am sure the staff is working on this and hope they come up with a better way of predicting results. Trial and error cost both time and money. You cannot use cardboard to predict an engrave on wood or other costly materials,
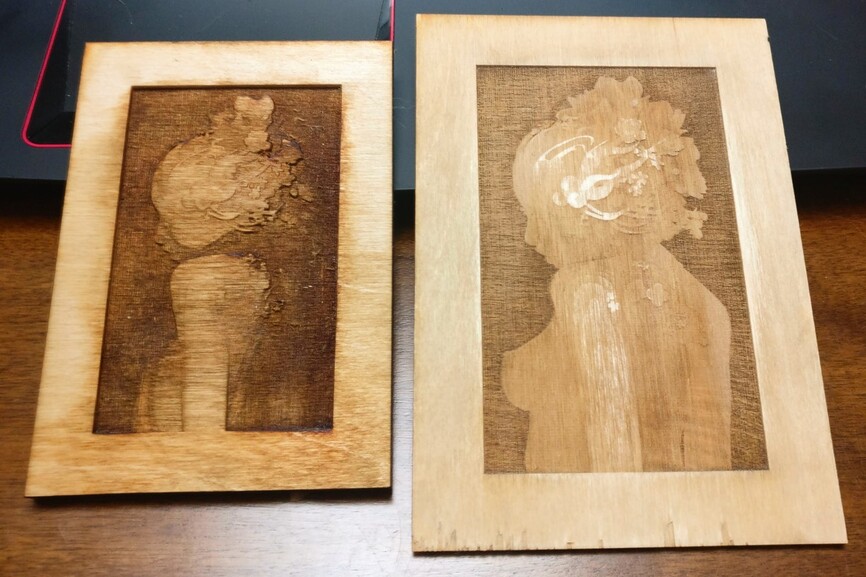
Left is .25 birch plywood, right is .135 birch plywood. Neither are proofgrade, so I just did manual and varied by power.
The only difference, other than scaling was max power I selected. While I got more depth by increasing the max power on the .25 wood, I got a lot more scorching and melting of glue. May try running with lower power, but more than one pass. What I am really disappointed with, is that the image has some clear lines between shades yet the laser really didn’t pick it up in some areas. Is it the image file I’m using? Or just a limitation on the machine? Material maybe? I did some other 3D etchings on MDF and the burnt glue just ruins the whole piece.
It’d be helpful to see what the original looks like.
As for the engraves - it’s a whole culmination of things and how they interact.
Just because your eye can perceive a difference in stuff doesn’t mean that it will translate directly into the engrave. Some changes can be too subtle to translate properly into some of these media types. This is why a lot of times when processing for a laser engrave the image will look like junk on-screen, but engrave beautifully.
My advice would be to edit the image how you want, and then take some 100% crops from various transition points, detail points, etc. and engrave those very small crops to see how the areas turn out.
As for even more variables
some images just don’t engrave well using a laser.
sometimes you need more than global changes… you may need to burn and dodge in certain areas rather than just relying on global brightness/levels/contrast adjustments (this is where engraving the small cropped areas helps)
medias have different thresholds in how small power changes will translate
medias have different thresholds for how much range you can get from in between unburnt to crispy
Thanks for that link. I wasn’t aware of his work, and to be sure that I’m getting it right, that’s multiple layers of an identical translucent gauche painted over a matte black ground ?
OK, so multiple layers of translucent film cut on the forge ?
Mmmmm.
Got the old brain cells going now. . . . .
How to turn it into a fan ?