Glowforge Owners Forum
Design not starting at edge
Community Support
jlfrisella
August 25, 2019, 10:44pm
12
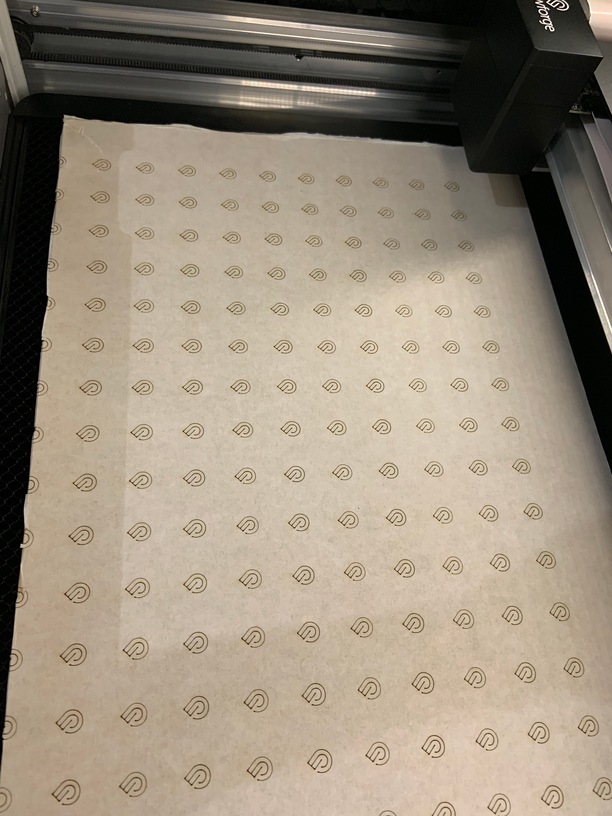
IMG_2840
612×816 130 KB
1 Like
I am so new at all of this... I need help!
show post in topic