I made a dice tower a while back, and it works great. See thread about it here. My only complaint with it is that I now have something extra to bring with me whenever I go gaming. This lead me to trying to come up with a design for a combination dice box and dice tower.
Then last week I saw @sawa’s modifications to @steph’s design. Maybe it was seeing the dice in the box, but I realized I could modify that some more into what I was looking for.
After thinking about it for a few days, I went to SolidWorks and starting designing it. Making a living hinge in SolidWorks that actually moves was a pain, so I cheated and made strips to represent the hinge. I tried using the Flex function, but it did not want to work right.
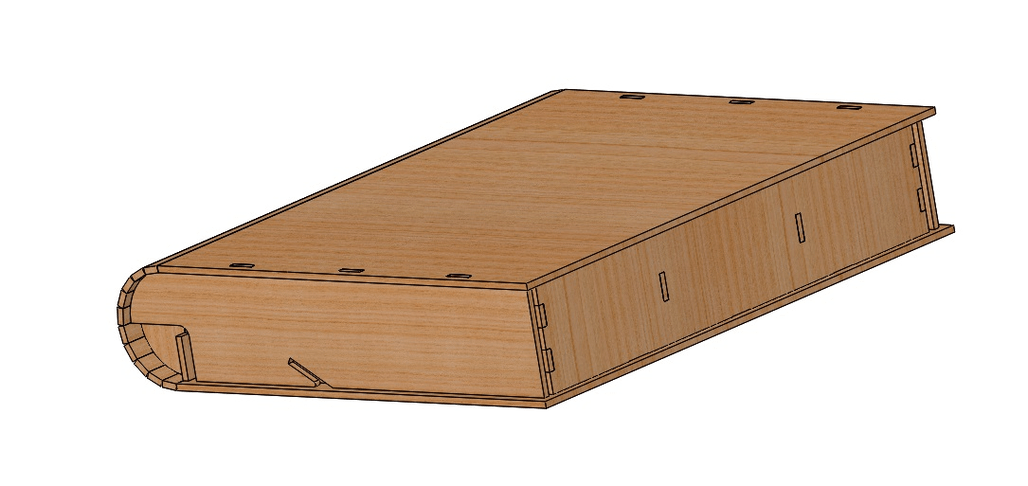
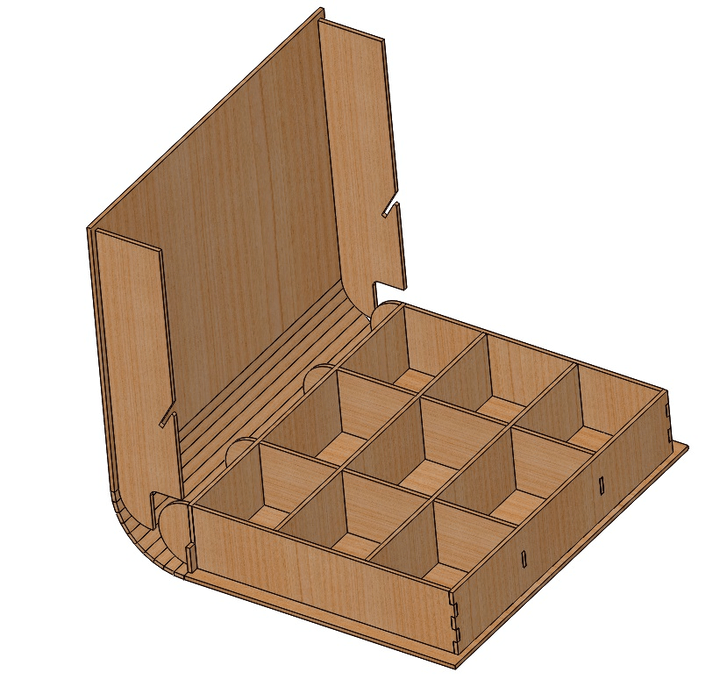
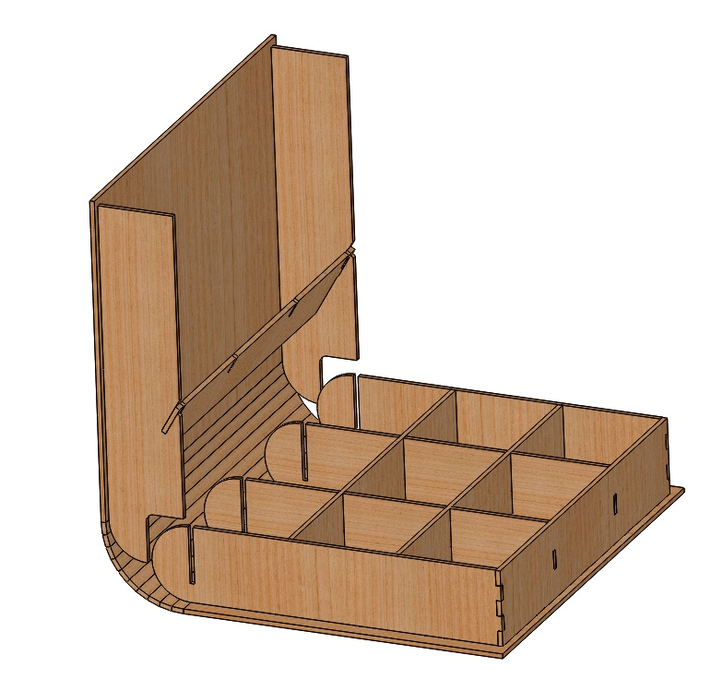
Anyways, here is the design I came up with. Two additional walls connected on the top. The back of the box will be removable to use as part of the “Tower”, fitting into slots on the top walls. See the pictures below.
I’m planning on using a ribbon to hold box open at 90ish degrees, maybe more. Also, once I make it, I want to wrap it in leather, to give it more of a book feel. Now I just have to wait for the Glowforge, or bug my friend into letting me use the Epilog he has at work.
Edit: Adding PDFs. Hopefully the living hinge works. All.pdf (3.6 KB) Base.pdf (7.8 KB)
Love it!! It’s so cool to see all the different directions people can take a design based on their specific needs. Can’t wait to see one built!
I totally agree about the leather wrap- the way I’m seeing it, it seems like it’ll work as a good intro project to working in leather, since I’ve never worked with the material before.
Nice innovation there!
Yeah, your friend will be glad when you get your 'forge! Don’t be surprised if the tables turn and you answer the door to see him standing there with smile and materials under his arm.
I would suggest that to make it work, you will need more than a ribbon to keep it at 90. I cut 2 living hinges, the longer the vertical slits, the less tension is pushing against closed position. Also, the higher tension short slits have given up some strength being rubber banded into closed permission. It used to open about 120-150 degrees, on its own, now it seems to be between 90-120, and over time it might not even reach 90 on it’s own.
I do think the dice tower included makes for a nice rp game dice box, I will bounce off that and enhance it. With pics to come!
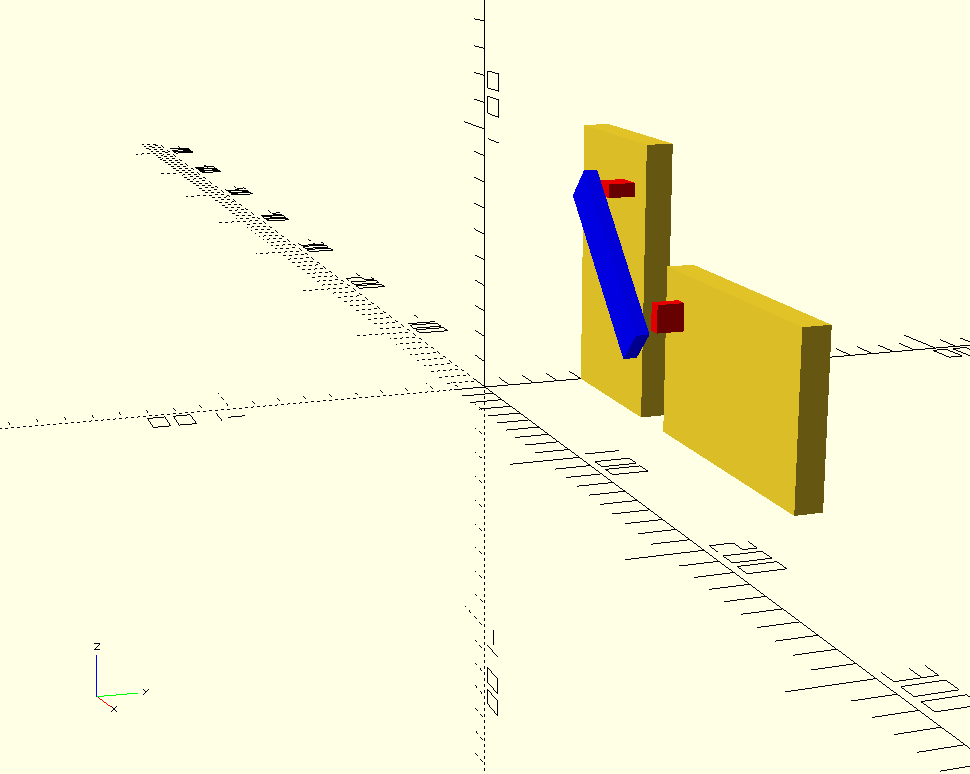
I was thinking along the lines of @Sawa, that a ribbon wouldn’t do it. You may need to go more along the lines of the rod that props the hood of your car open, except here you’re holding it closed as much as open. I did a very quick drawing of the concept, but for a guy that uses SolidWorks - I really don’t mean to insult you. As the two sides overlap, maybe the blue piece needs the red pegs attached and they slide into holes in the sides, or you make a channel on the inside wall, but whatever.
I don’t have any experience with living hinges, so this is great advice. I thought it would try to go flat once I opened it, that’s why I thought ribbon would work. I’m planning on prototyping it with Hardboard from Home Depot and iterating the design.
When you say 2 living hinges, do you mean a cross shape?
SolidWorks just makes drawing things easier, not necessarily better. But you have to pay a pretty penny for it, or work somewhere that has it . I actually want to draw this again using Fusion 360, once I have time to learn it.
Anyways, I like that idea. I might build up the prototype and try out some different configurations to see what works. Hmmm, maybe a double hinge. After a quick google search, maybe something like this:
No, i meant i loaded in the inkscape extension, ran with the default numbers (which are in mm, and was well too thin). So i doubled all the numbers and then modified each one so i could figure out which paremeter dod what. The largest number there is the slit cut. The second largest i think, is the gap between slits vertically, and the smallest default is space between slits horizontally. I was using 1/8 inch baltic birch, so i had it at 25-30 to first number, 6 and 3.
Then i made what steph had in her file. The slits in hers are spaced apart about the same, but they are a lot longer, like double the length of my cuts. There is A LOT less spring to that lid compared to my adaptation.
I have blown a few minds in places around me that have never seen living hinge before, and i have quite a few offers. I plan to spend some time tonight on new box designs (i had requests for specific sizes) and i’ll expect to get at a laser this wed or sat.
My base assumption is that if you have access to SolidWorks you’re an ME or a designer. The problem with posts is you’re limited in both the information you can convey and what answers you’re seeking. So you wind up with well-intentioned people leaving you answers to things you’ve already thought through a dozen different ways. That’s what I was getting at not wanting to insult you with my simple solution. If you didn’t have access to SolidWorks I would have left that bit out.
That hinge looks a little heavy duty. Depending on how much work you want to make for yourself, have you looked at jewelry boxes with trays that lift up when you open the lid? You could modify ones of those to make a locking bar and keep it all wood and all laser cut.
I have a more complex design that is all laserable- i plan to test it out on Wednesday. I also sent a copy of it to one of the staffers for a laser thursday offering. Im not that great at sketchup but pics will be soon.
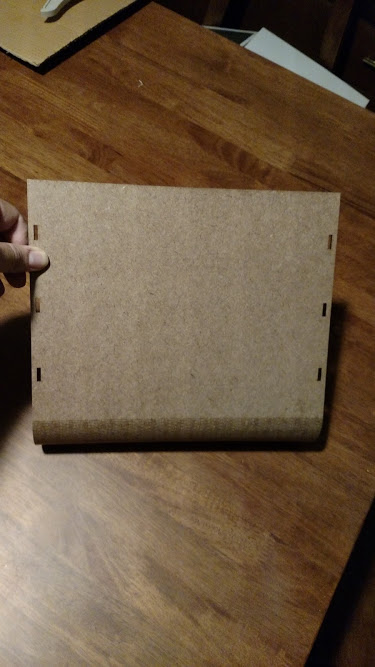
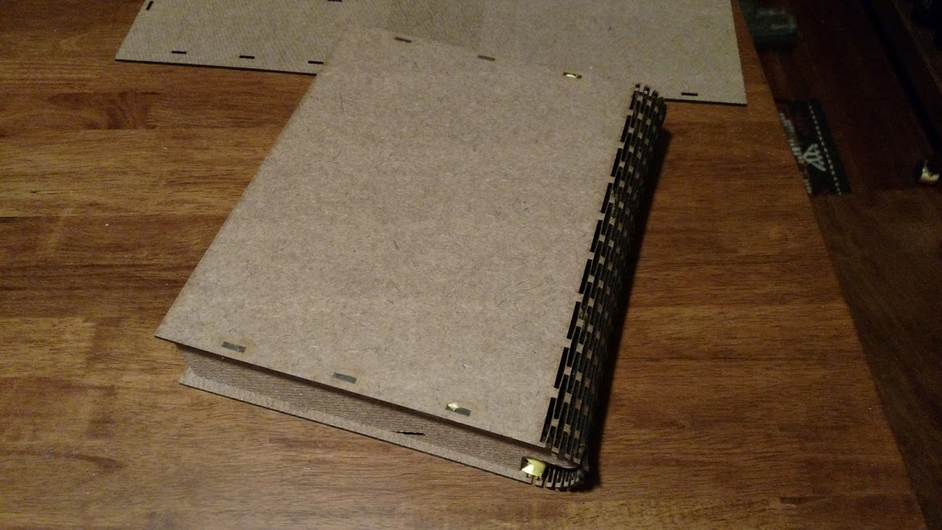
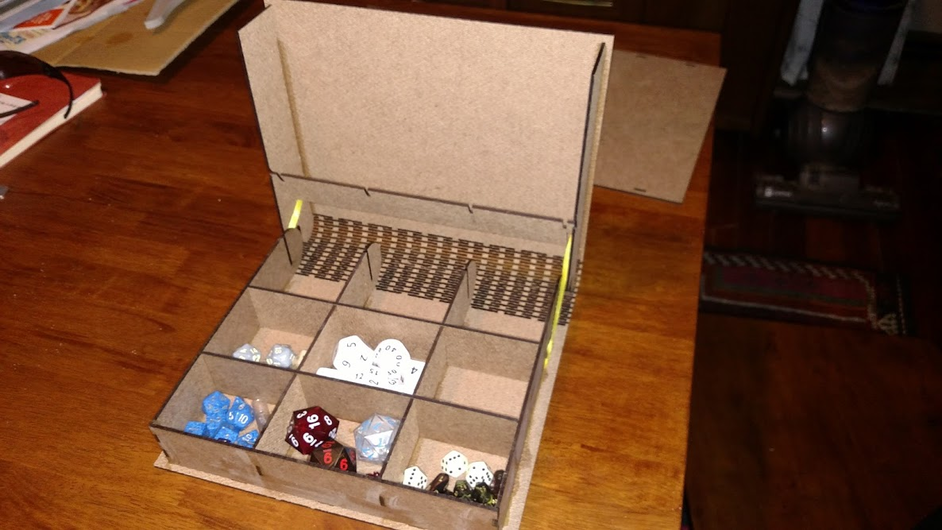
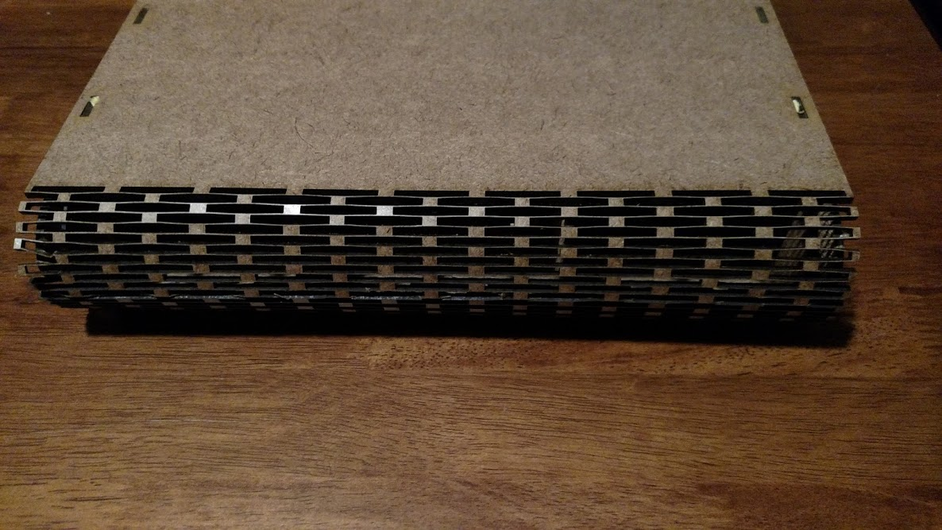
Awesome! I got some laser time on my friends system last week and was able to try out a few things. I see what you guys mean about the living hinge, there is quite a bit of tension on it when I fold it over.
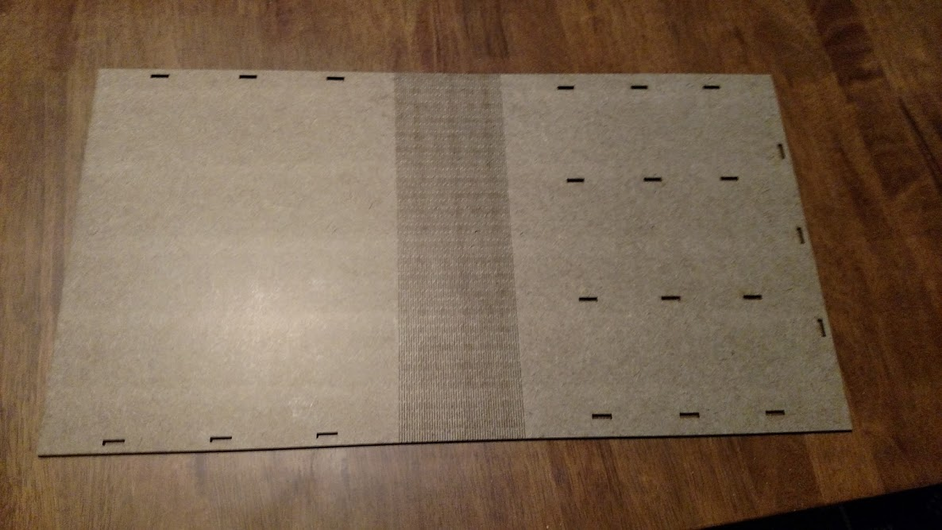
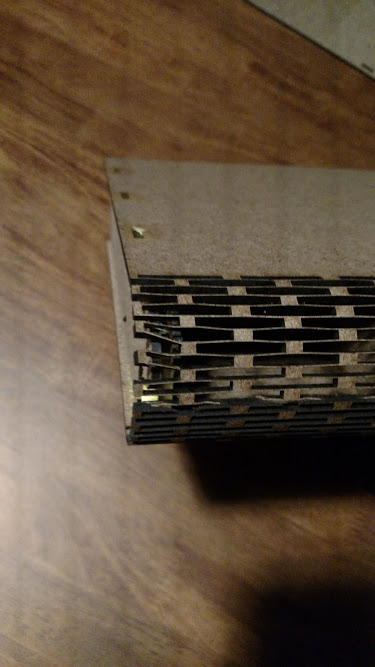
I tried out another living hinge design where I cut out rectangles instead of just slits. This made the hinge much more bendable with almost no tension on it, which is more what I’m going for. It is a bit flimsy though. I attached the file below, I’ll add pictures of the tomorrow.
Open with angled piece in place. The living hinge has no tension on it. It is siting flat on the table. Also, I may have a dice problem. I will probably get more
I definitely like have less tension on the living hinge for this box, but I think the v2 design has too much material removed. I will have to tweak it in some more.
This would be so much easier with my own laser cutter at home .
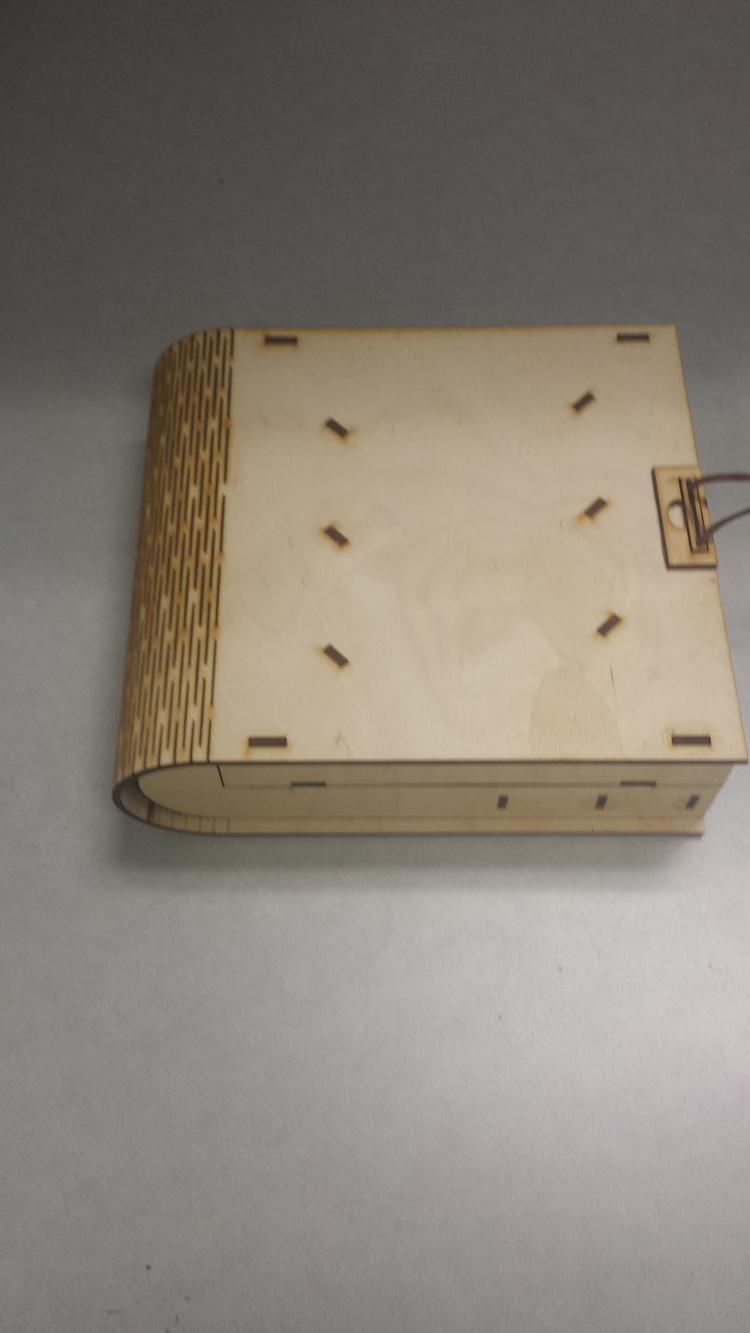
I also made a prototype today… i miscalculated on one thing, the bracket length/heighth that holds the top at a 90°. It has a nice clasp with a leather string and tension clip like in my other boxes (posted in design challenge: box), and features multiple facets of tumbling.
… (garbled swear words muttered under breath)… I forgot to get any pictures of it tonight, i will take some with my phone in about 10 hours. I’m already in bed at this point and the box is in the car.
 . I actually want to draw this again using Fusion 360, once I have time to learn it.
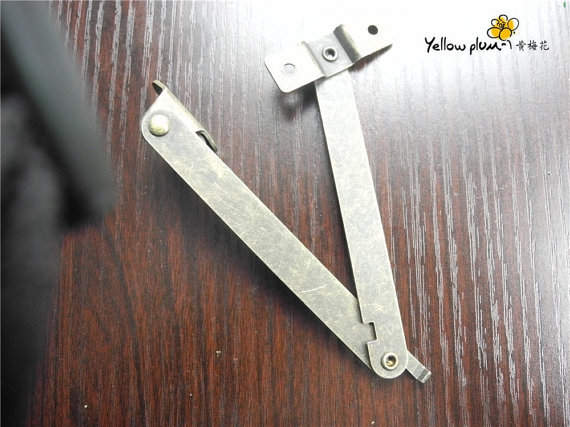

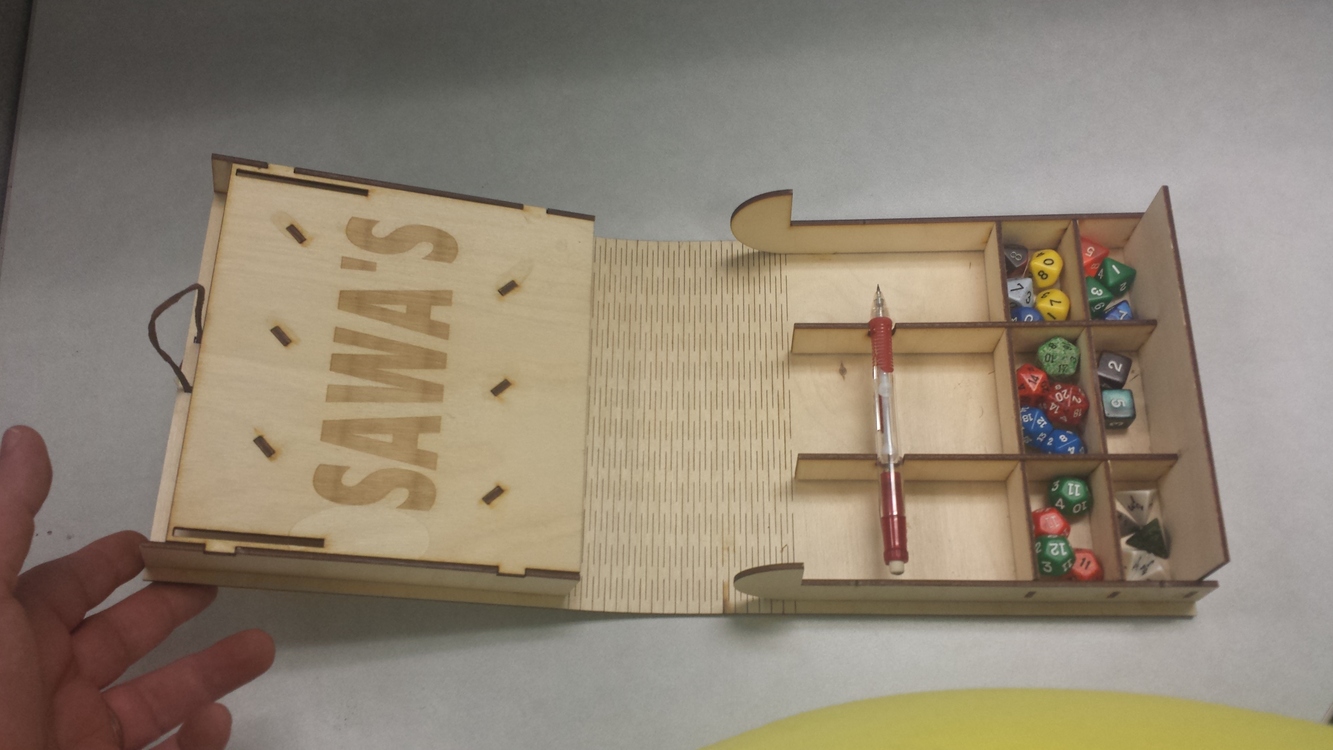
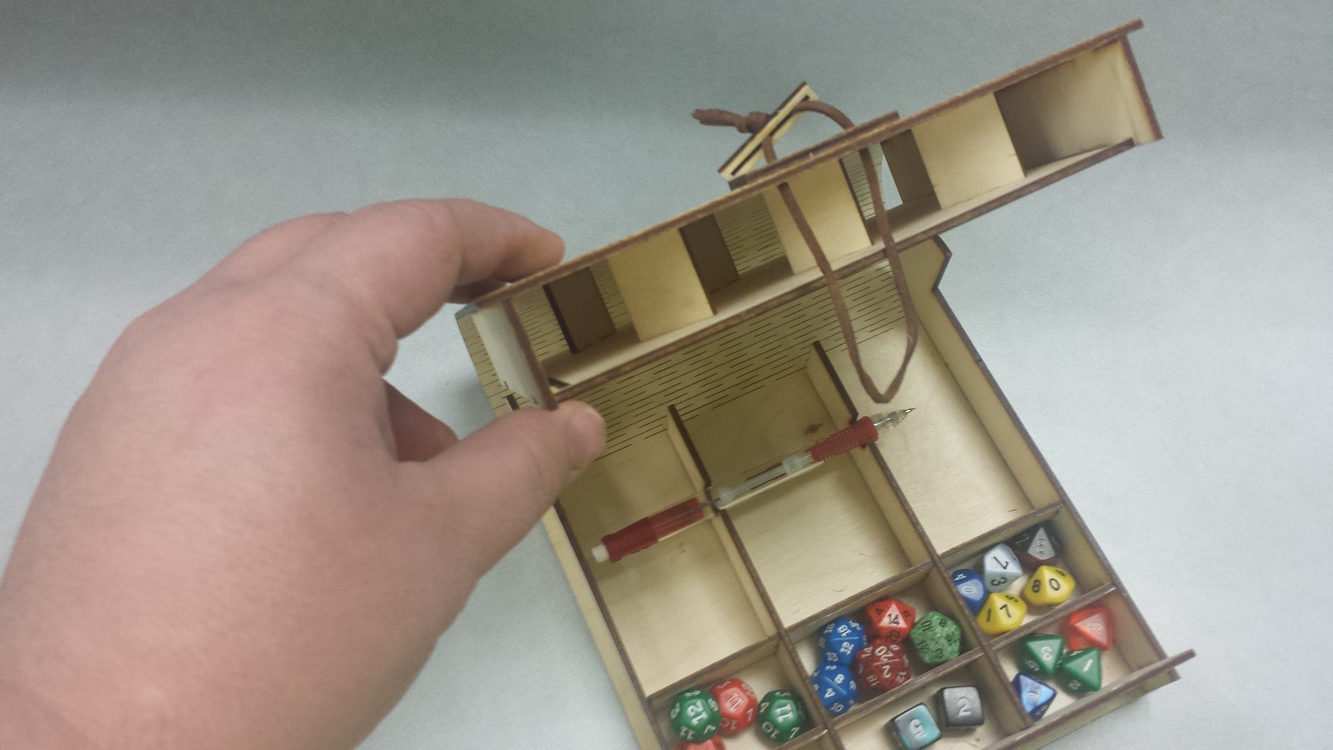
 Oh man, that is a genius idea, integrating the tower into the top! I like the pencil holder in there too!