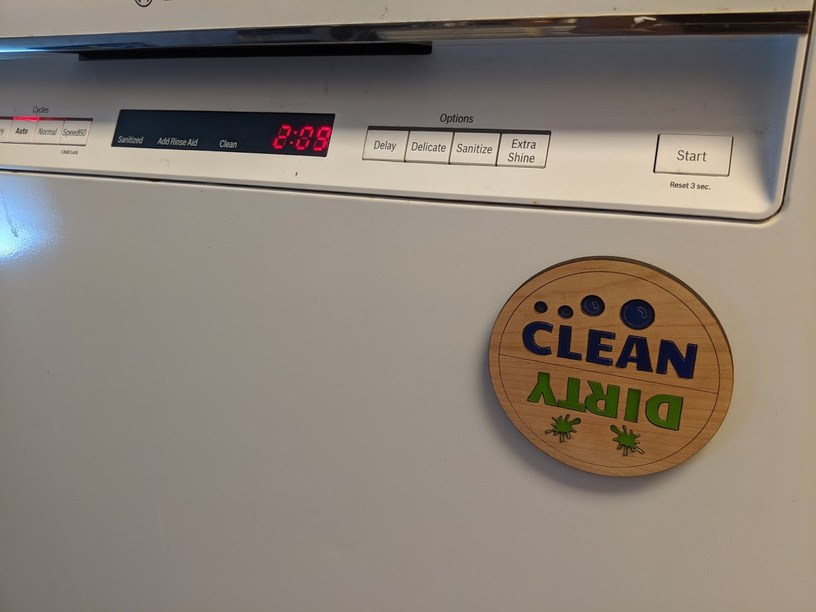
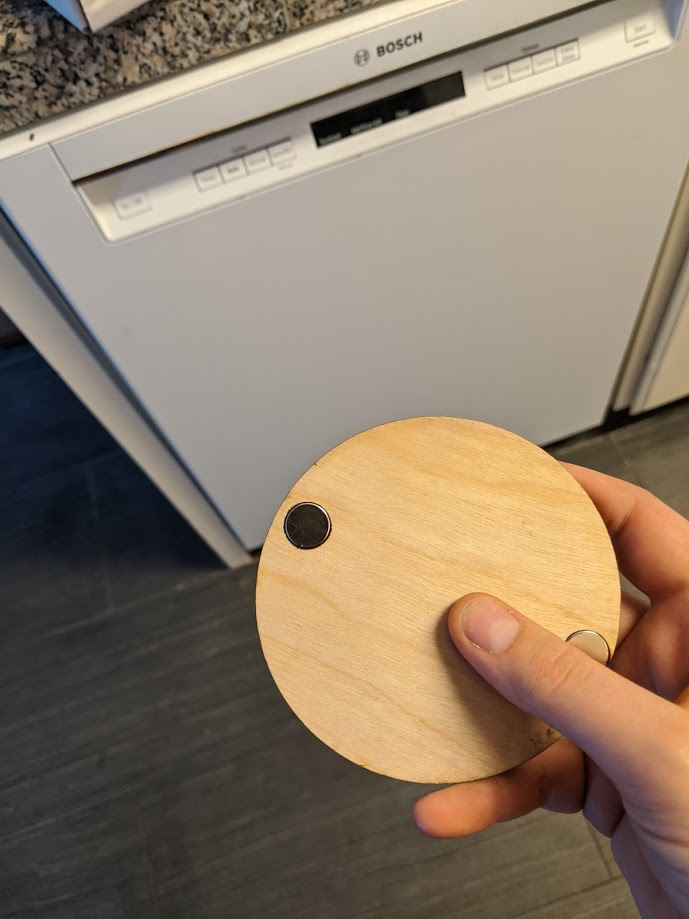
Wood with Acrylic inset, flush with no exposure on the back with inset magnets.
Made using the Glowforge Software…here’s how I did it!
Created the shapes & inserted art using the Beta software premium
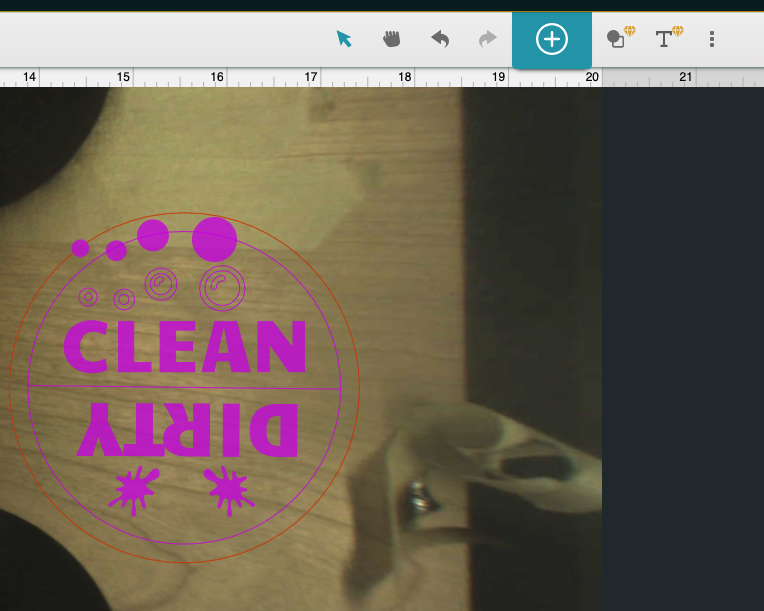
The little bubbles were one shape, so I created another circle the exact size
(moved here so you can see) and stacked them on top of each other by matching the X and Y coordinates of the bubbles.
That’s also how I centered the two circles (by matching the X coordinates)
Two jobs:
CUT the letters & shapes out of wood, engrave inner circle, & divider
CUT letters & shapes out of acrylic, engrave details on bubbles
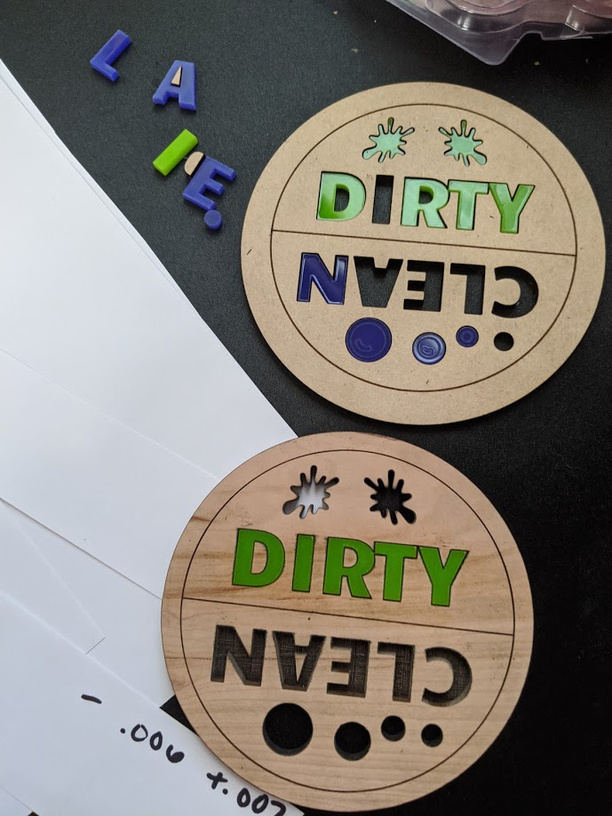
After the first cut… I thought it would be better to have a backing to hold in the pieces rather than try to super glue them in… so I engraved the holes and measured for kerf. (The amount that is evaporated after cutting)
Engraving the holes:
My material is .19 thick and my acrylic is .11 so the engraved hole needs to be maximum .11
The settings I used on my material was 500/full, but you’ll need to test to check! Easy way to do this is to engrave a little circle, take your acrylic circle and pop it in… if it too shallow, decrease the speed. If it’s too deep, increase the speed.
Measuring for Kerf for a tight fit:
What I typically do is taking the cut result and subtract to fit for the hole/place for inserting.
I used one of the letters to test the fit (tip: use the edge of your wood for easier removal)
You can see, I need the hole to be -.006 than the acrylic insert
Select all the letters & shapes (for example 2.55 inches, subtract .006 = 2.544 that will make all the shapes you selected shrink by .006, so that when it’s cut, it’ll be nearly exact of the original acrylic inset cuts.

Once I got it right, I was able to super glue in the acrylic and magnets on the back!
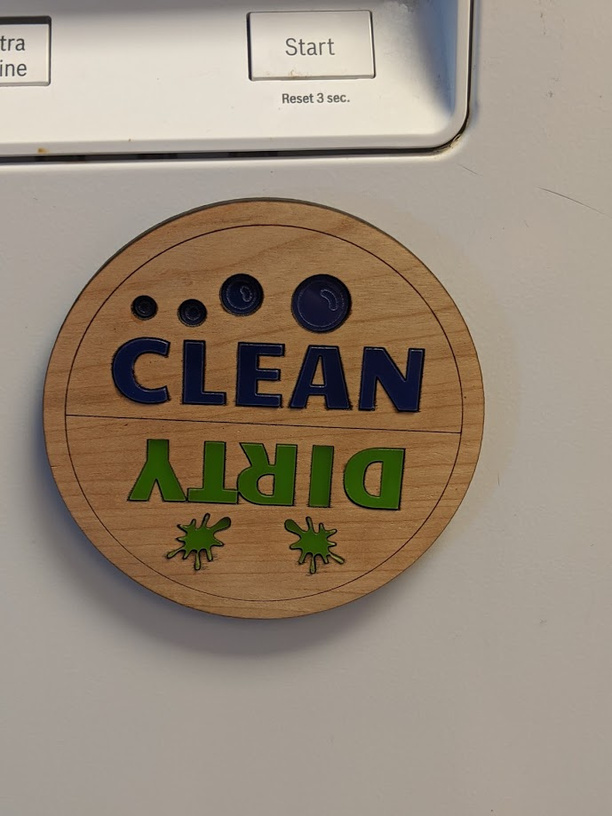

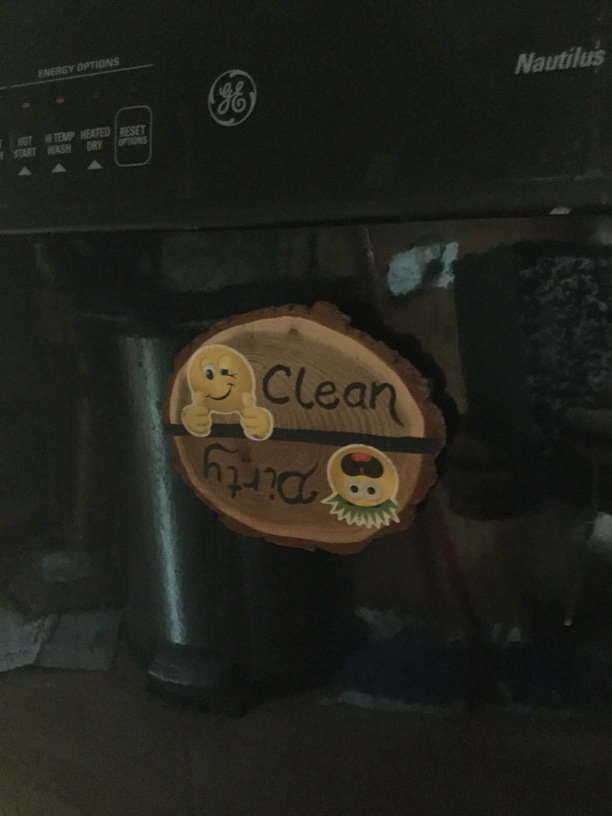
 I thought it was silly when my friend asked me to make it… evidently his wife got mad when she went to get a dish out of the rack and it was dirty. I feel like there are many ways to solve this issue… but hey, I’ll make you a magnet!