First post is to gauge interest, I have the parts I think are needed. I will start the assembly assuming others will want to see it but i will not edit and post unless a few tell me they want to see it.
I have my glowforge but have nowhere to put it. Its freezing out so no cutting just a drill a tape measure and stuff i got from the store.
Edit:
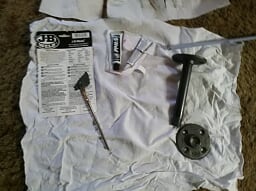
I’ll start with the parts list and what i paid for each.
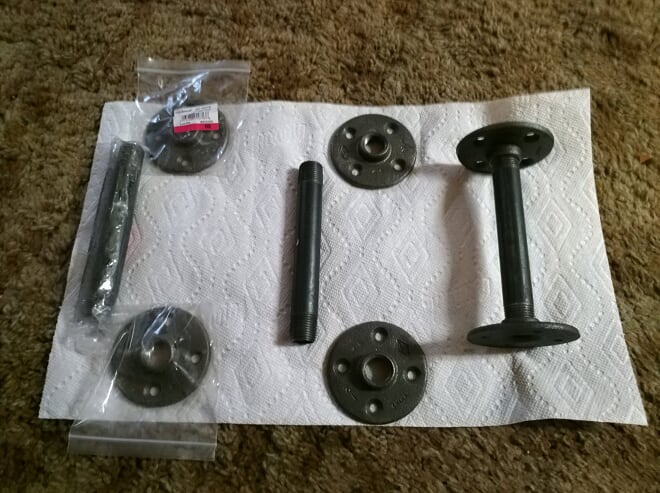
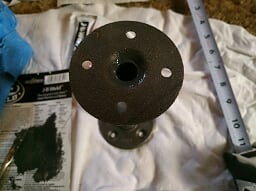
1/2" black iron pipe flange x10 $21.80US Homedepot
1/2"x6" black iron pipe x5 $10.85 Homedepot
3/4"x2’x4’ glued pine $17.36 Menards pn#1035016
1"x2’x4’ glued pine $25.49 Menards pn#1035066
28" steel legs with casters x4 $35.96 Menards pn#4803373
construction adhesive >$5
Screws >$5
Rags free or >$5
what ever finish you want, I’m using a oil and bees wax cutting board finish i think was from Rockler and under $12 i believe.
Will post the rest when finished, give me a day or so.
edit of the edit:
Black iron can be dirty to mess with.
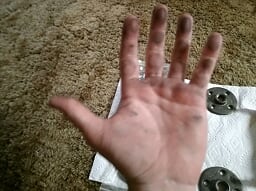
galvanized pipe will work as well, I just wanted the darker look even if it is not as clean.
Edit 3:
Assemble the pipes and test that you can get them all the same length with both flanges with a good number of threads on each side, You need to do this now as the threads on both sides are the same so you need to get them all the same before assembly of the tops or you will never get the top to be level and flat.
Once you know you can get them all the same height clean and seal the pipes Homemade Modern has a video I used to do this Link
I used the same “Howard Butcher Block Conditioner” that I have had laying around for some time for sealing them.
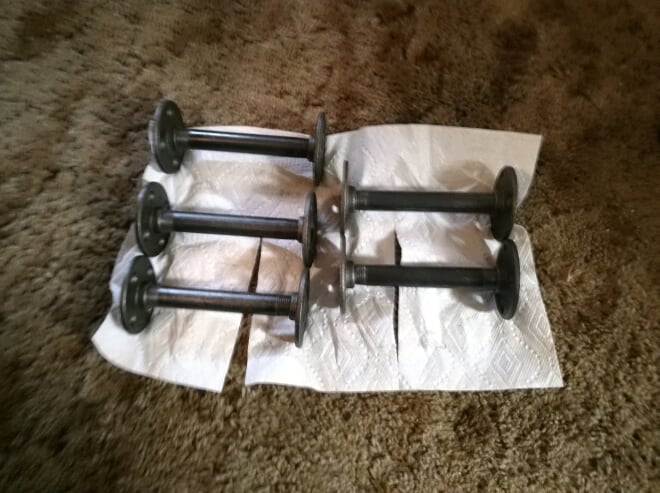
Now we need to use something to fix the pipes to the flanges so that they are strong and will not move making the top warped/uneven
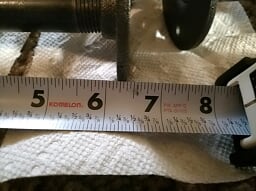
I used some JB Weld I had laying around, Using a measure tape I made a note of the length that all pipe/flange combos can achieve [6 & 7/16”] unscrewed one flange at a time adding the JB Weld to the threads putting the flange back on that side and checking length before repeating on the other side.
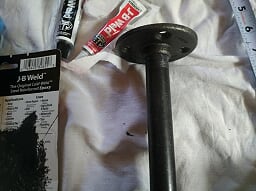
Check the height in 3 or 4 spots on each pillar as they are not made with pride so they will be cattywompus but I got all of mine with in a 32nd just by rotating them slightly and they where still the proper height [6 & 7/16th for me, may not be for you.]
Now that that is done and set aside I will put the legs together have some lunch and get some paid work done.
More updates to come. Feel free to ask questions or comment about how I can improve the write-up I have not done one in over 15 years and the last one was for working on cars.
I have been REAL sick, figures after years I get my laser then I get bed ridden for over a week and a half. I have not given up on posting this, I should be well enough to work on it and post an update or two in the next few days. Sorry for the delay.