I’m in the process of making another one for a friend, so I’m trying things differently this time, but in both cases I cut the mdf before spraying the knockdown.
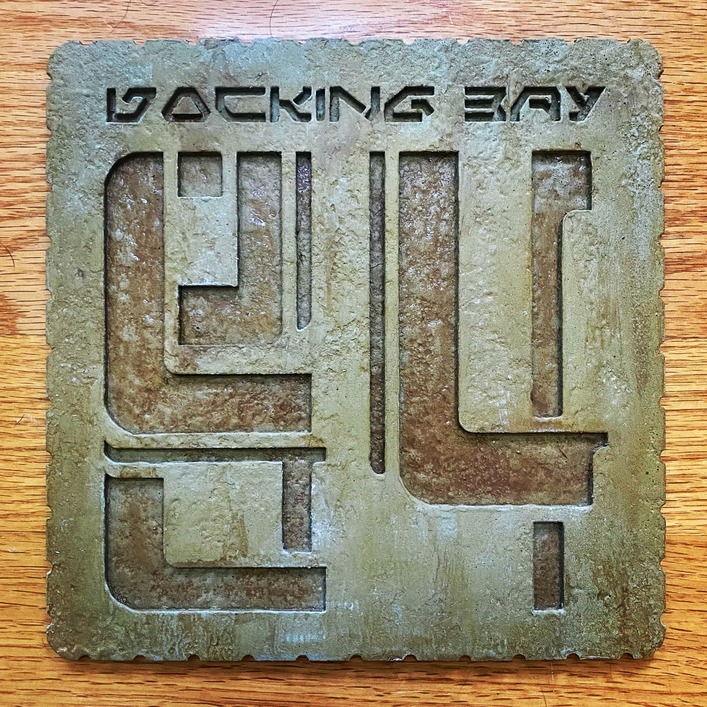
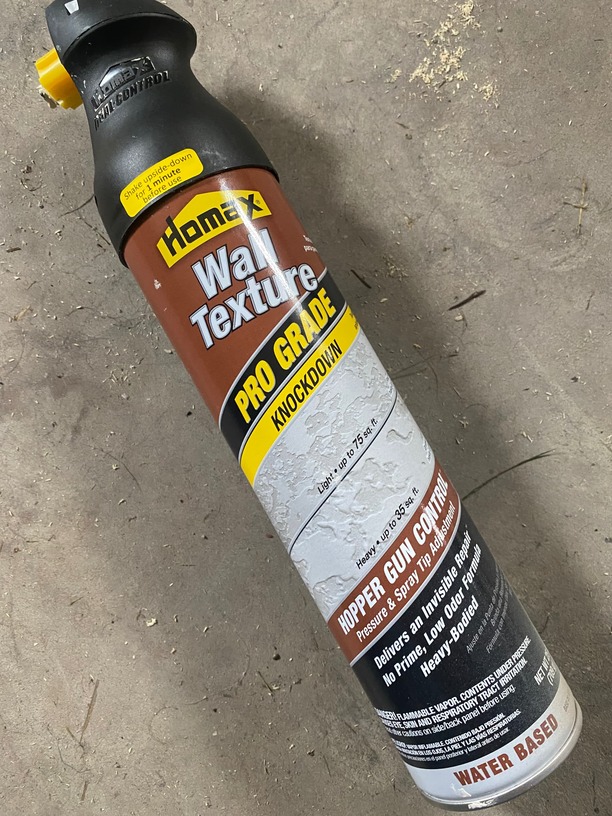
For the one pictured, I cut out the front and back panels and glues them together using spray adhesive. I gave them a quick coat of primer, let it dry, and then applied the knockdown. The drawback to doing it this way is that knockdown may not get into the numbers/letters, and the foam that does can be difficult to actually knock down (the knockdown process requires you to spray the foam, wait a few minutes, and then use a putty knife to lightly flatten (knock down) the foam).
The knockdown texture itself is actually very subtle; the paint is what makes it really pop. So, I’m currently experimenting with cutting both pieces and spraying them with knockdown BEFORE gluing them together. You can use a putty knife to knock down the back piece enough so that it still has texture, yet the front piece will glue flat to it (hope that makes sense).
After both pieces are glued together, I give it one coat of a light base color using spray paint. I used a light gray stone color. once dry you can also give a couple of VERY light blasts of another gray just to add some interest.
THe next step is weathering. I use a darker earth color acrylic paint - the kind you can find at Michaels for around $1. For this step I chose a tan color. I place the sign vertical and use a spray bottle filled with a watered down acrylic paint (maybe 1:5 ratio paint:water or lighter. I just eyeball it) and coat the sign. The watered paint should trickle down the face and collect in the nooks and crannies. Use a brush or papertowel to wipe off any large pools, but continue with a process of spraying and wiping until you get a nice effect. Let it dry, and then do this another time with an even darker earth color. I used a brown for my second color.
After this, go back to a light color - such as a light gray - and dry brush the face. Be sure to hit all of the edges as lightly as possible. Use as little paint as possible and hit areas multiple times until you see things begin to pop. Dry brushing should be very, very subtle.
Thats about it. You can add as many layers of the spray bottle colors as you want. And different colors will achieve differnt effects - a dark green will give it a slimy, mildew appearance, for instance.
Let me know if you have any other questions. This is all still pretty new to me as well, and I’m learning as I go!
EDIT: I left out one step!! before I drybrushed, I noticed that it still looked a little flat because the inside of the numbers were the same color as the rest of the sign. So I took the brown color that i used for weathering and watered it down again (though not quite as light as what I used in the spray bottle) and just used a brush to paint the inside of the numbers.
That was enough to make the numbers stand out without losing the texture beneath them