That offset in the new Glowforge GFUI works really well. So well it has made me hate trying to accomplish it in Inkscape. error-> However, if I am going to sell the SVG I cannot use the GFUI to make it work as I cannot bring the finished part back into my computer, so nice as it is I cannot use it there.
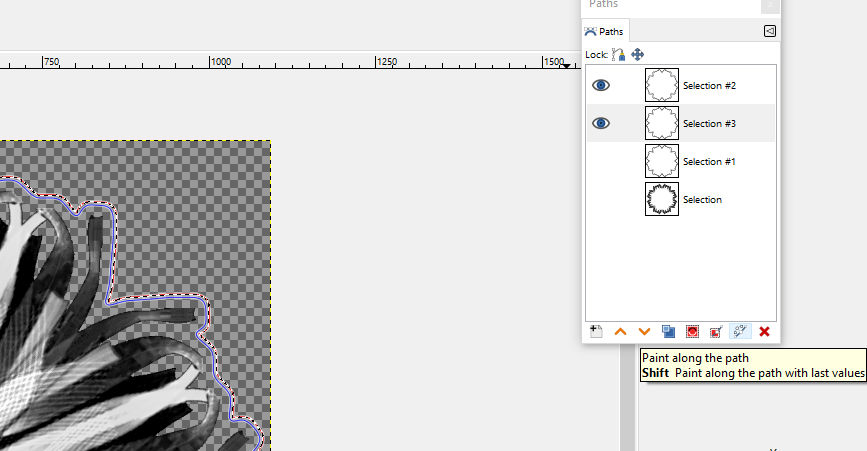
So I have been using Gimp and resizing the image by enlarging the mask and scaling to the mask. You can use the mask to create a path and you can use the path to add or subtract from the mask and all sorts of special effects from a line along the path to text along that path.
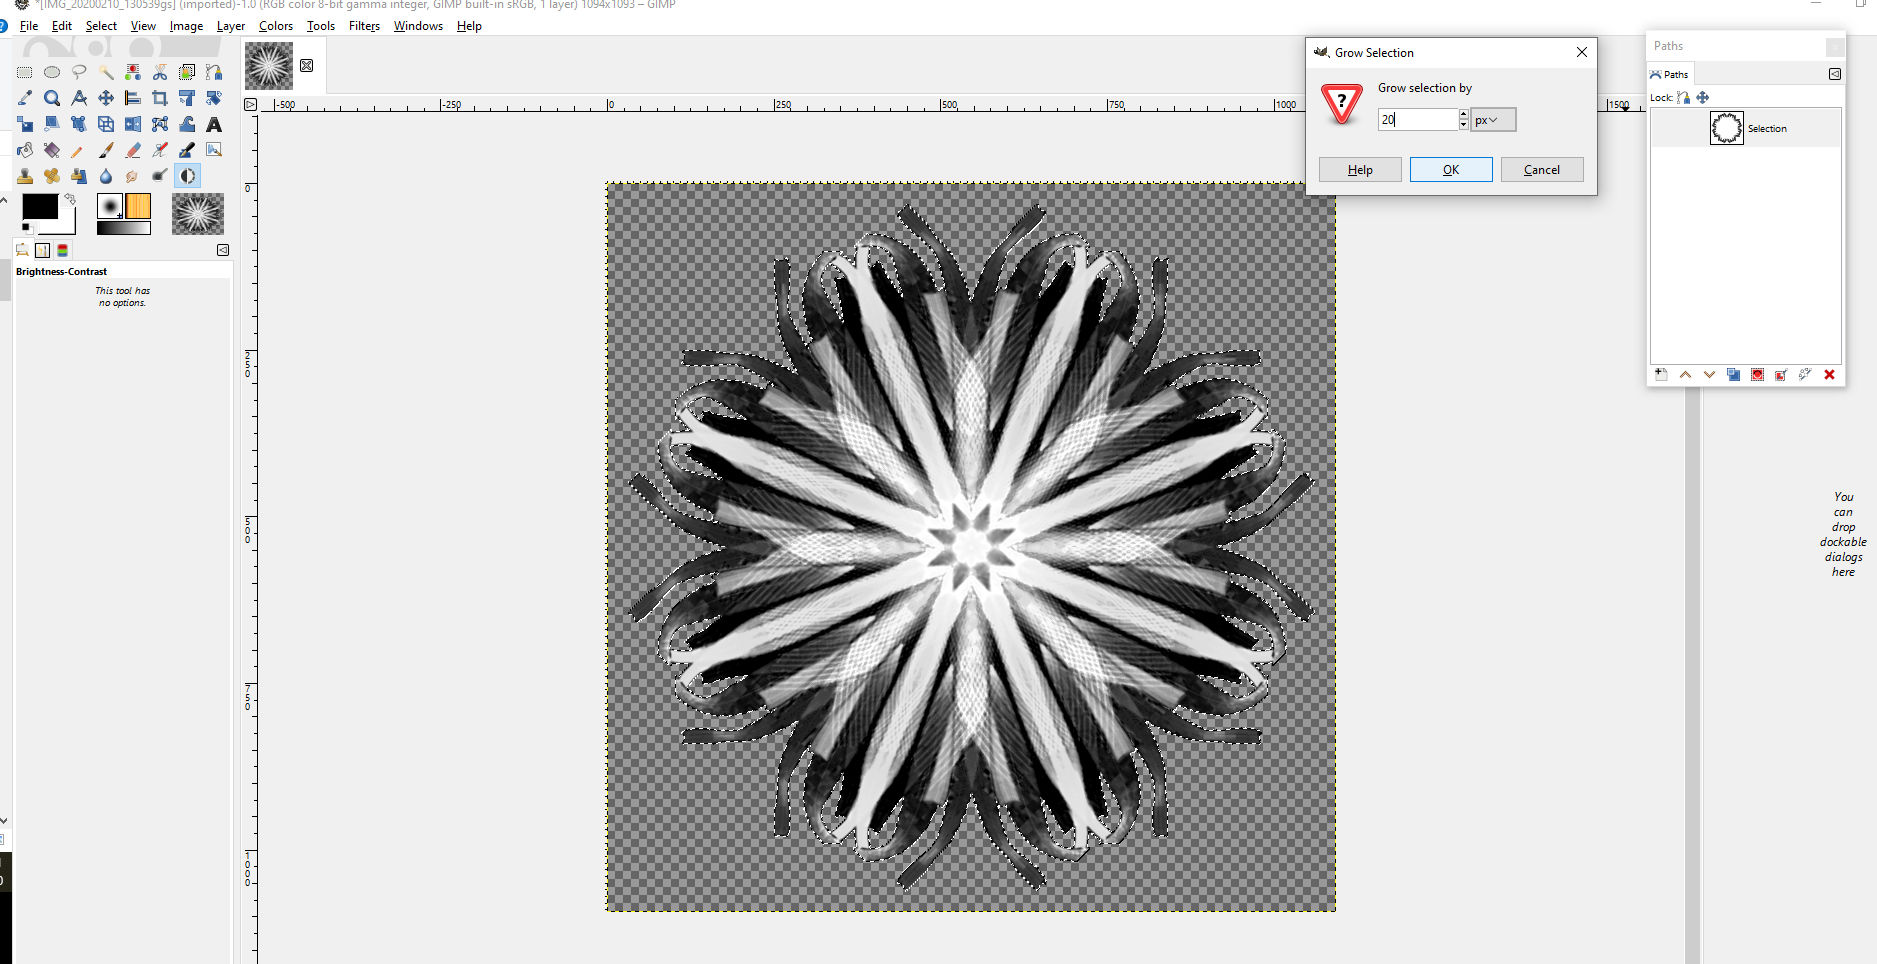
So I take the image and create a mask to the size of the image and then under Selection, there is a command Grow and I grow it 20 pixels to get well beyond all the in and out stuff. Unlike Inkscape offset it doesn’t need to curl back on itself but just stays 20 pixels off the high points.
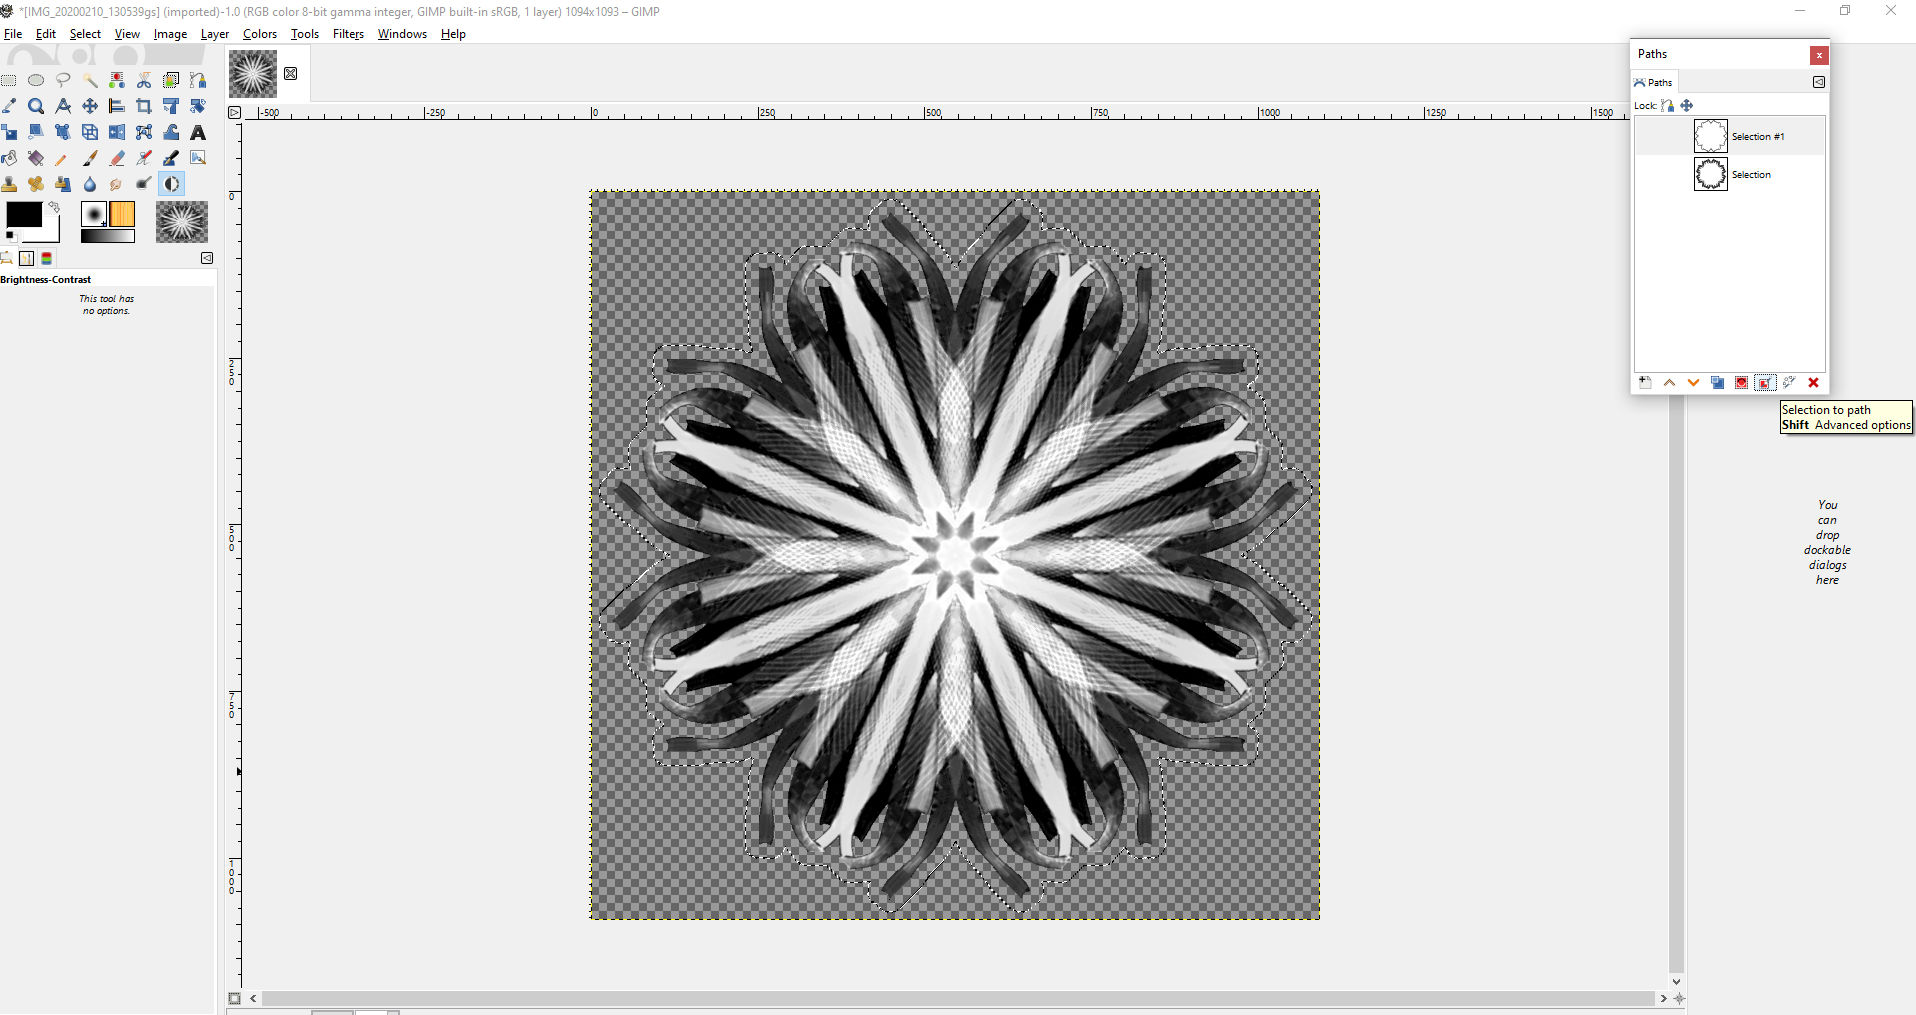
I then save that Mask as a path thusly …
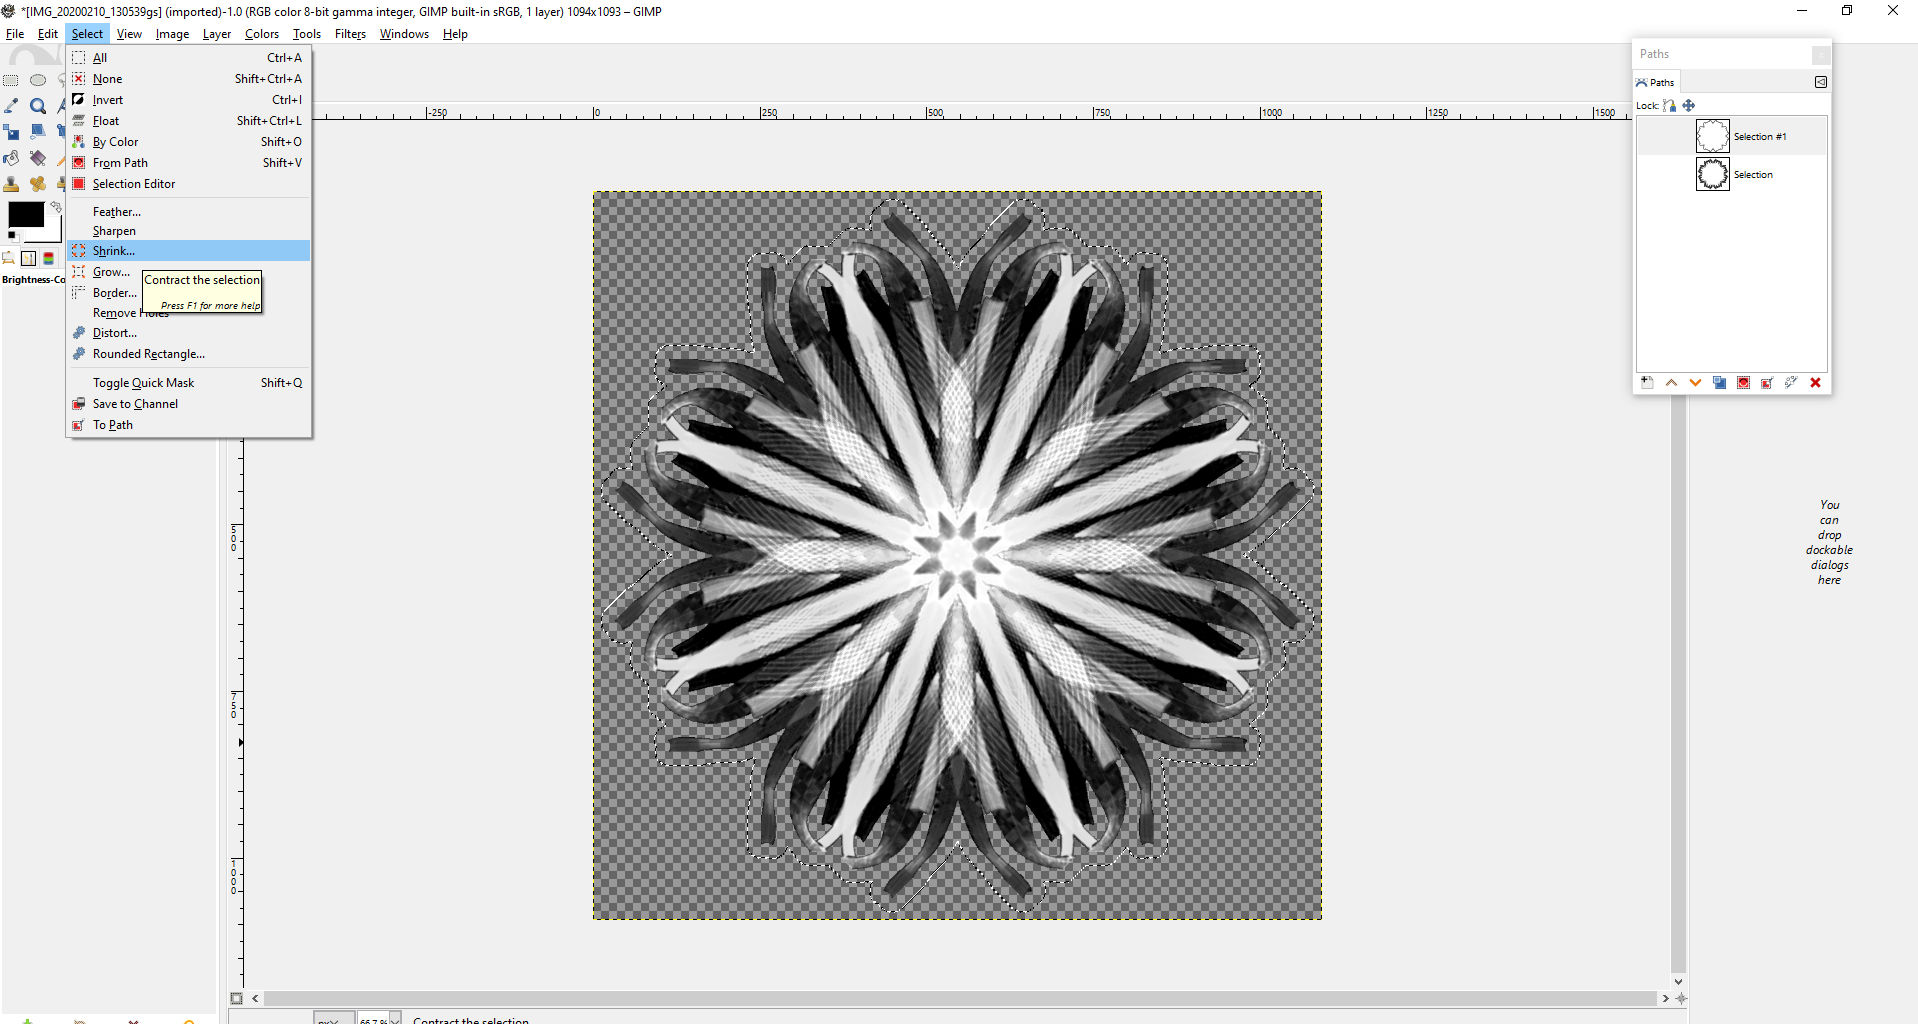
Then I reverse and shrink that Mask by 5 pixels and save that…
Now by clicking here, I can add the 20-pixel mask, then highlight the smaller mask and subtract that.
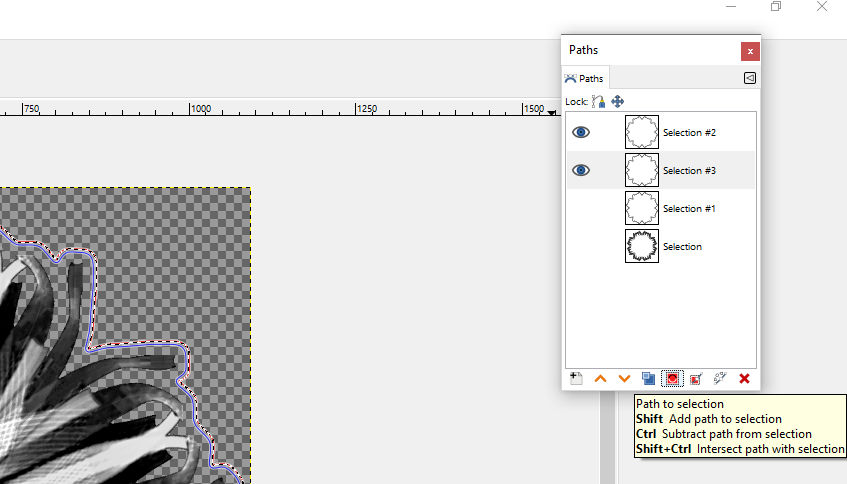
I now have a mask of known dimensions just beyond the photo and I can save that as a path too. So now I can run a line along the path, or use the fill and have a wide path, and if it is white it will not engrave when you engrave but when you trace the PNG image you will have a line on each side that you can play with in a lot of ways.
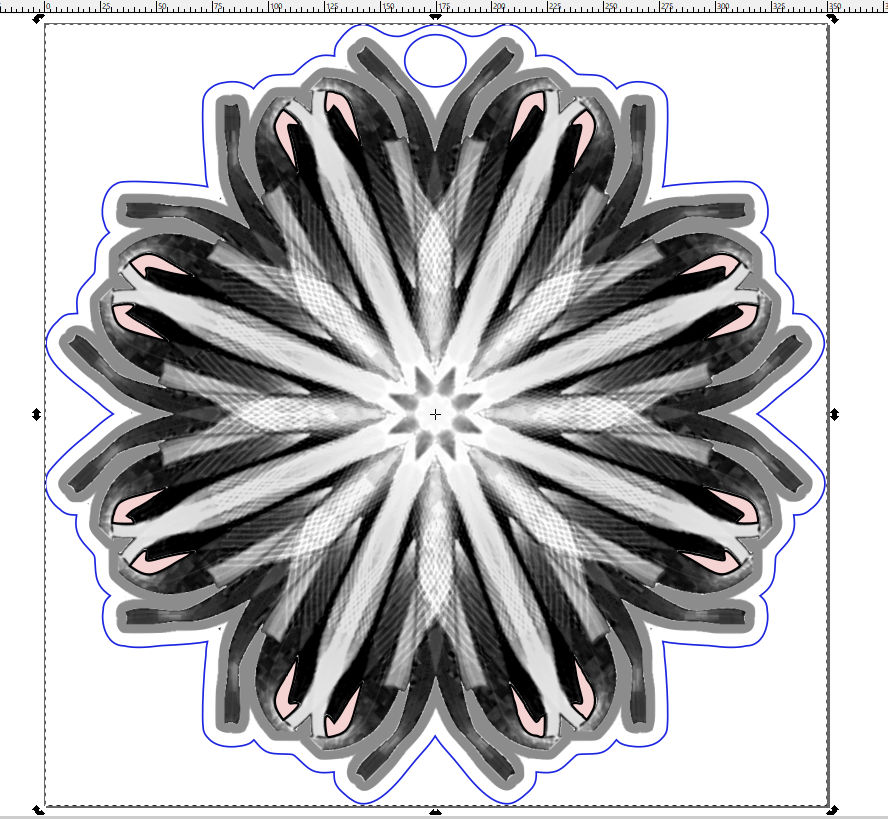
I have been creating a lowered area next to my designs that because it was vector it needed a whole new time consuming engrave, but done in Gimp I just add the band in a mid-gray and all the engrave is done at once. I also manipulate the outer trace as needed, in this case for a loop for a jump ring. And the pink bits are internal cutouts.
Edit :Fixed Error