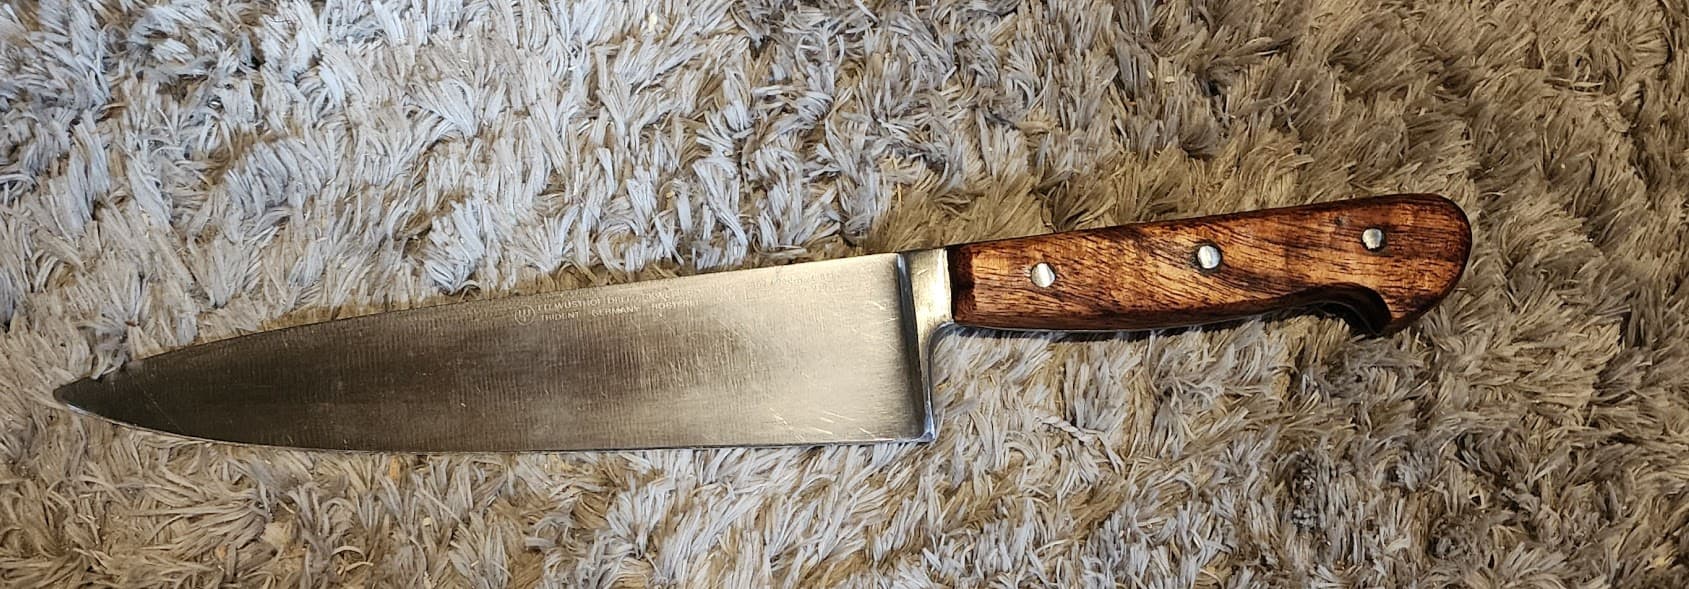
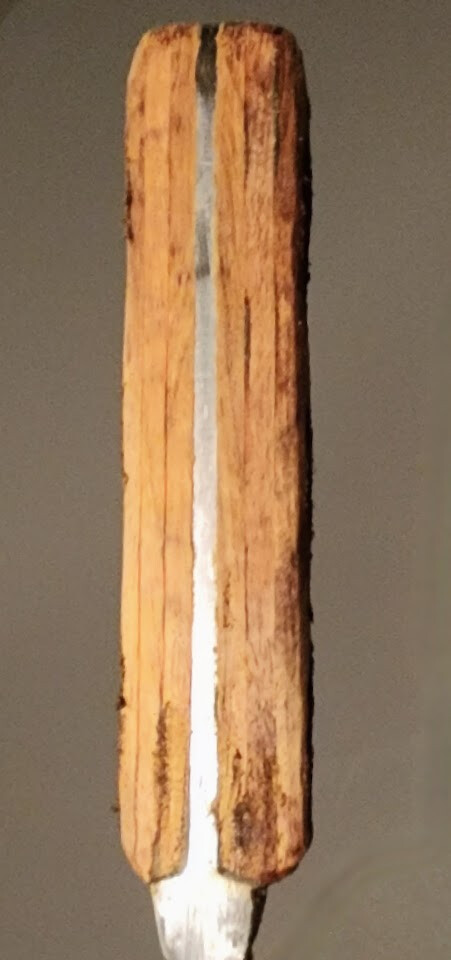
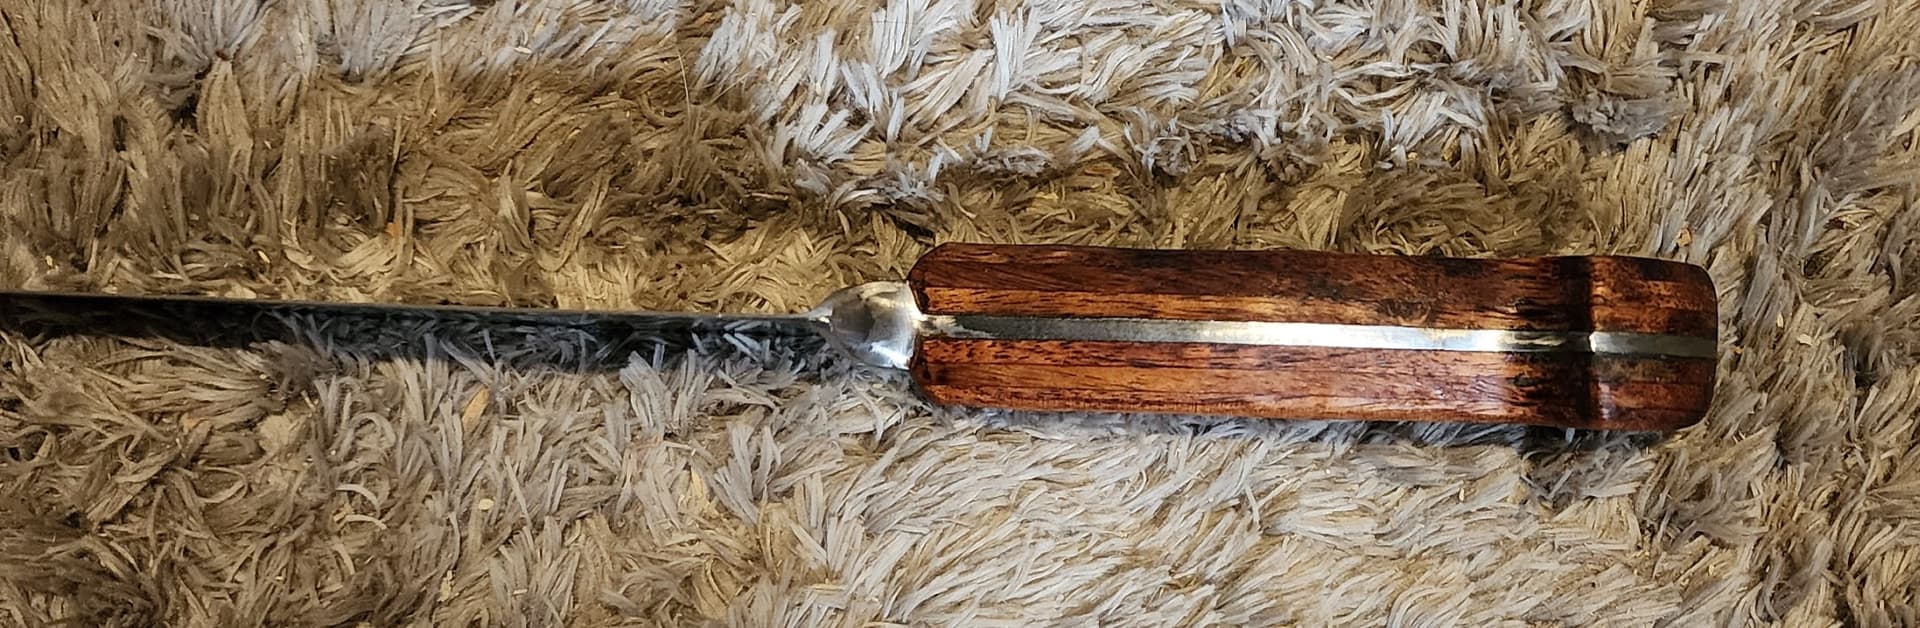
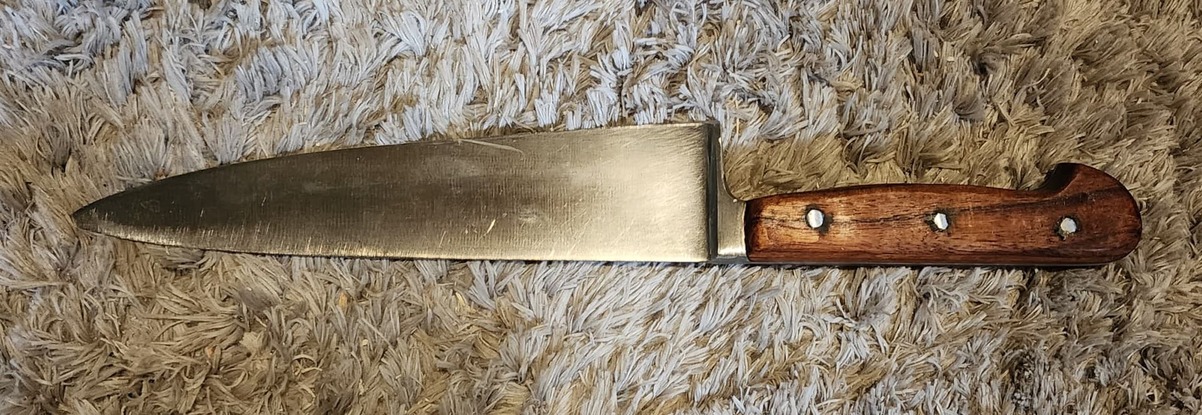
I had this great old German cutting knife that the handle was just falling part, badly enough that we’d wrapped it in duct tape and kept using it…it’s been easily 5 years and I own a !
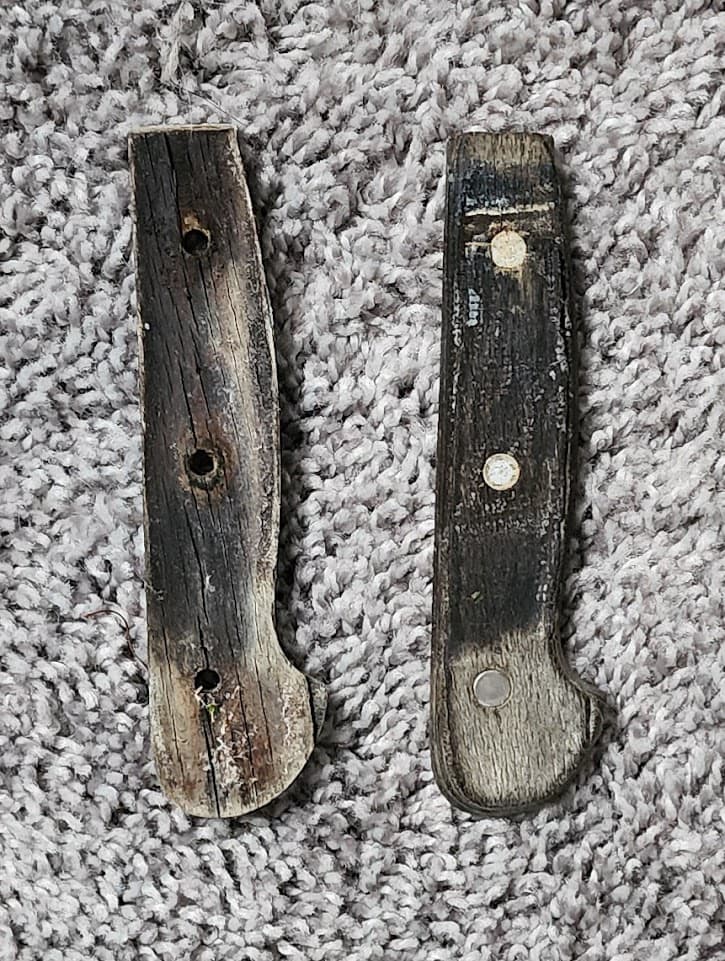
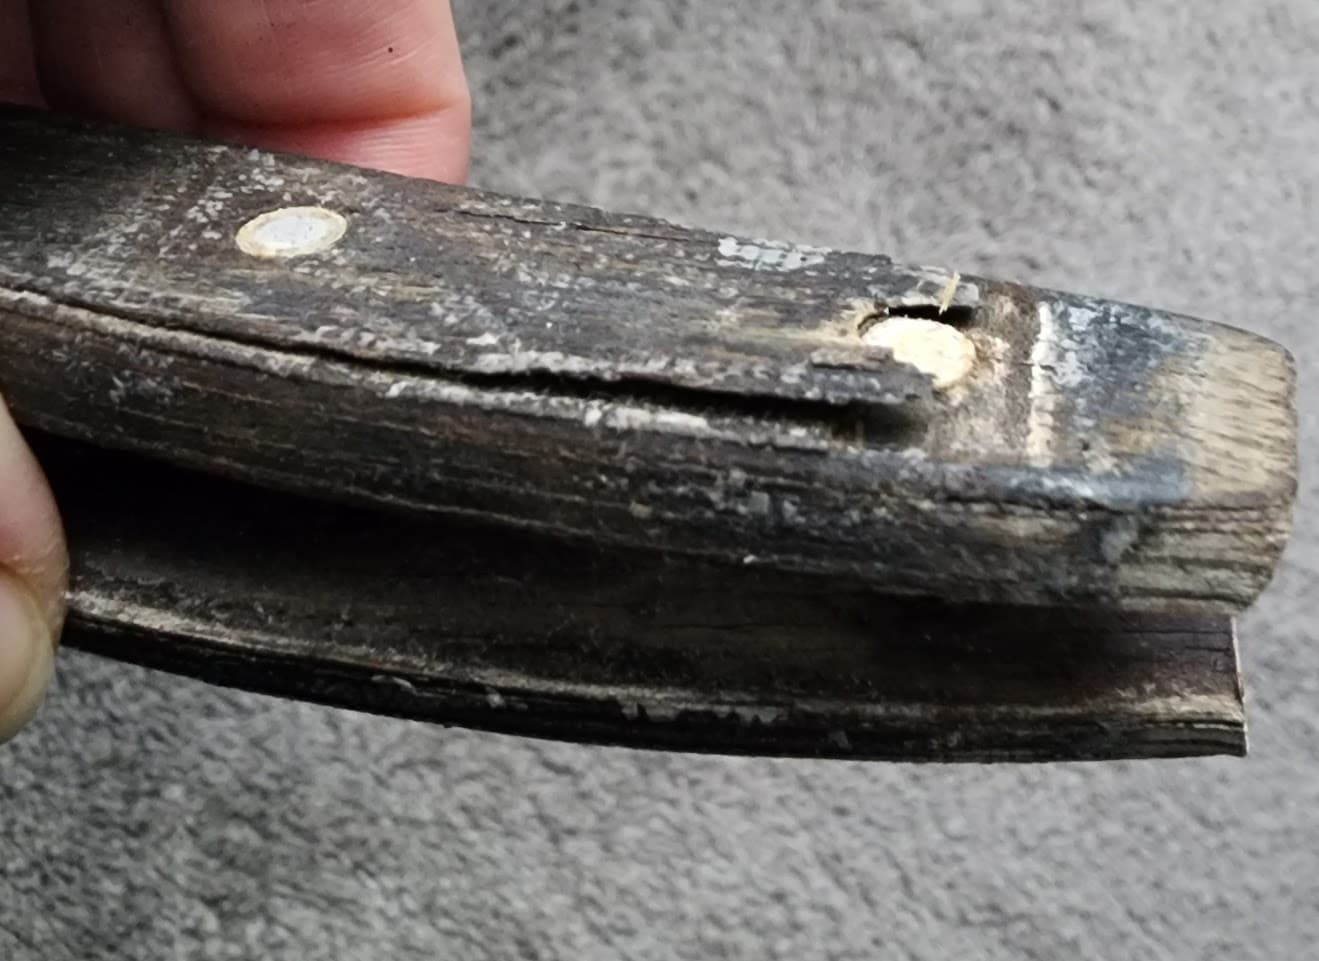
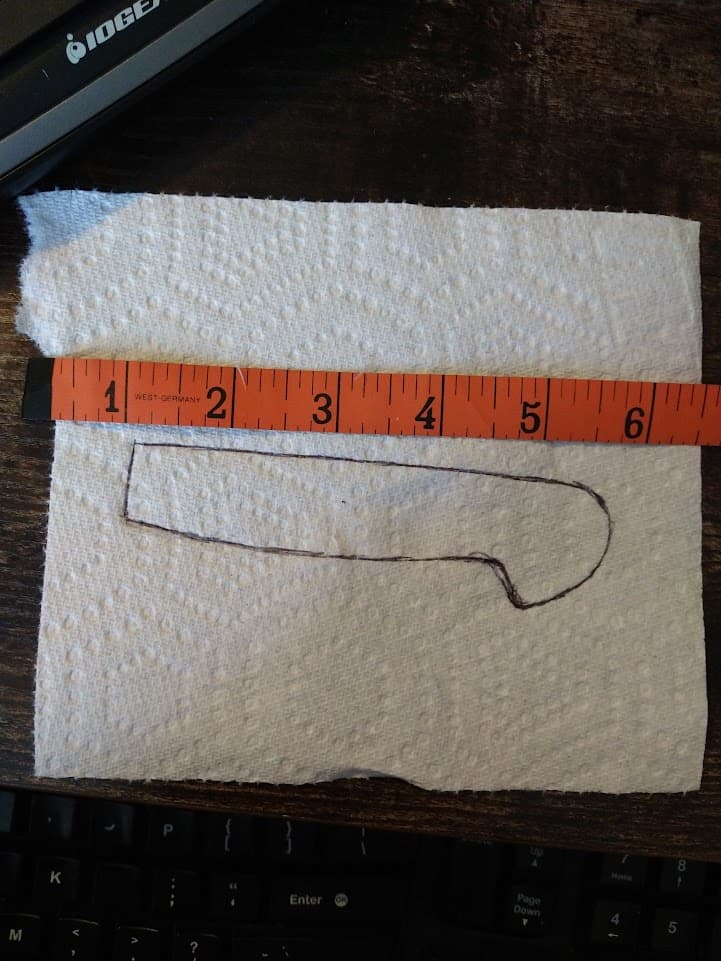
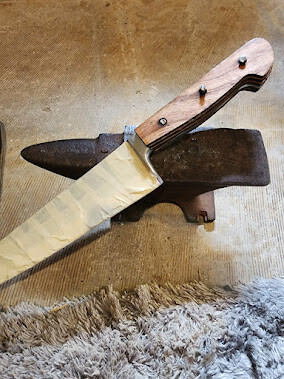
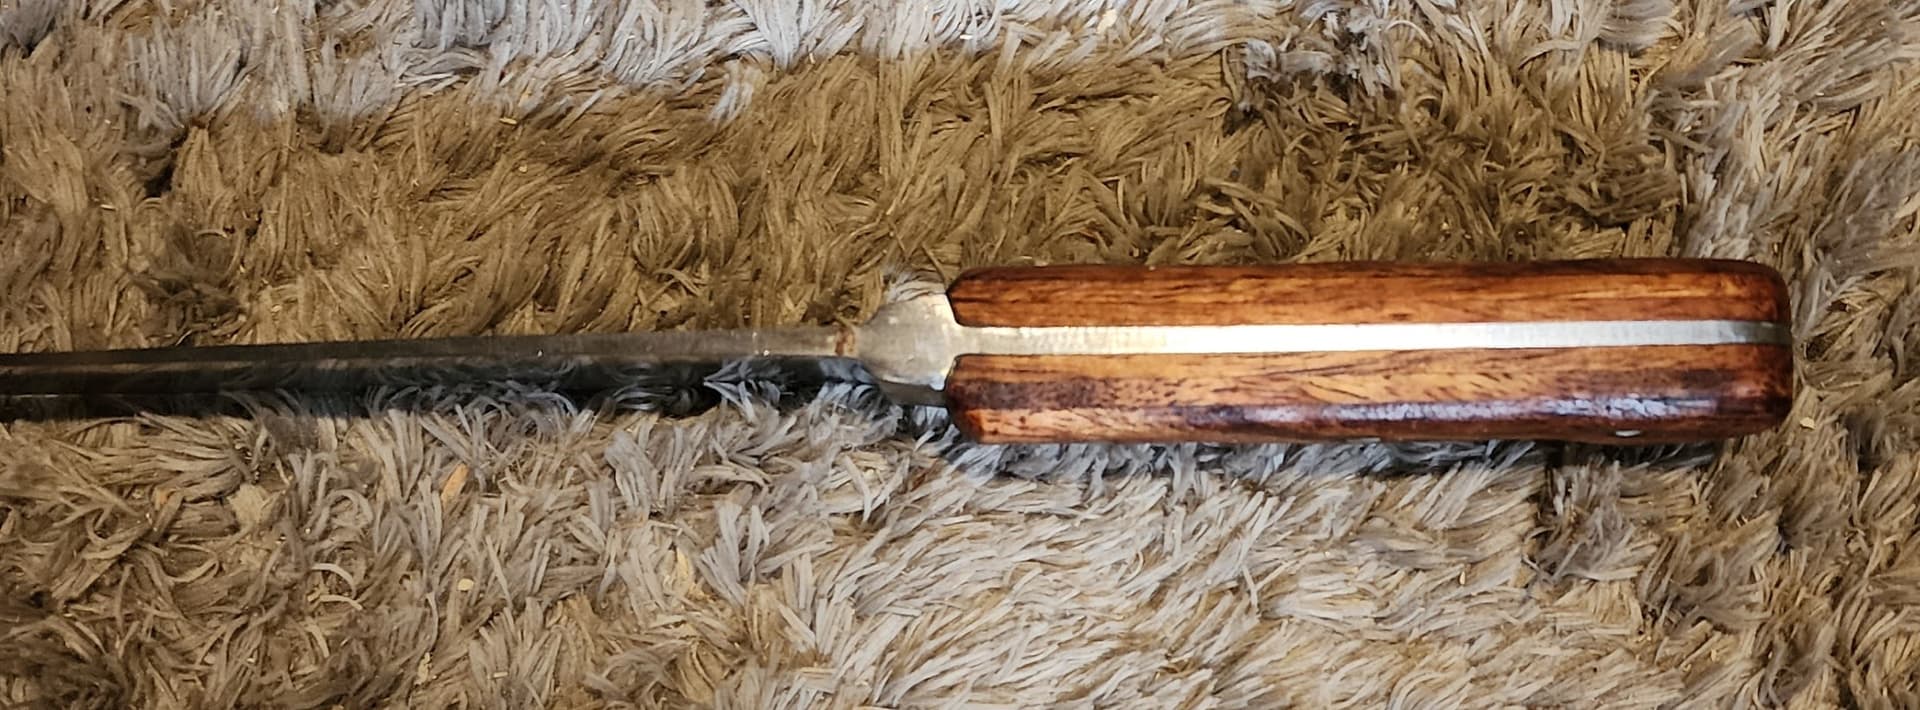
When it doesn’t, because either the holes don’t line up, or it turns out the blade guard angles away from the handle so your top layer has to be the longest of the three, or both, adjust and cut again! Koa cuts using PG Walnut Hardwood settings.
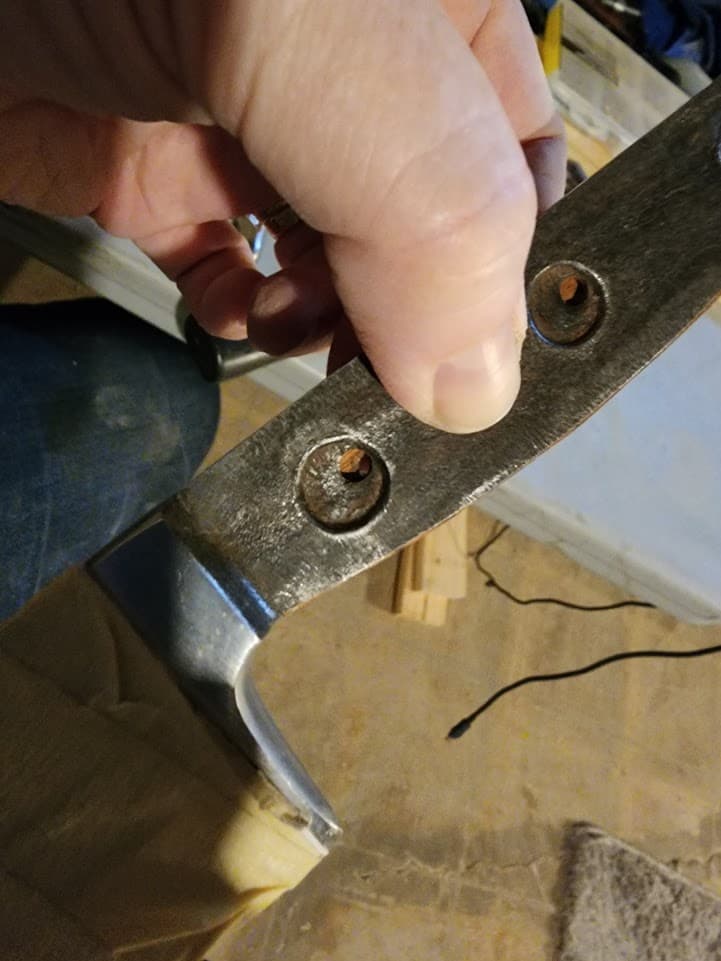
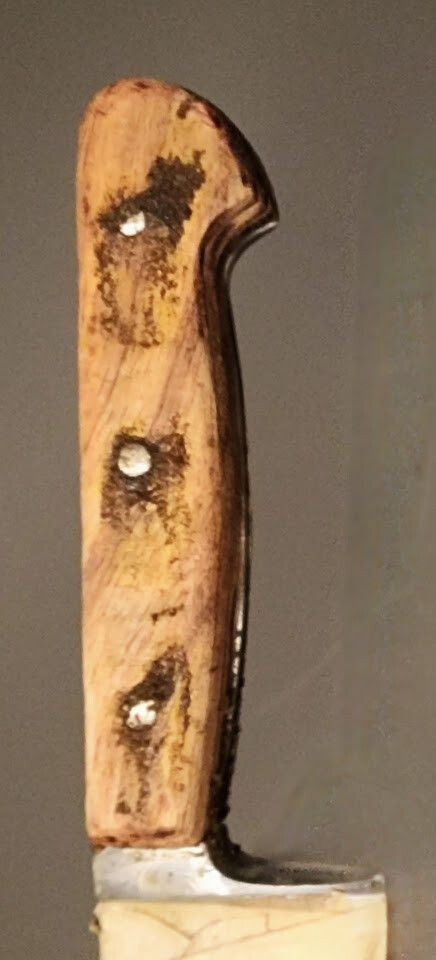
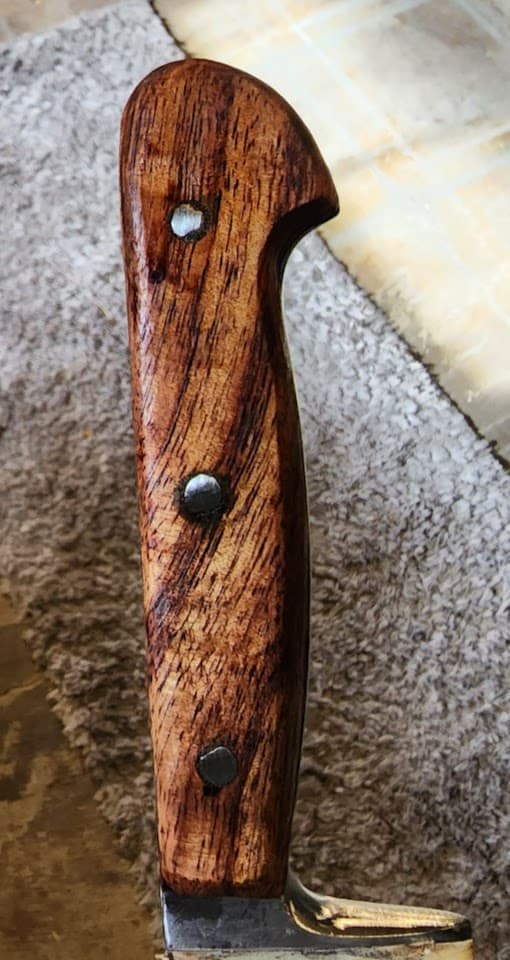
Once everything fits, and it’s going to work, glue it all together, return the pins, and start hammering…and hammering…and (you know, I could have gotten brass pins but nooooo it had to be steel because the originals were…). Oh yeah, and I don’t recommend hammering your hand.
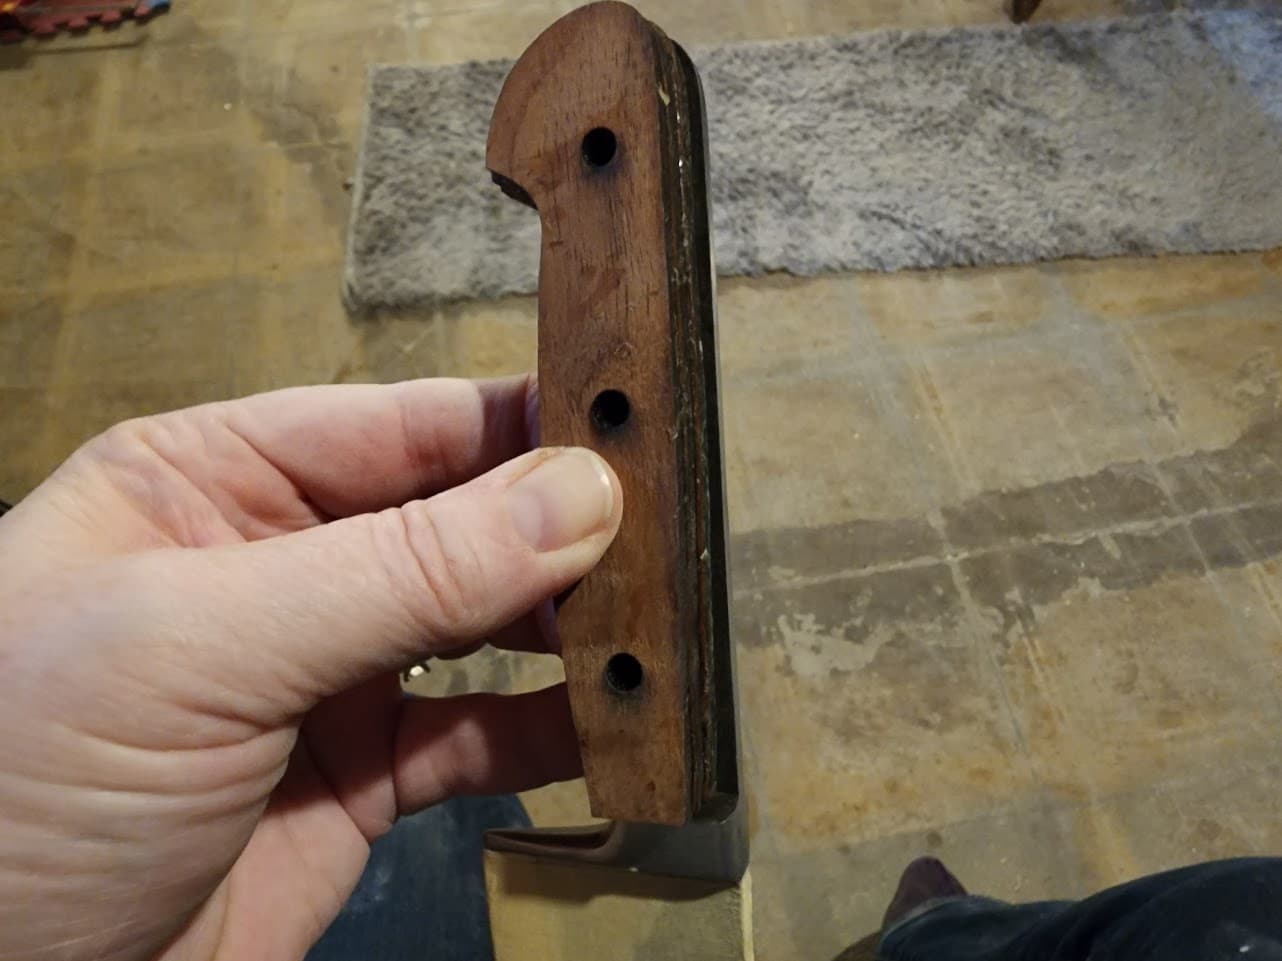
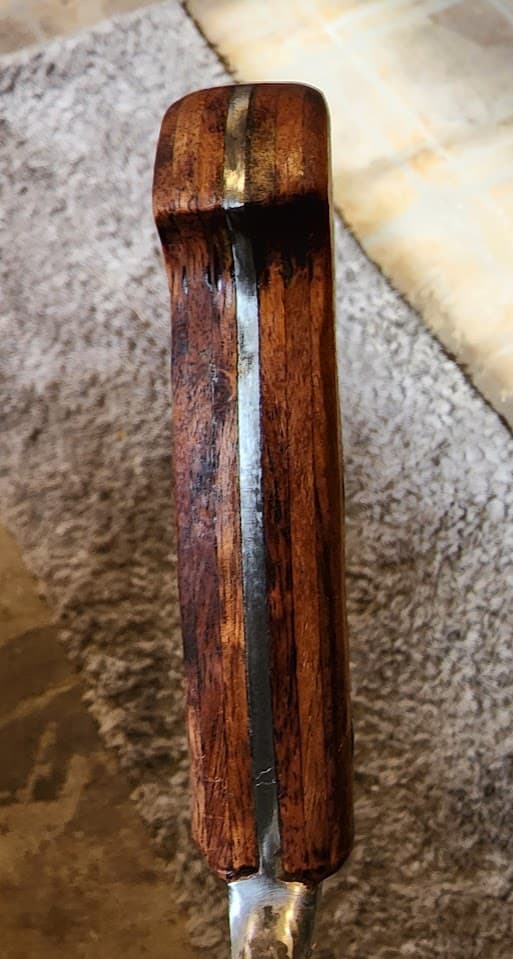
Then the sanding begins. A Dremel came in handy to make this a fairly quick step. Using glue and the sawdust created by said sanding to fill in any holes.
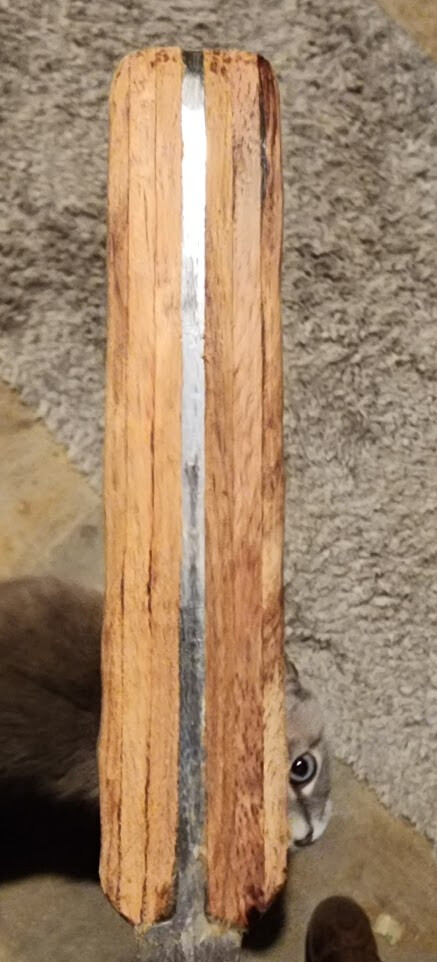
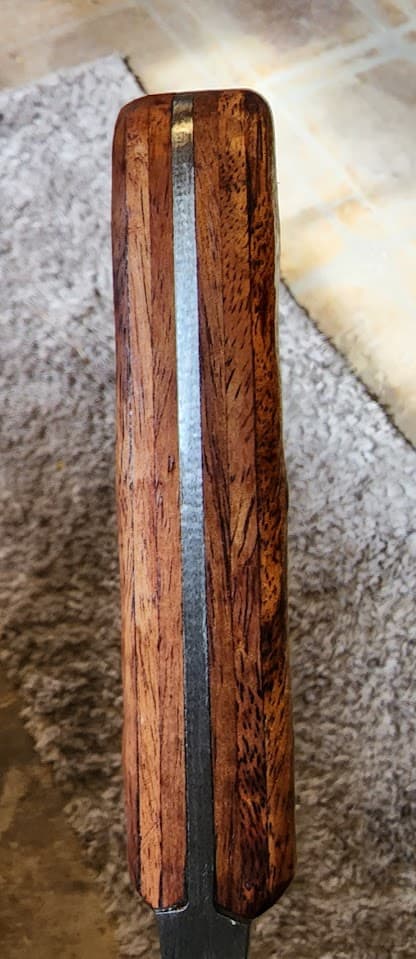
The koa I used is more from the stash I got from @amandarogers808 when I visited the big island. They don’t seem to be selling wood stock right now, but if they ever are get some!
Cool restoration job there. The alloy in that blade makes the tool worth the work.
Those cutting dics referenced, at that price the grit is likely plated on. If you overheat it, the grit will wipe right off. The holes in them will help dissipate the heat, but kept cool, diamond tools live a long time!
Diamond grit cutting tools for dry cutting have the grit brazed on, and are not that inexpensive, which is why you can tell how the tool was made for the price.
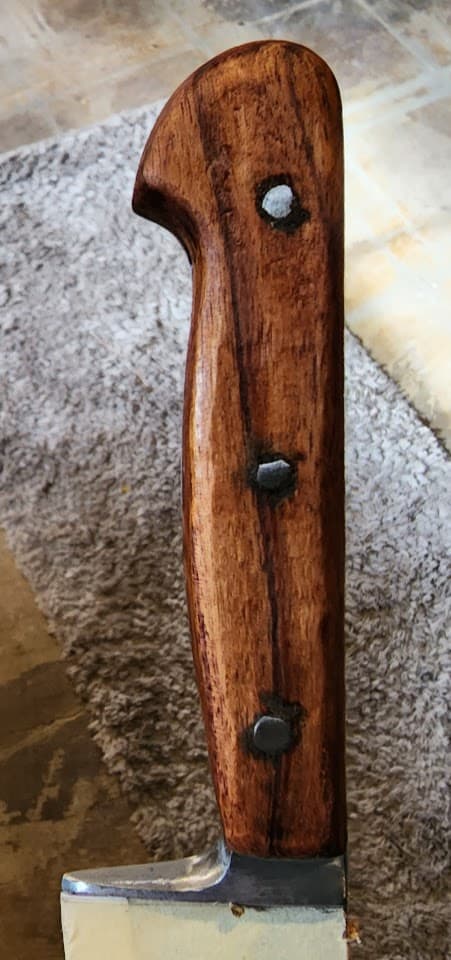
That Koa is beautiful, and a wonderful choice - besides being an upgrade worthy of the German metallurgy.
On a side note, notice the sparks in the video beginning? the number of points the spark decays to indicates the content of the alloy. High carbon steel sparks end in a bright almost white tiny ‘firework’ burst, while mild steel is a single orange spark. A quick spark test will help you determine if you are working with mild steel or another alloy.
nice work done my friend. i noticed that one side seems to have more layers then the other side or is it just a illusion from the camera? Other then that i have a lot of knives i need to do the same with. kidos to you my friend.
My Dad always replaced handles of knives and pans. Really repaired anything and everything. I have a lot of siblings, and after my Mom passed we all took one or two of the knives. Nice memories.