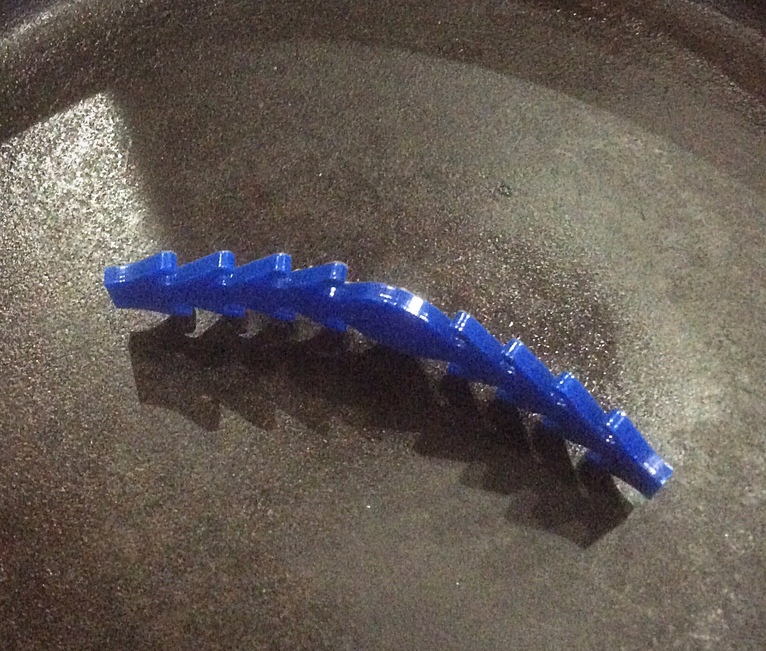
I found that each piece took less than 10 seconds to heat and bend. I used the outside of an 8" stainless bowl with the heat gun on high. As long as you keep it moving and don’t get too close there is no danger of deforming the acrylic. A quick dip in some water sets it in place permanently.
I would not heat it with the mask on as it will start to fuse the transfer paper to the surface of the acrylic.
Also, as recommended by eflyguy, a warm oven can up your production and is another good way to achieve the same result.
Just to post my test result, also using an ~8" stainless bowl circumference to shape against, took a touch less than 30 seconds with my heat gun at max (1350F) warming over front and back, to make it very pliable. The masking paper got a touch scorched in a couple of spots, but after cooling removed with no issues. Should get better/faster with more. It does feel a bit more comfy than flat alone. Thanks for the suggestion!
Cast acrylic melts at 320F so you have to be careful. If you want to do it quickly in bulk, stick them on a cookie sheet (not directly on a wire rack) and set the oven to 300F. Let it warm up with the oven as it preheats. Once it hits 300F let it sit for about 5 minutes and then you can bend them.
When we bend acrylic (for boxes, etc) we’ll do the oven treatment but to 320F only because we’ll pull it from the oven and form it in one bend operation rather than trying to do 100 of them. So better to use a slightly lower temp so none of them reach melting point all the way through.
One trick for these is to use a gallon paint can. You can get empty ones from HD for $5. Put that in the oven and either lay the earsavers on it along the length of the can and then just reach in and curve it when they’re 300 degrees or place them on the cookie sheet and remove them to press around the can one at a time.
These should retain their shape without water quenching.
You may want to use your gas grill if you can get a controlled 300F temp in there so you don’t stink up the kitchen
You can get a factory going by peeling masking, cutting, reloading the GF and while the next batch are cutting you bend a tray. Once you get the first one in the oven, the rest will just keep going from forge to oven to cooling without much dead time in between. Very assembly line oriented (not like Lucy & Ethel and the chocolates though).
Thanks. I wasn’t pointing the heat gun closer than a foot or so, but I will try it at a lower temp pointing closer and see what happens. Appreciate the suggestion for using a sheet in oven for doing them in bulk. And yes, my test sample held its shape fine after cooling, holding for a bit against the bowl, without using water—but maybe water quench helps when one is trying for a faster process?
When we bend long things using a hair dryer or paint gun on low temp (250-300) we’ll get up to about 2 inches but keep it moving. That way it doesn’t cool too fast as we’re heating it up because we’re not losing a lot of heat to the air between the gun (or hair dryer) and sheet.
If you see bubbles it’s not because it’s breathing
Y’all are nuts. I figure one person bending one ear saver is 'way simpler than one person bending 300 ear savers, so I just enclose information on unmasking and bending, and pop the (nice, straight, easily mailable in any quantity) masked (and un-fingerprinted) earsavers into their envelope/box, and move on to the next order!
Except 300 people who don’t really know how to bend acrylic is a recipe for at least some of them effing it up and possibly one of them starting it on fire
Versus one person who knows what they’re doing and doing it quickly and safely.
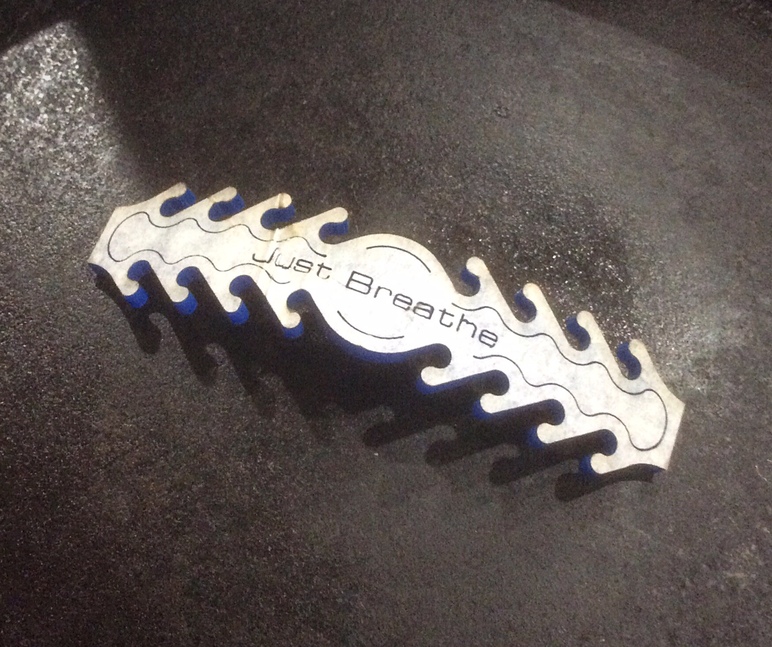
Yeah, but I was disappointed with the quality of the cuts on the laser. I couldn’t find a cut setting that didn’t leave melty edges, and the two-color engraving wasn’t much to write home about.
Did you get any of the green marble-looking stuff with the off-white inside color? I tested for an hour and everything I tried that would cut through (pretty sure 400/80 was on that list) left the little “teeth” looking melty.
I have the green with white and no way 400/80 would work. I’m at 195/100. That works. 200/100 works & leaves the newspaper underneath but the pieces sometimes need to be broken free. 195 cuts through the newspaper but no issues with any fiddling to get them out - I just have to peel off the newspaper from about 1/3rd of them.
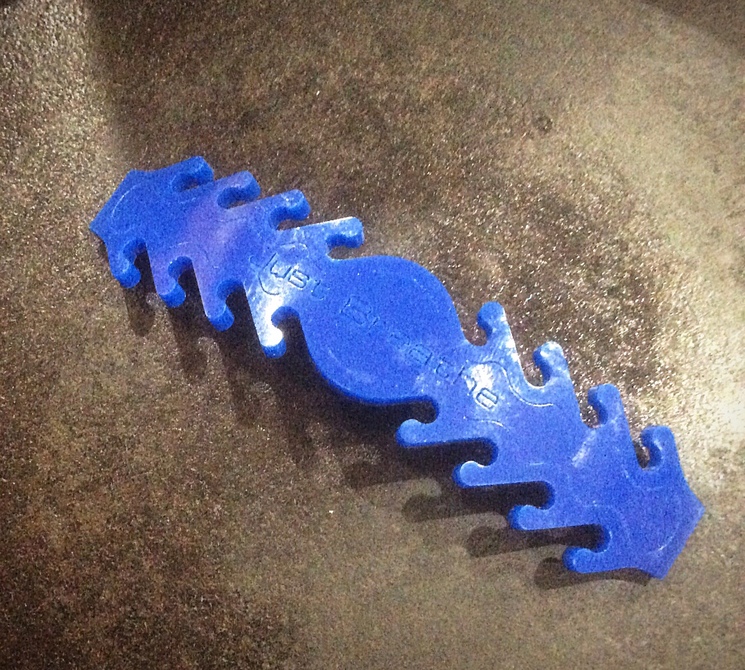
I turned the oven on 300 degrees and put about 10 ear savers on a foil lined cookie sheet. Pulled them out 2 at a time and bent them to shape inside of a bowl. I was using 1/4" acrylic so these suckers are thick but now I think they will be much more comfortable for the people using them. Donating to several local hospitals that say they can definitely use them. Thanks for the great info.
Hello! I was wondering if you were willing to share the extended version of the ear savers you made? Or give the size you extended them too? The company my husband works for issued them fabric maskes with really short ear straps and the current size of the ear savers doesn’t come close to reaching.
I just shipped out some size variations for someone on the forum. You can just resize them in your drawing program (inkscape, whatever). I would not make them proportional when you increase the size. 150% long with 150% makes a really tall/wide one that I think will be too much of an irritant for that circle part in the middle especially. I also did a 200% lengthwise upscale with 125% height increase. The 200/125 reached nearly ear to ear for me & I wear a large size hat. The 150/125 was about 2/3 of the back of my head.
I’d suggest either using thinner material (1/16) or pre-bending the earsavers if you’re going with larger ones and using 1/8" acrylic. When I pre-bend before shipping I put a sheet of them on a cookie sheet in the oven (300F/10 min) and then using an empty 1 gallon paint can to bend them on (you can get unused fresh metal ones from Home Depot).
 I figure one person bending one ear saver is 'way simpler than one person bending 300 ear savers, so I just enclose information on unmasking and bending, and pop the (nice, straight, easily mailable in any quantity) masked (and un-fingerprinted) earsavers into their envelope/box, and move on to the next order!

